

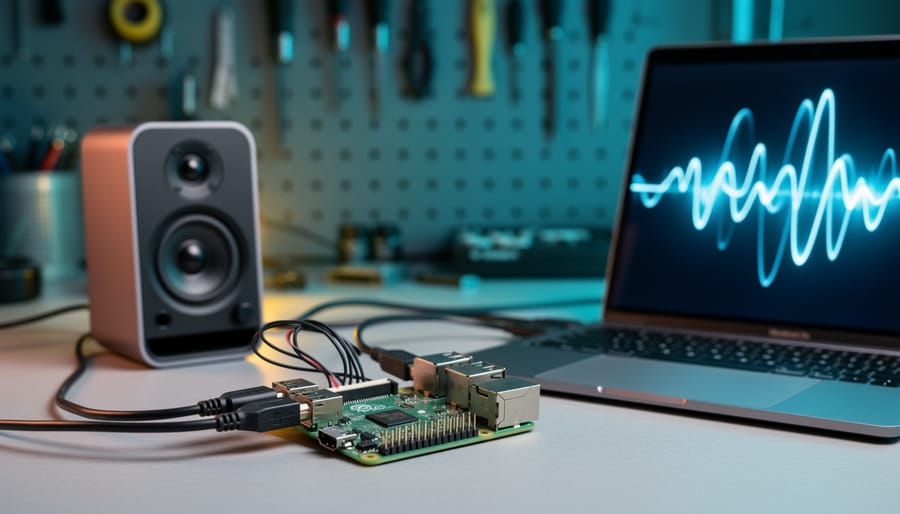
You can generate oscillator sounds on a Raspberry Pi in under 30 minutes using Python libraries like pygame or pyaudio, producing clean sine, square, sawtooth, and triangle waves suitable for synthesizers, musical instruments, and sound design projects. The method requires basic Python knowledge, a Raspberry Pi with audio output, and a handful of code libraries that transform digital waveform calculations into audible tones.
Oscillators form the heart of electronic music synthesis. These signal generators create periodic waveforms at specific frequencies, and when you control their pitch, amplitude, and timbre through code, you unlock the building blocks of synthesized music. Whether you’re prototyping a DIY synthesizer, building interactive art installations that respond to sensor input with sound, or teaching students about audio fundamentals, the Raspberry Pi offers an affordable, accessible platform for real-time sound generation.
The beauty of working with oscillators on Raspberry Pi lies in the immediate feedback loop. Write a few lines of code, run your script, and hear the results through speakers or headphones. You can experiment with different waveforms, layer multiple oscillators for complex timbres, apply amplitude envelopes, and even implement frequency modulation without investing in expensive hardware synthesizers.
This guide walks you through the complete process, from installing the necessary software dependencies to writing your first oscillator functions and building more sophisticated sound engines. You’ll learn how to manage audio buffers, avoid common pitfalls like buffer underruns and clicks, and optimize performance for smooth, glitch-free playback. By the end, you’ll have working code examples and the knowledge to expand into more advanced synthesis techniques.
Understanding Oscillator Basics for Sound Synthesis
At its core, an oscillator is a circuit or algorithm that generates a repeating waveform at a specific frequency. In audio synthesis, these periodic vibrations become the building blocks of sound. When you hear a note from a synthesizer, you’re hearing one or more oscillators producing waveforms that vibrate air molecules (or move speaker cones) in a regular pattern. The shape of this waveform determines the sound’s timbre, while its repetition rate determines the pitch.
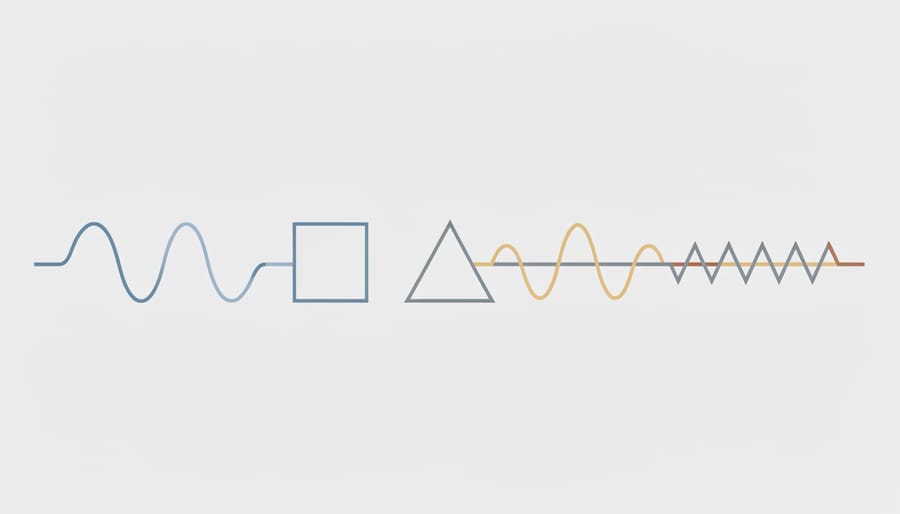
The four fundamental waveform types each have distinct sonic characteristics. A sine wave produces the purest, smoothest tone with no harmonics, think of a tuning fork or a flute’s lowest register. Square waves create a hollow, clarinet-like sound with odd harmonics that give them a buzzy, retro video game quality. Sawtooth waves contain all harmonics and produce bright, brassy tones reminiscent of string sections or aggressive leads. Triangle waves sit between sine and square waves, offering a mellower, softer character than sawtooth but with more body than a pure sine.
Frequency and amplitude are the two parameters that shape how these waveforms translate into audible sound. Frequency, measured in Hertz (Hz), determines pitch, 440 Hz produces the musical note A4, while doubling that to 880 Hz raises it an octave. Lower frequencies create bass tones, higher ones produce treble. Amplitude controls volume, defining how much the waveform moves from its center position. Higher amplitude means louder sound, though you’ll need to be careful with clipping and distortion.
On Raspberry Pi, you’ll implement these oscillators by calculating waveform values mathematically and sending them to the audio output at a consistent sample rate (typically 44,100 samples per second). Python’s NumPy library excels at generating arrays of waveform data, while PyAudio handles the real-time playback. This combination gives you precise control over every aspect of sound generation without needing specialized hardware.
Tools and Materials You’ll Need
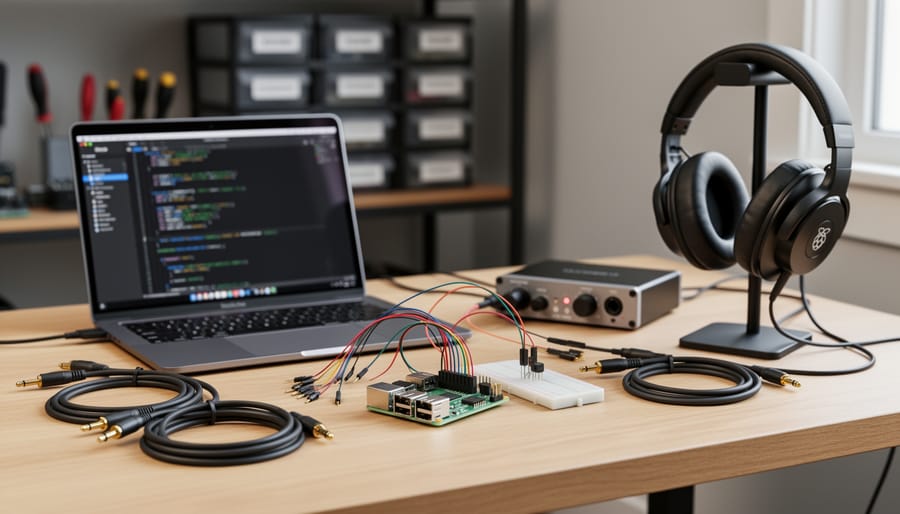
You’ll need both hardware and software components to start generating oscillator sounds on your Raspberry Pi. The minimal setup requires surprisingly little, but a few upgrades can significantly improve your audio quality.
For hardware, any Raspberry Pi model from the Pi 3 onwards will work. The Pi 4 or Pi 5 offers better performance for complex soundscapes with multiple oscillators running simultaneously, but a Pi 3B handles basic synthesis just fine. The Pi Zero 2 W works in a pinch for simpler projects, though you’ll notice higher latency with demanding algorithms.
- Raspberry Pi (model 3B, 4, or 5 recommended)
- MicroSD card with at least 8GB capacity
- Power supply rated for your Pi model
- Speakers or headphones with 3.5mm jack
- Raspberry Pi OS (Bullseye or newer)
- Python 3.9 or later (included with OS)
- NumPy library for waveform mathematics
- PyAudio library for audio output
- Optional: USB audio interface or DAC for cleaner sound
- Optional: MIDI controller for performance control
The Pi’s built-in 3.5mm audio jack produces noticeable background hiss and limited dynamic range. For serious sound work, consider a USB audio interface like the Behringer UCA202 or a HAT-style DAC such as the HiFiBerry DAC+ for cleaner output. These aren’t strictly necessary for learning oscillator synthesis, but they eliminate the annoyance of crackling and noise.
On the software side, you’ll install Raspberry Pi OS along with Python libraries that handle the math and audio streaming. The entire software stack installs through the command line in about ten minutes. Some users prefer SuperCollider for more advanced synthesis, but Python with NumPy and PyAudio strikes the best balance between power and accessibility for beginners tackling their first algorithmic soundscape project.
Important Considerations Before You Begin
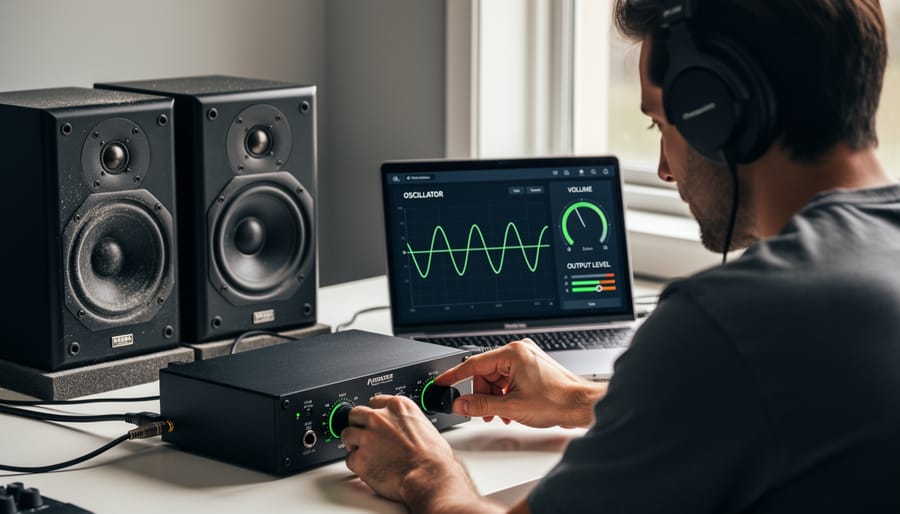
Before you start generating oscillator sounds, you need to address several safety and configuration concerns that can impact both your hardware and your hearing. Audio synthesis projects carry unique risks that aren’t present in typical Raspberry Pi applications.
Beyond volume control, audio peripherals draw more power than you might expect. If you’re using a USB DAC or powered speakers connected directly to your Pi, ensure you have an official power supply rated for at least 3A (5V). Underpowered setups cause audio glitches, random reboots, and can corrupt your SD card during unexpected shutdowns.
Latency is another consideration for real-time sound generation. The Raspberry Pi 4 and Pi 5 handle audio synthesis far better than older models, but you’ll still encounter delays between code execution and sound output. This won’t matter for pre-rendered soundscapes, but it affects interactive projects.
Before you modify audio settings or install new libraries, back up your current Raspberry Pi configuration. A simple SD card image or copying your project directories to external storage takes minutes and saves hours if something breaks. Audio configuration changes sometimes conflict with other applications, particularly if you’re already using your Pi for video playback or other multimedia tasks.
Set up your workspace with easy access to volume controls and keep your initial testing sessions short. Your ears need time to adjust, and fatigue sets in faster than you realize when working with synthetic tones.
Setting Up Your Raspberry Pi Audio Environment
Configuring Audio Output Settings
Raspberry Pi offers multiple audio output options, each with distinct characteristics for sound synthesis work. The 3.5mm headphone jack provides convenient output but delivers lower audio quality with noticeable background noise. HDMI offers cleaner digital audio when connected to monitors or receivers with speakers. USB DACs provide the best quality for serious audio projects, with minimal noise and superior dynamic range.
To select your preferred output device, open a terminal and run `sudo raspi-config`. Navigate to System Options, then Audio, and choose your device. For the 3.5mm jack, select “Headphones.” For HDMI, choose the appropriate HDMI output option.
Verify your selection by running `aplay -l` to list available playback devices. Note the card number and device number for your chosen output, you’ll reference these in your Python code.
For enhanced performance with PulseAudio, adjust the buffer settings to reduce latency. Edit `/etc/pulse/daemon.conf` and uncomment these lines:
“`
default-fragments = 2
default-fragment-size-msec = 5
“`
Restart PulseAudio with `pulseaudio –kill` followed by `pulseaudio –start`. These settings significantly reduce audio delay during real-time synthesis, though very low values may cause audio dropouts on older Pi models.
Installing Python Audio Libraries
Start by opening a terminal on your Raspberry Pi and updating your package list with `sudo apt update`. You’ll need to install PortAudio development files first, as PyAudio depends on them, run `sudo apt install portaudio19-dev python3-dev` to avoid build errors. Once that completes, install the required libraries using `pip3 install numpy scipy pyaudio`. NumPy and SciPy typically install without issues, but PyAudio can be problematic on some systems.
If you encounter compilation errors during PyAudio install via pip the quickest solution is often using the system package instead: `sudo apt install python3-pyaudio`. This pre-compiled version works reliably on Raspberry Pi OS, though it may be a slightly older release. Verify your installation by running `python3 -c “import pyaudio, numpy, scipy; print(‘Success’)”` in the terminal. If it prints “Success” without errors, you’re ready to generate oscillator sounds. Should you see import errors, double-check that you’re using Python 3 rather than Python 2, and confirm PortAudio installed correctly with `dpkg -l | grep portaudio`.
Creating Your First Oscillator Sound
Now you’ll create your first oscillator sound by writing a Python script that generates and plays a clean sine wave. This hands-on exercise forms the foundation for everything you’ll build later, so take your time understanding each component.
Start by opening a new Python file in your preferred editor. Name it `sine_oscillator.py`. At the top, import the libraries you installed earlier:
“`python
import numpy as np
import pyaudio
“`
These two libraries handle all the heavy lifting. NumPy generates the waveform mathematically, while PyAudio streams it to your speakers.
Next, define your oscillator parameters. Set your sample rate to 44100 Hz, which is CD-quality audio and what most sound cards expect:
“`python
SAMPLE_RATE = 44100
FREQUENCY = 440 # A4 note
DURATION = 3 # seconds
“`
The frequency is 440 Hz, the musical note A4 that orchestras use for tuning. The duration determines how long the sound plays. These values are all adjustable once you understand the basics.
Now generate the actual waveform using NumPy. This line creates an array of time values spanning your duration:
“`python
t = np.linspace(0, DURATION, int(SAMPLE_RATE * DURATION), False)
“`
The `linspace` function creates evenly-spaced values from 0 to 3 seconds, with exactly 132,300 samples (44,100 samples per second times 3 seconds). The `False` parameter excludes the endpoint to avoid a clicking artifact when the wave loops.
Calculate the sine wave itself with this formula:
“`python
wave = np.sin(2 * np.pi * FREQUENCY * t)
“`
This applies the mathematical definition of a sine wave. The `2 * np.pi * FREQUENCY` part converts your frequency into angular frequency (radians per second), and multiplying by `t` gives you the phase at each moment in time.
The wave values range from -1.0 to 1.0, which is the standard normalized audio format. Convert this to 16-bit integers that PyAudio expects:
“`python
audio = (wave * 32767).astype(16)
“`
Multiplying by 32767 (the maximum value for signed 16-bit integers) scales your wave to full volume.
Finally, set up PyAudio and play your sound:
“`python
p = pyaudio.PyAudio()
stream = p.open(format=pyaudio.paInt16,
channels=1,
rate=SAMPLE_RATE,
output=True)
stream.write(audio.tobytes())
stream.stop_stream()
stream.close()
p.terminate()
“`
This code opens an audio stream matching your sample rate and format, writes your waveform data to it, then cleanly closes everything when finished.
Run the script with `python3 sine_oscillator.py`. You should hear a pure, steady tone for three seconds. If the sound crackles or stutters, your Pi might be struggling with real-time processing. Try reducing the duration or sample rate.
Experiment by changing the frequency value. Try 220 Hz for a lower octave, or 880 Hz for a higher one. Notice how the pitch changes but the tone quality stays identical, that’s the characteristic sound of a sine wave, the purest oscillator type.
Generating Different Waveform Types
With the sine wave oscillator working, you can expand your toolkit to include square, sawtooth, and triangle waves, each offering distinct tonal characteristics for your algorithmic compositions. Square waves produce hollow, clarinet-like tones rich in odd harmonics. Sawtooth waves deliver bright, buzzy sounds packed with both even and odd harmonics, making them ideal for brass-like timbres. Triangle waves sit somewhere between sine and square waves, offering a softer harmonic content.
NumPy provides straightforward methods to generate each waveform type. For a square wave, use `numpy.sign()` applied to your sine wave, this creates an output that alternates between -1 and 1. Here’s how it looks in code:
“`python
import numpy as np
square_wave = np.sign(np.sin(2 * np.pi * frequency * time_array))
“`
Sawtooth waves require the `scipy.signal` module. Import `sawtooth` from `scipy.signal` and pass your phase array:
“`python
from scipy.signal import sawtooth
sawtooth_wave = sawtooth(2 * np.pi * frequency * time_array)
“`
Triangle waves use the same `sawtooth` function with an additional width parameter set to 0.5, which creates the symmetrical rise and fall:
“`python
triangle_wave = sawtooth(2 * np.pi * frequency * time_array, width=0.5)
“`
To make your code flexible, create a waveform selector function that returns the appropriate array based on a string parameter. This approach simplifies switching between wave types during algorithmic composition:
“`python
def generate_waveform(wave_type, frequency, duration, sample_rate):
time_array = np.linspace(0, duration, int(sample_rate * duration))
if wave_type == ‘sine’:
return np.sin(2 * np.pi * frequency * time_array)
elif wave_type == ‘square’:
return np.sign(np.sin(2 * np.pi * frequency * time_array))
elif wave_type == ‘sawtooth’:
return sawtooth(2 * np.pi * frequency * time_array)
elif wave_type == ‘triangle’:
return sawtooth(2 * np.pi * frequency * time_array, width=0.5)
“`
You can now call `generate_waveform(‘square’, 440, 2, 44100)` to create any waveform on demand. Experiment with rapidly switching waveforms or blending them together to create complex textures, the same approach that turns visual displays into a living canvas of light but applied to sound. This modular structure becomes essential when building layered algorithmic soundscapes in the next section.
Building an Algorithmic Soundscape
Now that you can generate individual waveforms, it’s time to layer them into evolving compositions that change over time without repeating predictably. Algorithmic soundscapes use code to control multiple oscillators simultaneously, creating textures that shift in response to randomness, mathematical functions, or scheduled events.
Start by creating a mixer class that manages several oscillators at once. Initialize three or four oscillators with different base frequencies, perhaps 220 Hz, 330 Hz, 440 Hz, and 550 Hz, and different waveform types. Combine their output by summing the arrays and dividing by the number of oscillators to prevent clipping. This basic polyphony already produces richer sounds than a single tone.
Frequency modulation adds movement by having one oscillator control another’s pitch. Create a low-frequency oscillator (LFO) running at 0.5 to 5 Hz that outputs values you add to your carrier oscillator’s frequency. A sine wave LFO creates smooth, wavering pitch changes, while a triangle wave produces more linear sweeps. Adjust the modulation depth, how much the frequency varies, by multiplying the LFO output before adding it to the carrier.
Amplitude modulation shapes volume over time. Use another LFO to multiply your oscillator’s output, creating tremolo effects or rhythmic pulsing. Set the LFO to different frequencies for each oscillator in your mix, so some fade in while others fade out, generating an organic ebb and flow.
Random pitch variation introduces unpredictability. Every few seconds, use Python’s random module to select new frequencies from a predefined scale or range. You could pick from a pentatonic scale to ensure musical results, or use completely random values for more abstract textures. Implement smooth transitions by gradually shifting from the current frequency to the new target over several hundred milliseconds rather than jumping instantly.
Schedule events using time-based triggers. Track elapsed time in your audio generation loop and trigger changes at specific intervals, switch a waveform type at 10 seconds, introduce a new oscillator at 20 seconds, or shift all frequencies up an octave at 30 seconds. Store these events in a list with timestamps and check against them during each buffer fill.
This approach works well for fixed installations like a kinetic sculpture with synchronized audio, or as a foundation for a more complex music synthesizer project. Save interesting parameter combinations and timing sequences as presets you can reload, building a library of generative patches over time.
Verifying Your Setup and Testing Output
Once you’ve implemented your oscillators, verify they’re working correctly before diving into complex soundscapes. Start by listening critically with headphones at a moderate volume, a clean 440Hz sine wave should sound smooth and stable, without buzzing, crackling, or unexpected volume fluctuations.
For precise verification, run these essential checks:
- Compare generated frequency against a tuner app or online frequency counter, 440Hz should register as concert A
- Visualize waveforms using matplotlib to plot the first few cycles and confirm shape matches the intended type
- Test each waveform (sine, square, sawtooth, triangle) at multiple frequencies between 100Hz and 2000Hz
- Monitor CPU usage with htop while oscillators run, sustained spikes above 80% may cause audio glitches
- Check for clipping by examining the generated array values stay within -1.0 to 1.0 range
If you hear clicking or popping sounds, your buffer size is likely too small, increase the frames_per_buffer parameter in PyAudio to 1024 or 2048. Distortion usually means amplitude values exceed the valid range, so verify your waveform generation normalizes properly. Noticeable latency between triggering a sound and hearing it often stems from audio driver configuration; switching from PulseAudio to direct ALSA output can reduce this significantly.
For visual confirmation beyond matplotlib, install Audacity to record your Raspberry Pi’s output and analyze the spectrum view. This reveals harmonic content that distinguishes a pure sine wave from a square wave’s odd harmonics.
With verification complete, you’re ready to expand into algorithmic composition. Consider controlling oscillator parameters with real-time data to art pipelines, integrate sensor inputs for interactive installations, or explore FM synthesis by modulating one oscillator’s frequency with another. The foundation you’ve built supports endless creative directions.
Frequently Asked Questions
Which Raspberry Pi model works best for audio synthesis?
The Raspberry Pi 4 with 4GB or 8GB RAM offers the best performance for real-time oscillator generation, providing enough processing power for multiple simultaneous oscillators and effects. The Pi 3B+ can handle simpler projects with two or three oscillators, while the Pi Zero isn’t recommended for real-time synthesis due to limited CPU resources.
Do I need an external sound card for good audio quality?
The built-in 3.5mm audio jack produces acceptable results for experimentation and learning, but it has noticeable background noise and limited dynamic range. A USB DAC like the Behringer UCA202 or HiFiBerry DAC HAT dramatically improves audio clarity and reduces latency, making them worthwhile for serious synthesis work or installations.
How can I reduce audio latency in my oscillator code?
Lower the buffer size in PyAudio (try 512 or 256 frames instead of the default 1024) and increase your sample rate to 48000 Hz if your audio interface supports it. Pre-generate waveform lookup tables instead of calculating values in real-time, and consider using the ALSA API directly instead of PulseAudio for minimal overhead.
Can I save my generated soundscapes as WAV or MP3 files?
Yes, use Python’s wave library to write your NumPy arrays directly to WAV files instead of sending them to PyAudio for playback. For MP3 conversion, install FFmpeg on your Pi and use Python’s subprocess module to call it after generating the WAV, or use the pydub library which wraps FFmpeg functionality.
Beyond these core concerns, many users wonder about integrating MIDI controllers to adjust oscillator parameters in real-time. The python-rtmidi library lets you receive MIDI messages on Raspberry Pi and map them to frequency, amplitude, or waveform selection variables in your code. This creates an expressive performance instrument from your algorithmic generator.
If you’re working with established music production software, SuperCollider runs natively on Raspberry Pi and provides powerful oscillator objects with built-in envelopes and filters. You can also route your Python-generated audio into a digital audio workstation running on another computer using JACK audio connection kit, though this adds configuration complexity. For standalone operation, saving your soundscapes as audio files and importing them into any DAW gives you the most flexibility for further processing and arrangement.