

Transform physical spaces into immersive digital experiences by combining Raspberry Pi basics with motion sensors, LED arrays, and interactive elements. Interactive installation art merges traditional artistic expression with cutting-edge technology, creating environments that respond to and evolve with audience participation. Modern makers are revolutionizing public spaces, galleries, and educational environments by implementing accessible microcontrollers, real-time data visualization, and responsive audio-visual systems.
Master the fundamentals of interactive art by starting with simple sensor-triggered displays, then progress to complex, multi-layered installations incorporating machine learning and real-time audience feedback. Whether crafting an LED wall that mirrors visitor movements or developing a sound installation that composes music based on crowd patterns, these dynamic creations redefine the boundaries between artist, artwork, and audience.
The democratization of technology through affordable computing platforms has opened new possibilities for artists and creators. By combining traditional artistic principles with modern technology, anyone with creative vision can now build compelling interactive experiences that engage, educate, and inspire.
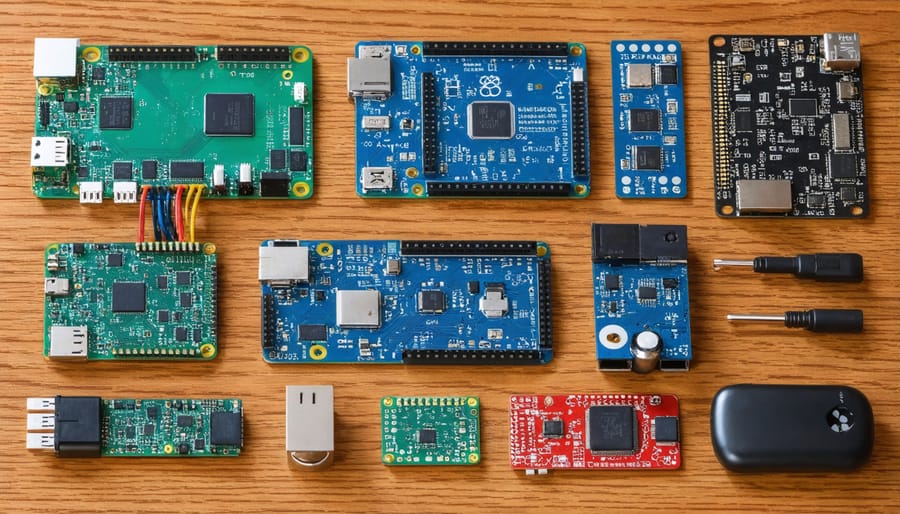
Essential Hardware Components
Choosing the Right Raspberry Pi Model
When creating interactive art installations, selecting the right Raspberry Pi model is crucial for your project’s success. The Pi 4 Model B offers the most powerful performance, with up to 8GB RAM and robust processing capabilities, making it ideal for complex installations involving multiple sensors or high-resolution displays. However, if your installation is more straightforward or budget-conscious, the Pi 3 Model B+ remains a capable choice, offering decent performance for most interactive projects.
For compact installations where space is limited, consider the Pi Zero W. Its small form factor and built-in wireless connectivity make it perfect for hidden or embedded applications. The Pi Zero 2 W offers enhanced processing power while maintaining the same tiny footprint, ideal for installations requiring more computational strength in tight spaces.
When choosing your model, consider these key factors: power requirements, physical space constraints, connectivity needs, and processing demands. For installations running multiple video feeds or complex real-time interactions, opt for the Pi 4. For simpler projects like motion sensors or LED controls, the Pi Zero series might be more cost-effective while still delivering excellent results.
Sensors and Input Devices
Interactive installations rely heavily on various sensors and input devices to create engaging, responsive experiences. The most commonly used sensors include PIR motion detectors, ultrasonic distance sensors, and infrared proximity sensors, which can detect movement and presence in the installation space. Digital cameras, particularly when combined with computer vision libraries, enable sophisticated tracking of gestures, faces, and body movements.
When working with sensors in Python, creators can easily integrate these devices with their Raspberry Pi projects. Popular choices include the HC-SR04 ultrasonic sensor for precise distance measurements and the MPU-6050 accelerometer/gyroscope for detecting orientation and movement. Capacitive touch sensors allow for direct physical interaction, while ambient light sensors can respond to environmental changes.
Microsoft Kinect and Intel RealSense cameras offer depth-sensing capabilities, enabling installations to track multiple participants in three-dimensional space. Sound sensors and microphones can capture audio input, allowing installations to respond to voice commands or ambient noise levels. For more subtle interactions, pressure sensors and load cells can detect weight distribution and footsteps.
Temperature, humidity, and air quality sensors can create environmentally responsive installations, while RFID readers and NFC sensors enable installations to interact with tagged objects or smart devices. The key to successful sensor integration lies in choosing the right combination of input devices that align with your artistic vision while maintaining reliable performance.
Software Requirements and Setup
Processing and OpenCV
Processing and OpenCV are two powerful tools that form the backbone of many interactive installations. Processing, a flexible software sketchbook, excels at creating visual elements and handling user interactions, while computer vision with OpenCV enables real-time image analysis and motion tracking.
To get started, install Processing on your Raspberry Pi by downloading it from processing.org. The software comes with a user-friendly IDE and extensive libraries for creative coding. For OpenCV integration, install the OpenCV library through Processing’s contribution manager or via apt-get if you’re working directly with Python.
Key features to explore include:
– Frame differencing for motion detection
– Blob tracking for interactive elements
– Color detection and filtering
– Face and body recognition
– Real-time video effects
Processing’s intuitive syntax makes it ideal for prototyping ideas quickly, while OpenCV handles the heavy lifting of image processing. Together, they enable countless possibilities, from simple motion-triggered displays to complex gesture-controlled installations.
Remember to optimize your code for the Raspberry Pi’s resources by keeping frame rates reasonable and using appropriate resolution settings. Start with basic examples and gradually build up to more complex interactions as you become familiar with both tools.
Python Libraries for Interactivity
Python offers several powerful libraries that make creating interactive installations straightforward and engaging. The pygame library stands out as a versatile choice for handling user input and creating visual displays. It provides simple methods for detecting keyboard presses, mouse movements, and touch inputs, making it ideal for interactive art projects.
For motion detection and computer vision capabilities, OpenCV (cv2) is essential. This library enables you to capture and process video feeds, track movement, and recognize gestures – perfect for installations that respond to viewer movements. When combined with NumPy, you can efficiently process image data and perform complex calculations in real-time.
The GPIO Zero library is particularly valuable for Raspberry Pi-based installations, offering an intuitive interface for working with sensors and output devices. It simplifies the process of reading input from distance sensors, light sensors, and buttons while controlling LEDs, motors, and other interactive elements.
For sound-reactive installations, PyAudio provides the tools needed to capture and analyze audio input. Paired with the NumPy library, you can perform real-time audio analysis to create visualizations that respond to music or ambient sounds.
Processing-py offers a creative coding environment similar to Processing but with Python’s syntax, making it excellent for generative art and visual experiments. For more complex installations requiring machine learning capabilities, TensorFlow and scikit-learn enable sophisticated interaction patterns based on user behavior and environmental data.
Creating Your First Interactive Installation
Setting Up the Display System
The display system serves as the window to your interactive installation, making its proper setup crucial for achieving the desired impact. For most installations, you’ll need to choose between LCD screens, LED panels, or projectors based on your space and artistic vision.
When using projectors, position them to minimize shadows from participants and ensure optimal viewing angles. Short-throw projectors work well in tight spaces, while standard projectors need more distance but offer larger display areas. Consider ambient light conditions – brighter projectors (3000+ lumens) are essential for well-lit spaces.
For multi-display setups, configure your Raspberry Pi’s config.txt file to manage resolution and orientation. You can arrange displays in extended or mirrored configurations using the following commands in Terminal:
xrandr –output HDMI-1 –right-of HDMI-2
xrandr –output HDMI-1 –rotate normal
Cable management is vital for both aesthetics and safety. Use cable ties and conduits to keep wires organized and hidden from view. For ceiling-mounted projectors, ensure secure mounting and proper ventilation to prevent overheating.
Test your display system thoroughly before the installation goes live. Check for dead pixels, color accuracy, and proper synchronization between multiple displays. Create test patterns to verify alignment and calibration, especially for projection mapping projects.
Programming Interactive Elements
Programming interactive elements requires a thoughtful combination of sensor inputs and creative outputs. Start by selecting a programming environment that suits your skill level – Python is particularly popular for Raspberry Pi-based installations due to its readable syntax and extensive libraries.
Begin with basic sensor input handling using libraries like GPIO Zero for physical inputs or OpenCV for camera-based interactions. Create event listeners that trigger responses when specific conditions are met, such as when a viewer approaches or makes a gesture. Structure your code using event-driven programming to ensure smooth, responsive interactions.
For visual outputs, consider libraries like Pygame for 2D graphics or Processing for more complex visualizations. Audio responses can be managed through libraries like PyDub or pygame.mixer. Remember to implement proper error handling and graceful degradation to maintain installation reliability.
Here’s a basic interaction pattern:
1. Initialize sensors and output devices
2. Create an infinite loop to continuously check for input
3. Process incoming data through filters or algorithms
4. Map processed data to meaningful output parameters
5. Generate appropriate responses
6. Update display or audio elements
Consider implementing a state machine to manage different interaction modes and ensure your installation can handle multiple simultaneous users. Test your code thoroughly under various conditions and implement proper cleanup procedures to prevent resource leaks.
Testing and Refinement
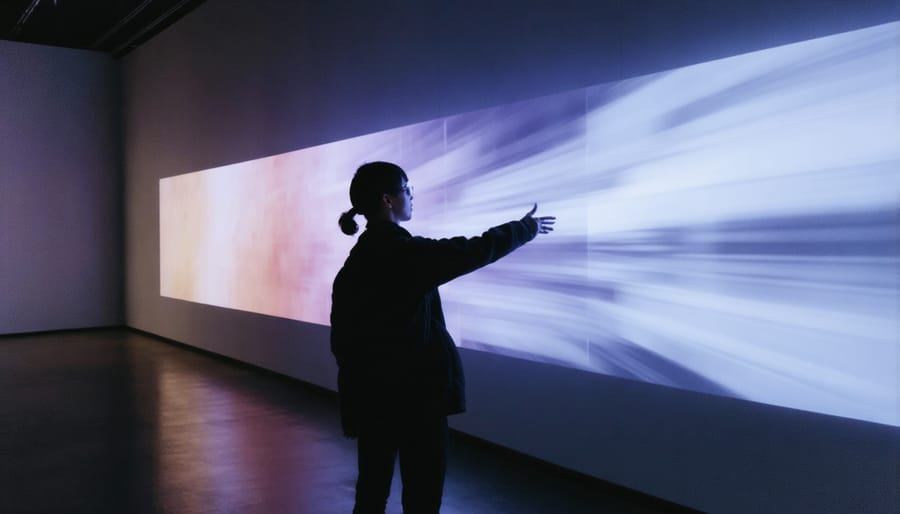
Testing an interactive installation requires a systematic approach to ensure both technical reliability and user engagement. Start by conducting basic functionality tests, checking that all sensors, actuators, and interactive elements respond correctly to input. Use a small group of test participants who aren’t familiar with your project to observe their natural interactions and gather feedback.
Create a testing checklist that includes technical aspects like power stability, sensor calibration, and software performance under various conditions. Pay special attention to edge cases – what happens when multiple users interact simultaneously, or when someone uses the installation in unexpected ways?
Document user behavior patterns and emotional responses during testing. Are people engaging with the installation as intended? Do they understand how to interact with it? Look for signs of confusion or hesitation, which might indicate areas needing refinement.
Environmental factors play a crucial role. Test your installation under different lighting conditions, ambient noise levels, and space configurations. For installations using projection or sound, ensure optimal positioning and calibration for the specific venue.
Iterative refinement is key. Make incremental improvements based on testing feedback, focusing on both technical performance and user experience. Consider implementing data logging to track interaction patterns and system performance over time, helping you identify potential issues before they become problems.
Remember to test fail-safes and recovery procedures. Your installation should gracefully handle unexpected situations like power interruptions or system crashes, automatically recovering without requiring manual intervention.
Advanced Techniques and Tips
Multi-Pi Installations
Networking multiple Raspberry Pis opens up exciting possibilities for creating large-scale interactive installations. By connecting several Pis through a local network, artists can synchronize displays, share sensor data, and coordinate complex interactions across multiple physical spaces.
Setting up a Multi-Pi installation typically involves designating one Pi as the master controller, with others serving as nodes. The master Pi orchestrates the overall experience, while node Pis handle local interactions and feed data back to the central system. This distributed approach allows for more sophisticated installations that can span entire rooms or buildings.
Common networking methods include using ethernet connections for reliability or WiFi for flexibility. Communication between Pis can be managed through protocols like MQTT or WebSocket, enabling real-time data exchange and synchronized responses to visitor interactions.
For optimal performance, each Pi should be configured with a static IP address and run identical software versions. Artists often use Python scripts with libraries like Socket.IO or ZeroMQ to handle inter-Pi communication. This setup enables seamless coordination of lighting effects, sound playback, and motion sensors across the installation space.
To ensure reliability, implement watchdog systems and automatic recovery procedures to handle potential network disruptions or hardware issues.
Performance Optimization
To maintain optimal performance in your interactive installation, implement regular system monitoring and resource management. Start by setting up temperature monitoring for your Raspberry Pi, especially in enclosed spaces where heat buildup can occur. Use built-in commands like vcgencmd measure_temp or install monitoring tools like htop to keep track of CPU usage and memory consumption.
Optimize your code by implementing efficient algorithms and avoiding unnecessary loops or calculations. If your installation uses image processing or computer vision, consider downscaling images before processing and using hardware acceleration when available. For installations running multiple processes, prioritize tasks appropriately and use background processing for non-critical operations.
Managing memory is crucial for long-term stability. Clear cached data periodically, and implement automatic cleanup routines for temporary files. If your installation uses databases or logs, set up regular maintenance schedules to prevent storage bottlenecks.
For installations running 24/7, implement automatic restart scripts for critical processes and schedule system reboots during off-hours. Use watchdog timers to detect and recover from system freezes automatically. Consider implementing power management features to reduce energy consumption during idle periods while maintaining responsiveness.
Monitor network usage if your installation relies on internet connectivity, and implement local caching where possible to reduce bandwidth requirements and improve response times.
Interactive installation art represents an exciting fusion of technology and creativity, offering endless possibilities for makers and artists alike. By combining Raspberry Pi’s versatility with sensors, displays, and innovative programming, you can create immersive experiences that engage audiences in meaningful ways. Whether you’re a beginner starting with simple motion-triggered displays or an advanced maker developing complex multi-room installations, the key is to experiment and iterate on your ideas. Remember that successful interactive art isn’t just about technical implementation – it’s about creating meaningful connections between viewers and your artistic vision. Start small, test thoroughly, and don’t be afraid to push boundaries. The growing maker community and abundance of open-source resources make this an ideal time to dive into interactive installation art. Your next project could be the one that transforms how people experience and interact with art in their daily lives.