

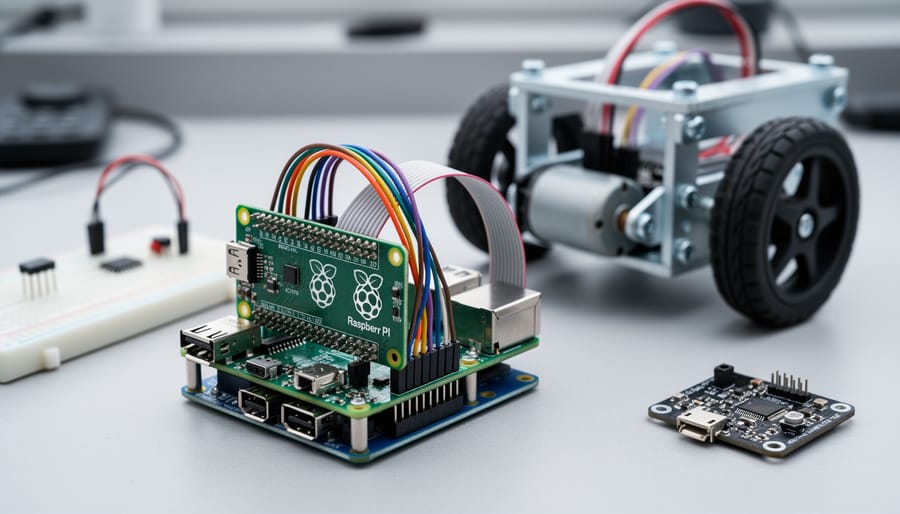
C programming for robotics combines a high-performance compiled language with direct hardware control, making it the optimal choice for real-time motor control, sensor processing, and low-level system integration on platforms like the Raspberry Pi. While Python dominates beginner tutorials for its simplicity, C delivers the speed and precision needed when milliseconds matter in autonomous navigation, servo control loops, and multi-sensor fusion.
Understanding why C matters for robotics requires looking beyond ease of coding. Robotics projects demand predictable timing for tasks like PWM signal generation, interrupt handling for encoder feedback, and efficient memory management when juggling multiple sensor streams. C gives you direct access to GPIO registers, DMA controllers, and hardware timers without the overhead of an interpreter sitting between your code and the motors.
This matters particularly when you’re building anything beyond a basic line-following robot. Want to implement a PID control loop that samples an IMU at 1000Hz? Need to coordinate six servos while processing ultrasonic readings and maintaining Bluetooth communication? C’s deterministic execution and minimal runtime overhead make these scenarios practical on the Raspberry Pi’s ARM processor.
This guide breaks down what makes C effective for robotics control systems, explains how C interfaces with hardware peripherals at the register level, walks through the essential components of a robotics C program from GPIO setup to interrupt handlers, and provides a complete tutorial for building a sensor-driven motor controller. You’ll see exactly where C outperforms higher-level alternatives and when Python might still be the better tool for your specific project needs.
What C Programming for Robotics Means
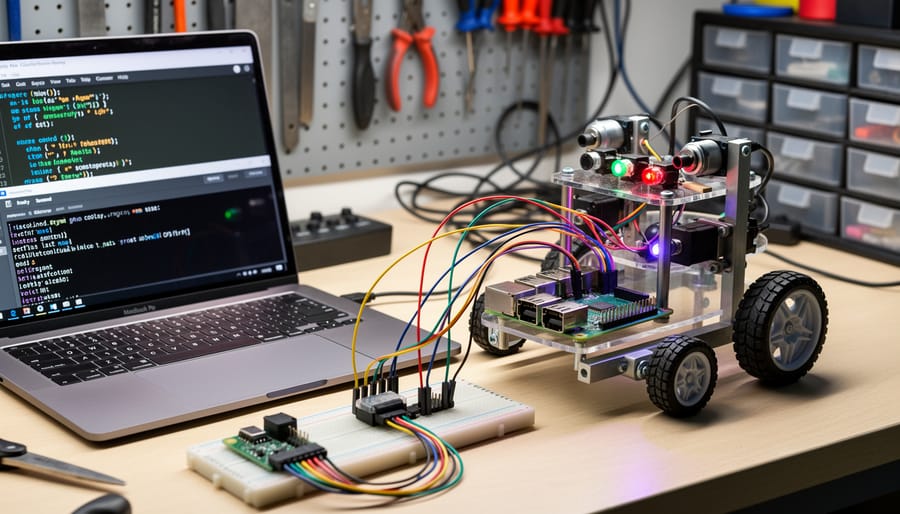
C programming for robotics refers to writing software in the C language to control physical robotic systems, combining direct hardware manipulation with structured logic to make robots sense their environment and act on it. When you use C on a Raspberry Pi, you’re essentially writing instructions that get compiled into machine code, giving you precise control over motors, sensors, and timing without the overhead of interpreted languages.
What makes C particularly valuable for robotics is its position between hardware and higher-level logic. Unlike scripting languages that abstract away technical details, C lets you write code that’s only a thin layer above the processor’s native instructions. This means you can toggle a GPIO pin, read a sensor, or adjust a motor’s PWM signal with minimal delay, which becomes critical when your robot needs to react in milliseconds rather than seconds.
The language matters because robotics demands both speed and predictability. When a wheeled robot detects an obstacle, the time between sensor reading and motor adjustment determines whether it stops gracefully or crashes. C’s compiled nature and explicit memory control give you that precision in ways that Python or Java typically can’t match on resource-constrained hardware like Raspberry Pi.
- Real-time control
- The ability to guarantee that commands execute within strict time limits, essential for coordinated motor movements and sensor responses.
- Compiled language
- Code that’s translated entirely to machine instructions before running, resulting in faster execution than interpreted languages that translate line-by-line.
- Memory management
- Direct programmer control over how data is stored and released in RAM, preventing unpredictable delays from automatic garbage collection.
- Hardware abstraction layer
- Software that provides a consistent interface to physical components, letting you control different motors or sensors with similar code patterns.
- GPIO (General Purpose Input/Output)
- Programmable pins on the Raspberry Pi that can send electrical signals out or read them in, forming the bridge between your code and physical components.
The relationship between low-level hardware control and high-level robotics logic becomes clearer when you consider a simple line-following robot. At the low level, your C code reads analog values from light sensors through an ADC chip and sets motor speeds by adjusting PWM duty cycles on GPIO pins. At the high level, that same code implements a PID controller or state machine that decides “turn left” or “speed up” based on those sensor readings. C lets you write both layers efficiently in one cohesive program, maintaining tight control over timing while expressing complex decision-making logic clearly.
How C Programming Controls Robotics Systems
The Hardware-Software Interface
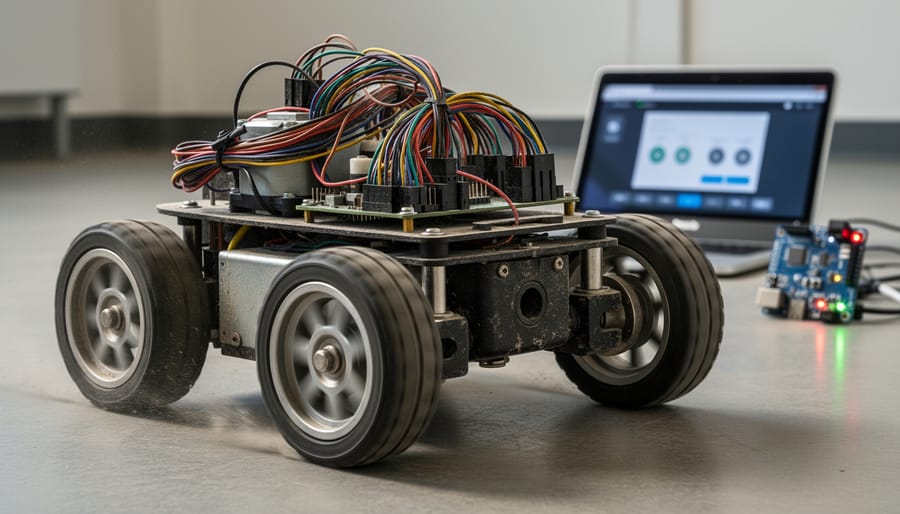
At the lowest level, C code controls robotics hardware by directly manipulating memory-mapped registers that correspond to physical pins and communication buses. When you write to a Raspberry Pi GPIO pin in C, you’re actually writing specific values to memory addresses that the BCM2835/BCM2711 chip interprets as electrical signals. This direct memory access is why C outperforms interpreted languages for timing-sensitive robotics tasks.
The communication flow starts with initialization: your C program maps the GPIO register space into its memory using system calls like mmap(). Once mapped, setting a pin high to activate a motor becomes a simple bitwise operation on a register, executing in nanoseconds. For serial protocols like I2C (sensor communication) and SPI (high-speed data transfer), C code configures clock rates, addresses, and data buffers through similar register manipulation, giving you precise control over every byte transmitted.
The compilation process transforms your human-readable C code into ARM machine instructions that the Raspberry Pi’s processor executes natively. When you run gcc with appropriate flags, it produces a binary that talks directly to the hardware without interpretation layers. At runtime, the program requests elevated permissions to access hardware registers, enters its main control loop, and continuously reads sensor data while writing control signals, all with microsecond-level timing precision that makes advanced control algorithms possible.
Real-Time Control and Timing
C’s direct memory access and minimal runtime overhead make it ideal for time-critical robotics tasks where millisecond precision matters. Unlike interpreted languages, compiled C code executes predictably, allowing you to control servo positions, read encoder signals, and coordinate multiple actuators without timing drift that could destabilize a balancing robot or cause navigation errors.
The language provides hardware-level interrupt handling through functions like `signal()` and direct GPIO register manipulation. When a sensor triggers an interrupt, say, a wheel encoder tick or collision detector, your C program can respond within microseconds, pausing the main loop to execute a specific interrupt service routine (ISR). This matters for tasks like emergency stops or maintaining accurate odometry in autonomous navigation.
For precise timing, C programs on Raspberry Pi use functions like `clock_gettime()` with nanosecond resolution, or leverage hardware PWM timers for consistent motor speed control. You can implement control loops running at exact frequencies (50Hz for servo control, 1kHz for PID motor control) using busy-wait loops, `usleep()` delays, or timer interrupts. While Raspberry Pi OS isn’t truly real-time, careful C programming with process priority settings (`nice`, `schedtool`) delivers timing consistency sufficient for most advanced robotics control systems.
Library Integration and Frameworks
Working with C on Raspberry Pi robotics means choosing the right libraries to bridge the gap between your code and the hardware. While the original WiringPi library is no longer actively maintained, several robust alternatives have emerged for 2026.
The pigpio library stands out for real-time applications requiring precise timing. It uses DMA and PWM hardware directly, making it ideal for servo control and sensor reading where microsecond accuracy matters. Unlike software-based approaches, pigpio offloads timing-critical tasks to the hardware, preventing jitter even when your system is under load.
For developers who want minimal abstraction, the bcm2835 library provides direct register-level access to the Broadcom chip. You write to specific memory addresses that control GPIO, SPI, and I2C interfaces. This gives you maximum performance and complete control, though you’ll need to understand the hardware documentation. It’s the go-to choice when building industrial control systems where every cycle counts.
WiringPi forks like WiringPi2 continue the familiar API for those migrating existing projects. These maintain the original’s straightforward pinMode() and digitalWrite() functions while adding support for newer Raspberry Pi models.
Each library compiles to native machine code, ensuring your robotics control loops run at hardware speed rather than interpreter pace.
Essential Components of a C-Based Robotics System
Development Environment Setup
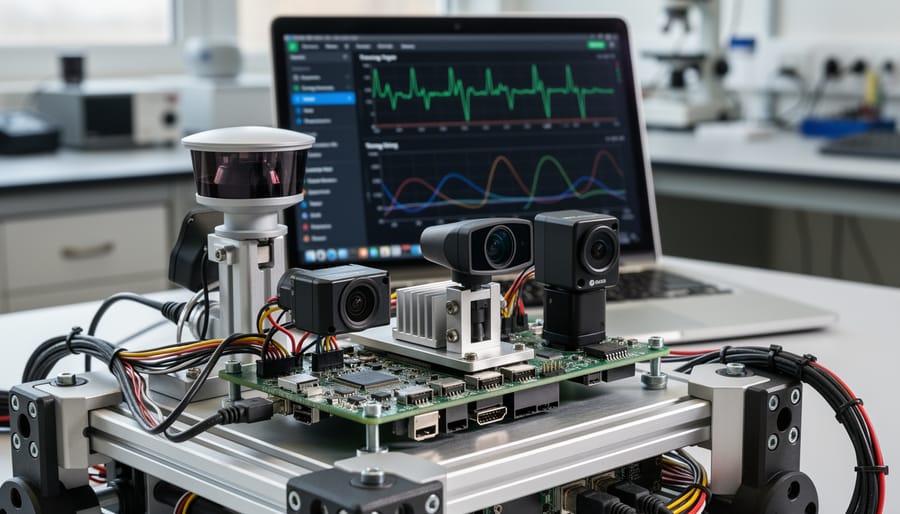
Setting up your development environment for C robotics on Raspberry Pi requires three core components. First, you’ll need the GCC compiler, which comes pre-installed on Raspberry OS. Verify it by running `gcc –version` in the terminal. If missing, install it with `sudo apt install build-essential`, which also provides essential compilation tools and makefiles for managing multi-file projects.
For writing code, choose an IDE that suits your workflow. VS Code offers excellent remote development capabilities, letting you code on your main computer while compiling directly on the Pi through SSH. Install the C/C++ extension for syntax highlighting and IntelliSense. Geany provides a lighter alternative that runs smoothly on the Pi itself, with built-in compilation shortcuts that speed up the edit-compile-test cycle.
Finally, install GDB for debugging: `sudo apt install gdb`. This lets you set breakpoints, inspect variables, and step through code execution when your robot behaves unexpectedly. Compile programs with the `-g` flag to enable debugging symbols, then run `gdb ./your_program` to investigate issues. For GPIO-specific debugging, remember you’ll need root privileges or proper user permissions to access hardware interfaces.
Hardware Components and Interfaces
A typical C-based Raspberry Pi robotics setup integrates several hardware layers that communicate through specific interfaces. Motor drivers form the power bridge between your Pi’s GPIO signals and DC motors or stepper motors. The L298N handles higher current loads (up to 2A per channel) and works well for mid-sized robots, while the DRV8833 offers better efficiency for smaller projects with its lower heat dissipation. You control these through GPIO pins that send PWM signals for speed regulation and digital highs/lows for direction.
Sensors provide environmental awareness and feedback. IMU modules (like the MPU6050) connect via I2C, delivering acceleration and gyroscope data for balance and orientation tracking. Ultrasonic sensors such as the HC-SR04 use GPIO pins for distance measurement through timing echo pulses. Rotary encoders attach to motor shafts and interrupt-driven GPIO reads to count wheel rotations, enabling precise position control.
Communication modules extend your robot’s capabilities. UART-connected GPS receivers, Bluetooth modules like HC-05, and RF transceivers let your C programs exchange data with external systems. Each interface requires specific initialization code and timing considerations, but C’s direct hardware access makes managing these concurrent data streams straightforward once you understand the protocol requirements.
System Architecture Patterns
Well-designed C robotics programs organize code around proven architectural patterns that balance complexity with maintainability. Modular design splits functionality into discrete units, sensor reading, motor control, decision logic, with clear interfaces between modules, making debugging straightforward and code reusable across projects. State machines handle robot behaviors by defining explicit states (idle, navigating, avoiding obstacles) and transition rules, preventing unpredictable behavior in complex scenarios. Control loops form the heartbeat of robotics systems: a main loop repeatedly reads sensors, processes data, calculates responses, and updates actuators at fixed intervals, often 10-100Hz depending on precision requirements. Multithreading lets time-critical tasks like motor PWM generation run independently from slower processes such as vision processing or network communication, though careful mutex management prevents race conditions. Some Raspberry Pi projects extend these patterns to energy management by monitoring power draw across subsystems and adjusting task priorities dynamically. Combining these patterns, modular components within a state machine framework, synchronized by control loops and supported by dedicated threads, creates robust architectures that scale from simple line-followers to advanced autonomous systems.
Practical Applications and Use Cases
Autonomous Navigation Systems
Autonomous navigation systems demonstrate C’s strengths in real-time processing and hardware precision. When a rover navigates terrain or a drone maintains stable flight, C code manages the continuous cycle of reading sensor data, calculating position and orientation, making navigation decisions, and adjusting motor speeds, all within milliseconds.
The tight control loops possible with C allow for sensor fusion algorithms that combine data from IMUs, GPS modules, ultrasonic sensors, and encoders to build an accurate picture of the robot’s state. A typical navigation system might poll sensors at 100Hz while running path planning calculations at 10Hz, with C providing the deterministic timing needed to prevent drift or instability.
For obstacle avoidance, C programs can process ultrasonic distance readings and trigger immediate motor adjustments through interrupt-driven GPIO control, achieving reaction times under 10 milliseconds. This low-latency response is difficult to match with interpreted languages, making C particularly valuable for mobile robots operating in dynamic environments where split-second decisions prevent collisions or maintain balance.
Industrial Automation and Control
C programming on Raspberry Pi has carved out a niche in small-scale industrial automation where cost-effectiveness meets performance requirements. Manufacturing facilities use C-based Raspberry Pi systems for assembly line monitoring, where microsecond-level timing ensures accurate part counting and defect detection through vision systems. The language’s direct hardware access allows precise control of pneumatic actuators and conveyor belt synchronization without the latency issues that plague interpreted languages.
Quality control applications particularly benefit from C’s deterministic execution. Automated inspection stations running C code can trigger cameras, analyze sensor data, and activate sorting mechanisms with consistent timing, critical when processing hundreds of units per hour. A textile manufacturer might deploy Raspberry Pi controllers programmed in C to detect fabric defects through optical sensors, rejecting flawed material within milliseconds.
Industrial robotics pick-and-place systems leverage C for coordinating multiple motors simultaneously. The ability to write interrupt-driven code means a C program can respond to limit switches and emergency stops instantly while maintaining precise positioning control. These systems typically run 24/7, where C’s memory efficiency and stability prevent the gradual performance degradation seen with higher-level languages. For operations requiring certified reliability on a budget, C-programmed Raspberry Pi units serve as programmable logic controller alternatives in non-critical automation tasks.
Educational and Research Platforms
Educational institutions and independent researchers have embraced C programming on Raspberry Pi as a cost-effective platform for teaching core robotics concepts and testing novel control algorithms. Universities use it to demonstrate fundamental principles, students write C code to implement PID controllers, sensor-based control loops, and state estimation algorithms, gaining hands-on experience with the compilation-to-execution workflow that professional robotics systems use. The platform’s affordability allows labs to deploy dozens of identical setups for concurrent experiments.
Research teams prototype advanced control systems in C before migrating code to dedicated embedded platforms, leveraging the Raspberry Pi’s accessible GPIO while maintaining production-like code structure. Hobbyist groups have created open-source educational frameworks, step-by-step C projects that progress from basic motor control to multi-sensor fusion and autonomous navigation. This ecosystem makes robotics education accessible: a student can implement the same algorithms used in industrial systems, understanding both the theory and the practical performance trade-offs that C programming demands.
Building Your First C Robotics Project on Raspberry Pi
Required Hardware and Tools
You’ll need a Raspberry Pi 3B+ or 4 (both offer reliable power and I/O for motor control), an L298N dual H-bridge motor driver board, two 6V DC hobby motors with wheels, a 7.4V LiPo battery or 9V power adapter (2A minimum), and male-to-female jumper wires. A breadboard helps with prototyping connections. You’ll also want a micro-SD card (16GB+) with Raspberry Pi OS Lite installed, and access to a monitor and keyboard for initial setup. Total cost runs around $60-80 if you’re starting from scratch, less if you already own a Pi. Choose motors rated below 12V and under 1A each to stay within the L298N’s limits.
Code Walkthrough
“`c
#include
#include
#define MOTOR_PIN1 17
#define MOTOR_PIN2 27
int main(void) {
// Initialize wiringPi library
if (wiringPiSetupGpio() == -1) {
printf(“GPIO initialization failed\n”);
return 1;
}
// Configure pins as outputs
pinMode(MOTOR_PIN1, OUTPUT);
pinMode(MOTOR_PIN2, OUTPUT);
// Main control loop: run motor forward for 3 seconds
digitalWrite(MOTOR_PIN1, HIGH);
digitalWrite(MOTOR_PIN2, LOW);
delay(3000);
// Reverse direction for 3 seconds
digitalWrite(MOTOR_PIN1, LOW);
digitalWrite(MOTOR_PIN2, HIGH);
delay(3000);
// Cleanup: stop motor before exit
digitalWrite(MOTOR_PIN1, LOW);
digitalWrite(MOTOR_PIN2, LOW);
return 0;
}
“`
This program follows a standard pattern. The initialization block sets up GPIO access and configures pins as outputs, checking for errors. The main loop sends HIGH and LOW signals to control motor direction through an H-bridge driver. Each `digitalWrite()` call changes the voltage on specific GPIO pins, making the motor spin clockwise or counterclockwise. The `delay()` function pauses execution in milliseconds. Cleanup is critical: setting both pins LOW stops current flow before the program exits, preventing overheating and battery drain. This structure scales to complex projects by adding sensors, PWM speed control, or conditional logic within the main loop.
Compilation and Deployment
To compile your motor control program on Raspberry Pi, first ensure GCC is installed by running `sudo apt-get install build-essential`. Save your code as `motor_control.c`, then compile it with `gcc -o motor_control motor_control.c -lwiringPi` (or `-lpigpio` if using that library). The `-l` flag links the necessary robotics library you’re using.
If your code includes multiple files, create a simple makefile to manage compilation efficiently. For a basic project, this is overkill, but it scales well as your robotics system grows.
Before running the compiled program, set executable permissions with `chmod +x motor_control`. Execute it using `sudo ./motor_control`, the `sudo` prefix is crucial because GPIO access requires root privileges on Raspberry Pi.
Common compilation errors typically stem from missing libraries. Install pigpio with `sudo apt-get install pigpio`, or if using bcm2835, download and compile it from the official source. Always verify library paths match your include statements.
For automatic startup on boot, add your program to `/etc/rc.local` or create a systemd service file, ensuring the full path to your executable is specified.
C vs. Python for Raspberry Pi Robotics
When you’re choosing a programming language for your Raspberry Pi robotics project, the decision between C and Python often comes down to what matters most: raw performance or rapid development.
Python shines in prototyping speed and ease of learning. You can write sensor-reading code in ten lines that might take fifty in C. Libraries like RPi.GPIO and gpiozero make hardware control nearly effortless, and the interpreted nature means you can test changes immediately without recompiling. For computer vision projects using OpenCV or machine learning models with TensorFlow, Python’s ecosystem is unmatched. If you’re building a robot that processes camera feeds, makes decisions based on neural networks, or needs frequent code adjustments during development, Python’s flexibility is hard to beat.
C takes the lead when microseconds matter. Motor control systems requiring precise pulse-width modulation, real-time sensor fusion for balancing robots, or coordination of multiple actuators at high frequencies demand C’s deterministic timing. A PID control loop running in C will respond to encoder feedback three to five times faster than the same logic in Python. For projects like line-following robots competing in speed contests or drone flight controllers where timing jitter causes instability, C’s compiled efficiency is essential.
Memory footprint also differs significantly. C programs consume 10-20MB of RAM compared to Python’s 50-100MB baseline, which matters on older Raspberry Pi models or when running multiple processes simultaneously.
The sweet spot for many projects is a hybrid approach: write your high-level logic, user interface, and data processing in Python, then drop down to C for time-critical control loops. You can call C functions from Python using ctypes or create custom extensions, combining both languages’ strengths.
Choose Python when development speed, library access, and code maintainability outweigh performance concerns. Choose C when your robot’s success depends on timing precision, minimal latency, or squeezing maximum performance from limited hardware resources.
Common Challenges and Solutions
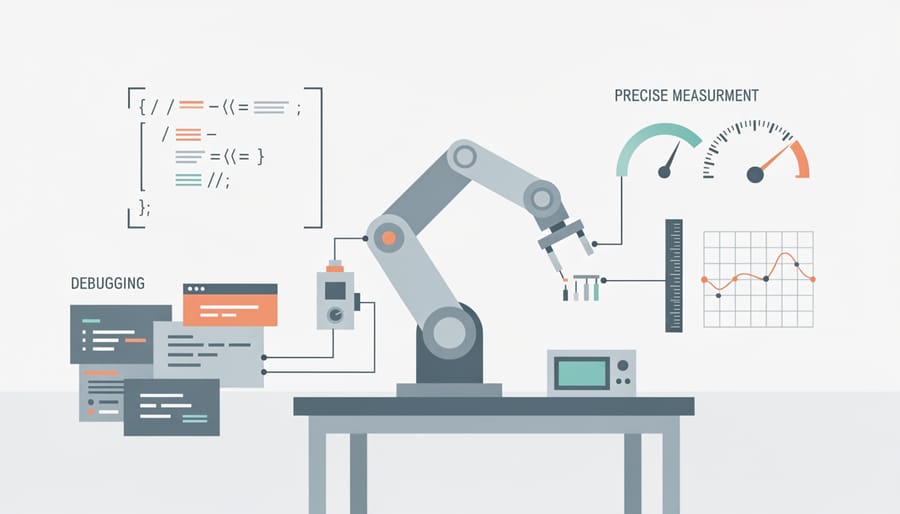
Developing robotics applications with C on Raspberry Pi inevitably brings technical hurdles, but most are well-documented with straightforward fixes.
Permission Errors and GPIO Access
The most frequent issue is “Permission denied” when accessing GPIO pins. This happens because GPIO operations require root privileges by default. Rather than running everything as root (which creates security risks), add your user to the `gpio` group with `sudo usermod -a -G gpio $USER`, then log out and back in. For pigpio library users, ensure the daemon is running: `sudo pigpiod`. This approach maintains security while enabling small SBC control without constant sudo calls.
Common Technical Problems
Developers encounter several recurring challenges:
- Timing inconsistencies caused by Linux’s non-real-time scheduler affecting precise motor control
- GPIO permission errors preventing hardware access
- Memory leaks from improper cleanup of allocated resources
- Hardware compatibility issues with discontinued libraries like WiringPi
- Cross-compilation errors when building on desktop machines for Raspberry Pi ARM architecture
- Debugging embedded systems without standard output or interactive debuggers
Memory Management and Leaks
C requires manual memory management, making leaks common in robotics loops that run continuously. Always pair every `malloc()` with a corresponding `free()`, and use Valgrind (`valgrind –leak-check=full ./your_program`) to detect leaks during development. Implement proper signal handlers to ensure cleanup code runs even when terminating programs with Ctrl+C.
Timing Precision
For critical timing, use hardware PWM rather than software PWM, and consider kernel parameters like `isolcpus` to dedicate CPU cores to time-sensitive tasks, reducing jitter in control loops.
Frequently Asked Questions
Is C harder to learn than Python for Raspberry Pi robotics?
C requires more explicit memory management and syntax precision than Python, which makes it steeper initially. However, for robotics applications needing direct hardware control or real-time performance, the learning investment pays off through better timing predictability and lower-level access to GPIO and communication protocols.
Can Raspberry Pi handle real-time control requirements with C?
Raspberry Pi OS is not a true real-time operating system, but C programs can achieve deterministic timing suitable for most hobbyist and educational robotics projects. For critical timing under a few milliseconds, you’ll get better results using interrupt-driven approaches and the pigpio library, or offloading time-critical tasks to microcontroller companions like Arduino or RP2040.
What C libraries should I use for Raspberry Pi robotics in 2026?
The pigpio library offers excellent GPIO control with precise timing and supports PWM, I2C, and SPI without requiring root privileges. The bcm2835 library provides direct register access for maximum performance, while newer alternatives like gpiod offer a more maintainable interface to GPIO hardware that works across different Linux boards.
Do I need a specific Raspberry Pi model for C robotics programming?
Any Raspberry Pi model works for learning C robotics, but Pi 4 or Pi 5 models offer better performance for complex projects involving computer vision or simultaneous sensor processing. The additional RAM and faster processors reduce compilation times and allow running more sophisticated control algorithms without performance bottlenecks.
How do I debug C programs for robotics on Raspberry Pi?
Start with print statements to trace program flow, then use GDB (GNU Debugger) for setting breakpoints and inspecting variables during execution. For hardware-related issues, a multimeter helps verify voltage levels and connections, while logic analyzers can show signal timing problems that code inspection alone won’t reveal.
Can C programming work with ROS (Robot Operating System)?
Yes, ROS provides C++ client libraries that share much of C’s syntax and can interface with C code through proper linking. Many robotics developers write performance-critical components in C or C++ while using Python nodes for higher-level coordination, giving you flexibility to optimize where it matters most.
Beyond these frequently asked questions, understanding the practical side of C development helps set realistic expectations. The compilation step adds a few seconds to your development cycle compared to Python’s immediate execution, but modern Raspberry Pi models compile small robotics programs quickly enough that this rarely becomes a bottleneck.
Memory errors represent the most common frustration for developers transitioning from Python to C. Unlike Python’s automatic garbage collection, C requires you to manually allocate and free memory. For robotics projects, this typically matters when handling sensor data arrays or dynamic path planning structures. Starting with fixed-size arrays and global variables keeps things simple until you’re comfortable with malloc and free.
Many beginners worry about hardware damage from C programming mistakes. While direct register manipulation can theoretically misconfigure pins, using established libraries like pigpio or bcm2835 provides safety guardrails. The real risk comes from electrical issues like incorrect wiring or voltage levels, not from the programming language itself. Always verify your circuit before powering it up.
The learning curve flattens once you’ve completed your first working project. That initial motor control program or sensor reading application gives you a template to build from. Most robotics projects reuse similar patterns for initialization, main control loops, and cleanup, so your second and third projects come together much faster than the first.
C programming on Raspberry Pi gives you direct control over robotics hardware with minimal overhead, making it the go-to choice when precise timing, efficient resource use, and system-level access matter most. You’ve seen how C enables everything from basic motor control to sophisticated autonomous navigation systems, all while running on an affordable, accessible platform.
The beauty of this combination lies in its scalability. You can start with a simple motor control project this weekend, then gradually add sensors, implement state machines, and build toward complex control systems as your skills develop. The fundamentals you learn translate directly to professional robotics development and embedded systems work.
Your next step is straightforward: grab a Raspberry Pi, a motor driver, and write your first control program. Start small, test thoroughly, and iterate. Once you’re comfortable with GPIO control and basic loops, explore interrupt-driven programming for better responsiveness, experiment with sensor fusion algorithms, or dive into multithreading for parallel control tasks.
The Raspberry Pi and C ecosystem continues evolving in 2026, with better libraries, more powerful hardware revisions, and growing community support. You’re not just learning a programming language; you’re gaining skills that bridge software and physical systems, opening doors to robotics innovation that weren’t possible a decade ago.