

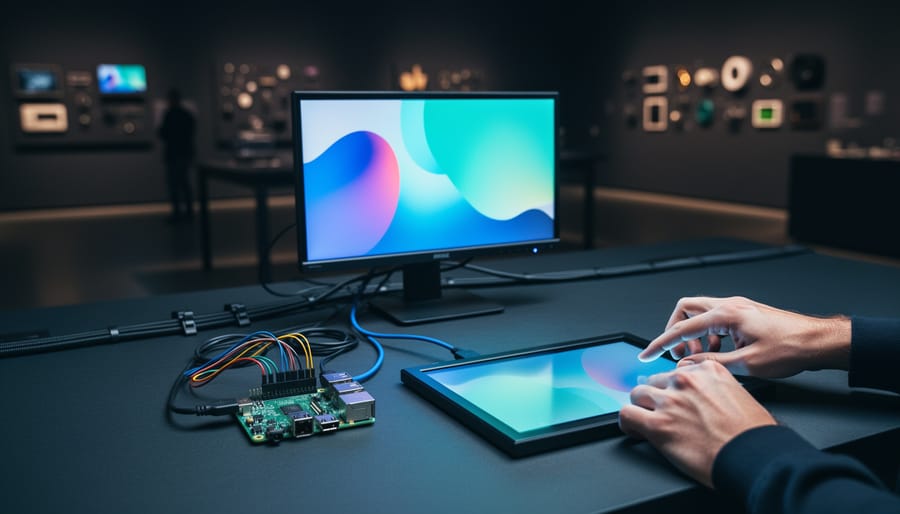
Setting up a graphical interface on your Raspberry Pi for visual installations takes about 30 minutes and requires only basic technical skills. You’ll configure the desktop environment, adjust display settings for your specific screen, and lock down the interface to run your exhibition or art project reliably without interruption. The process works on any Raspberry Pi model from the Pi 3 onwards and supports both touchscreen and standard monitor setups.
Visual installations demand more than a standard desktop setup. Your Raspberry Pi needs to boot directly into your application, hide system elements that break immersion, and recover gracefully from power interruptions common in gallery and public spaces. Whether you’re building interactive art installations for museums or creating dynamic digital signage, the right GUI configuration makes the difference between a professional exhibit and a fragile prototype.
The Raspberry Pi’s flexibility shines in installation contexts. You can choose lightweight desktop environments that preserve computing resources for your visuals, configure kiosk modes that prevent accidental exits, and customize every aspect of the user experience. Most installation artists and exhibit designers start with Raspberry Pi OS Lite and add only the GUI components they need, avoiding the bloat of full desktop suites.
This guide walks you through selecting the right GUI framework, installing essential packages, configuring auto-start behavior, and testing your setup under real-world conditions. You’ll learn which settings prevent common installation failures and how to troubleshoot display issues before opening night.
Understanding Raspberry Pi Graphical Interfaces for Visual Projects
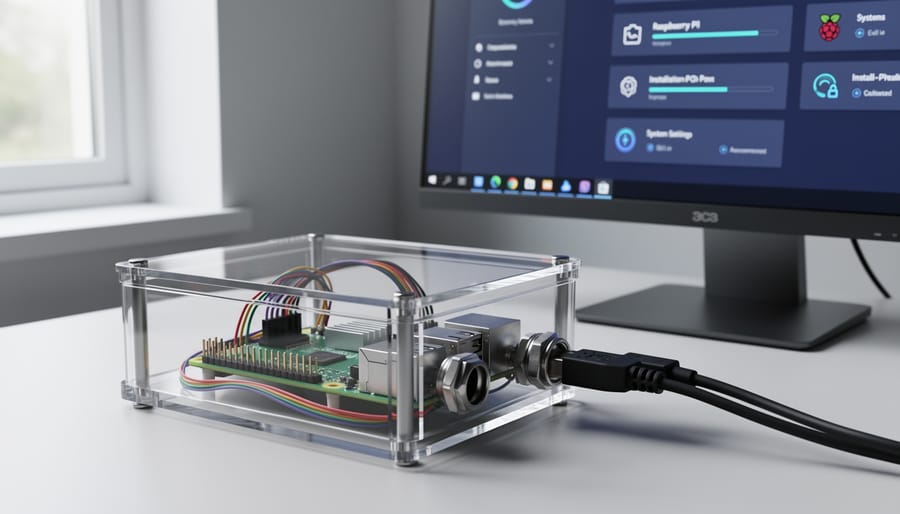
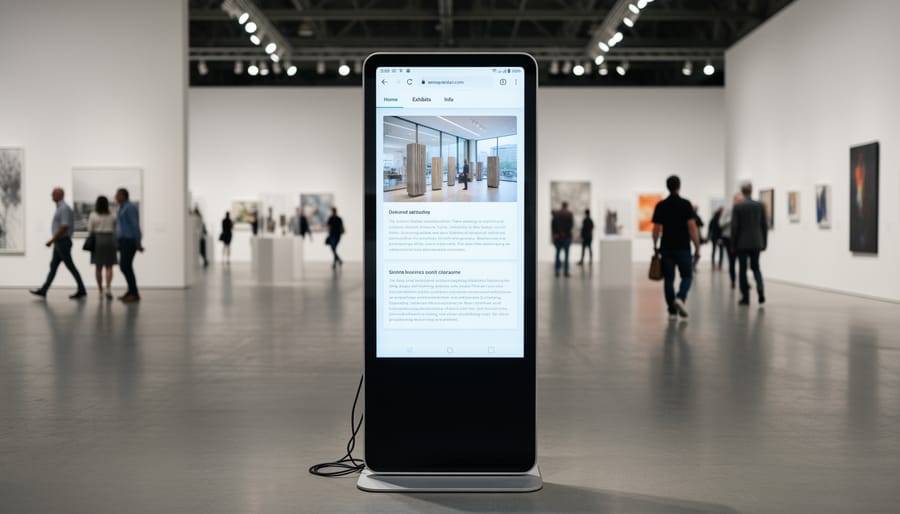
A graphical interface on Raspberry Pi is the visual layer that lets you interact with the system through windows, menus, and icons instead of typing commands into a terminal. For interactive visual installations, the GUI serves as the foundation for displaying your content, whether that’s a touchscreen art piece, a museum kiosk, or a projection-mapped environment. Unlike general computing where you might browse the web or edit documents, installation projects demand GUIs that can run reliably for days without intervention, launch automatically, and dedicate maximum resources to your visual application.
The Raspberry Pi ecosystem offers two main GUI categories: desktop environments and window managers. Desktop environments like Raspberry Pi Desktop or LXDE provide a complete graphical workspace with a taskbar, file manager, settings panels, and bundled applications. They’re familiar and fully-featured but consume more memory and processing power because they include components you might never use in an installation context. Window managers such as Openbox or i3 handle only the essential task of managing application windows and their placement on screen. They’re lean, leaving more CPU and GPU resources for your visual content, but require manual configuration since they don’t include menus, file browsers, or system settings by default.
Interactive installations have distinct GUI needs that standard desktop setups don’t address. Performance matters because you’re often rendering graphics, video, or real-time visuals that compete with the GUI itself for GPU memory and processing cycles. Customization becomes critical when you need to hide system elements, disable screensavers, or present a branded interface without the Raspberry Pi logo and menu bar visible. Kiosk mode capability determines whether your installation can run unattended, launching your application automatically on power-up and preventing users from accessing the underlying system. A gallery visitor shouldn’t be able to close your interactive piece and browse files, so the GUI must support lockdown configurations that traditional desktop environments weren’t designed to handle.
What You’ll Need to Get Started
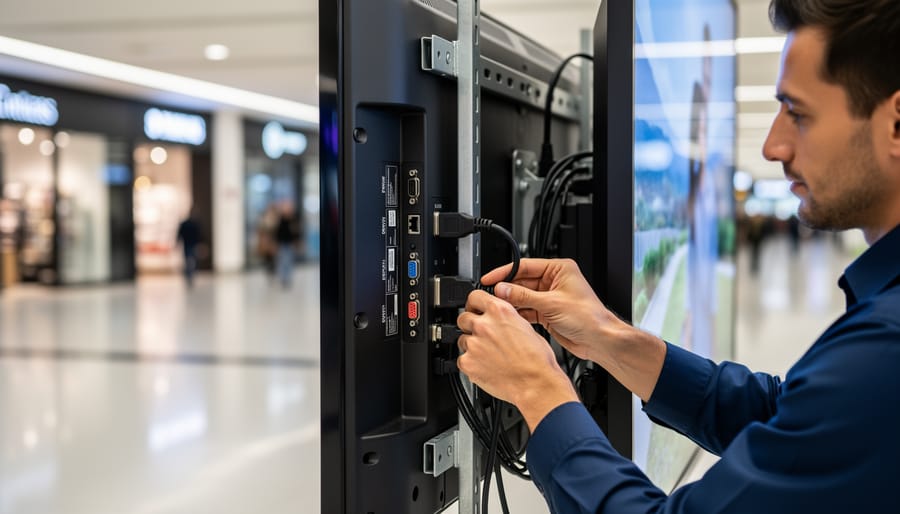
Before diving into the installation process, you need to gather the right equipment and software. Getting these components sorted upfront prevents frustrating interruptions mid-setup and ensures your installation runs smoothly from day one.
Hardware Requirements
Your choice of Raspberry Pi model significantly impacts visual performance. For interactive installations, the Raspberry Pi 4 Model B with 4GB or 8GB RAM is the recommended baseline. This model’s improved GPU and processing power handle graphical interfaces without stuttering, which matters when visitors interact with your display. The Raspberry Pi 3 Model B+ can work for simpler installations, but expect slower load times and potential frame drops with graphics-intensive applications.
A high-quality microSD card makes a noticeable difference. Choose a Class 10 or UHS-1 card with at least 16GB capacity, though 32GB gives you comfortable room for visual assets and applications. SanDisk and Samsung cards consistently perform well in installation environments where the Pi runs continuously.
Your display choice depends on your installation’s physical setup. HDMI monitors and touchscreens work out of the box, while the official Raspberry Pi Touch Display integrates cleanly for compact installations. Whatever you choose, verify it supports your intended resolution before purchasing. Touch capability isn’t mandatory but opens up interactive possibilities.
For peripherals, you’ll need a USB keyboard and mouse during initial setup, even if your final installation uses only touch input. A reliable power supply rated for your Pi model (minimum 3A for Pi 4) prevents stability issues that plague underpowered setups in public spaces.
- Raspberry Pi 4 Model B (4GB or 8GB RAM recommended)
- MicroSD card, 16GB minimum, Class 10 or UHS-1
- HDMI display or official Raspberry Pi Touch Display
- USB keyboard and mouse for setup
- Official Raspberry Pi power supply for your model
- HDMI cable (micro HDMI to HDMI for Pi 4)
- Card reader for flashing the SD card
Software Components
You’ll need the Raspberry Pi Imager tool (available for Windows, macOS, and Linux) to write your operating system. For the OS itself, Raspberry Pi OS with Desktop is the standard choice, providing a complete graphical environment ready to customize. Advanced users working with limited resources might opt for Raspberry Pi OS Lite and add only necessary GUI components manually.
Download these from the official Raspberry Pi website rather than third-party sources to avoid compatibility headaches. The Imager tool simplifies the process compared to manual flashing methods and includes helpful preconfiguration options that save time during initial boot.
Important Considerations Before You Begin
Before diving into installation, address several critical factors that can make or break your visual installation project. These precautions will save you hours of troubleshooting and prevent potential damage to your hardware.
Power Supply Requirements
Interactive visual installations demand stable, adequate power. Use an official Raspberry Pi power supply or a quality third-party unit rated for at least 3A at 5V. Insufficient power causes random freezes, display artifacts, and SD card corruption, issues that appear intermittently and are frustrating to diagnose in exhibition settings. If your installation includes additional USB devices or a touch display setup budget extra amperage or use a powered USB hub.
Back Up Your SD Card
Create a complete image backup of your working SD card before configuring GUI settings. Installation environments mean your Pi might run unattended for weeks. A corrupted card without backup forces you to rebuild everything from scratch, potentially mid-exhibition. Use tools like Win32 Disk Imager or dd to clone your card once you have a stable base system.
Display Compatibility and Thermal Considerations
Not all displays play nicely with Raspberry Pi’s HDMI output. Check your monitor’s native resolution and verify it matches supported modes in config.txt. For enclosed installations, thermal management becomes critical. Graphical interfaces tax the GPU, generating heat that builds quickly in sealed kiosks or art installations. Plan for adequate ventilation or add heatsinks and fans rated for continuous operation. Temperature throttling will degrade visual performance exactly when you need reliability most.
Step-by-Step: Installing and Configuring Your Graphical Interface
Step 1: Prepare Your Raspberry Pi OS
Start by downloading the official Raspberry Pi OS image from the Raspberry Pi Foundation’s website. For visual installations, choose between Raspberry Pi OS (with desktop) for a pre-configured GUI or Raspberry Pi OS Lite if you prefer to install a minimal, custom interface later. The desktop version saves time, while Lite gives you maximum control and performance.
Use the Raspberry Pi Imager tool to flash the OS onto your SD card. Download the Imager for your operating system, insert your SD card (minimum 16GB recommended), and select your chosen OS version. Before writing, click the settings gear icon to pre-configure essential options: set your hostname, enable SSH, configure WiFi credentials, and set your username and password. This pre-configuration saves significant time during initial setup.
Write the image to your SD card, which typically takes five to ten minutes. Once complete, safely eject the card and insert it into your Raspberry Pi’s SD card slot. Connect your display via HDMI, attach a keyboard and mouse, and plug in the power supply. The Pi will boot automatically.
On first boot, you’ll see the Raspberry Pi configuration screen. If you skipped the Imager pre-configuration, complete the setup wizard now: select your country, create a user account, connect to WiFi, and update the system when prompted. The initial update can take several minutes depending on your internet connection, but it ensures you have the latest security patches and software packages before configuring your graphical interface.
Step 2: Install Your Chosen Desktop Environment
Start by connecting to your Raspberry Pi via SSH or directly through the terminal. The installation process varies depending on which desktop environment best suits your interactive visual installation needs.
For Raspberry Pi Desktop (full environment):
If you started with Raspberry Pi OS Lite, install the complete desktop with:
“`
sudo apt update
sudo apt install raspberrypi-ui-mods
“`
This pulls in the default Raspberry Pi desktop environment with recommended applications. For a lighter footprint without extra software, use `raspberrypi-ui-mods-noinstallrecommends` instead.
For LXDE (lightweight but feature-complete):
LXDE offers excellent performance for resource-constrained installations:
“`
sudo apt update
sudo apt install lxde-core lxappearance
“`
The `lxde-core` package includes essential components, while `lxappearance` lets you customize the interface appearance later.
For Openbox (minimal window manager):
When you need maximum performance and control, Openbox provides a bare-bones window manager:
“`
sudo apt update
sudo apt install openbox obconf
“`
Add `xinit` and `xserver-xorg` if they are not already installed. Openbox requires more manual configuration but uses minimal system resources.
For an ultra-minimal setup:
Install just X11 and a basic window manager:
“`
sudo apt update
sudo apt install –no-install-recommends xserver-xorg xinit matchbox-window-manager
“`
Matchbox is designed for kiosk applications and embedded displays.
After installation completes, reboot your Raspberry Pi with `sudo reboot`. The system will load into your new graphical environment automatically if you configured auto-login during OS setup. Otherwise, you will need to enable it in the next configuration step.
Step 3: Configure Display Settings and Resolution
With your desktop environment running, you’ll need to fine-tune display settings to ensure your visual installation looks crisp and fills the screen properly. Most display configuration happens in the Raspberry Pi’s boot configuration file.
Open the config file with this command:
“`
sudo nano /boot/config.txt
“`
For installation displays, start by setting a specific HDMI mode. Add or modify these lines:
“`
hdmi_force_hotplug=1
hdmi_group=2
hdmi_mode=82
“`
The hdmi_mode=82 sets 1920×1080 at 60Hz, ideal for most modern displays. If you’re using a different resolution, check the Raspberry Pi documentation for the correct mode number. For 1280×720, use mode 4; for 4K displays, try mode 97.
Overscan causes black borders around your content, unacceptable for polished installations. Disable it completely:
“`
disable_overscan=1
“`
If you still see borders or the image extends beyond the screen edges, adjust with these values:
“`
overscan_left=16
overscan_right=16
overscan_top=16
overscan_bottom=16
“`
Reduce numbers to pull content inward; increase to push it outward. Adjust each edge independently until the display fills perfectly.
For GPU-intensive visuals, allocate more video memory:
“`
gpu_mem=256
“`
This reserves 256MB for graphics, sufficient for most installations. Lower-spec Pi models might need gpu_mem=128.
Save with Ctrl+X, press Y, then Enter. Reboot with `sudo reboot` to apply changes. Your display should now match your screen dimensions exactly.
Step 4: Set Up Auto-Start and Kiosk Mode
For interactive visual installations, your Raspberry Pi needs to launch directly into your GUI application without manual intervention. Auto-start and kiosk mode ensure your installation runs reliably in exhibition spaces.
First, enable auto-login so your Pi boots straight to the desktop. Run `sudo raspi-config`, navigate to System Options > Boot / Auto Login, and select “Desktop Autologin”. This bypasses the login prompt entirely.
Next, configure your application to launch automatically. The method depends on your desktop environment. For LXDE-based systems (including Raspberry Pi Desktop), edit the autostart file:
“`
mkdir -p ~/.config/lxsession/LXDE-pi
nano ~/.config/lxsession/LXDE-pi/autostart
“`
Add these lines to create a true kiosk environment:
- Disable screen blanking: `@xset s off`
- Disable screen saver: `@xset -dpms`
- Disable power management: `@xset s noblank`
- Hide the mouse cursor: `@unclutter -idle 0`
- Launch your application in fullscreen: `@chromium-browser –kiosk –noerrdialogs –disable-infobars `
Replace the final command with your specific application. For Python-based visual apps, use `@python3 /home/pi/your_app.py` instead.
Install unclutter if needed: `sudo apt install unclutter`. This hides the cursor after inactivity, essential for polished installations.
For lightweight window managers like Openbox, edit `~/.config/openbox/autostart` with similar commands. If you’re planning multiple kiosk setups, explore different kiosk installation ideas to find the configuration that best suits your exhibition needs.
Test by rebooting: `sudo reboot`. Your Pi should boot directly into your application with no desktop elements visible.
Testing Your Setup and Troubleshooting Common Issues
Once your graphical interface is installed, restart the Raspberry Pi to load the GUI. You should see a desktop environment appear on your connected display within 30-60 seconds of boot. If the GUI launches successfully, test basic functionality: move the mouse cursor, open the file manager, and launch a simple application like the text editor to confirm responsiveness.
For visual installation projects, performance matters. Open a terminal and run `htop` to monitor CPU usage while the GUI is idle, it should stay below 20% on a Raspberry Pi 4. Launch a graphics-intensive application or video file and watch for frame drops or stuttering. If you’re developing before deploying your installation, you can test GUI in VirtualBox first to refine your configuration without tying up hardware.
Check your display settings by right-clicking the desktop and selecting Display Settings (or equivalent in your chosen environment). Verify the resolution matches your display’s native resolution for crisp visuals. For touch displays, tap around the screen to confirm touch input registers accurately at all corners and edges.
Why doesn’t my display show anything after boot?
Check your HDMI cable connection and ensure it’s plugged in before powering on. If using config.txt settings, verify you haven’t set an incompatible resolution or added syntax errors in the configuration file.
What causes GUI performance lag in my installation?
Insufficient GPU memory allocation is the usual culprit. Increase the GPU memory split to at least 128MB in raspi-config under Performance Options, and disable any background services you don’t need for the installation.
How do I fix touch input that’s not responding?
Confirm the touch overlay is connected properly and recognized by running `dmesg | grep input` to see detected devices. You may need to install touch drivers specific to your display model or calibrate the touchscreen using xinput-calibrator.
Why doesn’t the GUI launch automatically on boot?
Check that auto-login is enabled in raspi-config under System Options, and verify your display manager service is set to start at boot with `sudo systemctl status lightdm` or the appropriate service name for your GUI.
If you encounter a black screen with a blinking cursor, your display manager may have failed to start. Access the Pi via SSH or connect a keyboard and press Ctrl+Alt+F2 to reach a console, then run `sudo systemctl start lightdm` to manually launch the GUI and check error messages.
Optimizing Performance for Interactive Visual Applications
Once your graphical interface launches reliably, you’ll want to tune it for the sustained performance that interactive installations demand. Start by reallocating GPU memory: open `/boot/config.txt` and set `gpu_mem=256` (or 128 on a Pi with 512MB RAM). This reserves enough memory for smooth graphics rendering without starving the CPU.
Next, pare down what runs in the background. Disable unused services with `sudo systemctl disable bluetooth` and `sudo systemctl disable cups` (if you’re not printing). Each disabled service frees CPU cycles for your visual application, whether that’s Processing text art or a living canvas of light. For installations that don’t need networking after boot, stopping `avahi-daemon` helps too.
Consider overclocking cautiously. Raspberry Pi models handle modest boosts well: add `arm_freq=1800` and `over_voltage=4` to `config.txt` for a Pi 4, but monitor temperatures. Installations in enclosed displays can trap heat, so only overclock if you’ve verified stable thermals below 70°C under load.
Apply these targeted tweaks to lift performance without adding complexity:
- Force the GPU into higher-performance mode by adding `force_turbo=1` only if you need consistent frame rates and have active cooling.
- Set `dtoverlay=vc4-kms-v3d,noaudio` in config.txt to disable HDMI audio processing when you’re routing sound elsewhere.
- Lower the desktop resolution to 1920×1080 or 1280×720 if your visual content doesn’t require 4K, frame rates improve noticeably.
- Install `htop` to spot CPU hogs in real time and kill processes that weren’t part of your installation plan.
Test each change under realistic conditions: loop your visual content for an hour and watch `vcgencmd measure_temp` to confirm stability. Small gains stack, allocating GPU memory, trimming services, and setting the right resolution can double your effective frame rate in graphics-heavy installations.
What You Need
To set up a graphical interface on your Raspberry Pi for interactive visual installations, gather these components before you begin:
Hardware Requirements:
– Raspberry Pi (Model 3B+ or newer recommended; Pi 4 with 4GB+ RAM ideal for demanding visual applications)
– MicroSD card (32GB minimum, Class 10 or better for responsive performance)
– Power supply (official 5V 3A adapter for Pi 4, or appropriate power supply for your model)
– Display with HDMI input (monitor, TV, or touchscreen panel)
– HDMI cable (micro HDMI to HDMI for Pi 4, standard HDMI for older models)
– USB keyboard and mouse (wireless options free up USB ports)
– Computer with SD card reader for initial setup
Software and Accounts:
– Raspberry Pi Imager software (free download from )
– Raspberry Pi OS image (Desktop version recommended for beginners)
– Internet connection for downloading packages and updates
Optional but Useful:
– Heatsinks or cooling fan (especially important for installations in enclosed spaces)
– Case for protection (consider ventilation requirements)
– Spare microSD card for backup configurations
Having everything ready streamlines the installation process and prevents mid-setup delays.
Setting up a graphical interface on your Raspberry Pi opens the door to countless interactive visual installation possibilities. You’ve walked through the entire process, from selecting hardware and installing your OS to configuring display settings and enabling kiosk mode for unattended operation. Your Pi now has a functional GUI ready to power engaging visual experiences.
This foundation is just the beginning. Consider exploring Processing, TouchDesigner, or Pure Data to create dynamic visual content. Experiment with connecting sensors like PIR motion detectors, ultrasonic distance sensors, or capacitive touch modules to make your installations truly interactive. The GPIO pins you haven’t used yet can transform static displays into responsive art pieces that react to their environment.
Don’t hesitate to iterate on your configuration. Adjust GPU memory allocation based on your project’s demands, test different desktop environments to find the perfect balance between functionality and performance, and explore automation scripts that handle edge cases specific to your installation venue.
Start small with a simple interactive element, then expand as you gain confidence. Your Raspberry Pi GUI is now a canvas for creativity, what you build next is entirely up to your imagination.