

# Drawing with Light: Creating Generative LED Art with Raspberry Pi
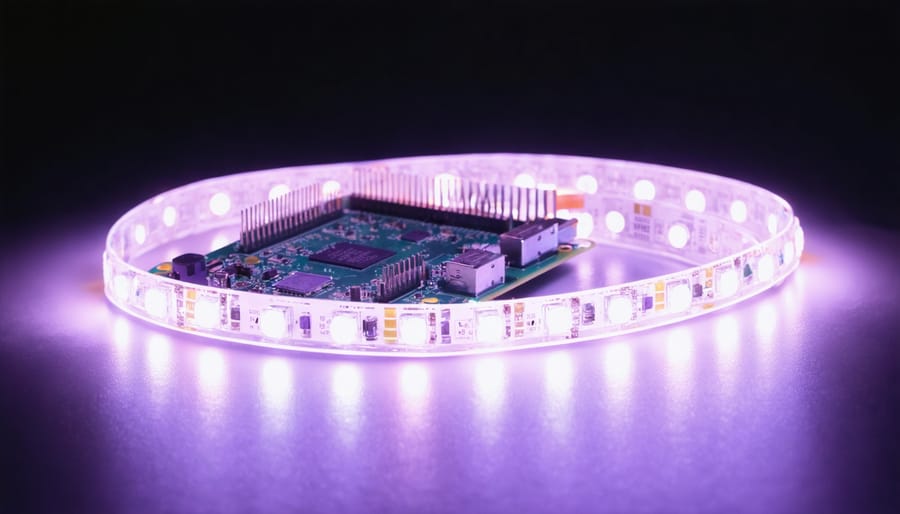
**Transform individual LEDs into programmable canvases** by combining a Raspberry Pi’s GPIO pins with Python libraries like RPi.GPIO or pigpio. Start with addressable LED strips (WS2812B or APA102) that allow independent control of each light, giving you pixel-level precision for animations, color gradients, and responsive patterns.
**Program light patterns using mathematical algorithms** such as sine waves for smooth pulsing effects, Perlin noise for organic movement, or cellular automata for evolving designs. These generative techniques create art that never repeats exactly the same way twice, moving beyond static displays into living, breathing light sculptures.
**Layer hardware components strategically** by mounting LEDs behind diffusion materials like frosted acrylic, rice paper, or 3D-printed translucent structures. This softens individual pixels into cohesive glows and transforms raw electronics into gallery-worthy installations. Consider power requirements carefully—a 60-LED strip at full brightness draws approximately 3.6 amps, requiring dedicated power supplies rather than USB ports.
**Interface with sensors to make art interactive**: connect PIR motion detectors to trigger sequences when viewers approach, or use microphones to create sound-reactive displays that visualize music and ambient noise. The Raspberry Pi’s versatility means your light art can respond to temperature, time of day, internet data streams, or any measurable input you imagine.
The intersection of code, electronics, and artistic vision opens possibilities limited only by your creativity and willingness to experiment.
What Is Generative Light Art?
From Static to Dynamic: The Evolution of Light as Art
Light art has captivated audiences for decades, from Dan Flavin’s fluorescent tube sculptures in the 1960s to James Turrell’s immersive light installations. For years, creating these mesmerizing works required expensive equipment, specialized knowledge, and significant space—keeping light art largely in the realm of museums and professional artists.
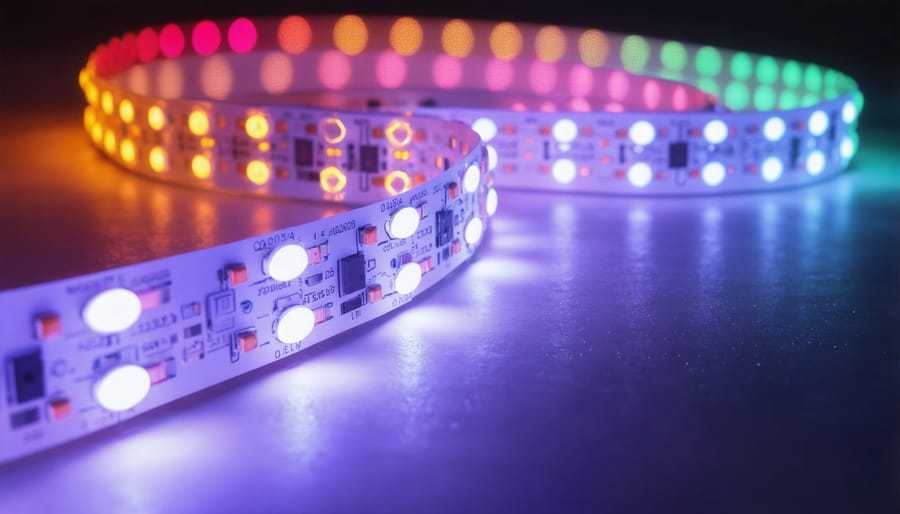
The game changed with the arrival of programmable LEDs, particularly WS2812B strips (often called NeoPixels). These affordable, individually addressable LEDs transformed light art from an exclusive medium into an accessible hobby. Suddenly, anyone with a Raspberry Pi and basic coding skills could create stunning interactive art installations from their bedroom or workshop.
What makes programmable LEDs revolutionary is their simplicity. Each LED can display millions of colors and respond to code in real-time, allowing for complex animations, reactive patterns, and generative art that was previously impossible without industrial-grade equipment. Combined with Python libraries and the Raspberry Pi’s GPIO pins, hobbyists now have professional-level creative tools at their fingertips for under $100.
Why Raspberry Pi Is Perfect for Light Sculptures
The Raspberry Pi stands out as an ideal platform for creating light sculptures, offering a unique combination of features that make artistic LED projects both accessible and powerful.
**GPIO Pins for Precise Control**: The Pi’s General Purpose Input/Output pins give you direct hardware control over individual LEDs or entire strips. You can manipulate brightness, timing, and color with precision, creating complex lighting patterns that respond to sensors or user input.
**Processing Power for Creativity**: Unlike simpler microcontrollers, the Raspberry Pi runs a full Linux operating system and can execute sophisticated generative algorithms. This means you can write Python scripts that create evolving, never-repeating light patterns, incorporate machine learning models, or process real-time data to influence your sculpture’s behavior.
**Compact and Affordable**: At roughly the size of a credit card and costing between $35-$75 depending on the model, the Pi fits seamlessly into artistic installations without breaking your budget. You can embed it directly within sculptures or mount it discreetly nearby.
**Thriving Community Support**: The massive Raspberry Pi community means you’ll find countless tutorials, libraries like Adafruit NeoPixel, and forums ready to help troubleshoot issues. This ecosystem dramatically shortens the learning curve for beginners while providing advanced users with sophisticated tools for complex projects.
Essential Hardware You’ll Need
Choosing Your Raspberry Pi Model
Selecting the right Raspberry Pi model depends on your project’s complexity and your ambitions with LED art. For straightforward installations like static light patterns or simple animations, the **Raspberry Pi Zero W** is an excellent budget-friendly choice. Its compact size makes it perfect for portable installations, and it has enough processing power to control hundreds of addressable LEDs through basic scripts.
If you’re planning more sophisticated projects involving real-time generative algorithms, camera input, or complex animations responding to sensor data, consider the **Raspberry Pi 4** (4GB or 8GB RAM). The Pi 4’s quad-core processor and increased memory handle computationally intensive tasks like running Processing sketches or real-time image processing without lag.
The **Raspberry Pi 3B+** strikes a middle ground—ideal for intermediate projects requiring wireless connectivity and moderate processing power, such as sound-reactive LED displays or time-based generative patterns. It’s notably more affordable than the Pi 4 while offering significantly better performance than the Zero.
For beginners starting their first light drawing project, we recommend the Pi 3B+ or Pi 4. The additional processing headroom provides flexibility as your skills grow, and you won’t outgrow your hardware after completing your first tutorial.
LED Options: Strips, Matrices, and Individual Pixels
When choosing LEDs for your light art project, you’ll encounter three main options, each with distinct advantages.
**Addressable LED Strips** like WS2812B (commonly called NeoPixels) are the most popular choice for beginners. These strips feature individually controllable RGB LEDs that can display millions of colors. They’re perfect for linear displays, edge lighting, or creating flowing patterns. The key advantage? Each LED can be programmed independently while remaining connected in a single chain, simplifying wiring considerably.
**LED Matrices** organize LEDs in a grid format, typically ranging from 8×8 to 32×32 pixels. These are ideal for displaying text, simple animations, or pixel art. Matrices make coordinate-based programming intuitive—you simply reference row and column positions to control specific LEDs. They’re excellent for wall-mounted installations or desktop displays.
**LED Panels** combine multiple matrices into larger surfaces, enabling high-resolution light art. While more expensive, they’re perfect for ambitious projects requiring detailed imagery or large-scale installations.
**Power Considerations** are crucial regardless of your choice. Each WS2812B LED draws approximately 60mA at full white brightness. A 60-LED strip at maximum brightness requires 3.6A—far exceeding what your Raspberry Pi can provide directly. Always use an external power supply rated for your LED count, and remember to connect all ground connections together. For extensive projects, consider injecting power at multiple points along your LED chain to prevent voltage drop and color inconsistencies.
Start with a small strip of 30-60 LEDs to learn the basics before scaling up.
Power Supplies and Safety Considerations
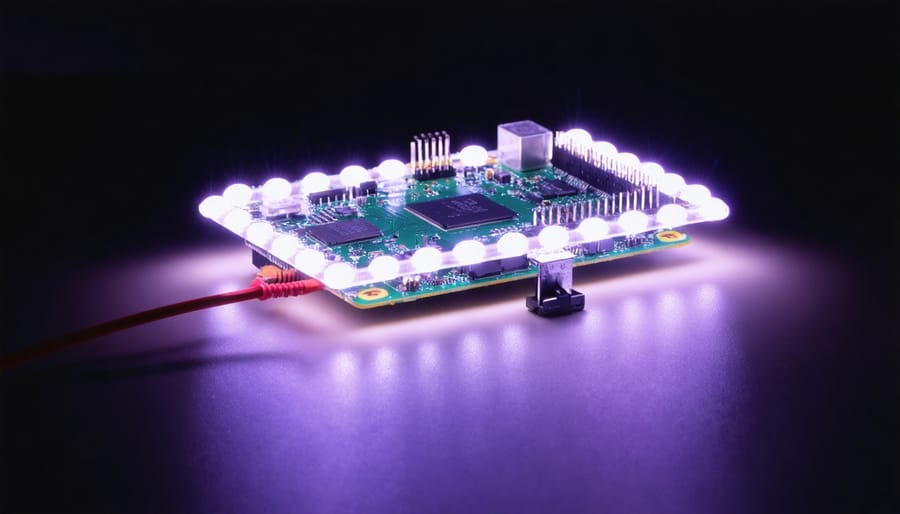
Powering your LED light art project safely requires careful consideration of your setup’s electrical demands. Each LED typically draws 20mA at full brightness, so a strip of 100 LEDs could require up to 2 amps. Always calculate your total current needs (number of LEDs × 0.02A) and choose a power supply rated at least 20% higher than this figure to prevent overheating.
For small projects under 50 LEDs, a standard 5V 2A USB power adapter often suffices. Larger installations need dedicated 5V power supplies ranging from 5A to 20A depending on scale. Never power extensive LED strips directly through your Raspberry Pi’s GPIO pins—this can damage the board. Instead, use an external supply with proper gauge wiring (18-22 AWG for most projects).
**Essential safety practices:** Always disconnect power before making connections, use insulated tools, and double-check polarity before powering up. Add inline fuses to protect against shorts, and ensure adequate ventilation around power supplies. If working with strips longer than 5 meters, inject power at multiple points to prevent voltage drops. When in doubt, consult an electrician—creative projects should never compromise safety.
Software and Programming Tools
Popular Libraries for LED Control
When you’re ready to bring your LED projects to life, choosing the right software library can make all the difference. Let’s explore three popular options that will help you control those colorful lights with ease.
**rpi_ws281x** is your go-to Python library for controlling WS281x LED strips (like the popular WS2812B or NeoPixels) on your Raspberry Pi. This library excels at precise timing control, which is crucial for these addressable LEDs. It’s perfect for beginners who want to write clean Python code to create animations, color patterns, and interactive displays. The straightforward syntax makes it ideal for educational projects and rapid prototyping.
**FastLED** is technically an Arduino library, but its Python alternatives (like the FastLED-compatible features in rpi_ws281x) bring similar power to Raspberry Pi projects. FastLED shines when you need high-performance animations with advanced color manipulation, mathematical effects, and smooth transitions. It’s particularly well-suited for creating complex, synchronized light shows across multiple LED strips.
For artists and creative coders, **Processing for visual art** offers an entirely different approach. This visual programming environment lets you create generative art that can control LEDs through serial communication. It’s excellent for algorithmic art projects where you want to design patterns visually before translating them to physical LEDs.
Each library has its strengths—choose based on your coding comfort level and project complexity!
Creating Generative Algorithms
Generative algorithms are the secret sauce that transforms static LED displays into mesmerizing, ever-changing light art. Instead of manually programming every pattern, these algorithms create organic, lifelike movements that captivate viewers.
**Perlin Noise: Nature’s Randomness**
Perlin noise is your go-to function for creating smooth, flowing patterns that mimic natural phenomena like clouds or water. Unlike random number generators that produce jarring jumps, Perlin noise generates values that transition gradually. When applied to LED brightness or color values, it creates gentle waves of light that feel alive. Python libraries like `noise` make implementing Perlin noise straightforward—you simply feed it coordinates and time values to generate continuous, fluid animations.
**Cellular Automata: Simple Rules, Complex Beauty**
Cellular automata follow simple rules where each LED’s state depends on its neighbors. Conway’s Game of Life is the most famous example, but you can create custom rules for light patterns. Each “cell” (LED) might brighten when surrounded by certain conditions, creating rippling effects or self-organizing patterns. The beauty lies in emergent behavior—complexity arising from simplicity.
**Particle Systems: Dynamic Light Choreography**
Particle systems simulate individual points of light moving according to physics-like rules. Imagine sparks flying, fireflies dancing, or energy pulses radiating outward. Each particle has properties like position, velocity, and lifespan. Your Raspberry Pi tracks hundreds of these particles, calculating their movements frame-by-frame and mapping them to your LED matrix.
These algorithms work particularly well with WS2812B LED strips because you can address each LED individually. Start with basic Perlin noise patterns, then experiment by combining multiple techniques. The key is iteration—run your code, observe the results, tweak parameters, and discover unexpected artistic possibilities.

Your First Project: Building a Simple LED Light Sculpture
Wiring Your First LED Strip
Getting your LED strip connected to your Raspberry Pi is easier than you might think! For this project, you’ll need an addressable LED strip (we recommend WS2812B or NeoPixels), a 5V power supply, and three jumper wires.
Start by identifying the three connections on your LED strip: **5V** (power), **GND** (ground), and **DIN** (data input). Here’s how to wire everything safely:
Connect the **5V wire** from your LED strip to the positive terminal of your external power supply—never directly to the Pi’s 5V pin, as LED strips draw too much current and can damage your board. This is the most common mistake beginners make!
Next, connect the **GND wire** from your LED strip to both the power supply’s negative terminal AND your Raspberry Pi’s ground pin (any GND pin works). This shared ground connection is crucial for proper communication between devices.
Finally, connect the **DIN wire** to GPIO 18 (physical pin 12) on your Raspberry Pi. This pin supports PWM, making it ideal for controlling addressable LEDs.
**Pro tip:** Add a 470-ohm resistor between GPIO 18 and the DIN connection to protect against voltage spikes, and place a 1000µF capacitor across your power supply terminals to smooth out power delivery.
Double-check all connections before powering up—reversed polarity can permanently damage your LED strip. Once verified, power on your external supply first, then boot your Raspberry Pi.
Writing Your First Light Animation
Let’s create your first light animation using Python! This example generates a smooth, flowing rainbow pattern that cycles through your LED strip. If you don’t have hardware yet, you can test without hardware using a virtual environment.
Here’s a beginner-friendly animation script:
“`python
# Import required libraries
import time
from rpi_ws281x import PixelStrip, Color
# LED strip configuration
LED_COUNT = 60 # Number of LED pixels on your strip
LED_PIN = 18 # GPIO pin connected to the pixels
LED_BRIGHTNESS = 128 # Set brightness (0-255)
# Initialize the LED strip
strip = PixelStrip(LED_COUNT, LED_PIN, brightness=LED_BRIGHTNESS)
strip.begin()
def wheel(pos):
“””Generate rainbow colors across 0-255 positions.”””
# This function creates smooth color transitions
if pos < 85:
return Color(pos * 3, 255 - pos * 3, 0)
elif pos < 170:
pos -= 85
return Color(255 - pos * 3, 0, pos * 3)
else:
pos -= 170
return Color(0, pos * 3, 255 - pos * 3)
# Main animation loop
try:
offset = 0
while True:
# Loop through each LED pixel
for i in range(LED_COUNT):
# Calculate color position for smooth flow
pixel_color = wheel((i + offset) % 256)
strip.setPixelColor(i, pixel_color)
strip.show() # Update the LED strip
time.sleep(0.05) # Control animation speed
offset += 1 # Shift colors along the strip
except KeyboardInterrupt:
# Clean exit when pressing Ctrl+C
strip.clear()
strip.show()
```
This code creates a flowing rainbow effect by calculating color values for each LED based on its position plus an offset that increments continuously, creating the illusion of movement.
Running Your Sculpture Automatically on Boot
To transform your light sculpture into a true standalone art piece, you’ll want it to start automatically whenever you power on your Raspberry Pi. This eliminates the need to manually run your script each time, perfect for installations or displays.
The most reliable method is using systemd, Linux’s built-in service manager. First, create a service file by running `sudo nano /etc/systemd/system/lightart.service` in your terminal. Inside, add the following configuration, replacing “yourusername” and adjusting the path to your Python script:
“`
[Unit]
Description=Light Art Sculpture
After=network.target
[Service]
ExecStart=/usr/bin/python3 /home/yourusername/lightart.py
WorkingDirectory=/home/yourusername
StandardOutput=inherit
StandardError=inherit
Restart=always
User=yourusername
[Install]
WantedBy=multi-user.target
“`
Save and exit (Ctrl+X, then Y), then enable your service with `sudo systemctl enable lightart.service` and start it immediately using `sudo systemctl start lightart.service`. Your sculpture will now run automatically on every boot, creating a truly independent generative art installation that springs to life the moment you plug it in.
Advanced Techniques for Mesmerizing Light Effects
Reactive Light: Adding Sensors and Inputs
Adding sensors transforms static light sculptures into dynamic, interactive art pieces that respond to their surroundings. Your Raspberry Pi makes this incredibly straightforward, with GPIO pins ready to accept input from various sensors.
**Sound-Reactive Patterns**
A USB microphone or I2C sound sensor lets your creation pulse with music or ambient noise. Using Python libraries like PyAudio, you can analyze audio frequency and amplitude to drive LED brightness, color shifts, or pattern changes. This works brilliantly for music visualization projects where bass frequencies trigger warm colors while treble produces cooler tones.
**Motion Detection**
PIR (Passive Infrared) sensors are perfect for creating installations that “wake up” when someone approaches. These inexpensive components connect directly to GPIO pins and require just a few lines of code to implement. For more sophisticated tracking, ultrasonic distance sensors can adjust brightness or animation speed based on viewer proximity, creating truly immersive experiences.
**Environmental Response**
Temperature and humidity sensors (like the DHT22) enable your light art to visualize environmental data. Imagine a sculpture that shifts from cool blue to warm red as room temperature rises, or patterns that intensify with humidity levels.
**Getting Started**
Begin with a single PIR sensor—it’s the most beginner-friendly option. Connect VCC to 5V, GND to ground, and the output pin to any available GPIO pin. With just a basic Python script checking sensor states, you’ll have your first reactive light sculpture running within minutes.
3D Light Mapping and Volumetric Effects
Creating depth in LED installations transforms flat arrays into immersive three-dimensional experiences. The secret lies in understanding how our eyes perceive space through light and shadow.
**Strategic LED Placement** forms the foundation of volumetric effects. Position LEDs at varying distances from walls or diffusion materials to create natural depth gradients. Closer LEDs produce sharper, more intense spots, while distant ones generate soft, ambient glows. This layering mimics how traditional artists use foreground and background elements.
**Parallax animations** enhance the 3D illusion by moving light patterns at different speeds across your array. Program your Raspberry Pi to animate front-layer LEDs faster than back-layer ones, creating convincing depth perception as viewers move. This technique works brilliantly with WS2812B LED strips arranged in multiple planes.
**Color temperature mapping** adds another dimension—use warmer tones (reds, oranges) for “closer” elements and cooler blues for “distant” ones. This exploits atmospheric perspective principles that make distant objects appear cooler and hazier.
Coordinate these elements through Python libraries like Adafruit CircuitPython or the FastLED-inspired libraries available for Raspberry Pi. Start with simple front-to-back fades before progressing to complex multi-layer animations that respond to music or sensor input, creating truly dynamic volumetric art.
Network-Connected Installations
Network-connected installations take your Raspberry Pi light art to the next level by incorporating real-world data streams. By connecting to APIs, you can pull in weather information to shift color palettes—imagine blues and whites for rainy days, warm oranges for sunny weather. Social media feeds offer another creative avenue: display trending hashtags as pulsing light patterns or visualize tweet sentiment through color intensity.
Getting started is simpler than you might think. Python libraries like `requests` make API calls straightforward, while JSON parsing lets you extract relevant data points. You could fetch cryptocurrency prices and map them to LED brightness, or use air quality data to create environmental awareness pieces. The key is matching your data source to a visual representation that tells a story. Start with free, public APIs that don’t require authentication, then experiment with refresh rates and data mapping techniques. This approach transforms your static light installation into a living, breathing artwork that responds to the world around it.
Inspiration Gallery: Project Ideas to Spark Your Creativity
Small-Scale Desktop Sculptures
Desktop LED sculptures offer an excellent entry point into light art without requiring extensive space or complex installations. **Infinity mirrors** create mesmerizing depth illusions by placing LEDs between two-way and standard mirrors—perfect for learning basic LED control with your Raspberry Pi while producing stunning visual effects. Simply program color transitions and patterns through Python to bring your mirror to life.
**Geometric LED shapes** like illuminated dodecahedrons or pyramids combine 3D printing with addressable LED strips. Design your structure in CAD software, print the frame, and mount WS2812B LED strips inside. The Raspberry Pi can animate patterns that flow across the geometric surfaces, creating dynamic light sculptures.
**Cloud lamps with animated lightning** provide atmospheric ambient lighting. Stuff polyester fiber fill into a paper lantern, then embed LED strips controlled by your Raspberry Pi. Program random flicker patterns to simulate lightning storms, or create gentle color shifts for relaxing mood lighting. These projects teach fundamental concepts like PWM control and random number generation while producing desk-worthy art pieces.
Large Installation Concepts
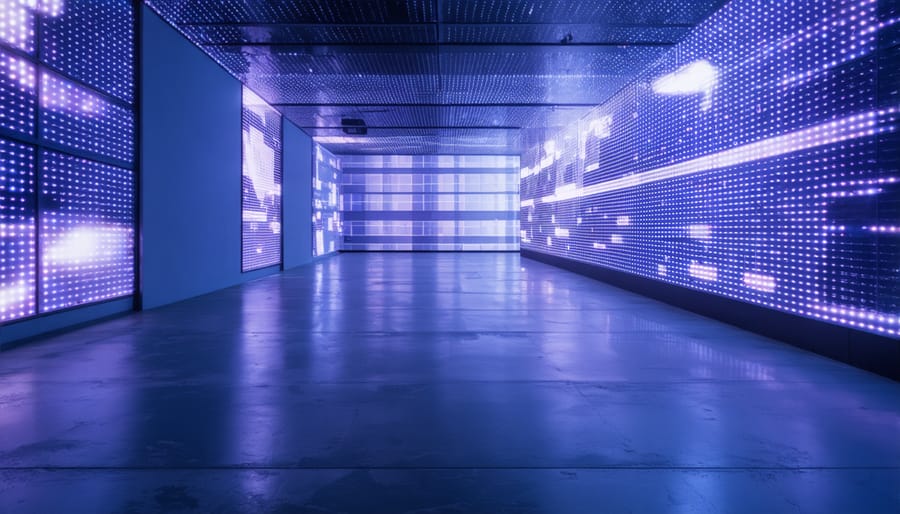
Ready to go big? Large-scale light installations push your Raspberry Pi’s capabilities to stunning new heights. LED wall installations can transform entire rooms, using addressable LED strips arranged in matrices to create dynamic, programmable displays—perfect for art galleries or makerspaces. Interactive floor panels respond to footsteps using pressure sensors or camera tracking, creating immersive experiences where visitors literally walk through light. Outdoor light sculptures combine weather-resistant components with Python scripts to animate public spaces, similar to kinetic sculpture projects but focused on illumination. Persistence-of-vision displays use rapidly spinning LEDs to create floating 3D images—truly mesmerizing when executed well. These ambitious projects require careful power planning, robust mounting solutions, and often multiple Raspberry Pis working in concert, but the visual impact is absolutely worth the effort.
Functional Art: Lighting That Lives With You
Light becomes more than decoration when it serves a purpose in your daily life. Your Raspberry Pi can power ambient displays that respond to your world—think generative patterns that shift with the weather, LED strips that pulse with calendar notifications, or mood lighting that adapts to time of day.
Start simple with a weather indicator: pull API data and map conditions to color gradients—blue for rain, orange for sunshine. As you gain confidence, layer in motion patterns using Python libraries like Adafruit CircuitPython or pigpio for smooth transitions.
Smart notification displays transform mundane alerts into visual art. Program your LEDs to gently cascade when emails arrive or create expanding rings for calendar reminders. The beauty lies in subtlety—functional art shouldn’t demand attention, but enhance your environment naturally. These projects merge creativity with utility, proving that the best tech integrates seamlessly into how you actually live.
Troubleshooting Common Issues
Flickering, Color Issues, and Power Problems
LED strips can be temperamental, but most issues stem from three culprits: power, data, or grounding problems.
**Flickering lights** usually indicate insufficient power supply. Each LED draws approximately 60mA at full brightness, so a strip of 60 LEDs needs up to 3.6A. If you’re powering more than 30 LEDs, inject power at multiple points along the strip rather than just one end. Use thick gauge wires (18-22 AWG) to minimize voltage drop.
**Color inconsistencies**—where LEDs display wrong colors or random patterns—typically signal data signal issues. Keep data wires short (under 1 meter if possible) and use a 330-470Ω resistor between your Raspberry Pi GPIO pin and the LED strip’s data input. This prevents signal reflection and protects the GPIO pin.
**Random glitches or unresponsive strips** often result from poor grounding. Always connect the Raspberry Pi’s ground to your power supply’s ground—this creates a common reference point for data signals to work correctly.
For persistent problems, try reducing LED brightness in your code using commands like `pixels.brightness = 0.5`. This reduces overall power demand and can stabilize erratic behavior while you troubleshoot the root cause.
Performance Optimization for Smooth Animations
Complex LED animations can quickly overwhelm your Raspberry Pi’s processor, causing frustrating stutters and lag. To keep your light art flowing smoothly, start by optimizing your code—use NumPy arrays instead of Python lists for calculations, as they’re significantly faster for numerical operations. Pre-calculate color patterns and transitions whenever possible rather than computing them frame-by-frame.
Reduce your target frame rate if necessary; 30 FPS often looks just as smooth as 60 FPS for ambient light art while cutting processing demands in half. Consider simplifying algorithms during intensive animations—sometimes fewer pixels or simpler mathematical functions create equally stunning effects with better performance.
Hardware acceleration helps too. Offload LED control to dedicated libraries like rpi_ws281x that interface directly with the Pi’s hardware, bypassing slower software layers. Finally, close unnecessary background processes before running your installation, giving your light art maximum processing power for buttery-smooth animations.
You’ve now explored the fascinating world of generative LED art and discovered how accessible it truly is with a Raspberry Pi. The beauty of drawing with light lies in its perfect fusion of artistic expression and technical experimentation—there’s no right or wrong way to create. Whether you’re programming mesmerizing patterns, building responsive installations, or simply making your workspace more colorful, every project teaches you valuable skills in coding, electronics, and design thinking.
The best way to learn is by doing. Start simple with a single LED strip and a basic animation script, then let your imagination guide you forward. Don’t worry about perfection on your first attempt; even the most experienced creators began with blinking LEDs and syntax errors. Each iteration will reveal new possibilities and techniques you hadn’t considered.
We’d love to see what you create! Share your light art projects, code snippets, and creative discoveries with the Raspberry Pi community. Your unique approach might inspire someone else’s breakthrough, and you’ll find plenty of support from fellow enthusiasts eager to help troubleshoot or suggest enhancements. So grab your Raspberry Pi, wire up those LEDs, and start painting with pixels of light—your first masterpiece awaits.