

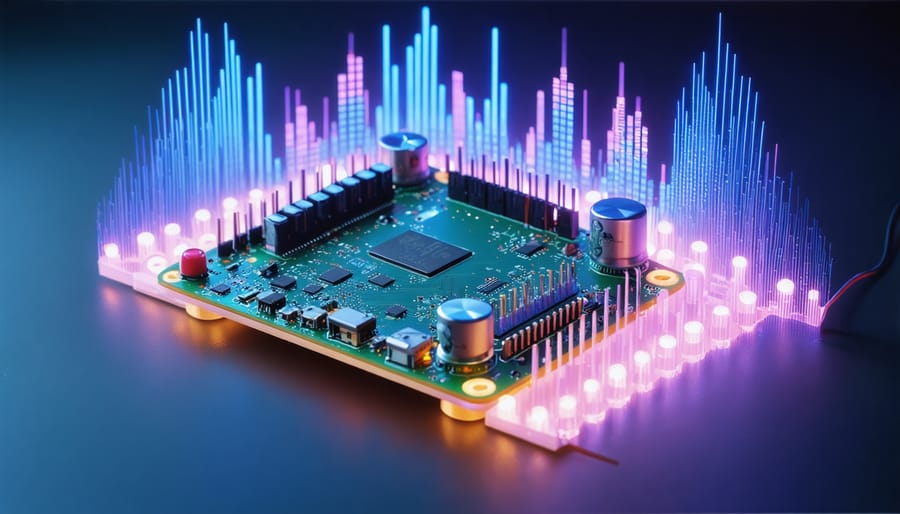
Transform your Raspberry Pi into a powerful DIY synthesizer that merges digital audio synthesis with stunning visual elements. By combining the Pi’s GPIO capabilities with custom Python scripts and basic electronic components, you can create a fully-functional synthesizer that responds to both touch and motion. This innovative project bridges the gap between traditional music synthesis and modern maker technology, offering endless possibilities for sound experimentation and visual feedback.
Whether you’re a music enthusiast, electronics hobbyist, or digital artist, building a Raspberry Pi synthesizer opens up a world of creative possibilities. The project requires basic soldering skills, fundamental Python programming knowledge, and approximately $100 in components including the Pi, potentiometers, buttons, and an LCD display. The end result is a customizable instrument that can generate everything from classic analog synth sounds to experimental digital textures, all while creating mesmerizing visual patterns that respond to your musical input.
Ready to start building? Let’s dive into the essential components and step-by-step process that will turn your Raspberry Pi into an interactive synthesizer masterpiece.
Essential Hardware Components
Core Components
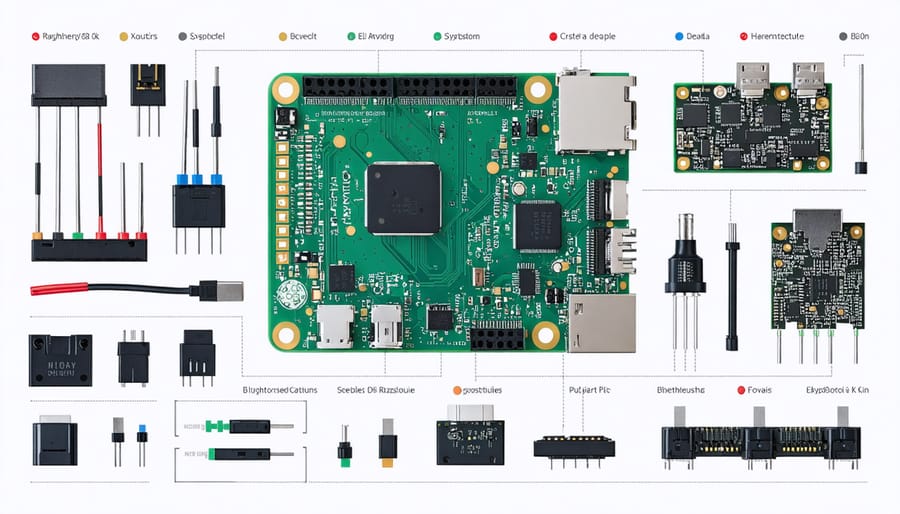
To build a Raspberry Pi synthesizer, you’ll need several essential components. At the heart of your system, a Raspberry Pi 4 Model B (2GB or higher) is recommended for optimal performance and processing power. While older models can work, they may limit your synthesizer’s capabilities.
For high-quality audio output, an audio HAT (Hardware Attached on Top) is crucial. The HiFiBerry DAC+ Pro or Pisound are excellent choices, offering superior sound quality and low latency. These HATs connect directly to your Pi’s GPIO pins and provide the necessary audio interfaces.
For controls, you’ll want a mix of input devices:
– A mini MIDI keyboard or MIDI controller
– 2-3 potentiometers for parameter control
– Several push buttons for mode selection
– Optional: rotary encoders for fine-tuning
Additional components include:
– SD card (16GB minimum)
– Power supply (5V/3A recommended)
– Audio cables and adapters
– Small speakers or headphones
– Breadboard and jumper wires for prototyping
Consider getting a suitable case that can accommodate both the Raspberry Pi and your chosen audio HAT, with enough space for control interface connections.
Optional Enhancements
To take your Raspberry Pi synthesizer to the next level, consider adding these exciting enhancements. An LED matrix display can create stunning motion-based visual elements that react to your music, using components like the Adafruit NeoPixel strips or a 16×16 RGB LED matrix. For professional connectivity, add a MIDI interface module (around $15-20) to connect traditional musical instruments and controllers. A rotary encoder kit can provide intuitive parameter control, while a small OLED display offers real-time feedback of synthesizer settings. Consider upgrading to a high-quality DAC (Digital-to-Analog Converter) like the HiFiBerry DAC+ Pro for superior audio output. For more experimental sounds, add potentiometers or light sensors to create unique modulation sources. These additions not only enhance functionality but also create an impressive visual presence, transforming your synthesizer into a complete electronic instrument.
Software Setup and Configuration
Operating System and Dependencies
To get your Raspberry Pi synthesizer up and running, you’ll need to start with a solid software foundation. Begin by installing the latest version of Raspberry Pi OS (formerly Raspbian) on your SD card using the Raspberry Pi Imager tool. Make sure to select the full desktop version rather than the lite version, as we’ll need the graphical interface for some of our audio tools.
Once your OS is installed, update your system by opening the terminal and running:
“`
sudo apt-get update
sudo apt-get upgrade
“`
Next, install the essential audio packages and dependencies:
“`
sudo apt-get install puredata
sudo apt-get install jack-tools
sudo apt-get install jackd2
sudo apt-get install python3-pip
“`
Configure your audio settings by adding your user to the ‘audio’ group:
“`
sudo usermod -a -G audio $USER
“`
Install Python libraries for audio processing:
“`
pip3 install python-rtmidi
pip3 install numpy
pip3 install scipy
“`
Finally, ensure your audio interface is properly configured by checking the ALSA settings. You may need to edit the /etc/asound.conf file to set your preferred audio device as default. Remember to reboot your Raspberry Pi after making these changes to ensure all settings are properly applied.
Synthesizer Software Options
Several powerful synthesizer software options are available for your Raspberry Pi project, each offering unique features and capabilities. Pure Data (Pd) stands out as a popular choice, offering a visual programming environment that’s perfect for beginners while maintaining advanced functionality for experienced users. Its open-source nature and active community make it an excellent starting point.
Sonic Pi presents another compelling option, combining a code-based approach with real-time synthesis capabilities. It’s particularly well-suited for educational environments and those interested in live coding performances. The built-in tutorial system makes it easier for newcomers to grasp basic concepts.
For those seeking a traditional synthesizer experience, FluidSynth provides a software synthesizer based on SoundFont technology. It’s relatively lightweight and works well on the Raspberry Pi’s hardware. Setting it up involves installing via terminal with a simple command: sudo apt-get install fluidsynth.
ZynAddSubFX offers a more comprehensive synthesizer solution with multiple synthesis methods, including additive, subtractive, and pad synthesis. While it requires more processing power, it delivers professional-grade sound capabilities.
To get started with any of these options, first ensure your Raspberry Pi’s operating system is up to date. Most software can be installed through the terminal using apt-get commands, though some may require additional configuration. Remember to check your audio settings in raspi-config to ensure proper sound output.
Building the Physical Interface
Control Layout Design
When designing your synthesizer’s control layout, prioritize both functionality and ergonomics. Start by sketching your design on paper, considering the placement of essential components like potentiometers, buttons, and the LCD display. A common approach is to group related controls together – oscillators in one section, filters in another, and modulation controls in a dedicated area.
Consider incorporating visual feedback elements that can work with Processing visualization techniques to create an immersive experience. Leave adequate space between controls to prevent accidental adjustments and ensure comfortable operation during performance.
For the main interface, consider using a combination of rotary encoders for precise parameter control and toggle switches for quick function changes. Include at least one larger knob for master volume control, positioned within easy reach. If you’re planning to add MIDI compatibility, reserve space for MIDI IN/OUT ports on the rear panel.
Remember to account for future expansions by leaving some unused space inside your enclosure. This foresight will make it easier to add features or modify your synthesizer later.
Assembly and Wiring
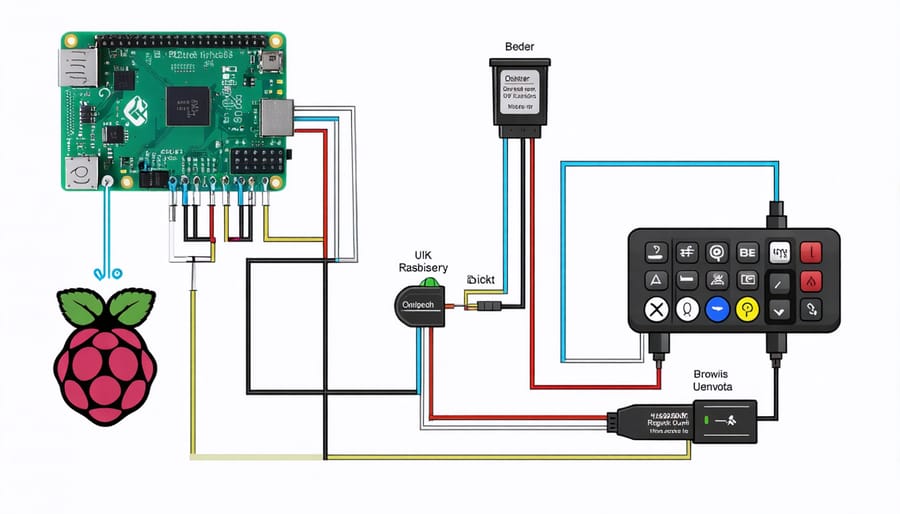
Begin by arranging your components on a clean workspace. Connect the Raspberry Pi’s GPIO pins to your audio DAC using jumper wires: connect pin 19 (BCM 10) to the DAC’s MOSI, pin 23 (BCM 11) to SCLK, and pin 24 (BCM 8) to CS. Ground connections should link to any GND pin on the Pi.
For the control interface, wire your potentiometers to the ADC module. Connect the ADC’s VDD to the Pi’s 3.3V power pin, and GND to any ground pin. The ADC’s SDA and SCL pins should connect to GPIO pins 2 and 3 respectively. Each potentiometer’s center pin connects to an ADC input channel, with outer pins going to 3.3V and ground.
If you’re adding buttons, connect them between GPIO pins and ground through 10kΩ pull-up resistors. Common configurations use GPIO pins 17, 27, and 22 for octave control and preset selection.
For audio output, connect your amplifier module to the DAC’s output pins. The amp’s power pins should connect to the Pi’s 5V and ground. Finally, connect your speaker to the amp’s output terminals, ensuring proper polarity.
Double-check all connections before powering on. Consider using a breadboard for initial testing before making permanent connections with soldering. Keep wires neat and organized using cable ties or management solutions to prevent shorts and maintain a professional appearance.
Programming Your Synthesizer
Basic Sound Generation
To generate basic sounds with your Raspberry Pi synthesizer, you’ll need to start with Python’s sound libraries. The most commonly used library is ‘pygame.mixer,’ which offers straightforward audio manipulation capabilities. Begin by installing the library using pip and importing it into your project.
Create a simple sine wave generator function that accepts frequency and duration parameters. This forms the foundation of your synthesizer’s sound generation capabilities. Here’s a basic example:
“`python
import numpy as np
import sounddevice as sd
def generate_tone(frequency, duration):
sample_rate = 44100
t = np.linspace(0, duration, int(sample_rate * duration))
wave = np.sin(2 * np.pi * frequency * t)
sd.play(wave, sample_rate)
“`
You can modify the waveform by implementing different oscillator types like square, sawtooth, or triangle waves. Each provides a distinct sound character. For instance, a square wave produces a more harsh, electronic sound compared to the smooth sine wave.
To add more complexity, implement an ADSR envelope (Attack, Decay, Sustain, Release) to shape the amplitude of your sounds over time. This creates more realistic and dynamic sound profiles that respond to user input.
Remember to configure your Raspberry Pi’s audio output properly through the system settings. For best results, use a dedicated USB audio interface or DAC HAT to improve sound quality and reduce latency.
Advanced Features
Once you’ve mastered the basics of your Raspberry Pi synthesizer, it’s time to explore the exciting world of advanced features and effects. By incorporating various filters, modulation options, and effects processors, you can transform your basic synthesizer into a versatile sound design tool perfect for interactive art installations and performances.
Start by implementing a low-pass filter using the Pure Data (Pd) programming environment. This essential effect allows you to sculpt your sound’s frequency content in real-time. Add an envelope follower to create dynamic filter sweeps that respond to your playing intensity.
For modulation, consider incorporating these powerful features:
– LFO (Low-Frequency Oscillator) for creating rhythmic variations
– Ring modulation for metallic and bell-like tones
– Frequency modulation (FM) synthesis for complex harmonic textures
– Sample and hold circuits for random voltage generation
Digital effects can significantly enhance your synthesizer’s capabilities. Implement delay lines for echo effects, create a simple reverb algorithm, or experiment with bit-crushing for lo-fi sounds. The Raspberry Pi’s processing power allows you to stack multiple effects without significant latency.
Don’t forget about control options. Add potentiometers for hands-on parameter adjustment, implement MIDI control for external device integration, or create custom touchscreen interfaces using the Pi’s GPIO pins. Consider using accelerometers or light sensors to introduce motion-based control, making your synthesizer more expressive and interactive.
Remember to optimize your code for performance, especially when running multiple effects simultaneously. Use efficient algorithms and consider implementing a bypass switch for each effect to manage CPU usage effectively.
Kinetic Art Integration
Adding visual elements to your Raspberry Pi synthesizer transforms it from a simple sound-making device into an immersive audiovisual experience. By incorporating kinetic art elements, you can create a synthesizer that responds to your music with mesmerizing movement and light.
Start by connecting LED strips to your Pi’s GPIO pins using a level shifter. WS2812B LED strips work well and can be controlled using the Python library ‘rpi_ws281x’. Position the strips behind a frosted acrylic panel for a diffused glow that pulses with your music.
For physical movement, attach small servo motors to create rotating or oscillating elements. Connect these through a servo driver board to prevent overwhelming the Pi’s power supply. Program the servos to respond to specific frequency ranges or MIDI signals from your synthesizer.
Consider adding a small LCD display to show waveforms or spectrum analysis. The waveshare 1.3-inch LCD HAT fits perfectly and connects directly to the Pi’s GPIO header. Use the Python ‘numpy’ library to process audio signals and generate corresponding visual patterns.
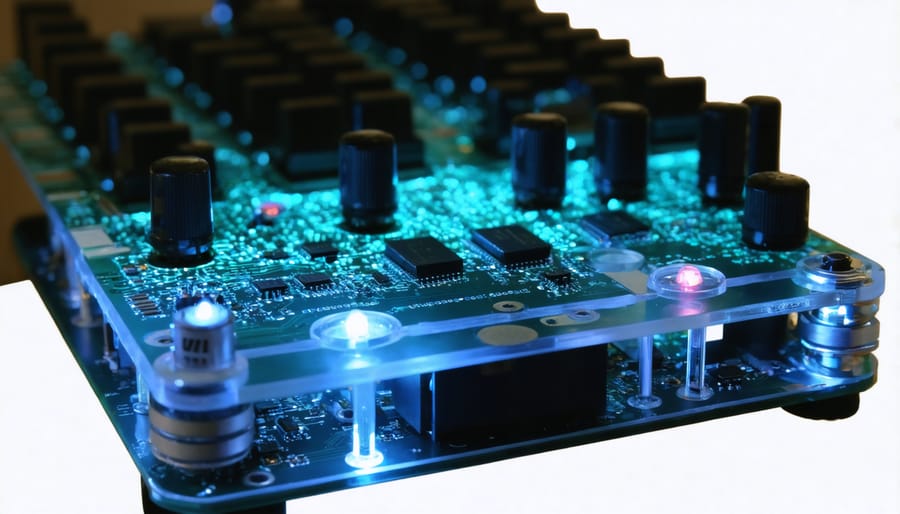
For the finishing touch, house everything in a clear acrylic case to showcase the moving parts. This allows viewers to appreciate both the technical complexity and artistic beauty of your creation while maintaining functionality as a musical instrument.
When troubleshooting your Raspberry Pi synthesizer, start by checking all connections and power supply voltages. Common issues like audio distortion can often be resolved by adjusting the gain settings or updating audio drivers. If you experience lag, consider overclocking your Pi or optimizing your code for better performance.
Looking to expand your project? Consider adding MIDI controller support, implementing additional waveforms, or incorporating visual elements like LED matrices that respond to your music. You could also explore connecting multiple Raspberry Pis to create a more complex synthesizer network or adding touchscreen controls for a more intuitive interface.
The DIY synthesizer community is constantly evolving, with new libraries and hardware additions being developed regularly. Stay connected with other makers through forums and social media to discover new possibilities and share your innovations. Remember, every technical challenge you overcome makes you better equipped for future projects.