

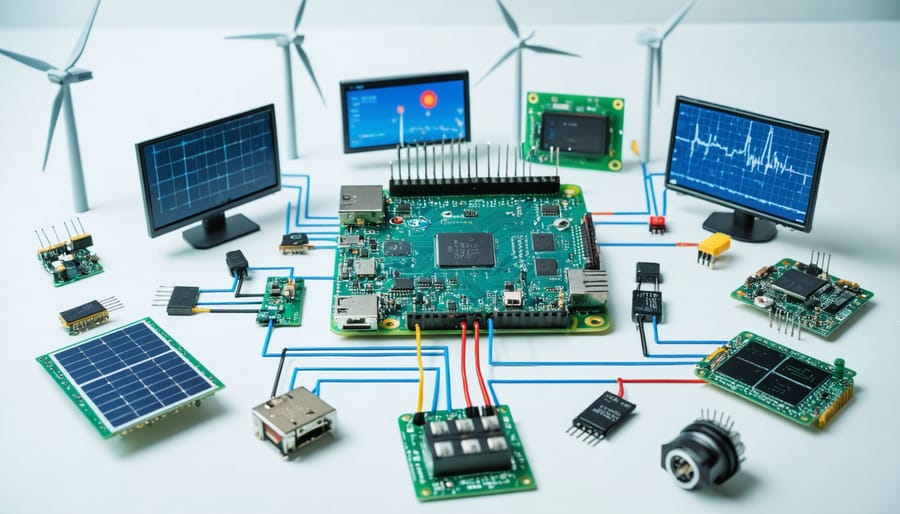
Transform your renewable energy systems into highly efficient powerhouses by implementing advanced monitoring and optimization techniques through Raspberry Pi. Deploy sensor networks to track real-time solar panel performance, wind turbine output, and battery storage levels, enabling data-driven decisions for maximum energy yield. Create smart automation workflows that automatically adjust power distribution based on usage patterns, weather forecasts, and grid demands. Integrate machine learning algorithms to predict energy production peaks, optimize storage capacity, and reduce waste through intelligent load balancing.
This practical approach to renewable energy optimization combines affordable hardware with powerful software solutions, making sustainable technology accessible to both hobbyists and professionals. By leveraging the Raspberry Pi’s versatility, you’ll build a robust monitoring system that not only maximizes energy efficiency but also provides valuable insights through comprehensive data analysis and visualization tools.
Whether you’re managing a small solar installation or a complex hybrid system, these optimization techniques will significantly improve your renewable energy infrastructure’s performance while reducing operational costs.
Setting Up Your Raspberry Pi Energy Monitor
Required Hardware Components
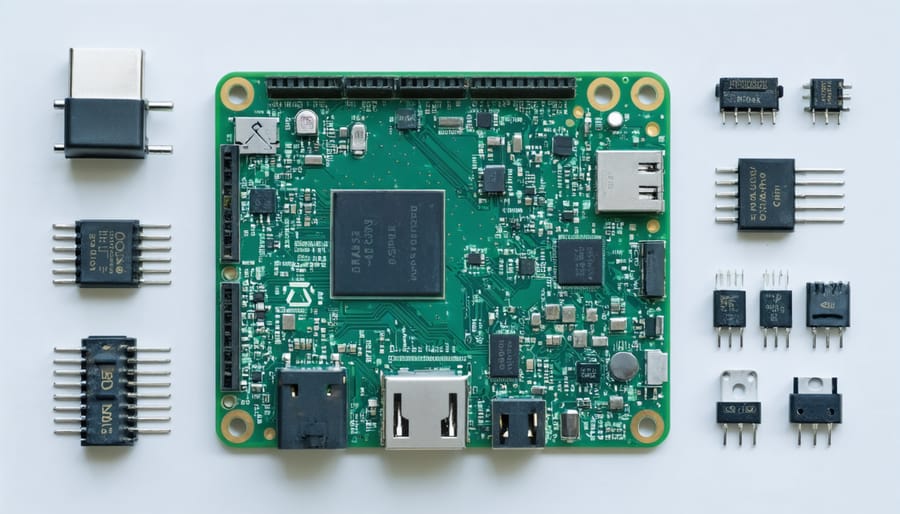
To build an effective renewable energy optimization system, you’ll need several key hardware components. The heart of the monitoring system is a set of voltage sensors (such as the ADS1115 or INA219) that accurately measure the power output from your solar panels or wind turbines. These sensors connect directly to your Raspberry Pi’s GPIO pins and provide precise voltage and current readings.
For comprehensive monitoring, you’ll also need environmental sensors including a light intensity sensor (BH1750) to measure solar radiation and a temperature/humidity sensor (DHT22) to track weather conditions that affect energy production. A reliable relay module is essential for controlling power distribution and implementing optimization strategies.
To ensure stable data collection, include a dedicated power management module and surge protector to safeguard your monitoring equipment. For wireless connectivity, consider adding a WiFi or Bluetooth module if your Raspberry Pi doesn’t have built-in capabilities. Finally, you’ll need standard jumper wires, a breadboard for prototyping, and appropriate connectors to link all components securely.
Remember to choose weather-resistant housing for outdoor components to ensure longevity and reliable operation in various environmental conditions.
Software Installation and Configuration
Begin by downloading the Renewable Energy Monitor (REM) software package from the official repository. Open your terminal and run ‘sudo apt-get update’ followed by ‘sudo apt-get install rem-monitor’ to install the base package. Once installed, navigate to the configuration directory using ‘cd /etc/rem-monitor’.
Create a new configuration file by copying the template: ‘cp config.template.yml config.yml’. Open this file using your preferred text editor and input your system specifications, including solar panel wattage, battery capacity, and inverter details.
Next, install the required dependencies by running ‘pip install -r requirements.txt’. This will set up all necessary Python libraries for data collection and analysis. Configure your sensors by connecting them to the designated GPIO pins on your Raspberry Pi and updating the corresponding pin numbers in the config file.
Launch the calibration wizard by running ‘rem-calibrate’ and follow the on-screen prompts. This process typically takes about 15 minutes and ensures accurate readings from your sensors. The wizard will guide you through voltage calibration, current sensing adjustment, and power calculation verification.
Finally, start the monitoring service with ‘sudo systemctl start rem-monitor’ and enable it to run at startup using ‘sudo systemctl enable rem-monitor’. Verify the installation by accessing the web interface at ‘http://localhost:8080’ – you should see your system’s dashboard with real-time energy data.
Remember to check the logs at ‘/var/log/rem-monitor.log’ for any potential issues during the setup process.
Real-Time Solar Panel Monitoring
Data Collection Scripts
Here’s a collection of Python scripts that make data collection from your solar panel system straightforward and efficient. The foundation of our setup relies on GPIO-based solar monitoring, which allows us to capture real-time power generation metrics.
Let’s start with the basic data collection script:
“`python
import RPi.GPIO as GPIO
import time
import csv
def collect_solar_data(pin):
GPIO.setmode(GPIO.BCM)
GPIO.setup(pin, GPIO.IN)
voltage = GPIO.input(pin) * 3.3
current = voltage / 100 # Using a 100-ohm resistor
power = voltage * current
return {‘voltage’: voltage, ‘current’: current, ‘power’: power}
“`
To store the collected data, we’ll implement a simple logging function:
“`python
def log_data(data):
timestamp = time.strftime(‘%Y-%m-%d %H:%M:%S’)
with open(‘solar_data.csv’, ‘a’) as file:
writer = csv.writer(file)
writer.writerow([timestamp, data[‘voltage’],
data[‘current’], data[‘power’]])
“`
These scripts can be scheduled to run at regular intervals using cron jobs on your Raspberry Pi. The collected data becomes invaluable for analyzing solar panel performance and optimizing energy production based on historical patterns.
Creating a Web Dashboard
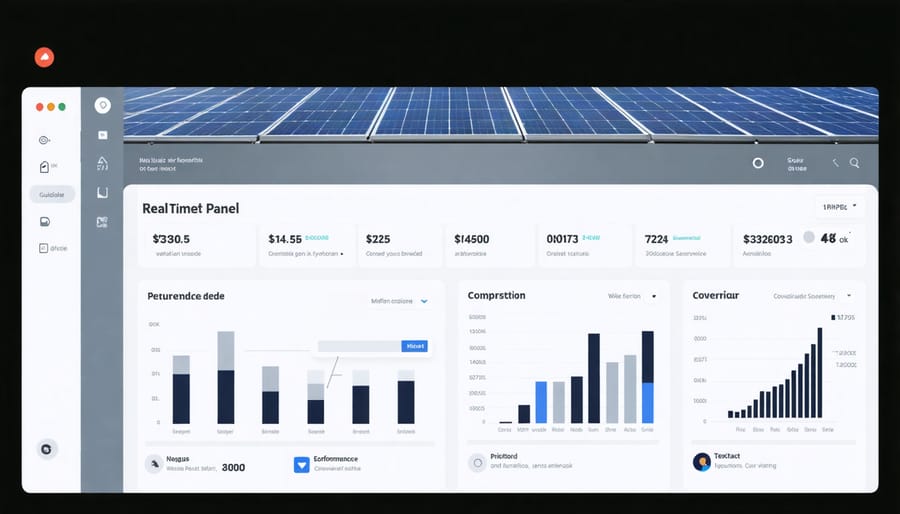
Creating a web-based dashboard allows you to monitor your solar system’s performance in real-time through any browser. Start by installing a lightweight web server like Flask on your Raspberry Pi. Create a new project directory and set up a basic Flask application structure with routes for your dashboard pages.
Design your dashboard layout using HTML and CSS, focusing on clear data visualization. Include essential metrics such as current power generation, daily energy production, and system efficiency. Bootstrap or Material Design frameworks can help create a professional-looking interface quickly.
Implement data visualization using JavaScript libraries like Chart.js or D3.js to display dynamic graphs of your solar performance metrics. Create separate charts for daily, weekly, and monthly views to help identify patterns and optimization opportunities.
Add real-time updates using WebSocket connections or AJAX requests to automatically refresh your dashboard data without manual page reloads. Consider implementing a simple API endpoint that serves JSON data from your SQLite database to populate these charts.
For enhanced usability, include features like data export options, system alerts, and customizable display preferences. Make sure your dashboard is mobile-responsive so you can check system performance from any device.
Finally, secure your dashboard by implementing basic authentication to prevent unauthorized access, especially if you plan to make it accessible outside your local network.
Automated Load Management
Smart Device Integration
In a renewable energy system, smart device integration plays a crucial role in maximizing energy efficiency and automation. By implementing automated device control systems, your Raspberry Pi can intelligently manage various household appliances based on real-time energy availability.
The integration process begins with compatible smart plugs or switches that support common protocols like WiFi, Zigbee, or Z-Wave. These devices connect to your Raspberry Pi through a central hub or direct WiFi connection, enabling granular control over power consumption. Popular options include TP-Link Kasa, Sonoff devices, or Shelly smart relays, all of which offer robust APIs for integration.
Using Python libraries like paho-mqtt for MQTT communication or requests for REST APIs, you can program your Raspberry Pi to automatically adjust device behavior. For example, when solar power production is high, the system can automatically activate power-hungry appliances like washing machines or water heaters. Conversely, during low-production periods, it can disable non-essential devices to conserve energy.
To enhance functionality, consider incorporating smart sensors to monitor environmental conditions. Temperature sensors can help optimize HVAC usage, while motion detectors can manage lighting systems based on occupancy. The key is to create logical rules that balance comfort with energy efficiency.
Remember to implement a user-friendly interface for manual override capabilities. This can be achieved through a web dashboard or mobile app, giving users the flexibility to adjust automation rules when needed while maintaining the system’s overall efficiency goals.
Energy Usage Algorithms
Energy usage algorithms play a crucial role in optimizing renewable energy systems, especially when implemented on platforms like Raspberry Pi. These algorithms focus on two main aspects: predicting energy consumption patterns and efficiently distributing available power resources.
The most commonly used algorithm is the Load Forecasting Method, which uses historical data and machine learning to predict future energy demands. This algorithm analyzes patterns in daily usage, weather conditions, and seasonal variations to optimize energy distribution. Implementation typically involves Python libraries like scikit-learn or TensorFlow Lite, which are well-suited for Raspberry Pi’s processing capabilities.
Another essential algorithm is the Peak Load Shifting technique, which redistributes energy consumption to off-peak hours. This approach uses simple conditional statements to monitor current usage and automatically adjusts power distribution based on predetermined thresholds. The algorithm can be implemented using basic Python scripts that interface with power monitoring sensors.
For solar energy systems, the Solar Production Optimization algorithm calculates the best times for energy consumption based on predicted solar panel output. This algorithm combines weather API data with historical production patterns to maximize the use of solar-generated power.
Real-time monitoring algorithms are equally important, using a combination of sensor data and simple mathematical calculations to track energy flow. These can be implemented using Python’s numpy library for efficient calculations and matplotlib for visualization.
To ensure system reliability, these algorithms should include error handling and failsafe mechanisms. A simple watchdog timer implementation can help monitor algorithm performance and restart processes if needed, preventing system crashes and maintaining continuous operation.
Data Analysis and Optimization
Performance Metrics
Monitoring your renewable energy system’s performance requires tracking several key metrics to ensure optimal efficiency. The most crucial parameters include power generation (measured in watts), energy yield (kilowatt-hours), and system efficiency (percentage). By implementing solar system optimization techniques, you can track these metrics in real-time using your Raspberry Pi.
Daily power generation peaks and consumption patterns help identify system efficiency trends. Temperature readings from both solar panels and battery banks are essential for maintaining optimal operating conditions. The state of charge (SOC) for batteries, typically displayed as a percentage, indicates storage capacity and system health.
Your Raspberry Pi can monitor voltage levels across different components, current flow, and power factor readings. These measurements, combined with environmental data like solar irradiance and ambient temperature, provide a comprehensive view of system performance. Setting up automated alerts for metrics falling outside predetermined ranges ensures prompt maintenance and optimal system operation.
Remember to log historical data for long-term analysis and system optimization. This information proves invaluable when scaling your renewable energy setup or troubleshooting performance issues.
Machine Learning Integration
Machine Learning plays a crucial role in optimizing renewable energy systems by predicting energy generation and consumption patterns. Using popular Python libraries like scikit-learn and TensorFlow, you can implement basic prediction models on your Raspberry Pi. The most straightforward approach is to create a simple regression model that analyzes historical data from your solar panels or wind turbines.
Start by collecting essential data points such as weather conditions, time of day, and historical energy output. This data forms the foundation for training your ML model. A basic Linear Regression model can predict energy generation for the next 24 hours, while more advanced models like Random Forests can account for multiple variables and seasonal patterns.
For beginners, implementing a basic prediction system involves:
1. Gathering at least three months of energy data
2. Cleaning and preprocessing the data using pandas
3. Training a simple model using scikit-learn
4. Running predictions on new data
5. Storing results in a database for system optimization
The model’s predictions help optimize energy storage and consumption by anticipating peak generation periods and adjusting system parameters accordingly.

The Raspberry Pi has proven to be an invaluable tool in advancing renewable energy optimization, offering an accessible and cost-effective solution for monitoring, controlling, and maximizing energy systems. Its versatility and robust capabilities make it an ideal platform for both hobbyists and professionals looking to contribute to a sustainable future.
As we’ve explored throughout this article, the combination of Raspberry Pi’s processing power, extensive sensor compatibility, and programming flexibility creates countless opportunities for innovation in renewable energy. From solar panel optimization to wind turbine monitoring, these compact computers are helping democratize access to smart energy management systems.
Looking ahead, the potential for Raspberry Pi in renewable energy optimization continues to expand. With the growing availability of new sensors, improved processing capabilities, and an ever-active community of developers, we can expect to see even more sophisticated applications emerge. Future possibilities include advanced machine learning algorithms for energy prediction, integrated systems combining multiple renewable sources, and more accessible solutions for home energy management.
For those just starting their journey in renewable energy optimization, the Raspberry Pi offers an excellent entry point. Its low barrier to entry, combined with extensive documentation and community support, makes it possible for anyone to contribute to the green energy revolution. Whether you’re a student, maker, or professional developer, the tools and knowledge are readily available to turn your sustainable energy ideas into reality.