

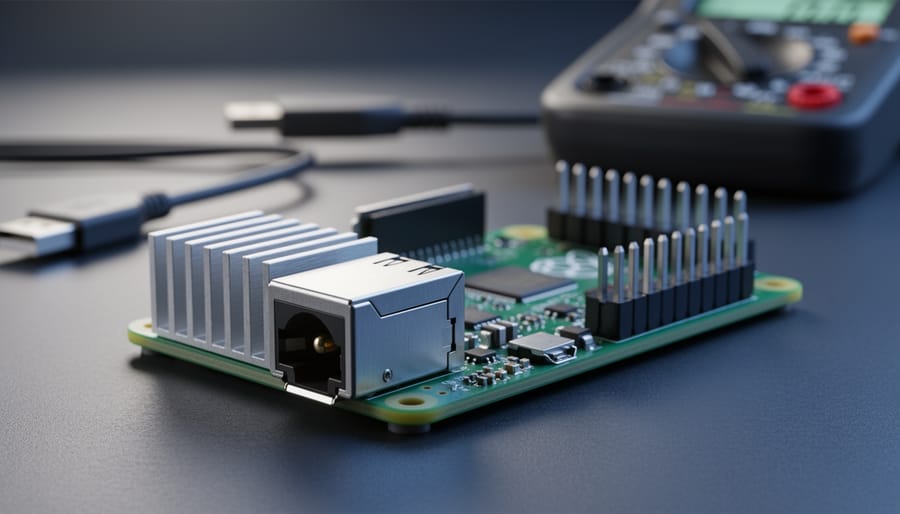
A technical resource manual is your definitive reference guide for hardware specifications, operational limits, and troubleshooting procedures that keep your Raspberry Pi running safely and reliably. For power rails and thermal management specifically, these manuals provide the exact voltage tolerances, current draw specifications, and temperature thresholds you need to avoid hardware damage or unexpected shutdowns.
Understanding your board’s power requirements and heat dissipation characteristics isn’t just academic knowledge. Push a 5V rail below 4.63V under load, and you’ll see system instability or corrupted SD cards. Let your SoC climb past 85°C consistently, and you’re triggering thermal throttling that slashes performance by up to 50%. These aren’t hypothetical problems. They’re the most common issues builders face when adding HATs, USB peripherals, or running compute-intensive tasks without proper planning.
The challenge is that Raspberry Pi boards span multiple generations with different power delivery architectures and thermal profiles. A solution that works perfectly for a Pi 3B might be inadequate for a Pi 5 drawing 5A peaks. Official documentation provides baseline specifications, but real-world applications demand a deeper understanding of how voltage drops accumulate through connectors, how ambient temperature affects cooling efficiency, and which monitoring tools actually give you actionable data before problems occur.
This guide breaks down the essential specifications from official technical manuals, translates them into practical limits for your projects, and shows you exactly how to measure, monitor, and manage both power delivery and thermal performance. You’ll learn which numbers matter, how to interpret them during operation, and what steps to take when readings fall outside safe ranges.
What Is a Technical Resource Manual?
A technical resource manual is the definitive specification document that details how Raspberry Pi hardware actually works at the electrical and physical level. Unlike user guides that walk you through setup steps or project tutorials that show you how to build something, these manuals serve as authoritative references for engineers, developers, and serious makers who need precise technical data about board architecture, electrical characteristics, and operational limits.
In the Raspberry Pi ecosystem, technical resource manuals cover critical specifications like voltage requirements for each power rail, current draw limits, GPIO pin capabilities, thermal throttling thresholds, and component-level schematics. This documentation answers questions that determine whether your project will work reliably or fail unexpectedly: Can this USB hub draw enough power? Will my Pi overheat inside this enclosure? Is my power supply adequate for these peripherals?
These manuals differ fundamentally from beginner documentation. A getting-started guide tells you to plug in a 5V power supply; the technical manual specifies that the board requires 5V ±5% at up to 3A peak draw, details how power is distributed across rails, and explains what happens when voltage drops below threshold. Project tutorials assume standard configurations work; technical manuals give you the data to design non-standard configurations correctly.
You should reach for these manuals before selecting components for complex builds, when pushing hardware beyond typical hobby use (overclocking, 24/7 operation, industrial environments), and whenever you encounter hardware behavior that seems wrong. They’re not casual reading, but they’re essential references that prevent costly mistakes and wasted time chasing problems that specs would have predicted. The technical reference becomes your primary resource whenever “it should work” isn’t enough and you need to know exactly why something does or doesn’t function.
Understanding Raspberry Pi Power Rails
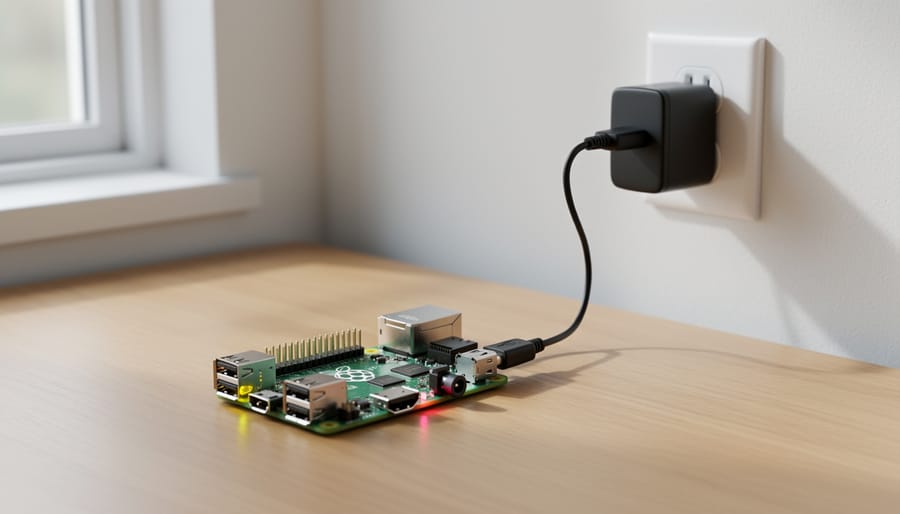
What Are Power Rails?
Power rails are the internal electrical pathways that distribute specific voltage levels to different components across your Raspberry Pi board. Think of them like the plumbing in a house: just as you have separate pipes delivering hot and cold water to different fixtures, your Pi has separate voltage “lines” delivering precise power levels to various chips and connectors.
The Raspberry Pi uses multiple power rails because different components require different voltages to function properly. The main processor might need 1.8V, while the GPIO pins operate at 3.3V, and USB ports require 5V. Running everything off a single voltage would be like trying to power both a smartphone charger and an electric oven from the same outlet, the voltages simply don’t match the needs.
The two most important rails you’ll encounter are the 5V rail (which powers USB ports, HDMI output, and the overall board) and the 3.3V rail (which powers GPIO pins, many sensors, and low-voltage communication interfaces). The original 5V input from your power supply gets converted and distributed through these rails via voltage regulators, small components that step down the voltage to the precise levels each part needs.
When you connect peripherals to your Raspberry Pi, you’re drawing power from these rails. A USB keyboard pulls from the 5V rail, while a temperature sensor connected to the GPIO header typically draws from the 3.3V rail. Understanding which rail powers what becomes crucial when you start adding multiple accessories, since each rail has maximum current limits that shouldn’t be exceeded.
Common Raspberry Pi Power Rail Specifications
Modern Raspberry Pi boards use a dual-rail power architecture, with 5V and 3.3V rails serving distinct components and peripherals. The 5V rail receives power directly from the USB-C or micro-USB input and supplies the processor, USB ports, and HDMI outputs. The 3.3V rail, generated by an onboard voltage regulator from the 5V supply, powers the GPIO pins, CSI camera interface, DSI display connector, and most HATs.
The Raspberry Pi 4 Model B delivers up to 1.2A on its 3.3V rail, a significant improvement over the Pi 3’s 800mA limit. This increase accommodates power-hungry accessories like multiple sensors or small OLED displays connected simultaneously. The 5V rail can handle the full current capacity of your power supply minus what the board itself consumes, typically around 600mA for the Pi 4 at idle, climbing to 1.25A under heavy processing loads before peripherals.
| Model | 3.3V Rail Max Current | 5V Rail Available | Typical Use Cases |
|---|---|---|---|
| Raspberry Pi 4 | 1.2A | Depends on PSU (3A recommended) | Multiple sensors, camera modules, standard HATs |
| Raspberry Pi 5 | 1.6A | Requires 5A PSU for full capability | High-speed peripherals, NVMe drives, power-intensive HATs |
| Zero 2 W | 800mA | Limited by micro-USB input | Low-power sensors, single small display |
The Pi 5 raises the bar with 1.6A available on the 3.3V rail, enabling more complex peripheral configurations without voltage sag. Its enhanced power delivery system also supports PCIe peripherals through the dedicated connector, though these draw from the 5V rail.
GPIO power delivery deserves special attention when planning projects. Pins 1 and 17 provide direct 3.3V access, while pins 2 and 4 supply 5V straight from the input with no current limiting. Drawing excessive current through GPIO power pins bypasses the polyfuse protection on the USB input, potentially damaging your board. Never pull more than 50mA from any single GPIO pin or exceed the total 3.3V rail capacity across all connected devices.
Calculating Power Requirements for Your Project
Calculating your project’s power requirements prevents undervoltage issues and ensures stable operation. Start with your Raspberry Pi model’s base consumption: a Pi 4 Model B draws approximately 600mA at idle and up to 1.25A under full load at 5V. Multiply voltage by current to get watts (5V × 1.25A = 6.25W maximum).
Next, add peripheral consumption. USB devices list their requirements in specifications: a wireless keyboard typically needs 100mA, an external SSD might draw 500mA, and a webcam can pull 300-500mA depending on resolution. HATs vary widely; a basic sensor board might use 50mA while a motor controller could demand 2A or more. Check each component’s datasheet for maximum current draw.
Use this formula: Total Current = Pi Base + USB Devices + HAT + GPIO Loads. For example, a Pi 4 with keyboard (100mA), SSD (500mA), and basic sensor HAT (50mA) needs 1.25A + 0.1A + 0.5A + 0.05A = 1.9A minimum. Always add 20 percent headroom, giving 2.28A, so choose at least a 2.5A supply.
Choosing the right power supply matters. The official Raspberry Pi power supply provides 5.1V at 3A with built-in protections. Industrial projects often benefit from DIN-rail power supplies rated for continuous operation and harsh environments.
Remember that GPIO pins source limited current: 3.3V rail provides 500mA total across all pins, with individual pins limited to 16mA. Exceeding these damages the board. For power-hungry sensors or servos, use external power with common ground connections rather than drawing through GPIO.
Thermal Management and Temperature Limits
Why Thermal Limits Matter
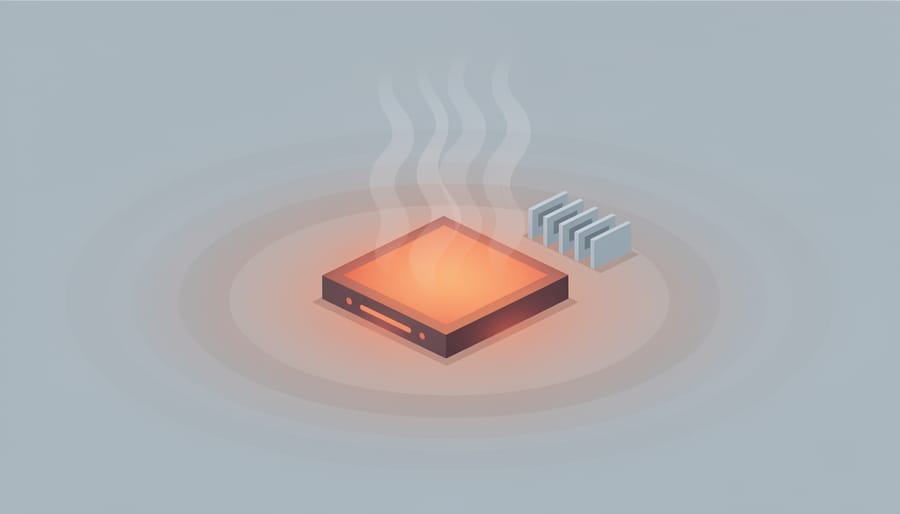
Your Raspberry Pi generates heat whenever it processes data. The more complex the task, the more heat it produces. This heat buildup matters because silicon chips can only operate safely within specific temperature ranges.
When your board exceeds its thermal threshold, typically around 80°C for most Raspberry Pi models, the system activates thermal throttling. This protective mechanism automatically reduces the CPU clock speed to lower heat generation. You’ll notice this as sudden slowdowns during processor-intensive tasks like video encoding, compiling code, or running AI models. A project that normally completes in two minutes might take five once throttling kicks in.
The performance hit isn’t linear. At 80°C, you might lose 20% of your processing speed. Push to 85°C, and throttling becomes more aggressive. Your board becomes frustratingly sluggish, applications lag, and real-time projects miss their timing requirements.
Sustained high temperatures accelerate component aging. Solder joints weaken, transistors degrade faster, and the board’s lifespan shortens. While a single overheating episode won’t destroy your Pi, repeated thermal stress compounds over months and years.
The workload-heat relationship is straightforward: idle browsing generates minimal heat, while 4K video playback or parallel processing tasks max out the CPU and spike temperatures rapidly. Understanding this connection helps you anticipate cooling needs before starting demanding projects. A $3 heatsink or $8 fan prevents problems that throttling alone can’t solve when you’re pushing your hardware hard.
Official Temperature Specifications
The Raspberry Pi Foundation publishes precise thermal specifications that define safe operating boundaries for each board model. Understanding these numbers helps you anticipate when performance will degrade and when protective shutdowns will occur.
All current Raspberry Pi boards share a standard operating temperature range of 0°C to 85°C (32°F to 185°F). This range represents the ambient temperature conditions under which the board is designed to function reliably. However, the chip itself can reach significantly higher temperatures under load before protective measures kick in.
Throttling begins at 80°C (176°F) on modern Raspberry Pi models. When the System-on-Chip (SoC) reaches this temperature, the firmware automatically reduces clock speeds to lower heat generation. You might not notice throttling during light tasks like web browsing, but demanding applications such as video encoding or scientific computations will slow noticeably. The system prioritizes longevity over performance at this threshold.
If temperature continues climbing despite throttling, a critical shutdown occurs at 85°C (185°F). This hard limit protects the silicon from permanent damage. The board will not restart until it cools below the throttling threshold, creating a gap in availability for critical applications.
| Model | Operating Range | Throttling Starts | Critical Shutdown |
|---|---|---|---|
| Raspberry Pi 5 | 0-85°C | 80°C | 85°C |
| Raspberry Pi 4 | 0-85°C | 80°C | 85°C |
| Raspberry Pi Zero 2 W | 0-85°C | 80°C | 85°C |
| Recommended Ambient | 15-30°C |
These thresholds apply uniformly, but heat generation varies significantly between models. The Pi 5 vs older models shows dramatically higher power draw and thermal output under equivalent workloads, making active cooling nearly essential for sustained performance. Similarly, Zero 2 W thermals run hotter than the original Zero despite the compact form factor, requiring attention in enclosed projects.
Ambient temperature matters more than many builders realize. Operating a Pi 4 in a 30°C room gives you only a 50°C thermal headroom before throttling starts, while a 20°C environment provides 60°C of margin for the same workload.
Cooling Solutions and Best Practices
Choosing the right cooling solution depends entirely on your project’s thermal demands. A Raspberry Pi running basic scripts headless in a cool room needs no special cooling at all, the board’s thermal design handles moderate loads comfortably. But push it harder with video transcoding, AI inference, or sustained overclocking, and you’ll hit thermal throttling without intervention.
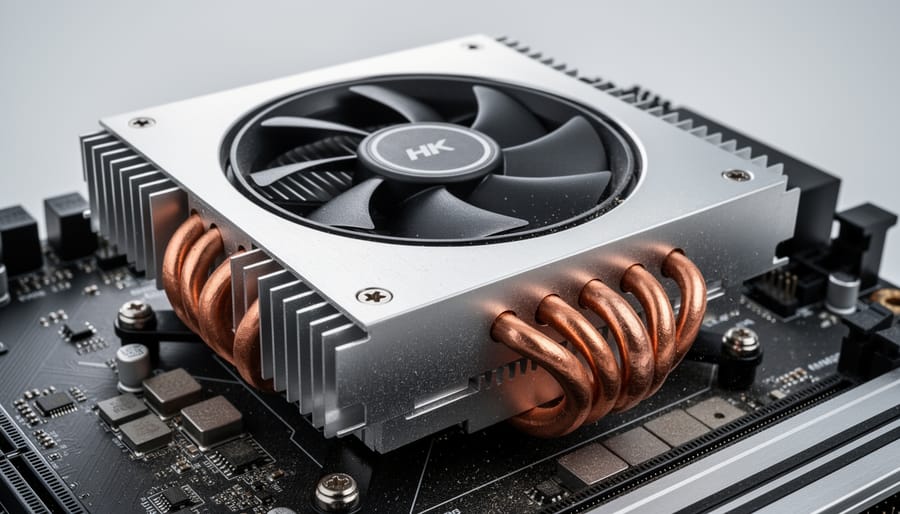
Passive cooling with heatsinks works well for continuous moderate workloads like lightweight media servers, retro gaming consoles, or home automation hubs. Heatsinks transfer heat from the CPU and RAM chips into the surrounding air through convection. Install aluminum or copper heatsinks with thermal adhesive pads directly onto the processor and larger chips. This approach adds zero noise and needs no power, making it ideal when the ambient temperature stays reasonable and your case allows airflow. Passive cooling typically keeps temperatures 10-15°C lower than a bare board under steady loads.
Active cooling with fans becomes necessary when passive measures aren’t enough. A 30mm or 40mm fan mounted over the CPU drops temperatures by 20-30°C compared to passive cooling, pushing hot air away faster than convection alone manages. Use active cooling for overclocked boards, 4K media playback, compile servers, or any scenario where the CPU sustains high utilization for extended periods. Most fans draw 100-200mA from GPIO or USB headers. Consider PWM-controlled fans that adjust speed based on temperature readings for quieter operation during idle periods.
Case design matters as much as the cooling hardware itself. Enclosed cases trap heat unless they include ventilation holes, standoffs for airflow underneath, or dedicated fan mounts. Open-frame cases provide excellent natural airflow but offer less protection from dust and accidental contact. For silent operation in climate-controlled spaces, a well-ventilated case with passive cooling suffices. High-performance setups benefit from cases with integrated fan mounts and clear air pathways from intake to exhaust.
Reading and Interpreting Technical Reference Documentation
Official Raspberry Pi technical documentation can feel overwhelming at first glance, but learning to navigate these resources efficiently saves hours of trial-and-error troubleshooting. The key is knowing where to look and what each section actually tells you.
Start with the official Raspberry Pi documentation website, which organizes technical references by board model. Each product page contains a “Technical Specifications” section followed by downloadable PDF schematics and datasheets. The specifications page gives you high-level numbers, processor speed, RAM capacity, power requirements, while the schematic PDFs reveal circuit-level details like exact GPIO pin connections and component values.
When reading specification sheets, focus on three critical areas: power specifications (input voltage range, maximum current draw per rail), thermal specifications (operating temperature range, throttling thresholds), and GPIO electrical characteristics (voltage levels, current capacity per pin). These numbers directly impact whether your project will work reliably.
Specification tables use shorthand that trips up newcomers. “Typ” means typical operating conditions, “Max” indicates absolute limits you shouldn’t exceed, and “Min” shows the lowest acceptable values. A GPIO pin listing “16mA max per pin” isn’t a suggestion, exceeding that current damages the board permanently.
Cross-reference multiple documents when planning projects. The main technical reference gives overall board specifications, but HAT documentation provides additional details about accessory power draw and compatibility. If specifications seem contradictory, the board-specific datasheet takes precedence over generic guides.
Pay attention to revision notes at the document’s beginning. Raspberry Pi boards evolve across hardware revisions, and a specification valid for revision 1.2 might not apply to revision 1.5. Match your board’s revision number (printed on the PCB) against the documentation version.
Download PDFs locally rather than relying on web pages alone. Technical documentation updates periodically, and having the exact version matching your hardware prevents confusion when specifications change between board generations.
Hands-On: Monitoring Power and Temperature in Real-Time
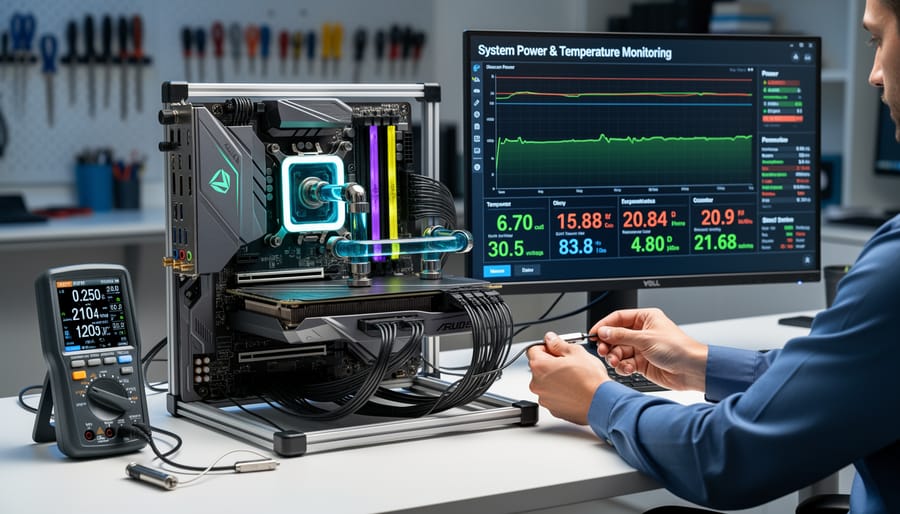
Monitoring your Raspberry Pi’s vital statistics in real-time helps you catch power or thermal issues before they cause crashes or data loss. Fortunately, Pi OS includes several built-in tools that require nothing more than terminal access.
The simplest way to check temperature is with the `vcgencmd` utility. Open a terminal and type:
“`
vcgencmd measure_temp
“`
This returns the current CPU temperature in Celsius, like `temp=52.1’C`. For continuous monitoring during a stress test or intensive task, use a watch loop:
“`
watch -n 1 vcgencmd measure_temp
“`
This updates the reading every second. Press Ctrl+C to stop.
When your Pi gets too hot or doesn’t receive enough power, the system throttles performance to protect itself. Check the throttling status with:
“`
vcgencmd get_throttled
“`
A result of `throttled=0x0` means everything is fine. Any other hex value indicates current or past throttling. The most common codes are `0x50000` (past undervoltage) and `0x50005` (currently throttled due to undervoltage). If you see these codes repeatedly, your power supply likely can’t deliver the necessary current.
While the Pi doesn’t expose precise voltage readings through standard commands, you can infer power supply health from throttling indicators. Third-party tools like `rpi-throttled` provide more detailed voltage logging if you need granular data.
For ongoing observation, create a simple monitoring script that logs both temperature and throttle status:
“`bash
while true; do
echo “$(date) – $(vcgencmd measure_temp) – $(vcgencmd get_throttled)”
sleep 5
done
“`
Save this as “, make it executable with `chmod +x `, and run it before starting demanding tasks. The output shows patterns over time, helping you identify when specific operations push your system toward its limits.
For desktop users, tools like `rpi-monitor` provide graphical interfaces with historical charts, though the command-line approach works universally across headless and GUI setups. Regular monitoring becomes second nature once you’ve diagnosed power or thermal problems a few times.
Common Power and Thermal Issues (and How to Fix Them)
The lightning bolt icon in the top-right corner of your screen signals an undervoltage condition, the most common power issue Raspberry Pi users encounter. This warning appears when the input voltage drops below 4.63V on modern boards, typically caused by an inadequate power supply or a thin USB cable creating too much resistance. The immediate fix involves replacing your power supply with an official unit rated for at least 3A (5A for Pi 5) or using a shorter, thicker cable. Generic phone chargers rarely deliver stable power under load, even when their label claims sufficient amperage.
Unexpected shutdowns during resource-intensive tasks point to either power starvation or thermal throttling. When the CPU temperature exceeds 80°C, the board automatically reduces clock speed to prevent damage; at 85°C, it may shut down entirely. Check your current temperature with `vcgencmd measure_temp` and your throttling status with `vcgencmd get_throttled`. A return value of `0x0` means no throttling has occurred, while any other hex value indicates past or present issues. Consistent throttling during normal operation demands better cooling, start with a basic heatsink kit before investing in active cooling.
USB devices that randomly disconnect or fail to initialize almost always trace back to insufficient current on the 5V rail. Each USB port can theoretically supply 1.2A, but total available current depends on what your power supply delivers minus what the board itself consumes. External hard drives and power-hungry peripherals need a powered USB hub rather than drawing directly from the Pi. You can also enable USB boot mode limits in `/boot/config.txt` using `usb_max_current_enable=1` to slightly increase available current, though this requires a quality 3A+ supply.
Why does my Pi show a lightning bolt icon?
The lightning bolt indicates undervoltage, your power supply can’t maintain the required 4.63V minimum. Replace it with an official adapter or use a shorter, thicker USB cable to reduce voltage drop.
Can I power my Pi from a laptop USB port?
Not reliably. Laptop USB ports typically supply only 0.5-0.9A, well below the 2.5-3A needed for stable operation under load. You’ll experience constant undervoltage warnings and random crashes.
How hot is too hot for a Raspberry Pi?
Thermal throttling begins at 80°C and the board shuts down at 85°C. For long-term reliability and consistent performance, keep temperatures below 70°C under load.
Will adding a heatsink void my warranty?
No. Passive cooling solutions like heatsinks that don’t require modification to the board won’t affect your warranty, though drilling holes or permanent modifications will.
Diagnosing power versus thermal issues requires systematic testing. Run `stress-ng –cpu 4 –timeout 60s` while monitoring temperature and checking for undervoltage warnings. If the system throttles or crashes with adequate cooling, your power supply is the culprit. Conversely, if you see no voltage warnings but temperatures spike above 80°C, focus on thermal management. The combination of a quality power supply, proper cooling, and realistic expectations about peripheral power draw solves 95% of hardware stability problems.
Mastering your Raspberry Pi’s power rails and thermal limits isn’t optional, it’s fundamental to building projects that actually work. The technical resource manuals provide the authoritative specifications you need to avoid frustrating failures, from undervoltage warnings that crash your media server to thermal throttling that kills performance during critical tasks.
Throughout this guide, we’ve covered how to calculate power requirements for your peripherals, interpret official temperature thresholds, and implement effective cooling strategies. But the real takeaway? These manuals exist precisely so you don’t have to guess. Before you connect that USB hub, add another HAT, or push your board harder, check the specs first.
Make the official Raspberry Pi technical documentation your starting point for every hardware decision. Bookmark the datasheets and reference them when planning configurations. The five minutes spent consulting proper specifications will save you hours of troubleshooting mysterious shutdowns and unstable behavior.
Your projects deserve the solid foundation that comes from understanding what your hardware can actually handle. Trust the manuals, respect the limits, and build with confidence.