

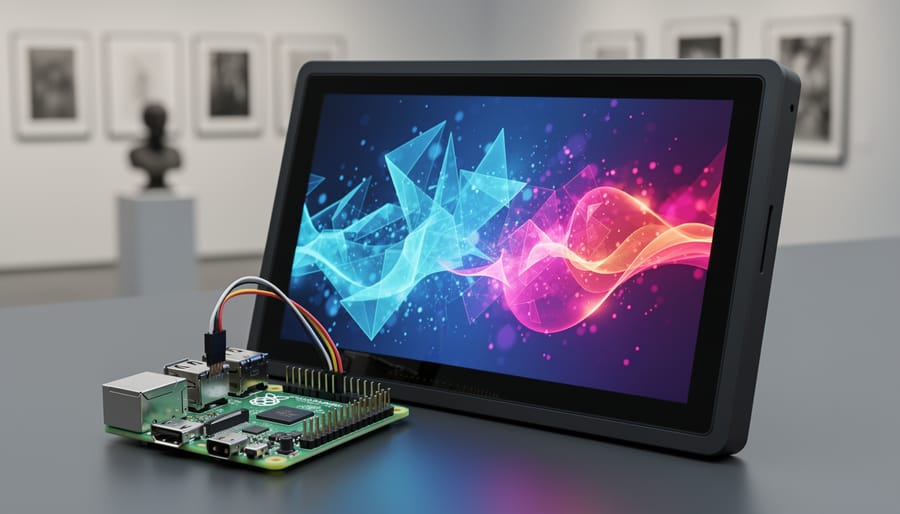
Choose your 7-inch Raspberry Pi touchscreen based on your project’s specific requirements: Official Raspberry Pi displays offer plug-and-play compatibility with DSI connection and 800×480 resolution, while third-party HDMI options provide higher resolutions up to 1024×600 and often cost less. Match the display’s touch technology to your application—capacitive screens respond to light finger touches ideal for interactive art installations and public kiosks, while resistive displays work with styluses and gloves for industrial projects.
Install drivers immediately after connecting your display by running sudo apt-get update and sudo apt-get upgrade, then configure screen rotation and touch calibration through /boot/config.txt to ensure proper orientation for your enclosure. Test touch responsiveness using the evtest command to verify all input zones register correctly before mounting the display permanently.
Power your touchscreen setup reliably by calculating total current draw—most 7-inch displays consume 400-700mA alongside your Pi’s requirements. Use a quality 5V 3A power supply with proper gauge wiring to prevent voltage drops that cause screen flickering and random reboots during operation.
Optimize your interface design for the compact 7-inch form factor by increasing touch target sizes to minimum 44×44 pixels, implementing clear visual feedback for user interactions, and designing layouts that work in both portrait and landscape orientations. This approach transforms technical specifications into functional installations that users can navigate confidently without frustration or repeated touches.
Why the 7-Inch Form Factor Is Perfect for Interactive Installations
The 7-inch form factor has emerged as the sweet spot for interactive installations, offering a compelling blend of practicality and performance that larger and smaller displays simply can’t match. Whether you’re building a museum exhibit, a smart home control panel, or an interactive art piece, understanding why this size works so well can help you design better projects from the start.
First, let’s talk about portability. A 7-inch touchscreen paired with a Raspberry Pi creates a remarkably lightweight and compact package. You can easily mount these displays in tight spaces, transport them between locations, or integrate multiple units into a single installation without overwhelming your setup. This portability extends to power requirements too. The 7-inch display typically draws just 1-2 watts, meaning you can run your entire interactive installation on a portable battery pack for hours, or even power multiple displays from a single source without worrying about electrical infrastructure.
The viewing angle characteristics of quality 7-inch displays make them ideal for installations where users approach from different positions. Most modern 7-inch touchscreens offer 160-degree viewing angles, ensuring your content remains visible and vibrant whether someone views it head-on or from the side. This matters tremendously in gallery settings or public spaces where you can’t control how people interact with your display.
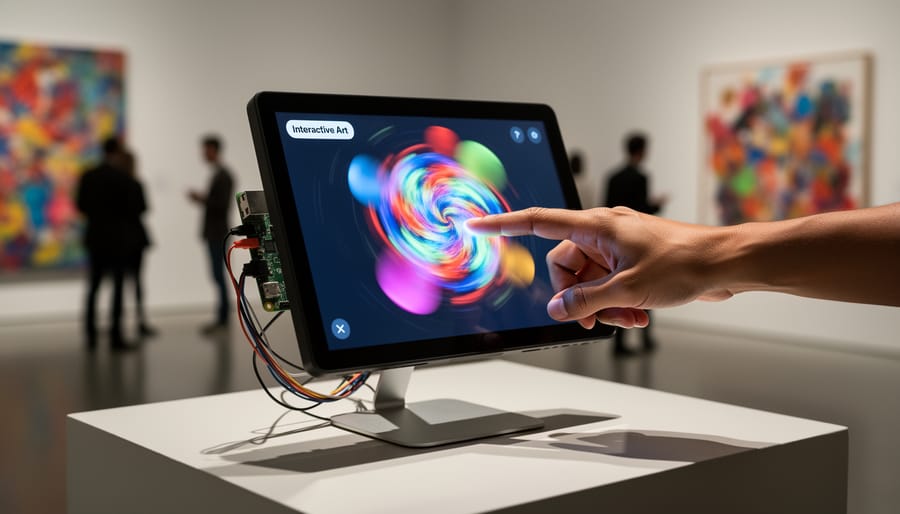
Touch responsiveness at this size feels natural and intuitive. The 7-inch screen provides enough real estate for comfortable finger-based interaction without requiring pinpoint precision. Users can easily tap buttons, swipe through content, and interact with your interface without frustration. The capacitive touch technology found in most Raspberry Pi-compatible displays responds instantly, creating the smooth, tablet-like experience people expect.
Perhaps most importantly, the 7-inch display strikes that perfect balance between visibility and space constraints. It’s large enough to display meaningful content, detailed graphics, and readable text from several feet away, yet compact enough to integrate seamlessly into existing environments without dominating the space or requiring special mounting considerations.
Official Raspberry Pi Touch Display vs. Third-Party Alternatives
The Official Raspberry Pi 7-Inch Touch Display
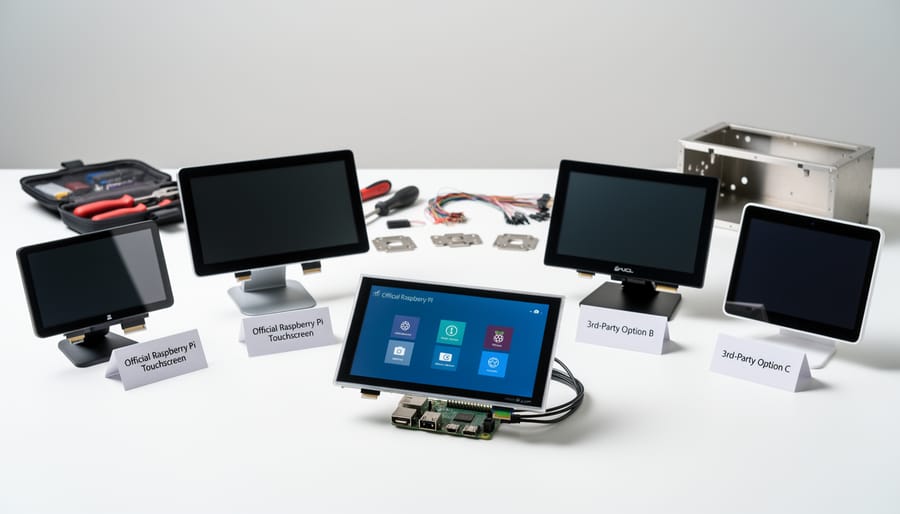
The official Raspberry Pi 7-inch touch display remains the gold standard for Pi projects, and for good reason. This 800×480 capacitive touchscreen connects directly to your Raspberry Pi through the DSI (Display Serial Interface) port, which offers significant advantages over USB-based alternatives. The DSI connection means you won’t consume any USB ports, your display won’t compete for bandwidth with other peripherals, and you’ll enjoy more stable performance during intensive operations.
What makes this display particularly appealing for installations is its robust design and official support. The 10-point capacitive touch responds accurately even in public-facing projects where countless fingers will interact with your creation. The display includes integrated standoffs that perfectly match the Raspberry Pi’s mounting holes, making physical assembly straightforward whether you’re building a custom enclosure or using third-party cases designed specifically for this combination.
Power delivery is another thoughtful detail. While the display requires its own power supply, it can also power your Pi through the GPIO pins, reducing cable clutter in your installation. The viewing angles are excellent at 70 degrees in all directions, ensuring your content looks great even when viewers aren’t directly centered.
At approximately 50 to 75 dollars, it’s not the cheapest option available, but the reliability factor matters tremendously for long-term installations. You’re getting guaranteed compatibility across all Pi models, regular firmware updates, and community support that’s second to none. For educators and makers creating projects that need to work consistently without troubleshooting, this official display delivers peace of mind alongside solid performance.
Best Third-Party 7-Inch Touch Displays Worth Considering
While the official Raspberry Pi display is excellent, several third-party alternatives offer compelling features that might better suit your specific project needs.
The Elecrow 7-inch HDMI display stands out with its impressive 1024×600 resolution, surpassing the official display’s 800×480. This capacitive touchscreen delivers smooth, responsive interactions similar to modern smartphones, making it ideal for interactive installations requiring precise touch input. The HDMI connectivity means straightforward setup with any Raspberry Pi model, though you’ll need to provide your own power source. At around $55, it’s competitively priced while offering that resolution bump that makes interfaces look noticeably sharper.
For budget-conscious makers, the Waveshare 7-inch capacitive display offers solid performance at approximately $45. It features HDMI input and includes a driver-free design that works out of the box with most Raspberry Pi operating systems. The 1024×600 resolution matches premium options, and the capacitive touch technology supports up to five touch points, enabling multi-touch gestures for more sophisticated user interfaces.
If your project operates in harsh environments or requires durability, consider the SunFounder 7-inch resistive touchscreen. While resistive technology isn’t as sensitive as capacitive, it works reliably with gloves or styluses and handles dust and moisture better. Priced around $40, it connects via HDMI and GPIO, making it versatile for various mounting configurations. The trade-off is the slightly lower touch responsiveness, but the rugged reliability makes it perfect for outdoor installations or educational settings where durability matters most.
Hardware Setup: Mounting and Connecting Your Touch Display
Getting your 7-inch Raspberry Pi touch display up and running is straightforward, but choosing the right connection method and mounting solution makes all the difference for your project.
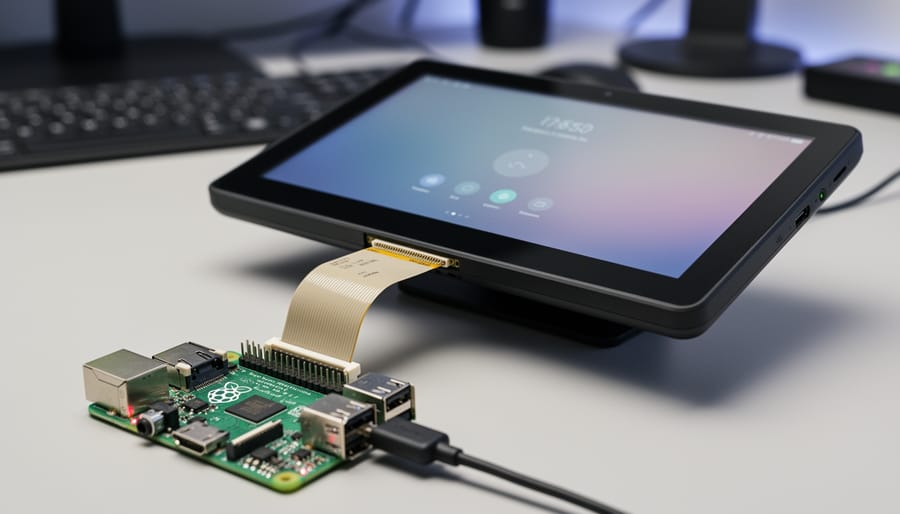
Start by deciding between DSI and HDMI connections. The DSI (Display Serial Interface) connector is the preferred method for official Raspberry Pi displays. It’s a ribbon cable that connects directly to the DSI port on your Pi, freeing up your HDMI port for additional screens. This method also allows you to power both the display and Pi through a single power supply. Simply lift the small plastic clip on the DSI port, insert the ribbon cable with the contacts facing inward, and press the clip back down firmly.
If you’re using a third-party display or need more flexibility, HDMI connection works perfectly. Connect an HDMI cable between your Pi and display, but remember you’ll need separate power supplies for each component. Most 7-inch displays require 5V 2A power adapters, while your Raspberry Pi needs at least 2.5A (3A for Pi 4).
For powering your setup, consider using a powered USB hub if you’re running multiple peripherals. This prevents power fluctuations that can cause screen flickering or Pi reboots. Many official displays include a jumper option to backpower the Pi directly from the display’s power supply, which simplifies your cable management significantly.
Mounting solutions depend on your installation needs. For desktop use, simple acrylic stands work great and cost under $10. If you’re building a permanent installation, consider VESA-compatible mounts or custom 3D-printed enclosures. The SmartiPi Touch case is a popular choice that accommodates the official display and provides adjustable viewing angles.
Cable management is crucial for clean installations. Use adhesive cable clips to route your connections along the back of your mounting solution. For portable projects, consider using right-angle adapters for HDMI and power cables to reduce bulk. Velcro strips work excellently for temporary setups where you might need to access connections frequently.
Always test your connections before final mounting. Power on your system, verify touch functionality, and ensure the display orientation is correct before securing everything permanently.
Software Configuration for Interactive Visuals
Getting your 7-inch Raspberry Pi touch display up and running requires proper software configuration to ensure smooth, responsive visuals. Let’s walk through the essential steps to optimize your setup for interactive projects.
Start by installing Raspberry Pi OS using the official Raspberry Pi Imager tool. For visual installations, Raspberry Pi OS Lite offers better performance by eliminating unnecessary desktop components, though the full version works well for beginners. During installation, enable SSH access if you plan remote management, and configure your Wi-Fi credentials to simplify initial setup.
Once your OS is running, update your system with the terminal commands: sudo apt update and sudo apt upgrade. This ensures you have the latest drivers and performance improvements. Most official 7-inch displays are automatically detected, but third-party screens may require driver installation from the manufacturer’s repository.
Touch calibration is crucial for accurate interaction. If your display shows offset or inaccurate touch responses, install the xinput-calibrator package using sudo apt install xinput-calibrator. Run the calibration tool, tap the crosshairs that appear on screen, and save the configuration to your system. This creates a calibration file that loads automatically on boot.
Display orientation can be adjusted through the config.txt file located in the boot directory. Access it with sudo nano /boot/config.txt and add the line display_rotate=2 for 180-degree rotation, or use values 1 and 3 for 90-degree increments. This proves invaluable when mounting displays in different orientations for installations.
For optimal visual performance, allocate more memory to the GPU by adding gpu_mem=256 in the same config file. This dramatically improves graphics rendering and reduces lag in animation-heavy projects. You can even test installations virtually before deploying to physical hardware.
Consider disabling screen blanking to prevent your display from going dark during exhibitions. Edit the autostart file with sudo nano /etc/xdg/lxsession/LXDE-pi/autostart and add these lines: @xset s off, @xset -dpms, and @xset s noblank. Your display will remain active continuously, perfect for public installations.
Five Interactive Visual Installation Projects You Can Build Today
Touch-Responsive Generative Art Display
Transform your Raspberry Pi touchscreen into an interactive canvas using Processing for visual art. This project creates mesmerizing patterns that respond to your fingertips in real time.
Start by installing Processing on your Pi with sudo apt-get install processing. Create a new sketch that captures touch coordinates using mousePressed() and mouseX/mouseY variables, which automatically detect touch input on the display. For smooth animations, implement a particle system that spawns colorful dots or trails following your touch path.
Here’s a quick implementation tip: use background(0, 10) in your draw() loop to create elegant fade trails instead of clearing the screen completely. This technique adds fluid motion to your artwork. Store touch coordinates in arrays to create connecting lines between points, forming organic shapes.
For better performance on the Pi 4, limit particle counts to around 500 and use simple geometric shapes rather than complex images. You can also port your sketches to p5.js for web-based displays, making your installation accessible through any browser on the local network.
Interactive Data Visualization Wall
Transform your 7-inch Raspberry Pi touchscreen into a dynamic information hub that pulls live data from weather APIs, social media feeds, or sensor networks. This project shines in office lobbies, classrooms, or exhibition spaces where real-time information needs engaging visual presentation.
Start by selecting APIs relevant to your audience. Weather services like OpenWeatherMap, transportation data feeds, or cryptocurrency trackers offer free tiers perfect for testing. Python libraries such as Matplotlib and Pygame make creating responsive visualizations straightforward, even for beginners.
The compact 7-inch display size works wonderfully for focused data presentations. Configure your Pi to auto-launch your visualization script on boot, ensuring continuous operation. Add touch gestures to let viewers switch between different data views or time ranges, making the experience interactive rather than passive.
For public installations, consider implementing automatic brightness adjustment based on ambient light and schedule regular data refresh intervals to prevent stale information. This project demonstrates how a modest touchscreen can deliver professional-grade information displays without expensive commercial solutions.
Touch-Based Audio-Visual Synthesizer
Transform your 7-inch Raspberry Pi touch display into an interactive audio-visual instrument that responds to touch with synchronized sound and visuals. This project combines real-time graphics generation with audio synthesis, creating an engaging multisensory experience perfect for art installations, music education, or experimental performances.
Using Pure Data or Sonic Pi alongside Processing or Python’s Pygame library, you can map touch coordinates to both sound parameters and visual effects. Each finger tap might trigger a note while simultaneously generating ripples, particles, or color changes on screen. The compact 7-inch display works beautifully for this application, offering intimate interaction without overwhelming complexity.
Start with simple mappings like touch position controlling pitch and brightness, then expand to multi-touch gestures for complex soundscapes. Many audio-visual synthesizer projects provide excellent starting frameworks you can adapt.
The responsive touchscreen eliminates the need for external controllers, making your synthesizer portable and self-contained. This project brilliantly demonstrates how combining sensory feedback creates more intuitive and memorable interactive experiences.
Motion-Triggered Visual Storytelling Display
Transform your 7-inch Raspberry Pi touch display into an interactive storytelling canvas by pairing it with PIR (Passive Infrared) motion sensors. This project creates narrative experiences that spring to life when viewers approach, perfect for museums, galleries, or educational installations.
The concept is straightforward: connect a PIR sensor to your Raspberry Pi’s GPIO pins to detect motion within a specific range. When someone walks by, the sensor triggers your display to show a sequence of images, animations, or videos that tell a story. You can program different narratives for various proximity zones or times of day.
Start with basic Python scripts that respond to sensor input by launching multimedia content. Libraries like Pygame make it easy to create smooth transitions between story elements. For beginners, simple photo slideshows work wonderfully, while advanced makers can incorporate sound effects and interactive touch elements that let viewers influence the narrative direction.
Consider adding multiple sensors to create chapter-based stories where different viewing angles reveal unique perspectives. This setup works brilliantly for children’s educational content, product demonstrations, or immersive art installations that engage audiences through movement and touch.
Multi-Display Synchronized Installation
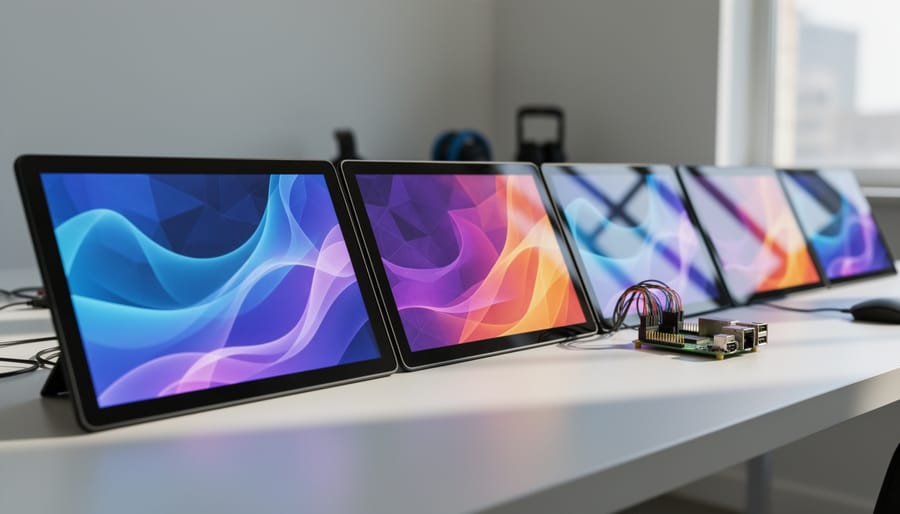
Creating a multi-display synchronized installation takes your Raspberry Pi projects to an impressive new level. By connecting multiple 7-inch touchscreens, you can build expansive digital signage systems, interactive art installations, or coordinated control panels that work together seamlessly.
The setup requires a single Raspberry Pi 4 (which supports dual displays natively) or multiple Pi units networked together. For dual displays on one Pi, connect the first screen via DSI ribbon cable and the second through HDMI. Configure each display in /boot/config.txt by setting individual resolutions and orientations.
For more than two displays, network multiple Raspberry Pis together and use synchronization software like Screenly OSE or custom Python scripts with WebSocket connections. This approach ensures all screens update simultaneously, creating a cohesive visual experience.
Programming synchronized content involves establishing a master-slave relationship where one Pi broadcasts timing signals to others. You can display panoramic images split across screens, create touch-enabled interactive walls, or design multi-panel dashboards for monitoring systems. Start with two displays to master the basics before scaling up to larger installations.
Essential Software Tools and Frameworks for Visual Installations
Creating engaging visual display projects on your 7-inch Raspberry Pi touchscreen requires the right software foundation. Let’s explore the best tools that balance power with accessibility for your interactive installations.
Python remains the go-to choice for Raspberry Pi projects, and libraries like Pygame and Kivy make it perfect for touchscreen interfaces. Pygame excels at creating simple interactive graphics and games, offering straightforward touch input handling that beginners can grasp quickly. Kivy takes things further with modern UI components and multitouch support, ideal for creating polished, professional-looking installations with responsive layouts that adapt to your display.
For artists and creative coders, Processing provides an intuitive environment specifically designed for visual work. Its Python mode, known as Processing.py, runs smoothly on Raspberry Pi and offers extensive documentation for creating generative art, data visualizations, and interactive experiences. The syntax is beginner-friendly, making it perfect for educators introducing students to creative coding.
If you need more performance for complex visuals, openFrameworks delivers a C++ framework optimized for real-time graphics. While it has a steeper learning curve, the results are worth it for advanced projects requiring smooth animations and sophisticated visual effects.
Web-based solutions using HTML5, JavaScript, and libraries like p5.js offer surprising versatility. By running a local web server on your Pi, you can create touchscreen interfaces that leverage familiar web technologies. This approach simplifies deployment and makes your projects easily shareable.
For node-based visual programming without the TouchDesigner price tag, consider Pure Data or VVVV. These free alternatives let you wire together visual elements without extensive coding, perfect for experimental installations.
Choose your tools based on your comfort level and project requirements. Python libraries offer the gentlest learning curve, while Processing strikes an excellent balance between ease-of-use and creative potential for most interactive display projects.
Power Management and Reliability for Public Installations
When deploying Raspberry Pi touch displays in public spaces like museums, classrooms, or retail environments, reliability becomes paramount. Nothing frustrates users more than a dead screen or frozen interface, so let’s explore practical strategies to keep your installation running smoothly 24/7.
Start with a quality power supply rated at least 3A for your Raspberry Pi 4, especially when powering both the board and display. Many installation failures stem from inadequate power, so never skimp here. Consider implementing an uninterruptible power supply (UPS) designed for Raspberry Pi setups. These battery backup solutions, typically priced around $30-60, provide 1-3 hours of runtime during outages and protect against power fluctuations that could corrupt SD cards.
Configure automatic restart functionality by editing your /boot/config.txt file to enable watchdog timers. This ensures your Pi reboots automatically if the system freezes. Additionally, set your display application to launch on startup using systemd services or crontab entries with @reboot commands. For public kiosks, disable sleep modes entirely to prevent the display from going dark during inactive periods.
Thermal management often gets overlooked but becomes critical in enclosed installations. Install active cooling with small fans or ensure adequate ventilation in your enclosure. The official Raspberry Pi case fan keeps temperatures below 50°C even under continuous load. Monitor temperatures through simple Python scripts that log data or trigger alerts if thresholds exceed safe limits.
Remote monitoring transforms maintenance from reactive to proactive. Tools like VNC for remote desktop access or SSH for command-line management let you troubleshoot without physical access. Implement simple uptime monitoring scripts that ping you via email or messaging services when issues arise. Consider cloud-based monitoring solutions like Balena or remote.it for managing multiple installations across different locations, enabling you to update software and diagnose problems from anywhere.
Troubleshooting Common Touch Display Issues
Even with proper setup, you might encounter a few hiccups with your 7-inch Raspberry Pi touch display. Let’s walk through the most common issues and their straightforward solutions.
If your display isn’t being detected at all, first check your ribbon cable connections. The cable should be firmly seated in both the display’s DSI port and your Raspberry Pi’s DSI connector, with the blue side facing the USB ports on the Pi. A loose connection is often the culprit. Also verify that you’re using an adequate power supply—the official Raspberry Pi power adapter providing at least 2.5A is recommended when running a touch display.
Touch calibration problems can be frustrating, but they’re usually fixable. Open a terminal and run “sudo apt-get install xinput-calibrator” to install the calibration tool. Then execute “xinput-calibrator” and follow the on-screen prompts. Save the output to your configuration file to make the calibration permanent across reboots.
For screen orientation issues, you can rotate the display by editing the boot configuration. Access it with “sudo nano /boot/config.txt” and add “lcd_rotate=2” for a 180-degree rotation. Use 1 or 3 for 90-degree rotations. Remember to reboot after saving changes.
Performance lag, particularly during touch input, often stems from insufficient power or outdated software. Ensure your Raspberry Pi OS is current by running “sudo apt update && sudo apt upgrade”. Consider closing unnecessary background applications to free up resources.
Power-related flickering or random shutdowns indicate your power supply can’t handle the combined load of the Pi and display. Upgrading to a 3A power supply typically resolves these issues. Additionally, check for any damaged cables or ports that might cause intermittent connections.
The creative potential of 7-inch Raspberry Pi touch displays extends far beyond what we’ve covered here. Whether you’re building an interactive art installation, an educational tool, or a smart home control panel, these compact screens offer an accessible entry point into the world of physical computing and interactive design. The beauty of working with Raspberry Pi displays lies in their versatility and the supportive community ready to help you along the way.
If you’re just getting started, don’t feel overwhelmed by the possibilities. Pick one simple project that excites you, perhaps a digital photo frame or a basic touchscreen interface, and build from there. Each project teaches valuable skills that compound over time, making your next creation easier and more ambitious. The combination of affordable hardware, extensive documentation, and countless online tutorials means you’re never working alone.
Ready to bring your interactive vision to life? Start experimenting today with a 7-inch touch display and discover how this small screen can make a big impact. Your next breakthrough project is just a connection away. Dive in, stay curious, and remember that every expert maker started exactly where you are now.