

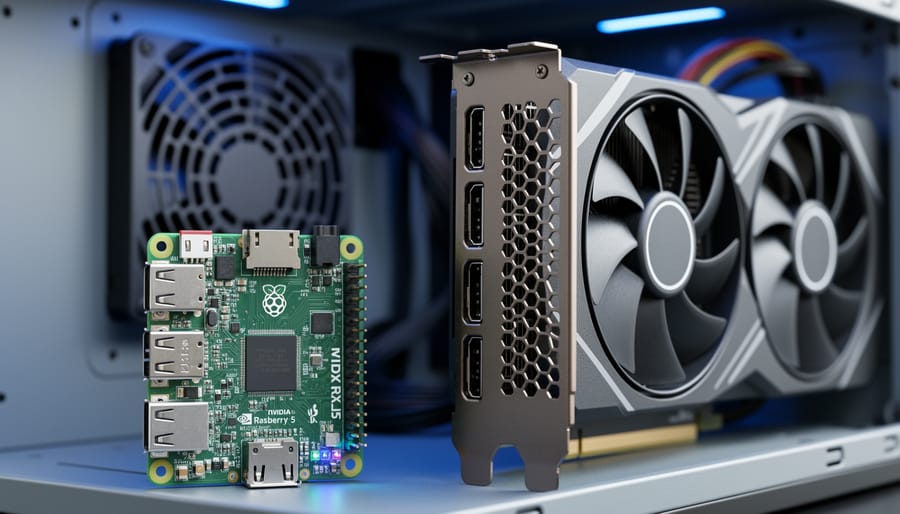
The NVIDIA GeForce RTX 5070, launched in March 2025 as part of the Blackwell architecture lineup, won’t work with your Raspberry Pi. This desktop graphics card requires a PCIe slot, draws significant power from an ATX power supply, and uses x86-compatible drivers that simply aren’t designed for the ARM-based Pi platform. If you landed here hoping to boost your Pi’s graphics or AI capabilities with an RTX 5070, you’re not alone in the confusion, but the good news is there are practical accelerator solutions built specifically for the Raspberry Pi ecosystem.
The RTX 5070 retail price starts at $549, though third-party models can run higher. While these numbers might seem appealing compared to NVIDIA’s flagship cards, even a basic Raspberry Pi 5 setup draws just 5-10 watts under typical loads. The architectural and power requirements between desktop GPUs and Pi accessories live in completely different worlds.
What you’re really after is probably AI inference acceleration, video transcoding performance, or machine learning capabilities for your Raspberry Pi projects. The Pi community has several proven options that actually plug into your board and deliver measurable performance gains. These include USB-based neural accelerators, HAT-format AI modules, and compact compute sticks designed to work within the Pi’s thermal and power envelope.
This guide clarifies why desktop GPUs and Raspberry Pi boards don’t mix, then walks you through the accelerator hardware that does work, complete with real-world use cases and project ideas you can start building today.
Understanding the RTX 5070 and Raspberry Pi Compatibility Gap
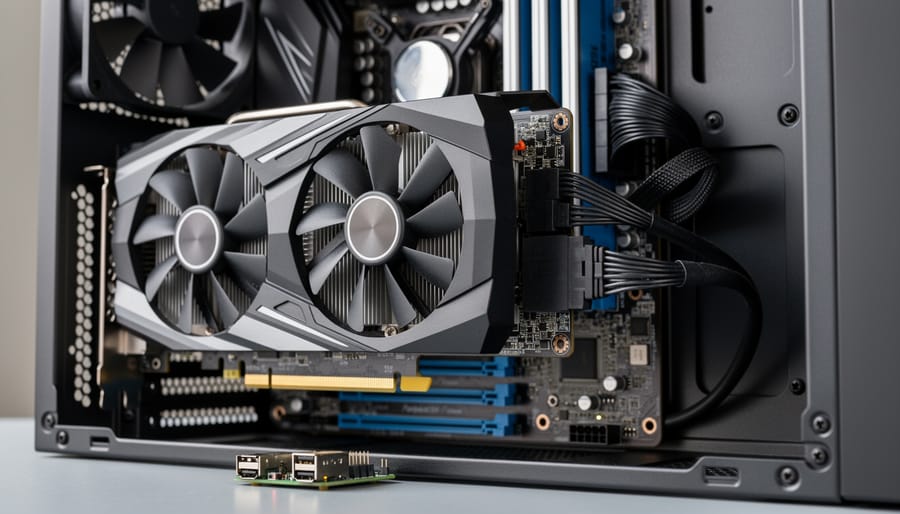
The RTX 5070 represents NVIDIA’s latest desktop graphics card technology, built on the company’s Blackwell architecture. NVIDIA launched the GeForce RTX 5070 on RTX 5070 launch date March 4th, 2025, positioning it as a mid-range option in their current lineup. This is a full-sized desktop GPU designed for modern gaming PCs and workstations, requiring dedicated power delivery and significant physical space.
The fundamental issue is straightforward: desktop graphics cards like the RTX 5070 demand power budgets and connectivity that Raspberry Pi hardware simply cannot provide. These GPUs expect a PCIe slot with both data bandwidth and direct power delivery from a desktop power supply. The Raspberry Pi, by contrast, runs on a USB-C power adapter delivering just 5 volts, with total system power consumption measured in single-digit watts for most models.
Beyond power, the physical form factor creates an insurmountable barrier. Desktop graphics cards are designed as expansion cards that slot into a motherboard’s PCIe interface. The Raspberry Pi lacks this interface entirely. Even if you could somehow power a desktop GPU externally, there’s no data connection method available. The Pi’s GPIO pins and USB ports serve completely different purposes and cannot substitute for PCIe connectivity.
The retail ecosystem reflects these cards’ desktop focus. Current RTX 5070 listings show pricing starting at $549, with models from partners like PNY reaching higher price points. These cards expect to live inside a tower case with active cooling and dedicated power rails, a world apart from the compact, low-power design philosophy that defines Raspberry Pi computing.
This compatibility gap explains why Raspberry Pi users need purpose-built accelerators rather than chasing desktop GPU specifications.
What Raspberry Pi Users Actually Need from GPU Acceleration
Raspberry Pi users exploring acceleration typically want performance boosts for specific tasks rather than raw desktop gaming power. The most common needs fall into distinct categories that differ fundamentally from what the RTX 5070 delivers.
Machine learning inference tops the list. Projects like facial recognition, object detection, or voice recognition need fast, efficient processing of pre-trained models. You’re running existing neural networks on live data, not training massive models from scratch.
Computer vision applications represent another major use case. Real-time image processing for robotics, security cameras, or automated monitoring systems demands quick analysis of video streams without the power budget of a desktop setup.
Video processing needs vary from transcoding recordings to handling multiple camera feeds simultaneously. Many Pi enthusiasts build media servers or surveillance systems where hardware acceleration prevents CPU bottlenecks.
Retro gaming emulation pushes the Pi’s graphics capabilities when running demanding systems. While lightweight emulators run fine on Pi hardware alone, more complex systems benefit from acceleration to maintain smooth framerates.
AI applications beyond inference include natural language processing, recommendation systems, and edge computing projects that process data locally rather than sending it to cloud services.
The critical difference between desktop GPU power and edge computing acceleration comes down to purpose and scale. The RTX 5070 excels at rendering complex 3D graphics and training neural networks, tasks requiring massive parallel processing and high power consumption. Edge accelerators optimize for inference speed and power efficiency, performing specific computations quickly while drawing minimal current.
Desktop GPUs are generalists built for maximum performance. Edge accelerators are specialists designed for deployment efficiency. Your Pi project likely needs the specialist approach, focusing acceleration on bottleneck tasks rather than brute-force computational power.
Hardware Acceleration Options That Actually Work with Raspberry Pi
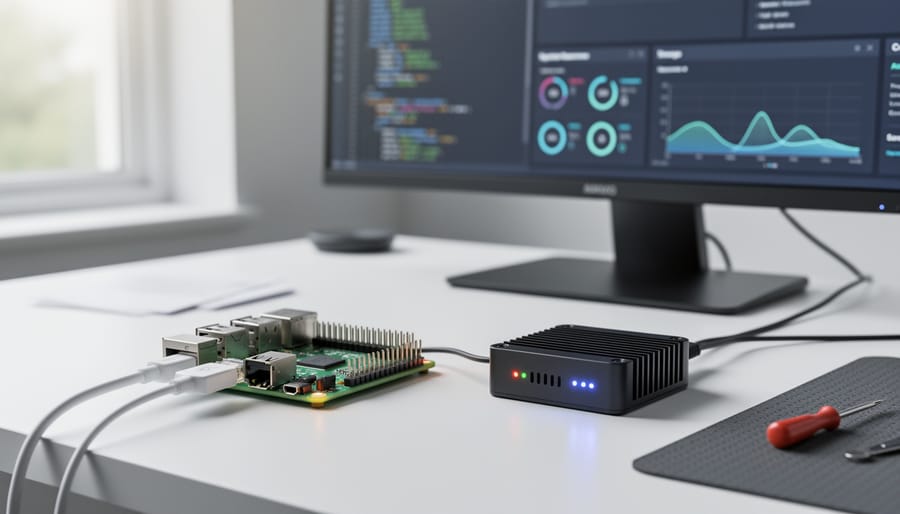
Google Coral USB Accelerator and M.2 Options
Google’s Coral lineup offers some of the most accessible entry points for adding dedicated AI acceleration to Raspberry Pi projects. These Edge TPU-based modules handle machine learning inference tasks that would otherwise overwhelm a Pi’s CPU, making them particularly valuable for real-time image processing and computer vision applications.
The USB Accelerator plugs directly into any available USB port, working with Pi 3, Pi 4, and Pi 5 models without requiring additional hardware modifications. It excels at running TensorFlow Lite models for tasks like object detection, image classification, and pose estimation. You’ll find it commonly used in security camera projects, wildlife monitoring setups, and smart home automation where quick, on-device decision-making matters more than cloud connectivity.
For Pi users comfortable with the M.2 HAT available for Pi 5, Coral’s M.2 modules provide similar capabilities in a more integrated form factor. This approach keeps USB ports free and creates a cleaner physical installation, though it limits you to the Pi 5 platform.
Both options handle inference locally rather than relying on cloud services, reducing latency and preserving privacy. They work best when your project involves running pre-trained models rather than training new ones from scratch. Common applications include people counting systems, defect detection in manufacturing projects, and automated plant identification in gardening setups.
Intel Neural Compute Stick
The Intel Neural Compute Stick offers a straightforward USB-based approach to AI acceleration for Raspberry Pi projects. This compact device plugs directly into your Pi’s USB port, making it one of the easiest hardware accelerators to integrate without additional wiring or specialized connections.
The Neural Compute Stick works particularly well for computer vision tasks like object detection and image classification, where you need to run pre-trained neural network models efficiently. It supports popular frameworks including TensorFlow and Caffe, allowing you to deploy existing models without extensive code rewrites. The device handles inference workloads that would otherwise bog down your Pi’s CPU, freeing up processing power for other parts of your project.
Setup involves installing the OpenVINO toolkit and loading your trained models onto the stick. Once configured, the accelerator runs independently from your Pi’s main processor, making it ideal for applications like security cameras with real-time object detection, smart home automation systems that recognize gestures or faces, and robotics projects requiring visual processing. The USB interface means you can move it between different Raspberry Pi models as your projects evolve.
Hailo AI Acceleration Modules
Hailo accelerators represent a newer generation of edge AI processors specifically engineered for computer vision and neural network inference tasks. Unlike general-purpose accelerators, Hailo modules are designed to run complex vision models efficiently at the edge, making them particularly well-suited for Raspberry Pi projects that involve object detection, image classification, or real-time video analysis.
The Hailo-8 series integrates with Raspberry Pi through M.2 or HAT form factors, offering a significant performance boost for AI workloads without the power and space constraints of desktop hardware. These modules excel at running modern neural networks like YOLO, MobileNet, and ResNet architectures, which are common in robotics, security cameras, and automated monitoring systems.
What sets Hailo apart for Pi users is the balance between processing capability and power efficiency. While you won’t achieve desktop-class GPU performance, Hailo accelerators can handle multiple concurrent video streams and complex models that would overwhelm the Pi’s CPU alone. The modules work particularly well for projects requiring low-latency inference, such as autonomous vehicles, industrial inspection systems, or smart home applications.
Raspberry Pi officially supports Hailo integration through software libraries and example projects, making the setup process more straightforward than experimental accelerator options. For computer vision enthusiasts building practical applications rather than experimenting with hardware, Hailo modules deliver professional-grade AI acceleration in a Pi-compatible package that actually fits your power budget and physical constraints.
Comparing Acceleration Approaches for Your Pi Project
Choosing the right accelerator depends less on raw power and more on matching capabilities to your actual project requirements. Each option excels in different scenarios.
The Coral accelerators shine for real-time computer vision and object detection tasks. If you’re building a security camera system, wildlife monitor, or sorting machine that needs to identify objects quickly, the Edge TPU architecture delivers consistent inference speeds. Setup involves installing TensorFlow Lite and converting your models to run on the TPU. The strong Python library support and active community forums make troubleshooting straightforward, even for relative newcomers to machine learning projects.
Intel’s Neural Compute Stick works best when you need flexibility across different neural network frameworks. Projects involving OpenVINO toolkit integration or deploying models trained in PyTorch or TensorFlow benefit from this versatility. The USB form factor means you can move it between different Pi models easily. Community support exists primarily through Intel’s developer forums, though the ecosystem isn’t as Pi-focused as Coral’s.
| Accelerator Type | Best Use Cases | Key Considerations |
|---|---|---|
| Coral Edge TPU | Real-time object detection, image classification, lightweight AI inference | Limited to TensorFlow Lite models, strong Pi community, USB or M.2 form factors |
| Intel Neural Compute Stick | Multi-framework projects, portable inference testing, OpenVINO applications | USB-only, broader framework support, less Pi-specific documentation |
| Hailo Accelerators | High-resolution video processing, complex vision pipelines, edge AI applications | Higher performance tier, requires more integration work, growing ecosystem |
Hailo modules target more demanding applications where Coral might struggle with throughput. Multi-camera systems processing high-resolution feeds or running multiple neural networks simultaneously benefit from the additional processing capability. The trade-off comes in setup complexity and smaller community resources compared to Coral’s established ecosystem.
Your decision should prioritize the framework your model uses, the physical constraints of your project enclosure, and whether existing community tutorials match your application. Starting with whichever accelerator has the most documented examples similar to your intended use case typically leads to faster results than chasing theoretical performance advantages.
Getting Started with Hardware Acceleration on Raspberry Pi
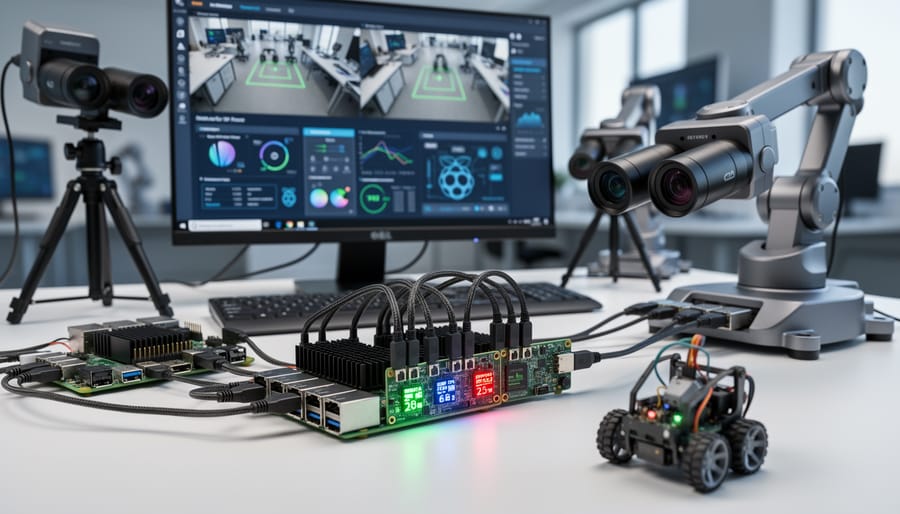
Adding hardware acceleration to your Raspberry Pi doesn’t require complex technical expertise, but a methodical approach ensures compatibility and saves troubleshooting time later.
Start by confirming your Pi model and its current setup. The Raspberry Pi 4 and 5 offer the most flexibility for adding accelerators, with USB 3.0 ports and better power delivery than earlier models. Check which version of Raspberry Pi OS you’re running and ensure it’s up to date before connecting any hardware. Most accelerators require 64-bit Raspberry Pi OS rather than the 32-bit variant.
Power planning matters more than most beginners realize. USB-based accelerators draw additional current that can exceed what your existing power supply provides. A quality power supply rated for your specific Pi model with headroom for peripherals prevents random crashes and performance issues. If you’re adding an M.2 accelerator through a HAT, verify that your power supply can handle both the Pi and the additional board.
Choose your first accelerator based on your actual project rather than general capability lists. For computer vision tasks like object detection in video streams, the Coral Edge TPU excels at running TensorFlow Lite models efficiently. Image classification projects benefit from the same hardware. If you’re exploring neural networks across multiple frameworks, the Intel Neural Compute Stick supports a broader range of model formats.
Installation typically follows a three-step pattern: physical connection, driver installation, and model deployment. Connect the accelerator to an available USB port or install the M.2 module according to the HAT manufacturer’s instructions. Install the vendor-specific libraries and dependencies, which often requires running installation scripts from the command line. Test the connection with simple example code before moving to your actual project.
Start with pre-trained models rather than training from scratch on your Pi. Most accelerator vendors provide sample models optimized for their hardware. Running a working example first confirms your setup functions correctly and gives you a baseline for performance expectations. You can then adapt these examples to your specific needs or load custom models you’ve trained elsewhere.
Documentation and community support vary significantly between accelerators. The Coral community offers extensive tutorials for common use cases, while newer options may require more independent troubleshooting. Join relevant forums and GitHub repositories before purchasing to gauge the active support level for your chosen hardware.
Common Questions About Raspberry Pi Graphics and AI Acceleration
The confusion around desktop GPUs and Raspberry Pi compatibility generates dozens of questions from makers exploring their acceleration options. Here are the answers to the most common queries we see from the community.
Can I connect any external GPU to a Raspberry Pi?
No, standard external GPUs designed for desktop computers cannot work with Raspberry Pi due to power delivery limitations and interface incompatibilities. The Pi’s USB and GPIO interfaces don’t provide the bandwidth or power envelope needed for desktop-class graphics cards.
How much performance improvement can I expect from a Coral or Neural Compute Stick?
These accelerators typically deliver 10-100x faster inference for specific AI tasks compared to running models purely on the Pi’s CPU, though the exact improvement depends heavily on your model architecture and application. They excel at dedicated tasks rather than general computing.
Do I need programming experience to use hardware accelerators?
Basic Python knowledge helps significantly, but many accelerators come with example projects and community tutorials that walk you through setup step-by-step. If you can run ML projects with standard libraries, you can typically adapt them to use hardware acceleration.
Which Raspberry Pi models support hardware accelerators?
Most USB-based accelerators work with Raspberry Pi 3, 4, and 5 models, while M.2-based options require either a Pi 5 or a compatible HAT adapter for earlier models. Check your specific accelerator’s compatibility documentation before purchasing.
One persistent misconception involves power consumption comparisons. Desktop GPUs draw substantial power from dedicated PSU rails, while Pi-compatible accelerators are designed for edge computing scenarios with minimal power overhead. This fundamental design difference means you’re comparing tools built for entirely different computing paradigms rather than simply scaled-down versus full-power versions of the same technology.
Another frequent question concerns whether accelerators help with gaming or graphics rendering. Most Pi-compatible accelerators focus exclusively on machine learning inference and cannot assist with traditional graphics tasks like game rendering or video output. The Raspberry Pi’s VideoCore GPU handles those functions, and adding a Coral or Neural Compute Stick won’t improve your gaming frame rates or video playback smoothness.
Setup complexity worries many first-time users, but the reality is more approachable than you might expect. Modern accelerators typically require installing specific drivers or libraries, then modifying your existing code to direct inference tasks to the accelerator rather than the CPU. Community resources and manufacturer documentation have improved dramatically, making initial setup feasible for intermediate users willing to follow tutorials carefully.
The question of whether you need an accelerator at all deserves honest consideration. Many Raspberry Pi projects run perfectly well on the CPU alone, especially those involving basic automation, simple sensor reading, or small-scale data processing. Hardware acceleration becomes valuable when you’re processing video streams in real-time, running object detection continuously, or handling other computationally intensive AI tasks where CPU-only performance creates noticeable bottlenecks.
The RTX 5070 showcases where desktop GPU technology stands in 2026, but it’s simply not built for the Raspberry Pi ecosystem. Rather than viewing this as a limitation, consider it an opportunity to explore accelerators designed specifically for edge computing projects.
The Coral accelerators, Intel Neural Compute Stick, and Hailo modules we’ve covered give you real performance gains where they matter most: AI inference, computer vision, and machine learning tasks. These solutions fit your Pi’s power envelope and physical constraints while delivering the specialized acceleration your projects actually need.
Your best path forward isn’t chasing desktop specifications. Instead, match your accelerator choice to your specific project requirements. Building a smart camera system? The Coral excels at vision tasks. Running multiple AI models? The Hailo offers flexibility. Starting your first ML project? A USB accelerator gives you an easy entry point to transform your Raspberry Pi into an edge ML engine.
The accelerator that solves your actual problem will always outperform the high-end GPU that can’t connect to your board.