


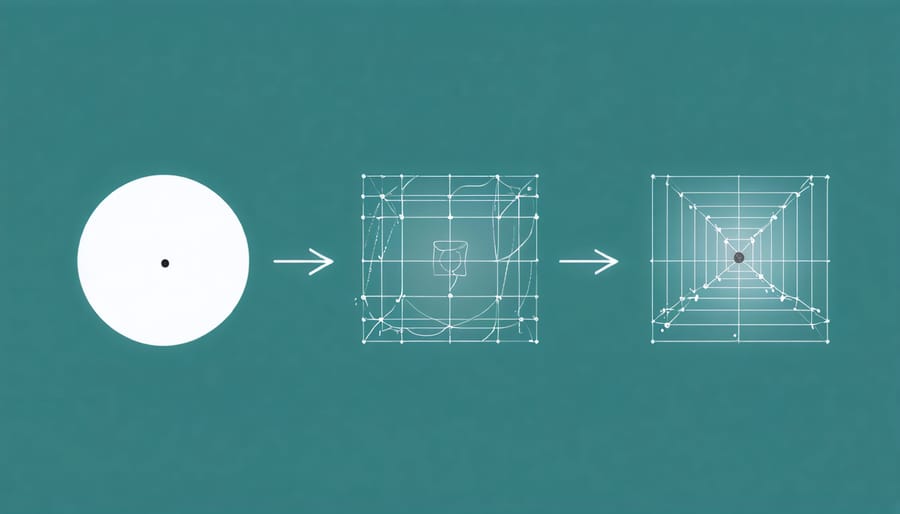
Transform flat 2D images into detailed 3D models using advanced computer vision techniques and your Raspberry Pi. Single-image 3D reconstruction, a breakthrough in edge AI projects, enables depth estimation and object modeling without expensive hardware or multiple camera setups. This technology leverages deep learning algorithms to analyze visual cues like shading, perspective, and texture patterns, extracting crucial depth information from standard photographs.
Modern neural networks now achieve remarkable accuracy in predicting 3D geometry from single viewpoints, making this technology accessible to hobbyists and developers. By combining convolutional neural networks (CNNs) with sophisticated depth estimation algorithms, your Raspberry Pi can generate detailed mesh models, point clouds, and textured 3D reconstructions from ordinary photos. Whether you’re prototyping new applications, creating virtual reality content, or exploring computer vision, single-image 3D reconstruction opens up exciting possibilities for bringing the physical world into digital space.
How Single-Image 3D Reconstruction Works
Deep Learning Models for Depth Estimation
Deep learning has revolutionized computer vision applications, particularly in depth estimation from single images. Convolutional Neural Networks (CNNs) have become the go-to architecture for this task, with models like MonoDepth2 and DORN leading the way.
These networks learn to predict depth values for each pixel in an image by analyzing visual patterns, textures, and contextual information. The most effective models typically use an encoder-decoder architecture, where the encoder captures high-level features while the decoder reconstructs detailed depth information.
Popular frameworks like PyTorch and TensorFlow offer pre-trained models that can be easily adapted for Raspberry Pi use. While these models may need optimization for running on the Pi’s limited resources, techniques like model quantization and pruning help maintain acceptable performance.
For beginners, MiDaS is an excellent starting point, offering a good balance between accuracy and computational efficiency. It’s well-documented and has a strong community following, making it ideal for those new to depth estimation projects. The model can process standard RGB images and output relative depth maps that work well for basic 3D reconstruction tasks.
Point Cloud Generation and Mesh Creation
Once we have our depth map, the next step is transforming this 2D representation into a detailed 3D model. The process begins by converting each pixel in the depth map into a 3D point, creating what’s known as a point cloud. Each point contains both position (X, Y, Z coordinates) and color information from the original image.
To generate the point cloud, we use the camera’s intrinsic parameters (focal length and principal point) along with the depth values to calculate the real-world coordinates of each pixel. This process, called back-projection, effectively “lifts” the 2D image into 3D space.
After creating the point cloud, we need to convert it into a proper 3D mesh. Popular algorithms like Poisson Surface Reconstruction or Ball-Pivoting help create triangular faces between points, forming a solid surface. These algorithms analyze the point cloud’s density and spatial relationships to determine how points should connect.
The resulting mesh can be further refined through smoothing operations and hole-filling techniques to address any gaps or inconsistencies. The final output is a complete 3D model that can be exported in common formats like .obj or .stl for viewing, editing, or 3D printing.
Setting Up Your Raspberry Pi for 3D Reconstruction
Required Hardware Components
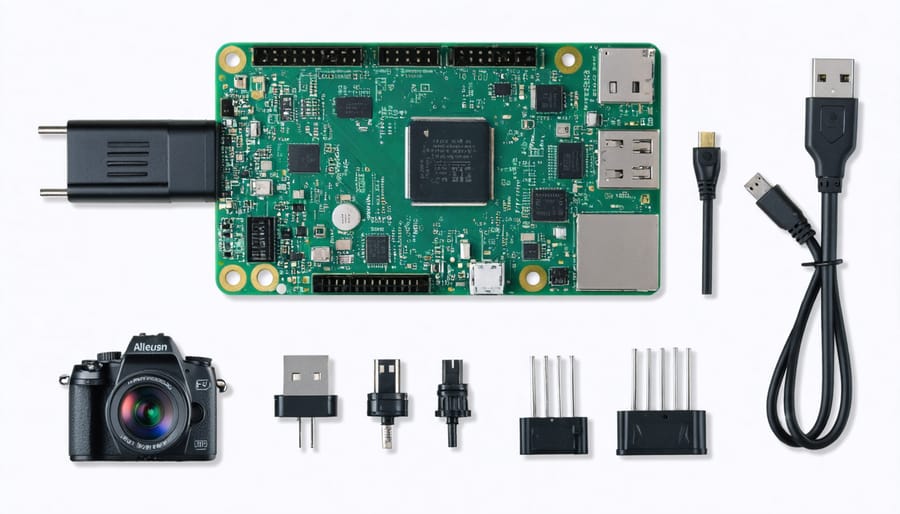
To get started with 3D reconstruction from a single image using a Raspberry Pi, you’ll need several essential hardware components. At the core, a Raspberry Pi 4 Model B with at least 4GB RAM is recommended for optimal performance. While earlier models can work, they may struggle with processing speeds.
For image capture, you’ll need a high-quality camera module. The Raspberry Pi High Quality Camera (12.3 MP) is ideal, though the standard Raspberry Pi Camera Module V2 (8 MP) can also work effectively. Ensure you have proper lighting equipment, such as LED panels or ring lights, to capture clear, well-lit images.
Storage requirements include a minimum 32GB microSD card (Class 10 or higher) for the operating system and project files. A cooling solution, such as a heat sink or fan, is crucial as 3D reconstruction processing can be intensive.
Optional but recommended components include:
– 7-inch Raspberry Pi touch display for direct interaction
– USB keyboard and mouse
– Stable power supply (5V/3A minimum)
– Ethernet cable for faster data transfer
– External SSD for additional storage
Software Installation and Configuration
Before diving into the 3D reconstruction process, let’s set up all the necessary software components. First, ensure your Raspberry Pi is running the latest version of Raspberry Pi OS and has Python 3.7 or higher installed.
Open your terminal and start by updating your system:
“`bash
sudo apt-get update
sudo apt-get upgrade
“`
Next, install the required Python packages using pip:
“`bash
pip3 install numpy
pip3 install opencv-python
pip3 install torch torchvision
pip3 install pillow
“`
For 3D mesh generation and visualization, you’ll need additional libraries:
“`bash
sudo apt-get install python3-matplotlib
pip3 install open3d
“`
Some models require specific deep learning frameworks. Install them using:
“`bash
pip3 install tensorflow
pip3 install keras
“`
Once the basic installations are complete, download the pre-trained model weights. Create a new directory:
“`bash
mkdir 3d_reconstruction
cd 3d_reconstruction
“`
Download the model files using:
“`bash
wget https://example.com/model_weights.pth
“`
Finally, verify your installation by running a quick test:
“`bash
python3 -c “import torch; import open3d; import cv2; print(‘Setup successful!’)”
“`
If you encounter any GPU-related errors, don’t worry – the Raspberry Pi will use CPU processing by default. These installations might take some time depending on your internet connection and Pi model, so be patient during the process.
Implementing the 3D Reconstruction Pipeline
Image Preprocessing Steps
Before diving into 3D reconstruction, proper image preprocessing is crucial for achieving accurate results. Start by ensuring your input image has sufficient resolution – ideally 1080p or higher – as this provides more detail for the reconstruction algorithm to work with.
First, convert your image to grayscale to reduce computational complexity while retaining important structural information. Next, apply noise reduction using a Gaussian blur filter to smooth out unwanted artifacts that could interfere with the reconstruction process.
Contrast enhancement is another vital step. Use histogram equalization to improve the distribution of pixel intensities, making features more distinct. This helps the algorithm better identify edges and depth cues in the image.
Edge detection follows, typically using the Canny edge detector, which helps identify object boundaries and structural elements. These edges serve as crucial reference points for the 3D reconstruction process.
You’ll also want to perform perspective correction if your image was taken at an angle. This ensures the reconstruction algorithm has an accurate representation of the scene geometry.
Finally, segment the image to separate the main object from the background. This can be done using techniques like thresholding or more advanced methods like grabcut segmentation. Clean segmentation helps the reconstruction algorithm focus on the relevant parts of the image and produce more accurate 3D models.
Remember to save your preprocessed image in a lossless format to maintain all the enhanced details for the reconstruction phase.
Running the AI Model
Once you’ve prepared your image and configured the necessary dependencies, it’s time to run your single-image 3D reconstruction model. Start by loading your image into the preprocessing pipeline, where it undergoes various AI image processing steps to enhance features and normalize the data.
Launch the reconstruction script from your terminal using the command:
“`
python3 reconstruct.py –input your_image.jpg –output model3d
“`
The process typically takes between 30 seconds to 2 minutes, depending on your Raspberry Pi’s processing power and the image complexity. During this time, you’ll see progress indicators as the model:
1. Analyzes depth information
2. Identifies geometric features
3. Generates mesh structure
4. Applies texture mapping
Monitor your system resources while the model runs, as 3D reconstruction can be computationally intensive. If you notice performance issues, consider reducing the input image resolution or adjusting the model’s complexity parameters in the configuration file.
The output will be saved in your specified directory, typically as a .obj or .ply file that you can view using 3D modeling software. Remember to check the console output for any warnings or errors that might affect the quality of your reconstruction.
Post-processing and Model Export
Once your 3D model is generated, it needs some final touches before it can be used in other applications. Start by cleaning up any noise or artifacts that might have appeared during the reconstruction process. The Raspberry Pi’s built-in image processing libraries can help remove these imperfections automatically.
Next, optimize your mesh by reducing the polygon count while maintaining visual quality. This step is crucial for ensuring your model runs smoothly on the Raspberry Pi without consuming too much memory. Aim for a balance between detail and performance – typically, a reduction to 50-70% of the original polygon count works well for most applications.
For texture mapping, ensure your UV coordinates are properly aligned and export your texture maps in a compressed format suitable for your intended use. Common formats include JPG for color maps and PNG for normal or displacement maps.
When it comes to exporting, choose a file format that’s widely supported. Popular choices include:
– OBJ for general use and compatibility
– STL for 3D printing
– FBX for animation and game engines
– GLTF for web-based 3D applications
Before finalizing, test your model in your target application to ensure it loads correctly and performs as expected. If you’re planning to share your model, consider including a low-poly version for preview purposes.
Remember to save your project files separately from the exported model, allowing for future modifications if needed.
Optimization Tips and Troubleshooting
To optimize your 3D reconstruction process, start by reducing input image resolution while maintaining essential details. This balance helps achieve faster processing without significantly compromising quality. If you’re experiencing slow performance during real-time AI processing, consider implementing batch processing or using GPU acceleration when available.
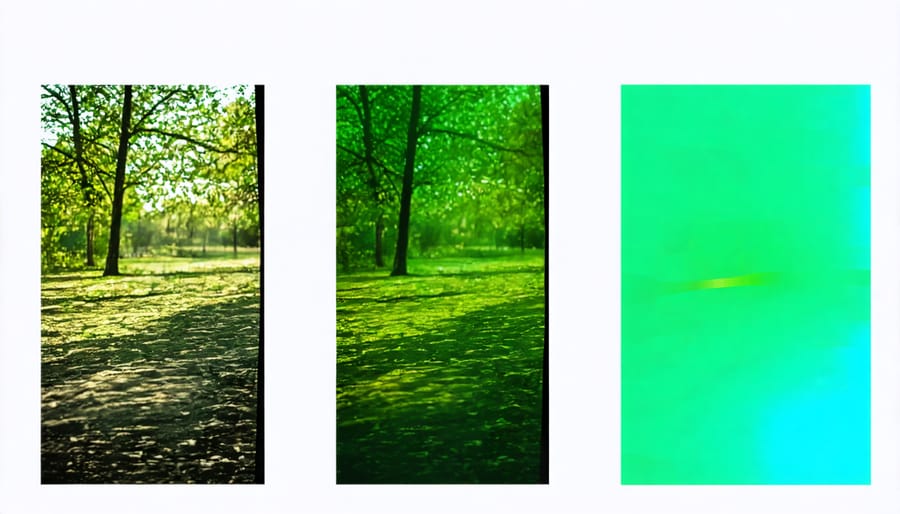
Common issues often include poor reconstruction quality due to insufficient lighting or texture in the original image. Ensure your input images have good contrast and clear feature points. If you notice missing details in your 3D model, try adjusting your depth estimation parameters or increasing the number of feature points detected.
Memory management is crucial on Raspberry Pi. Monitor your RAM usage and implement garbage collection where necessary. If you encounter out-of-memory errors, consider downsampling your images or processing them in segments.
For better results:
– Use images with well-defined edges and textures
– Avoid reflective or transparent surfaces
– Ensure consistent lighting across the subject
– Calibrate your camera properly
– Save intermediate results to avoid reprocessing
If your reconstructions appear distorted, check your camera’s intrinsic parameters and ensure they’re correctly configured. When dealing with blurry results, implement additional image preprocessing steps like sharpening or noise reduction.
Performance can be improved by:
– Using OpenGL acceleration where available
– Implementing parallel processing for independent tasks
– Caching frequently used calculations
– Optimizing your Python code with NumPy vectorization
– Reducing unnecessary disk I/O operations
The journey from a single 2D image to a detailed 3D model represents an exciting frontier in computer vision technology, particularly for Raspberry Pi enthusiasts. Throughout this guide, we’ve explored how combining depth estimation, machine learning, and careful hardware setup can transform ordinary photographs into meaningful 3D reconstructions.
While current limitations exist, such as processing power constraints and the need for optimal lighting conditions, the future of single-image 3D reconstruction looks incredibly promising. Emerging technologies like improved neural networks and more efficient algorithms continue to enhance reconstruction accuracy and processing speed, making this technology increasingly accessible to hobbyists and makers.
For Raspberry Pi users, this field offers endless possibilities for exciting projects, from creating 3D models for printing to developing interactive educational tools. The combination of affordable hardware and open-source software makes experimentation more accessible than ever before.
As you begin your own 3D reconstruction projects, remember that success often comes through experimentation and iteration. Start with simple objects and good lighting conditions, then gradually tackle more complex subjects as you gain confidence. The community continues to develop new tools and techniques, so staying connected with other enthusiasts can provide valuable insights and solutions.
This technology’s potential extends far beyond hobby projects, with applications in robotics, augmented reality, and educational tools, making it an exciting area for continued learning and development.