


Wireless communication revolutionizes how our devices interact, enabling seamless connectivity in our increasingly connected world. From simple radio signals to complex mesh networks, the fundamental principles of wireless communication form the backbone of modern digital interaction. Understanding these basics isn’t just theoretical—it’s essential for anyone looking to build smart home systems, create IoT devices, or develop innovative wireless solutions.
Whether you’re a hobbyist working with Raspberry Pi projects or a budding engineer exploring wireless protocols, grasping the core concepts of wireless communication opens up endless possibilities for creative and practical applications. Radio frequencies, modulation techniques, and transmission protocols might seem daunting at first, but they follow logical principles that, once understood, become powerful tools in your technical arsenal.
This guide breaks down wireless communications into digestible components, focusing on practical applications while explaining the underlying technology that makes it all possible. We’ll explore everything from basic radio waves to modern wireless standards like Wi-Fi, Bluetooth, and ZigBee, with hands-on examples that demonstrate these principles in action. By the end, you’ll have both the theoretical knowledge and practical skills needed to implement wireless communication in your own projects.
The RF Spectrum Simplified

Common RF Frequencies for Pi Projects
When working with Raspberry Pi wireless projects, several common RF frequencies are available, each with distinct advantages for different applications. The 433MHz band is particularly popular for long-range, low-power applications like remote sensors and home automation. This frequency offers excellent penetration through walls and obstacles, making it ideal for whole-house coverage.
The 2.4GHz band, used by Wi-Fi and Bluetooth, is perfect for high-bandwidth applications requiring faster data transfer. While it has shorter range than 433MHz, it excels in projects needing quick response times or streaming capabilities, such as wireless cameras or remote control vehicles.
For ultra-low-power applications, the 868MHz (Europe) and 915MHz (USA) bands provide a good balance between range and power consumption. These frequencies are commonly used in IoT projects and weather stations where battery life is crucial.
The 5GHz band, while less common in DIY projects, offers superior speeds and less interference, making it suitable for high-performance applications in areas with significant 2.4GHz congestion.
Signal Range and Power Considerations
When working with wireless communications, signal range and power are crucial factors that determine the success of your project. The strength of a wireless signal decreases as it travels through space, following what’s known as the inverse square law. This means that doubling the distance reduces signal strength to one-fourth of its original power.
Several factors affect signal propagation in real-world scenarios. Physical obstacles like walls, metal objects, and electronic interference can significantly reduce signal strength. Atmospheric conditions, including humidity and precipitation, can also impact wireless performance.
Power output is equally important and often regulated by local authorities. Higher transmission power generally means better range, but it also increases energy consumption – a critical consideration for battery-powered projects. Most Raspberry Pi wireless modules operate in the 0-20 dBm range, offering a practical balance between range and power efficiency.
To optimize signal coverage, consider antenna placement, minimize physical obstacles, and choose appropriate power settings for your specific application. Remember that line-of-sight between devices typically provides the best performance for wireless communications.
Essential Wireless Protocols for Pi
Wi-Fi Communication
Wi-Fi is one of the most popular wireless communication methods for Raspberry Pi projects, offering both convenience and flexibility. The Raspberry Pi supports both 2.4GHz and 5GHz Wi-Fi bands (from Pi 4 onwards), allowing for versatile connectivity options in different environments.
To set up Wi-Fi on your Raspberry Pi, you can use either the desktop interface or command line. For headless setups, create a wpa_supplicant.conf file in the boot partition before first boot with your network credentials. The basic configuration requires your network SSID and password:
“`
network={
ssid=”YourNetworkName”
psk=”YourPassword”
key_mgmt=WPA-PSK
}
“`
For optimal Wi-Fi performance, position your Raspberry Pi away from metal objects and other electronic devices that might cause interference. Monitor signal strength using the iwconfig command, and consider using a USB Wi-Fi adapter for improved range if needed.
Common troubleshooting steps include checking for correct network credentials, updating your system packages, and ensuring your power supply provides adequate current, as Wi-Fi functionality can be affected by power issues.
Remember to secure your Wi-Fi connection by changing the default password, enabling SSH only when needed, and keeping your system updated with the latest security patches.
Bluetooth and BLE
Bluetooth and Bluetooth Low Energy (BLE) are essential short-range wireless communication protocols widely used in modern devices. Bluetooth Classic operates at 2.4 GHz and is perfect for continuous, high-bandwidth data transfer like audio streaming or file sharing, with a typical range of up to 30 meters.
BLE, introduced in version 4.0, is designed for applications requiring minimal power consumption. It’s ideal for IoT devices and sensors that transmit small amounts of data periodically. While BLE has similar range capabilities to Classic Bluetooth, it consumes significantly less power, making it perfect for battery-operated devices.
Both protocols use a master-slave architecture, where one device (the master) can connect to multiple slave devices. In Raspberry Pi projects, you can use either protocol depending on your needs. Bluetooth Classic is better for projects requiring constant data transmission, like wireless speakers or game controllers. BLE is more suitable for sensor networks or remote monitoring applications where battery life is crucial.
The Raspberry Pi 3 and later models come with built-in Bluetooth capabilities, making it easy to start experimenting with these protocols in your projects. Using Python libraries like PyBluez for Classic Bluetooth or Bleak for BLE, you can quickly implement wireless communication in your applications.
RF Modules and Custom Protocols
RF modules offer an excellent way to create custom wireless communication solutions for your Raspberry Pi projects. These modules, such as the popular nRF24L01 and RFM69, provide flexibility in designing wireless networks that suit specific needs. By combining these modules with your Raspberry Pi, you can build advanced sensing projects and create unique communication protocols.
Most RF modules connect to the Raspberry Pi through SPI or UART interfaces and operate in the license-free ISM bands (typically 433MHz, 868MHz, or 2.4GHz). They allow you to define custom packet structures, implement your own addressing schemes, and choose appropriate data rates and transmission powers.
The key advantage of using RF modules is their low power consumption and the ability to create mesh networks for extended range. Libraries like RadioHead make it easier to implement basic communication protocols, while still allowing advanced users to fine-tune parameters for optimal performance. When selecting an RF module, consider factors like range requirements, power consumption, and data rate needs for your specific application.
Hardware Selection and Setup
Popular Wireless Modules
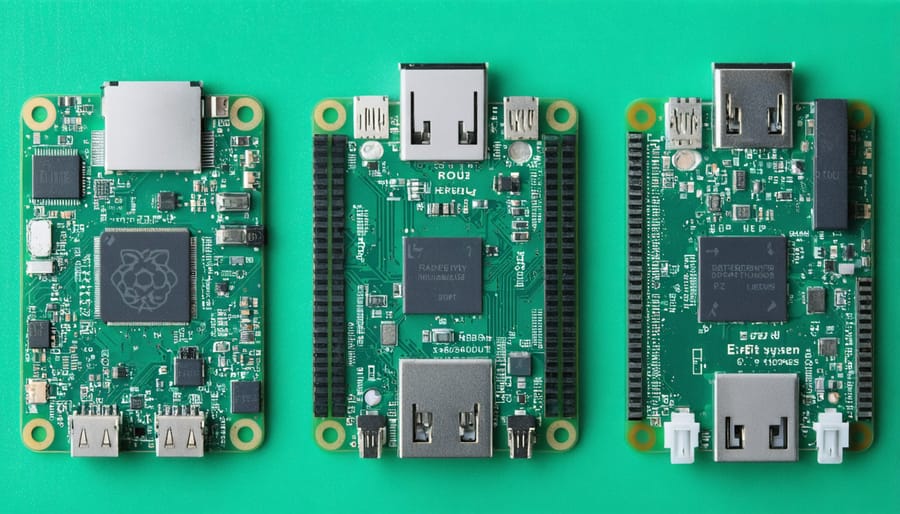
Several popular wireless modules are commonly used with Raspberry Pi for sensor integration and communication projects. The ESP8266 stands out as a cost-effective Wi-Fi module, offering built-in TCP/IP stack support and impressive processing capabilities at an affordable price point. Its successor, the ESP32, adds Bluetooth functionality and enhanced processing power, making it ideal for more demanding IoT applications.
For Bluetooth-specific projects, the HC-05 and HC-06 modules remain popular choices due to their simplicity and reliability. These modules support Bluetooth Classic, perfect for serial communication between devices. The more advanced HM-10 module supports Bluetooth Low Energy (BLE), essential for power-efficient applications.
For long-range communication, the NRF24L01+ offers reliable performance at 2.4GHz with ranges up to 100 meters in optimal conditions. The LoRa modules, such as the RFM95W, excel in long-distance communication, capable of reaching several kilometers while maintaining low power consumption.
The XBee series modules are excellent for creating mesh networks, though they come at a higher price point. They’re particularly useful in industrial applications where reliability and network scalability are crucial. Each module offers unique features and trade-offs, so choosing the right one depends on your project’s specific requirements for range, power consumption, and data throughput.
Connection and Configuration
Setting up wireless communication hardware requires careful attention to detail and proper configuration. Begin by identifying your wireless module’s specifications and compatibility with your Raspberry Pi. Common modules include WiFi dongles, Bluetooth adapters, and RF transceivers.
First, connect your wireless module to the appropriate GPIO pins or USB ports on your Raspberry Pi. For GPIO-based modules, double-check the pin connections:
– VCC to 3.3V or 5V (check module requirements)
– GND to ground
– Data pins to corresponding GPIO pins
Once physically connected, ensure your Raspberry Pi recognizes the hardware:
1. Run ‘lsusb’ for USB devices or ‘gpio readall’ for GPIO connections
2. Install necessary drivers using ‘apt-get install’
3. Configure your wireless interface using ‘raspi-config’
Remember to implement proper physical security measures to protect your wireless setup from tampering. This includes securing loose connections and protecting exposed components.
For reliable communication:
– Position antennas away from metal objects
– Minimize interference from other devices
– Use shielded cables when possible
– Keep connections clean and dry
Test your connection using appropriate commands or software tools specific to your wireless protocol. Monitor signal strength and connection quality to ensure optimal performance.
Common Challenges and Solutions
Interference Management
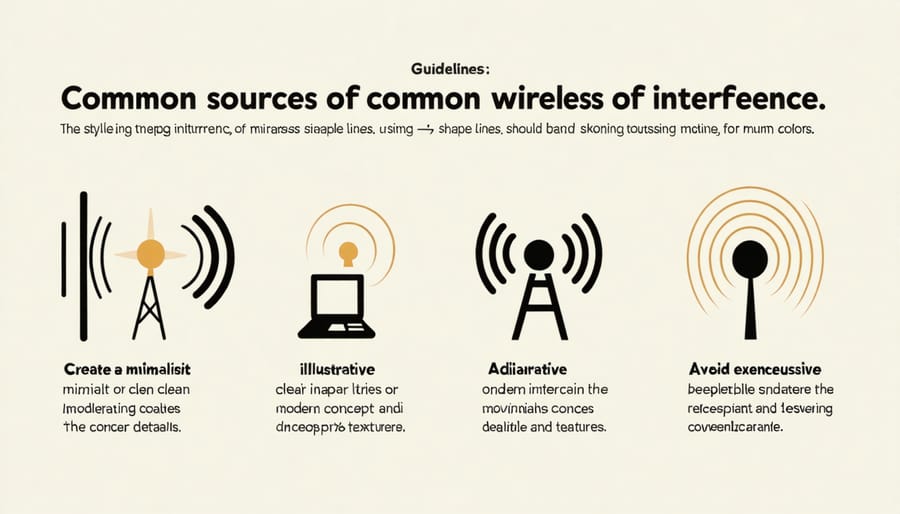
In wireless communications, interference can significantly impact signal quality and data transmission reliability. Fortunately, several effective techniques help manage and minimize interference issues in your projects. Frequency hopping is one popular method, where the communication system rapidly switches between different frequency channels, reducing the impact of interference on any single channel.
Channel selection and planning are crucial strategies. By carefully choosing less congested channels and maintaining adequate spacing between devices operating on similar frequencies, you can minimize cross-talk and interference. Many modern wireless modules include automatic channel selection features that detect and avoid busy frequencies.
Signal filtering and shielding provide hardware-level protection against interference. Adding proper RF shielding to your project enclosure and using filtered power supplies can significantly reduce electromagnetic interference. Digital signal processing techniques, such as error correction codes and adaptive modulation, help maintain reliable communication even in noisy environments.
For Raspberry Pi projects, implementing retry mechanisms and acknowledgment protocols in your communication code can help ensure data integrity when interference occurs. Setting appropriate signal strength levels is also important – stronger isn’t always better, as excessive power can create interference for nearby devices.
Regular monitoring of signal quality and maintaining proper antenna positioning help identify and prevent interference issues before they become significant problems. When troubleshooting, spectrum analyzers can be valuable tools for visualizing and identifying sources of interference in your wireless setup.
Security Considerations
When implementing wireless communications in your projects, security should be a top priority. Just as you need to secure your Raspberry Pi, protecting your wireless communications is crucial to prevent unauthorized access and data breaches.
Start by implementing strong encryption protocols like WPA3 or WPA2 for Wi-Fi connections. Never use WEP encryption, as it’s easily compromised. For Bluetooth communications, always use Bluetooth LE Security Mode 1 Level 4, which provides the highest level of security through authenticated LE Secure Connections pairing.
Consider these essential security measures:
– Use complex, unique passwords for all wireless connections
– Enable MAC address filtering to restrict device access
– Regularly update firmware and software to patch security vulnerabilities
– Disable unused wireless interfaces when not needed
– Implement secure protocols like HTTPS for web-based communications
– Use VPN tunneling for sensitive data transmission
For IoT projects, consider implementing additional security layers such as two-factor authentication and certificate-based authentication. Regular security audits of your wireless setup can help identify potential vulnerabilities before they’re exploited by malicious actors.
Remember that security is an ongoing process, not a one-time setup. Stay informed about the latest security best practices and update your implementation accordingly.
Throughout this guide, we’ve explored the fundamental aspects of wireless communications that form the backbone of modern connectivity in physical computing projects. From understanding the basic principles of radio frequency transmission to exploring different wireless protocols like Wi-Fi, Bluetooth, and LoRa, you now have a solid foundation to implement wireless capabilities in your projects.
Remember that successful wireless implementation starts with choosing the right protocol based on your specific needs – whether that’s range, power consumption, data rate, or security requirements. Always consider your project’s environment and potential interference sources when planning your wireless setup.
As you move forward with your wireless projects, start small and gradually build complexity. Begin with basic point-to-point communication before advancing to more complex network topologies. Keep security in mind from the start, implementing encryption and authentication measures appropriate for your application.
Testing and troubleshooting are crucial skills you’ll develop with practice. Use the debugging techniques we’ve discussed, and don’t hesitate to consult documentation or community forums when challenges arise.
Ready to put these concepts into practice? Start by prototyping a simple wireless communication system, perhaps connecting two Raspberry Pi devices using Wi-Fi or Bluetooth. As your confidence grows, experiment with different protocols and more advanced applications. The wireless communication landscape is constantly evolving, so stay curious and keep learning!