

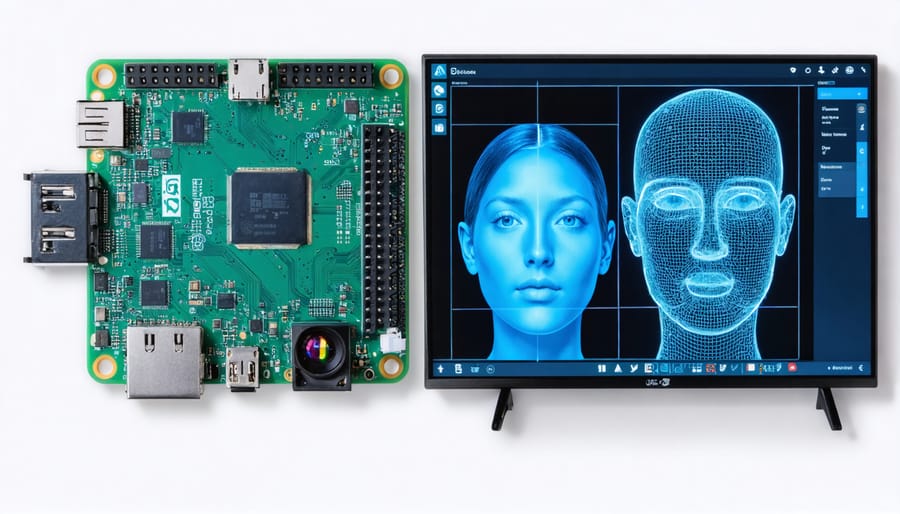
Transform your Raspberry Pi into a sophisticated facial recognition system that can detect, analyze, and authenticate faces in real-time. This powerful combination of affordable hardware and open-source software opens up endless possibilities – from smart home security to automated attendance systems.
Building a facial recognition system with Raspberry Pi has become remarkably accessible, requiring just a Pi camera module, basic Python programming knowledge, and popular libraries like OpenCV and face_recognition. Whether you’re a hobbyist exploring computer vision or a developer seeking to implement secure access control, this project serves as an excellent introduction to practical machine learning applications.
In this comprehensive guide, we’ll walk through setting up a complete facial recognition system, from installing essential dependencies to capturing and processing live video streams. You’ll learn how to train your system to recognize specific faces, implement real-time detection algorithms, and even add advanced features like emotion recognition or age estimation. By the end, you’ll have a fully functional facial recognition system that can be customized for various applications, from personal projects to professional security solutions.
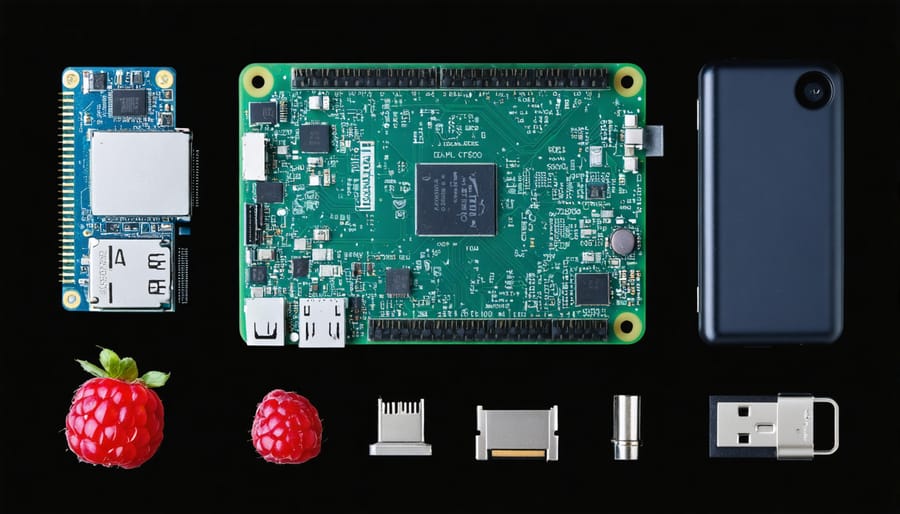
Essential Hardware Components
Choosing the Right Camera Module
For facial recognition projects, selecting the right camera module is crucial for achieving reliable results. The two most popular options are the official Raspberry Pi Camera Module V2 and the newer HQ Camera. The V2 module, with its 8-megapixel sensor and support for 1080p video, offers an excellent balance of quality and affordability, making it ideal for most facial recognition applications. For more advanced projects, the 12.3-megapixel HQ Camera provides superior image quality and interchangeable lens options.
Third-party cameras compatible with the CSI port can also work well, but ensure they have proper Raspberry Pi camera setup documentation and driver support. USB webcams are another viable alternative, offering plug-and-play convenience, though they may consume more processing power than CSI cameras.
When choosing your camera, consider factors like resolution (at least 720p recommended), frame rate (minimum 15fps for smooth detection), and low-light performance. For outdoor installations, look for cameras with IR capabilities or good low-light sensitivity. Remember that higher resolution doesn’t always mean better recognition performance – factors like proper lighting and camera positioning often matter more.
Additional Hardware Requirements
For optimal facial recognition performance, your Raspberry Pi should have at least 2GB of RAM, though 4GB is recommended for smoother operation. The Raspberry Pi 4 Model B is ideal for this project due to its enhanced processing capabilities. You’ll also need a compatible camera module – either the official Raspberry Pi Camera Module V2 (8MP) or the newer HQ Camera (12.3MP) will work well. A dedicated 5V/3A power supply is essential to prevent power-related issues.
Additional accessories include a microSD card (minimum 16GB, Class 10 recommended), a case with good ventilation to prevent overheating, and optionally, a small cooling fan. For real-time monitoring, connect a display via HDMI and add a keyboard and mouse for system configuration. If you plan to deploy your system remotely, consider adding a Wi-Fi dongle if you’re using an older Pi model without built-in wireless capabilities.
Software Setup and Configuration
Installing OpenCV and Dependencies
Before diving into the facial recognition implementation, we need to set up our Raspberry Pi with the necessary software. Start by installing OpenCV on Raspberry Pi, which is our primary computer vision library. Open your terminal and update your system first:
“`bash
sudo apt-get update
sudo apt-get upgrade
“`
Next, install the required dependencies:
“`bash
sudo apt-get install python3-pip
sudo apt-get install python3-numpy
“`
Install OpenCV and its dependencies using pip:
“`bash
pip3 install opencv-python
pip3 install opencv-contrib-python
“`
For facial recognition capabilities, we’ll need additional libraries:
“`bash
pip3 install face_recognition
pip3 install imutils
pip3 install dlib
“`
If you encounter any errors during dlib installation, you may need to install its prerequisites:
“`bash
sudo apt-get install build-essential cmake
sudo apt-get install libatlas-base-dev
“`
Once all installations are complete, verify your setup by running Python and importing OpenCV:
“`python
import cv2
print(cv2.__version__)
“`
If you see the version number without any errors, you’re ready to proceed with the facial recognition implementation.
Setting Up Face Detection Libraries
To get started with facial recognition on your Raspberry Pi, you’ll need to install several essential libraries and dependencies. Begin by updating your system with ‘sudo apt-get update’ and ‘sudo apt-get upgrade’ commands to ensure you have the latest packages.
The primary library we’ll use is OpenCV, which provides powerful computer vision capabilities. Install it by running ‘pip3 install opencv-python’. For enhanced performance, also install the ‘opencv-contrib-python’ package, which includes additional modules specifically useful for face detection and recognition.
Next, install the face_recognition library with ‘pip3 install face_recognition’. This library, built on top of dlib, provides high-level functions for face detection and recognition tasks. You’ll also need to install dlib itself, which might take some time to compile on the Raspberry Pi.
For database management of face encodings, install SQLite3 using ‘sudo apt-get install sqlite3’. This will help store and manage facial data efficiently. Additionally, install NumPy with ‘pip3 install numpy’ for handling mathematical operations and array manipulations required for image processing.
To verify your installations, open Python’s interactive shell and try importing these libraries:
“`python
import cv2
import face_recognition
import numpy
import sqlite3
“`
If no errors appear, you’re ready to proceed with implementing facial recognition functionality.
Building the Facial Recognition System
Creating the Face Database
To build your face database, you’ll need to collect and organize facial images of people you want the system to recognize. Start by creating a dedicated directory named ‘faces’ in your project folder. For each person, create a subdirectory with their name and add at least 5-10 different photos of their face for better recognition accuracy.
Using your Raspberry Pi camera module, capture these images through a simple Python script that takes multiple shots in different lighting conditions and angles. Ensure the faces are well-lit and clearly visible in each photo. The images should be consistent in size (recommended 224×224 pixels) and in JPG or PNG format.
You can automate this process with a script that captures photos at intervals when a face is detected. Remember to maintain proper file naming conventions and organize your database systematically. For optimal results, include photos with different facial expressions and accessories like glasses.
Regular maintenance of your database is crucial. Remove poor-quality images and update the collection periodically to improve recognition accuracy. Consider implementing a backup system to preserve your face database.
Writing the Recognition Script
The recognition script is the heart of our facial recognition system. Using Python and the OpenCV library, we’ll create a script that captures video from the Raspberry Pi camera and processes it in real-time. Here’s a breakdown of the essential code components:
First, import the required libraries:
“`python
import cv2
import face_recognition
import numpy as np
import picamera
“`
Create a list to store known face encodings and their corresponding names:
“`python
known_faces = []
known_names = []
# Load and encode sample images
sample_image = face_recognition.load_image_file(“person1.jpg”)
sample_encoding = face_recognition.face_encodings(sample_image)[0]
known_faces.append(sample_encoding)
known_names.append(“Person 1″)
“`
Set up the main recognition loop:
“`python
while True:
# Capture frame from Pi camera
frame = camera.capture_continuous(rawCapture, format=”bgr”)
# Find face locations in frame
face_locations = face_recognition.face_locations(frame)
face_encodings = face_recognition.face_encodings(frame, face_locations)
# Compare with known faces
for face_encoding in face_encodings:
matches = face_recognition.compare_faces(known_faces, face_encoding)
name = “Unknown”
if True in matches:
match_index = matches.index(True)
name = known_names[match_index]
# Draw rectangle and name
cv2.rectangle(frame, (left, top), (right, bottom), (0, 255, 0), 2)
cv2.putText(frame, name, (left, top – 10), cv2.FONT_HERSHEY_SIMPLEX, 0.5, (0, 255, 0), 2)
“`
This script continuously captures frames, detects faces, and compares them against known face encodings. When a match is found, it draws a rectangle around the face and displays the person’s name.
Testing and Optimization
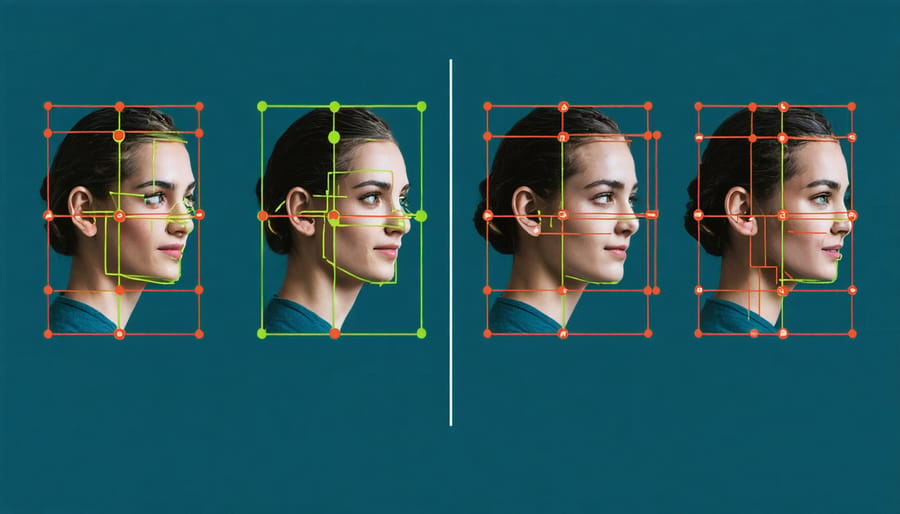
To optimize your facial recognition system’s performance, start by testing it under various lighting conditions. Adjust the camera’s exposure and contrast settings to improve image quality in different environments. Consider using the `imutils` library’s image processing functions to enhance face detection accuracy.
Fine-tune the face detection confidence threshold in your code – typically, a value between 0.5 and 0.7 provides a good balance between accuracy and false positives. If you’re experiencing slow performance, try reducing the frame resolution or processing every other frame instead of each one.
For better recognition accuracy, create multiple face encodings per person under different conditions. Include photos taken from slightly different angles, with and without glasses, and in various lighting situations. This helps build a more robust recognition model.
Monitor your Raspberry Pi’s CPU and memory usage during operation. If you notice performance issues, consider enabling the GPU for OpenCV operations or overclocking your Pi (while ensuring proper cooling). Regular database maintenance, such as removing duplicate encodings and updating face samples, will help maintain optimal system performance.
Remember to periodically test your system with new subjects to ensure consistent recognition accuracy and adjust parameters as needed.
Advanced Features and Customization
Adding Real-time Notifications
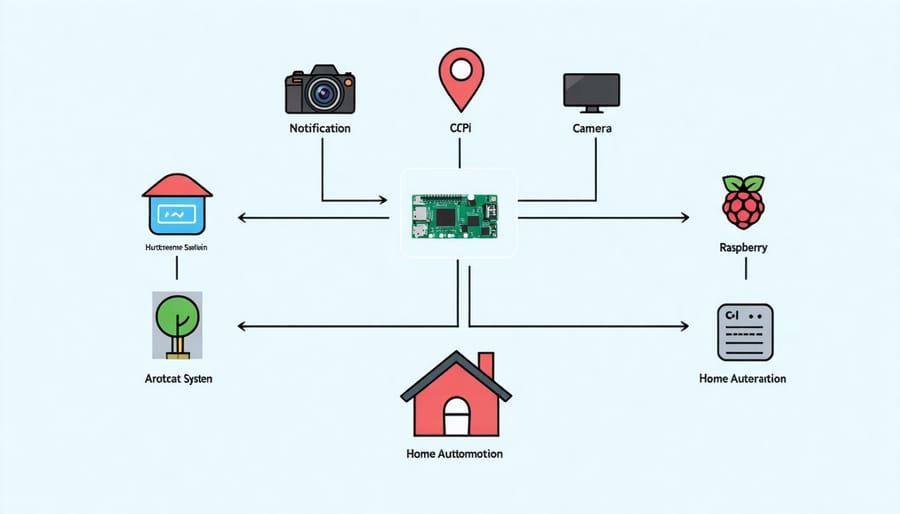
To make your facial recognition system truly useful, setting up Pi notifications is essential. You can implement real-time alerts through various channels, including email, SMS, or push notifications to your mobile device. Using Python’s smtp library for email notifications or services like Pushbullet for instant mobile alerts, you can receive immediate updates when specific faces are detected.
For enhanced security monitoring, configure your system to send notifications only for unrecognized faces or during specific time windows. You can also attach captured images to these alerts for visual verification. Consider implementing different notification levels – perhaps instant alerts for unknown faces and daily summaries for recognized individuals.
To reduce false alarms, add a confirmation step that requires multiple positive detections before triggering an alert. This approach helps maintain system reliability while ensuring you don’t miss important events. Remember to test your notification system thoroughly to find the right balance between responsiveness and avoiding alert fatigue.
Integration with Home Automation
Your facial recognition system can become a powerful component of your home automation with Raspberry Pi setup. By integrating with platforms like Home Assistant or OpenHAB, you can trigger various smart home actions based on face detection events. For example, when the system recognizes a family member, it can automatically adjust lighting, temperature, or even play personalized music preferences through connected smart speakers.
The integration process typically involves using MQTT protocols or REST APIs to communicate between your facial recognition system and your home automation hub. You can set up custom scripts that trigger specific actions for different recognized individuals or create security protocols for unrecognized faces, such as sending mobile notifications or activating security cameras.
Popular automation scenarios include automatic door unlocking for recognized faces, customized morning routines based on who enters the kitchen first, or maintaining a log of home entry and exit times for family members.
Implementing facial recognition with Raspberry Pi opens up a world of exciting possibilities for both hobbyists and developers. Throughout this guide, we’ve explored the essential components, software requirements, and step-by-step implementation process to create your own facial recognition system. By combining the power of OpenCV, Python, and the Raspberry Pi’s versatile hardware, you can build a sophisticated yet affordable solution for various applications.
Remember that successful implementation requires careful attention to camera positioning, lighting conditions, and proper configuration of your recognition parameters. The system we’ve built serves as a foundation that you can enhance with additional features like multi-face detection, emotion recognition, or integration with home automation systems.
For those looking to take their project further, consider exploring advanced topics such as deep learning models, real-time performance optimization, or implementing secure authentication protocols. You might also want to experiment with different cameras or add features like motion detection to create a more comprehensive security system.
Whether you’re using this system for educational purposes, home security, or innovative IoT applications, the skills and knowledge gained from this project will serve as valuable stepping stones for more advanced computer vision projects. Don’t hesitate to experiment, modify, and build upon this foundation to create something uniquely suited to your needs.
Happy building, and remember to share your experiences and innovations with the vibrant Raspberry Pi community!