

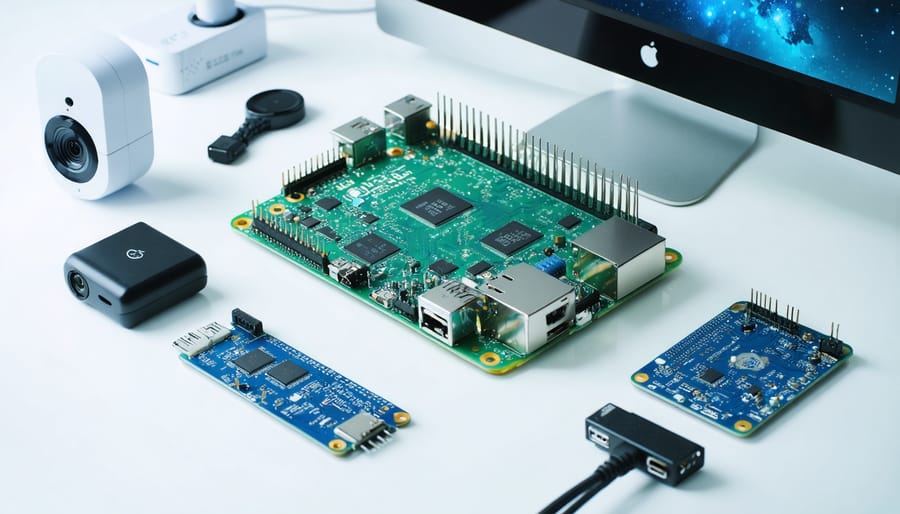
Edge AI is revolutionizing how we process and analyze data by bringing artificial intelligence directly to where it’s needed most – at the device level. Unlike traditional cloud-based AI, edge computing processes data locally, delivering faster response times, enhanced privacy, and reduced bandwidth consumption. From smart cameras that detect intruders in real-time to industrial sensors that predict equipment failures before they occur, edge AI applications are transforming industries across the board.
Raspberry Pi and similar single-board computers have emerged as powerful platforms for experimenting with and deploying edge AI solutions. These affordable, energy-efficient devices can now run sophisticated machine learning models for tasks like computer vision, voice recognition, and predictive maintenance – all without requiring constant internet connectivity or cloud resources.
For developers, makers, and businesses, the accessibility of edge AI opens up countless possibilities. Whether it’s building smart home automation systems, developing autonomous robots, or creating intelligent monitoring solutions, the combination of edge computing and AI provides the tools needed to solve real-world problems with unprecedented efficiency and scale. As processing power continues to increase and ML models become more optimized, the potential applications of edge AI are bound only by our imagination.
Setting Up Your Raspberry Pi for Edge AI Development
Required Hardware Components
To build effective edge AI applications with your Raspberry Pi, you’ll need several essential hardware components. The recommended core unit is the Raspberry Pi 4 Model B with at least 4GB of RAM, which provides the necessary processing power for AI inference tasks. An 8GB model offers even better performance for more demanding applications.
For image recognition and computer vision projects, the Raspberry Pi Camera Module V2 or the newer HQ Camera Module are excellent choices. These cameras offer high-quality image capture and seamless integration with the Pi’s hardware. If you’re working with thermal imaging, consider adding a MLX90640 thermal camera module.
Essential sensors for environmental monitoring include:
– BME280 for temperature, humidity, and pressure
– PIR motion sensor for presence detection
– Sound sensor module for audio input
– Light dependent resistor (LDR) for ambient light sensing
Additional recommended components include:
– 32GB+ microSD card (Class 10)
– 5V/3A power supply with USB-C connector
– Active cooling solution (fan or heatsink)
– GPIO breakout board for easy sensor connections
– Breadboard and jumper wires for prototyping

Software Stack Installation
Setting up your Edge AI software stack requires careful attention to dependencies and version compatibility. Start by updating your Raspberry Pi’s operating system using ‘sudo apt-get update && sudo apt-get upgrade’. Next, install Python 3 and pip if they aren’t already present.
For the TensorFlow Lite implementation, use pip to install the framework: ‘pip3 install tflite-runtime’. This lightweight version is optimized for edge devices. Install OpenCV for image processing with ‘pip3 install opencv-python’, and NumPy for numerical operations using ‘pip3 install numpy’.
To enhance your edge AI capabilities, add these essential packages:
– scikit-learn: ‘pip3 install scikit-learn’
– PIL (Python Imaging Library): ‘pip3 install pillow’
– RPi.GPIO: ‘pip3 install RPi.GPIO’
Verify your installations by running ‘python3’ and importing each package. If you encounter any errors, check package versions for compatibility or try installing specific versions using pip’s version parameter (e.g., ‘pip3 install tensorflow==2.5.0’).
Remember to create a virtual environment before installation to keep your projects isolated and prevent dependency conflicts.
Practical Edge AI Applications You Can Build Today
Real-Time Object Detection
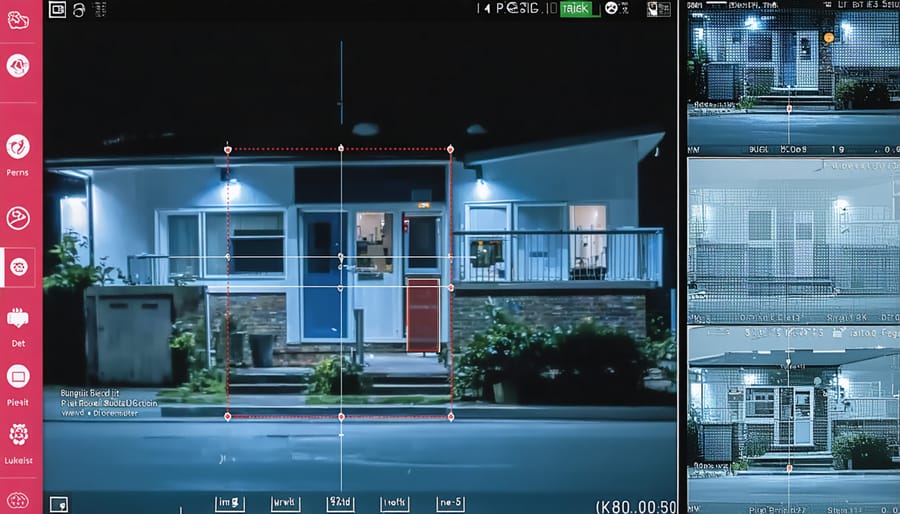
Real-time object detection is one of the most practical and exciting applications of Edge AI on the Raspberry Pi. Using TensorFlow Lite and the Pi Camera module, you can create a system that identifies objects in your environment with impressive accuracy and minimal latency.
To implement this project, you’ll need a Raspberry Pi (3B+ or newer recommended), a Pi Camera module, and TensorFlow Lite installed on your device. The system processes video frames directly on the Pi, eliminating the need for cloud connectivity and ensuring faster response times.
Start by connecting your Pi Camera and enabling it through raspi-config. Install TensorFlow Lite using pip, then download a pre-trained model like MobileNet SSD, which offers a good balance between speed and accuracy. The model can recognize common objects like people, cars, and household items.
Here’s a basic implementation approach:
1. Initialize the camera and load the TensorFlow Lite model
2. Capture frames from the camera in real-time
3. Preprocess each frame to match the model’s input requirements
4. Run inference on the processed frame
5. Draw bounding boxes around detected objects
6. Display results on a monitor or stream them over the network
The system typically achieves 2-5 frames per second on a Raspberry Pi 4, which is suitable for many applications like security monitoring, inventory management, or interactive projects. To optimize performance, consider reducing the input resolution or using a quantized model.
Remember to handle resources efficiently by properly closing the camera and model when your program exits. This prevents memory leaks and ensures smooth operation during extended use.
Smart Home Automation
Edge AI has revolutionized home automation fundamentals, bringing intelligent decision-making right into our living spaces without relying on cloud connectivity. By implementing voice recognition systems on devices like the Raspberry Pi, you can create a responsive and secure smart home that processes commands locally.
The key advantage of running voice recognition at the edge is the enhanced privacy and reduced latency. Instead of sending voice data to cloud servers, your commands are processed directly on your home’s local network. This means your lights turn on instantly when you speak, and your personal conversations stay within your walls.
To build such a system, you’ll need a Raspberry Pi (4 or newer recommended), a USB microphone, and compatible smart home devices. Popular frameworks like TensorFlow Lite and Edge Impulse make it possible to run lightweight voice recognition models that can identify specific commands while consuming minimal resources.
The system can be programmed to recognize custom wake words and commands, controlling everything from lighting and temperature to security systems and entertainment devices. For example, saying “Living room lights dim” triggers the local AI to process the command and communicate with smart bulbs through protocols like Zigbee or Z-Wave.
Advanced implementations can include context awareness, where the system learns from your daily routines and adjusts accordingly. The AI can recognize different family members’ voices and customize responses based on individual preferences, all while maintaining quick response times and working even during internet outages.
Remember to regularly update your voice recognition models and implement proper error handling to ensure reliable operation. With edge AI, your smart home becomes more responsive, private, and resilient.
Predictive Maintenance Sensor
Predictive maintenance has revolutionized equipment monitoring by combining IoT sensors with edge AI capabilities. By processing data directly at the source, these systems can detect potential failures before they occur, saving both time and resources. A basic predictive maintenance setup using a Raspberry Pi can monitor vibration, temperature, and power consumption patterns to identify anomalies in real-time.
To create such a system, you’ll need a Raspberry Pi (3B+ or newer), accelerometer sensors for vibration detection, temperature sensors, and current sensors. The sensors connect to the Pi’s GPIO pins, collecting continuous data streams that feed into a machine learning model running locally on the device.
The ML model typically uses algorithms like Random Forest or Light GBM, which are efficient enough to run on edge devices while providing accurate predictions. These models analyze patterns in sensor readings to detect unusual behavior that might indicate impending equipment failure. For instance, excessive vibration patterns or temperature spikes often precede mechanical breakdowns.
The beauty of edge processing in this application is the near-instantaneous response time. Rather than sending all data to a cloud server for analysis, the system can make decisions locally and trigger immediate alerts when necessary. This reduces latency and ensures critical warnings aren’t delayed by network issues.
Implementation typically involves:
– Setting up sensor data collection scripts in Python
– Processing raw sensor data through simple filters
– Training a lightweight ML model on historical failure data
– Deploying the model to run inference on the Pi
– Configuring alert mechanisms for maintenance staff
For optimal performance, consider using data buffering techniques and implementing a rolling window analysis to manage memory usage effectively. This ensures your Pi can run continuously without performance degradation while maintaining real-time monitoring capabilities.
The system can be further enhanced by incorporating wireless connectivity for remote monitoring and creating a dashboard for visualizing equipment health metrics. This creates a comprehensive solution that bridges the gap between traditional maintenance schedules and modern predictive approaches.
Optimizing Edge AI Performance
Model Optimization Techniques
When deploying AI models on edge devices like Raspberry Pi, it’s crucial to optimize Raspberry Pi performance through various model optimization techniques. One of the most effective methods is quantization, which reduces model precision from 32-bit floating-point to 8-bit integers, significantly decreasing model size while maintaining acceptable accuracy.
Model pruning is another powerful technique that removes unnecessary connections and neurons from the neural network. This process can reduce model size by up to 90% with minimal impact on accuracy. Think of it as trimming away unused branches from a tree while keeping its essential structure intact.
TensorFlow Lite offers built-in optimization tools that work particularly well for edge devices. These include weight clustering, which groups similar weights together, and post-training quantization, which optimizes models after they’ve been trained.
Knowledge distillation is gaining popularity among edge AI developers. This technique transfers knowledge from a larger “teacher” model to a smaller “student” model, making it more suitable for resource-constrained devices while preserving much of the original model’s capabilities.
For real-time applications, model architecture optimization is essential. Using lightweight architectures like MobileNet or EfficientNet can dramatically improve inference speed. These networks are specifically designed for mobile and edge devices, offering an excellent balance between accuracy and computational efficiency.
Remember to validate your optimized model’s performance thoroughly before deployment. Sometimes, combining multiple optimization techniques can yield the best results for your specific use case.
Hardware Acceleration Options
Hardware acceleration is essential for running sophisticated AI models efficiently on edge devices like the Raspberry Pi. The Google Coral USB Accelerator stands out as a popular choice, offering significant performance improvements through its dedicated Edge TPU (Tensor Processing Unit). This compact device can accelerate TensorFlow Lite models up to 10 times faster than running them on the Pi’s CPU alone.
To get started with hardware acceleration, simply plug the Coral USB Accelerator into your Raspberry Pi’s USB port. The setup process involves installing the Edge TPU runtime and TensorFlow Lite libraries. Once configured, you can run optimized models that take advantage of the TPU’s processing capabilities.
Alternative acceleration options include the Intel Neural Compute Stick 2 (NCS2), which works well with OpenVINO toolkit, and the NVIDIA Jetson Nano, offering GPU acceleration capabilities. Each accelerator has its strengths – the Coral excels at TensorFlow Lite models, while the NCS2 performs better with OpenVINO-optimized networks.
For optimal performance, ensure your AI models are properly quantized and compiled for your chosen accelerator. The Coral USB Accelerator, for instance, requires models to be compiled specifically for the Edge TPU using the Edge TPU Compiler. This process converts floating-point operations to fixed-point arithmetic, maximizing the accelerator’s efficiency.
Remember to monitor your device’s temperature and power consumption when using hardware accelerators, as they can generate additional heat. Consider adding a small cooling fan if you’re running intensive AI applications continuously.
The journey of Edge AI on Raspberry Pi represents a remarkable fusion of accessibility and innovation, opening up countless possibilities for developers, hobbyists, and makers alike. By bringing artificial intelligence to the edge of our networks, we’re witnessing a transformation in how we approach real-world problems and create solutions.
The combination of Raspberry Pi’s affordability and Edge AI’s capabilities has democratized access to advanced technology, enabling everything from smart home automation to industrial monitoring systems. As we’ve explored throughout this article, the applications are virtually limitless, constrained only by our creativity and problem-solving skills.
Looking ahead, the future of Edge AI on Raspberry Pi appears incredibly promising. With each new iteration of the Raspberry Pi hardware and continuous improvements in AI frameworks optimized for edge devices, we can expect even more powerful and efficient applications. The emergence of specialized AI accelerators and improved processing capabilities will further expand what’s possible on these compact yet capable devices.
For those just starting their Edge AI journey, remember that the community surrounding Raspberry Pi and Edge AI is vast and supportive. Whether you’re building a simple image recognition system or developing complex real-time analytics, the foundations we’ve covered here will serve as your stepping stone to more advanced projects.
The revolution in edge computing is just beginning, and Raspberry Pi continues to be at the forefront of making these technologies accessible to everyone. Start small, experiment often, and don’t hesitate to push the boundaries of what’s possible with Edge AI on your Raspberry Pi.