

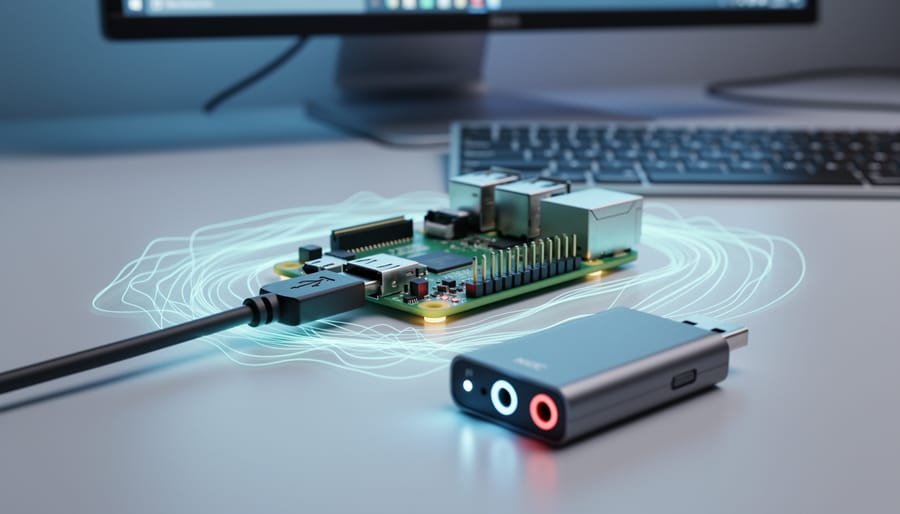
Adding a USB audio adapter to your Raspberry Pi transforms its audio capabilities from basic playback to professional-grade performance in under 15 minutes. The process involves selecting a compatible USB audio device, configuring ALSA or PulseAudio settings, and verifying proper driver recognition through command-line tools. This straightforward upgrade solves the Pi’s notorious analog audio limitations, which include electromagnetic interference, limited dynamic range, and poor signal-to-noise ratio that make the built-in 3.5mm jack unsuitable for serious audio work.
The onboard audio on Raspberry Pi models uses PWM (pulse-width modulation) rather than a dedicated DAC, resulting in audible hiss and distortion that undermines projects like streaming servers, recording stations, or voice recognition systems. USB audio adapters bypass this entirely by moving digital-to-analog conversion off-board, where dedicated hardware delivers cleaner signals and broader compatibility with professional audio software.
Whether you’re building a voice-controlled assistant that needs clean microphone input, setting up a multi-room audio system, or creating a portable recording rig, external USB audio provides the foundation your project deserves. The setup process works across all Pi models with USB ports, from the compact Pi Zero 2 W to the powerful Pi 5, though power requirements and channel counts vary by adapter.
This guide walks you through the complete audio interface setup covering hardware selection criteria, kernel module configuration, testing procedures, and common compatibility pitfalls. You’ll learn which adapters work reliably with Raspberry Pi OS in 2026, how to handle driver conflicts, and verification methods that confirm your audio chain is performing correctly before you invest time in your larger project.
What You’ll Need Before You Start
Before you plug in your USB audio adapter, gather everything you need to avoid mid-project interruptions. Having the right components from the start makes the difference between a frustrating evening and a working professional audio setup.
Hardware Requirements
- Raspberry Pi: Model 3B+, 4, or 5 (earlier models work but may lack processing power for real-time audio)
- USB audio adapter: Class-compliant device (we’ll cover selection criteria in the next section)
- Power supply: Official Raspberry Pi power adapter for your model (3A for Pi 4/5, 2.5A minimum for 3B+)
- MicroSD card: 16GB or larger, Class 10 speed rating
- USB cables: Quality shielded cables if your adapter requires separate USB connection
- Ethernet cable or WiFi: For initial setup and updates
Software Requirements
You’ll need Raspberry Pi OS (2026 release recommended) installed on your microSD card. The latest version includes updated ALSA drivers and PipeWire support that significantly improve USB audio compatibility. If you’re setting up remotely, follow our headless install guide to get the OS configured without connecting a display.
Optional Components
Depending on your specific audio application, you might also want a powered USB hub (essential for bus-powered adapters on Pi 3B+), quality audio cables (XLR or TRS for studio connections), and a USB keyboard for local configuration. For pro-quality ADC recording projects, consider phantom power supplies if your adapter doesn’t provide it.
Most importantly, ensure your power supply can handle the combined load of your Pi and any bus-powered USB devices.
Important Compatibility and Power Warnings
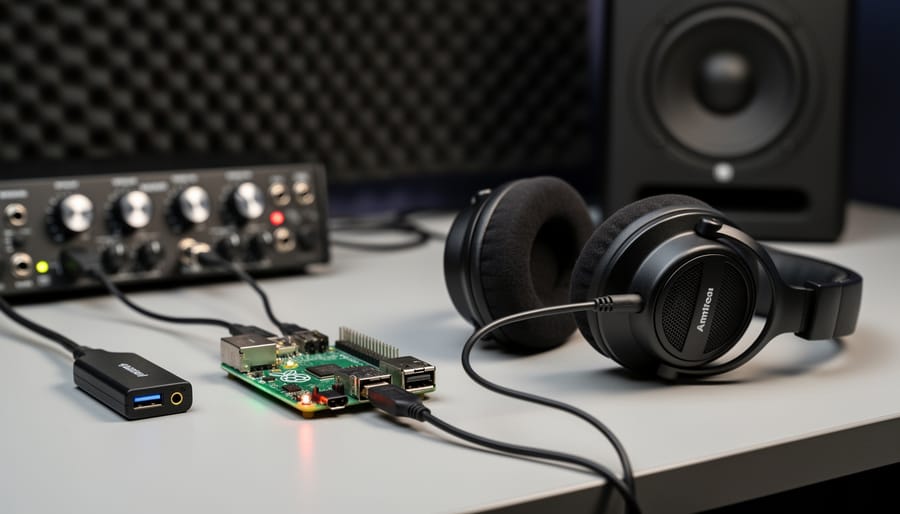
Before connecting any USB audio adapter to your Raspberry Pi, understand that power and compatibility issues cause most audio setup failures. A USB audio adapter running on an underpowered Pi can produce crackling, dropouts, or complete system instability, and certain chipset combinations simply won’t work together.
Check your power supply first. The Raspberry Pi 4 and 5 need a genuine 3A (15W) USB-C power supply to reliably run USB audio devices. If you’re using a Pi 3B+, a quality 2.5A adapter is the minimum. Bus-powered USB audio adapters draw anywhere from 100mA to 500mA, and this current comes directly from the Pi’s USB bus. Add a keyboard, mouse, and wireless adapter, and you’ll quickly exceed what a marginal power supply can deliver.
Externally powered adapters eliminate this risk entirely. Any USB audio interface with its own wall adapter or DC input bypasses the Pi’s power limitations and delivers cleaner audio with lower noise floors. For professional applications like recording or real-time processing, always choose externally powered units.
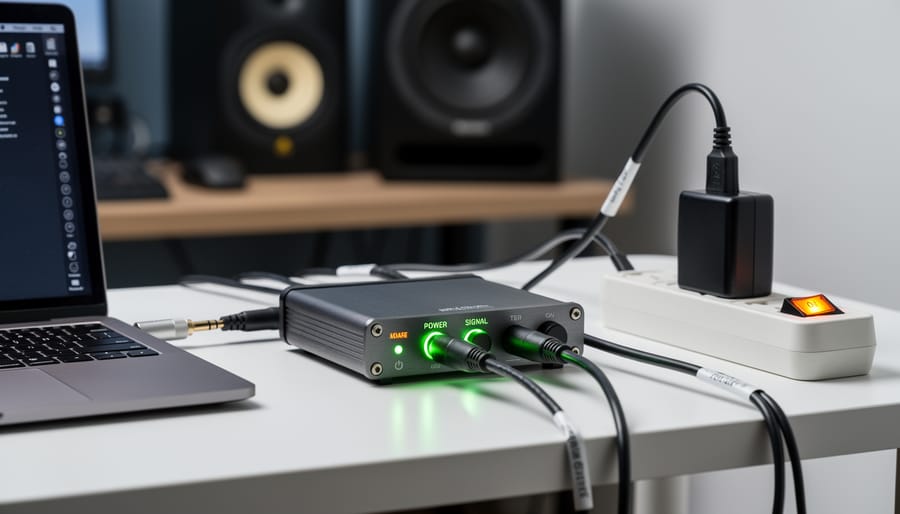
Ground loops create another common problem. When your Pi, audio adapter, and powered speakers all connect to different outlets or power strips, you may hear a constant 50Hz or 60Hz hum through your outputs. Use a single power strip for all audio equipment, or invest in a USB isolator to break the ground path between devices.
Static discharge kills audio adapters instantly. Always ground yourself before handling the device, never hot-plug USB audio gear while phantom power is active, and avoid connecting adapters during thunderstorms or in low-humidity environments where static builds up easily.
Certain chipsets have known compatibility issues with Raspberry Pi’s USB implementation. Avoid adapters using the VIA VT1630A chipset, which exhibits timing problems on ARM processors. Creative Labs USB devices often require proprietary drivers unavailable for Raspberry Pi OS. Stick with adapters built around C-Media CM6206/CM108, Texas Instruments PCM2902/PCM2904, or Burr-Brown (now TI) chipsets, which have mature ALSA driver support and proven track records on Pi hardware.
Choosing the Right USB Audio Adapter
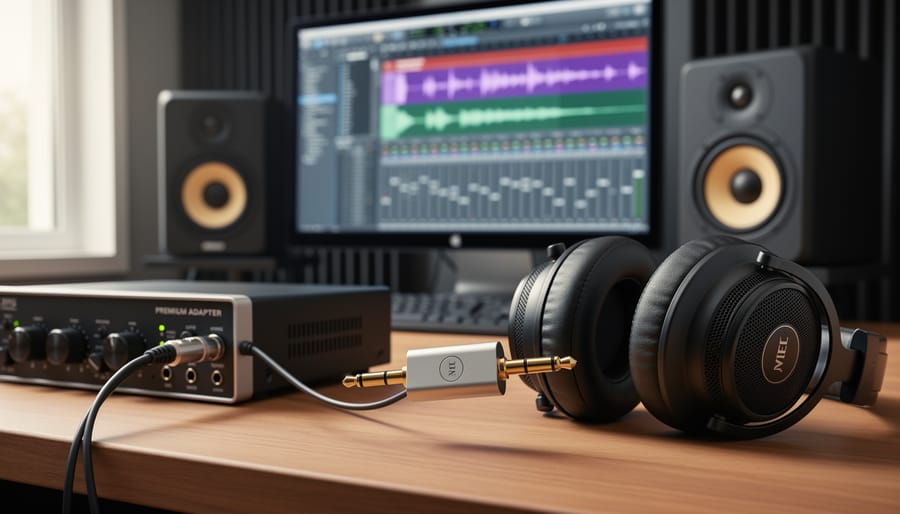
The USB audio adapter you choose determines the quality ceiling for your entire audio project. Match the adapter’s specifications to your actual use case rather than chasing the highest numbers.
For streaming and multi-room audio applications, look for adapters supporting 48kHz sample rate at 24-bit depth. This standard delivers transparent audio quality while keeping CPU overhead manageable. Podcast production and voice recording work perfectly at these settings. Music production and mastering demand 96kHz or 192kHz capability, though your Raspberry Pi model limits real-time processing headroom, a Pi 4 or 5 handles 96kHz better than a 3B+.
Channel count matters more than many realize. Simple playback needs stereo output only. Recording vocals or instruments requires at least one XLR input with phantom power. Multi-track recording or room correction projects need four or more simultaneous input channels. Count your required inputs and outputs before buying, because USB bandwidth constraints prevent you from exceeding an adapter’s specified channel count.
Latency splits adapters into categories. Playback-focused units tolerate 10-20ms round-trip latency without issue. Real-time monitoring during recording demands under 5ms. JACK-based DAW work requires class-compliant adapters with ASIO-equivalent drivers, the lower the buffer size support, the better.
Chipset compatibility proves critical on Raspberry Pi OS. C-Media CM6206 and CM108 chipsets offer solid class-compliant operation without custom drivers. Texas Instruments PCM2902 and PCM2912 work reliably for basic stereo. Avoid Realtek chipsets, they frequently require Windows-specific drivers and create headaches on Linux systems. Check adapter specifications explicitly for “Linux compatible” or “class-compliant USB Audio” labels.
Budget $25-50 for reliable stereo adapters with decent preamps. Professional multi-channel interfaces run $100-300 but deliver measurably cleaner audio and lower noise floors. The built-in Raspberry Pi audio never suffices for advanced applications, it lacks the dynamic range and introduces too much electrical noise for serious work.
Step-by-Step Setup Process
Connecting Your USB Audio Adapter
With your Raspberry Pi powered off and your USB audio adapter ready, connecting the hardware is straightforward but requires attention to detail for optimal performance.
Physical Connection Steps:
- Power down your Raspberry Pi completely and disconnect the power supply to prevent potential damage from hot-plugging sensitive audio components.
- Identify the USB ports on your Pi. For Raspberry Pi 4 and 5, use the blue USB 3.0 ports for best performance. On Pi 3B+, all ports are USB 2.0, choose the upper ports which share a separate bus from the lower pair.
- Insert your USB audio adapter firmly but gently into the selected port. You should feel a solid click when the connector seats properly. Avoid forcing the connection if you encounter resistance.
- For externally-powered adapters, connect the power supply to the adapter before reconnecting your Pi’s power. This ensures the adapter initializes properly without drawing surge current from the Pi’s USB bus.
- Reconnect your Raspberry Pi’s power supply and boot the system. Watch for any LED indicators on your audio adapter, most quality adapters display a power light when receiving adequate current.
- Once logged in, open a terminal and run
lsusbto verify system recognition. You should see your audio adapter listed with its manufacturer name and device ID, typically appearing as a USB audio device or by the chipset name.
If the adapter doesn’t appear in lsusb output, try a different USB port or check that any external power supply is connected correctly. A recognized device confirms successful hardware connection and readies you for software configuration in the next steps.
Configuring ALSA Audio Settings
Once your USB audio adapter appears in the system, you need to tell ALSA to use it as the default audio device instead of the Raspberry Pi’s built-in headphone jack. This configuration ensures all applications route audio through your USB adapter automatically.
Start by identifying your audio devices. Open a terminal and run:
“`
aplay -l
“`
This lists all available playback devices. Your USB adapter typically appears as card 1 or higher, while the built-in audio shows as card 0. Note the card number and device number (usually 0) for your USB adapter, you’ll need these for configuration.
To set your USB adapter as the default, create or edit ALSA’s configuration file:
“`
sudo nano /etc/asound.conf
“`
Add these lines, replacing the card number with your USB adapter’s card number from the previous step:
“`
defaults.pcm.card 1
defaults.ctl.card 1
“`
Save and exit (Ctrl+X, then Y, then Enter). For user-level configuration that doesn’t require sudo, you can alternatively edit `~/.asoundrc` with the same content.
Test your configuration by playing a WAV file:
“`
aplay /usr/share/sounds/alsa/Front_Center.wav
“`
You should hear audio through your USB adapter. If you don’t, double-check your card number and verify the physical connection.
Next, configure volume levels using ALSA’s built-in mixer:
“`
alsamixer
“`
Press F6 to select your sound card, then choose your USB adapter from the list. Use arrow keys to navigate between channels and adjust levels. The MM label means a channel is muted, press M to unmute. Most USB adapters have Speaker and PCM channels that control output volume.
Save your mixer settings so they persist after reboot:
“`
sudo alsactl store
“`
Your USB adapter is now ALSA’s default device. Applications will automatically route audio through it unless they specify a different output.
Setting Up PulseAudio or PipeWire
In 2026, Raspberry Pi OS ships with PipeWire as the default audio server, replacing the older PulseAudio stack. For most advanced audio applications, sticking with PipeWire offers better performance and lower latency. However, legacy applications may still require PulseAudio compatibility layers.
PipeWire combines the routing flexibility of PulseAudio with the low-latency capabilities of JACK, making it ideal for streaming servers, multi-room audio, and even light DAW work. If you’re running an older Raspberry Pi OS installation with PulseAudio, consider upgrading to leverage PipeWire’s improvements in 2026.
Setting Your Default Audio Device
Once your USB adapter appears in the system, you need to route audio through it. Open a terminal and run:
“`
pactl list short sinks
“`
This displays available output devices. Your USB adapter typically shows as “usb-audio” or similar. Note its index number or name.
Set it as the default with:
“`
pactl set-default-sink [sink-name]
“`
For inputs (microphones or line-in), use:
“`
pactl list short sources
pactl set-default-source [source-name]
“`
Application-Specific Routing
Some applications ignore system defaults. Use `pavucontrol` for graphical control:
“`
sudo apt install pavucontrol
pavucontrol
“`
Under the “Playback” and “Recording” tabs, you can redirect individual applications to specific devices in real time. This proves essential when running simultaneous audio streams to different outputs.
To make PipeWire settings persistent, they’re automatically saved in `~/.config/pipewire/`. For PulseAudio compatibility mode, settings persist in `~/.config/pulse/`. Most configurations survive reboots without manual intervention, though complex routing setups may require startup scripts for automated restoration.
Optimizing for Low-Latency Performance
For real-time audio applications like live processing, DAWs, or MIDI synthesis, default audio settings introduce too much delay. You need to minimize latency, the time between input and output, through strategic configuration changes.
Start with buffer size adjustments in your ALSA configuration. Edit `/etc/asound.conf` and add period_size and buffer_size parameters. Smaller buffers reduce latency but increase CPU load and risk audio dropouts. A period_size of 128 frames with a buffer_size of 512 frames typically works for most Raspberry Pi 4 and 5 projects requiring sub-20ms latency.
Force your Raspberry Pi’s CPU governor to performance mode to prevent frequency scaling delays. Run `sudo cpufreq-set -g performance` or make it permanent by editing `/etc/default/cpufrequtils` and setting `GOVERNOR=”performance”`. This keeps all cores at maximum clock speed, eliminating the lag caused by dynamic frequency adjustments during audio processing.
For professional DAW work, install and configure the JACK audio server, which offers superior real-time performance over PulseAudio. Install with `sudo apt install jackd2 qjackctl`, then launch QjackCtl to set frames/period (128-256), sample rate (48000 Hz recommended), and periods/buffer (2-3). Enable realtime priority in JACK settings and add your user to the audio group with `sudo usermod -a -G audio $USER`.
Thread priority matters significantly. Edit `/etc/security/limits.conf` and add lines for your audio user setting rtprio to 95 and memlock to unlimited. This ensures audio threads can preempt other processes, preventing interruptions that cause xruns and dropouts in demanding real-time scenarios.
Testing and Verifying Your Setup
Your USB audio adapter is physically connected and configured, but the real proof comes from methodical testing. Start with basic playback, then move through recording and analysis to confirm every aspect works as expected.
- Test playback with
speaker-test -c 2 -t wavto send a test tone through your USB device. You should hear clear audio from both channels with no crackling or dropouts. The command output shows the detected sample rate (typically 48000Hz) and any buffer underruns that indicate problems. - Play a high-quality audio file using
aplay -D hw:CARD=Device,DEV=0 test.wav(replace “Device” with your adapter’s name fromaplay -l). Listen for consistent volume, no distortion at higher levels, and proper stereo separation. - Record a test clip with
arecord -D hw:CARD=Device,DEV=0 -f S16_LE -r 48000 -c 2 test.wavfor 10 seconds. Play it back to verify your input connections work correctly and the recording quality matches your expectations. - Check actual operating parameters with
cat /proc/asound/card1/stream0to confirm the adapter runs at your intended sample rate and bit depth, not falling back to lower quality settings.
For advanced verification, run a loopback test by connecting an output to an input with a cable. Play a known signal and record simultaneously, then compare waveforms using Audacity to check for latency, phase issues, or frequency response problems. This is essential if you’re building a pro audio powerhouse that demands sample-accurate timing.
Monitor CPU usage during playback with top. USB audio should consume minimal resources (under 5% on a Pi 4). High CPU usage or xrun messages in the terminal indicate buffer size problems that need addressing before production use.
You can run these tests over remote desktop if you’re configuring a headless system, though final quality checks should use locally connected monitors for accurate audio assessment.
Common Issues and Quick Fixes
When your USB audio adapter doesn’t work as expected, these targeted solutions will get you back on track quickly.
Device not recognized: Run `lsusb` to verify the adapter appears in the USB device list. If missing, try a different USB port, preferably a USB 3.0 port on Pi 4 or 5 models for better power delivery. Check `dmesg | tail -20` for error messages. If you see “device not accepting address” errors, the adapter likely draws too much current and needs an externally powered USB hub.
No sound output: First confirm the USB adapter is the active device with `aplay -l`. If it’s listed but silent, check volume levels using `alsamixer`, the master and PCM channels are often muted by default. Press M to unmute. Verify PulseAudio hasn’t reverted to the built-in card by running `pactl list short sinks` and setting the USB device as default with `pacmd set-default-sink`.
Crackling, pops, or distortion: These indicate buffer underruns. Increase buffer sizes by editing `/etc/pulse/daemon.conf` and setting `default-fragment-size-msec = 25` (up from the typical 10-15ms). For ALSA-only setups, add `period_size 1024` to your `.asoundrc`. Switching the CPU governor to performance mode with `sudo cpufreq-set -g performance` eliminates throttling-related dropouts.
Sample rate mismatches: If playback sounds too fast or slow, your software and hardware sample rates don’t match. Force ALSA to a specific rate by adding `defaults.pcm.rate_converter “samplerate_best”` to `/etc/asound.conf`. Check what rate your adapter is actually using with `cat /proc/asound/card*/pcm0p/sub0/hw_params` while audio plays.
Permission errors: Add your user to the audio group with `sudo usermod -a -G audio $USER`, then log out and back in. Applications still failing should be run with `–device=alsa` flags to bypass PulseAudio permissions entirely.
Next Steps for Advanced Audio Projects
Now that your USB audio adapter is delivering studio-quality sound, you can leverage it for professional-grade audio projects that demand reliable, high-fidelity audio I/O. Here’s where to take your setup next.
- Multi-room audio with Snapcast: Synchronize audio playback across multiple Raspberry Pis in different rooms, creating a whole-home audio system with precise timing and no latency drift
- Internet radio streaming with Icecast: Build a low-latency streaming server to broadcast live audio or pre-recorded content to listeners worldwide
- Podcast production workstation: Configure your Pi with Audacity or Ardour for multi-track recording, editing, and mixing with professional monitoring capabilities
- DAW integration: Connect to desktop audio workstations via JACK or Pipewire for remote audio processing, external effects chains, or networked recording sessions
- Custom audio processing pipelines: Chain together tools like SoX, FFmpeg, and LV2 plugins to create automated audio enhancement workflows for batch processing
For multi-room audio, Snapcast handles clock synchronization across devices automatically, ensuring perfectly aligned playback even over WiFi. Your USB adapter provides the clean output signal each client needs. Icecast streaming benefits from the adapter’s consistent sample rate support, configure it for 48kHz output to match most streaming standards and reduce transcoding overhead.
When building a podcast workstation, the adapter’s low-latency monitoring prevents the disorienting delay that makes the built-in audio unusable for real-time recording. Set buffer sizes to 128 or 256 samples in your DAW preferences for responsive playback without dropouts. For custom processing pipelines, the adapter’s ALSA compatibility means seamless integration with command-line tools, pipe audio through your effects chain and monitor results in real time without quality degradation.
Each of these projects builds on the configuration work you’ve already completed, requiring only application-specific setup rather than fundamental audio system changes.
Frequently Asked Questions
Can I use multiple USB audio devices simultaneously?
Yes, ALSA and PulseAudio both support multiple audio devices at once. You’ll need to configure virtual devices or use PulseAudio’s module-combine-sink to merge outputs, and ensure your Pi’s USB controller has enough bandwidth for concurrent streams.
Do I need a powered USB hub?
It depends on your adapter’s power consumption. Bus-powered adapters drawing over 500mA should use an externally powered hub to prevent voltage drops and audio glitches, especially on Raspberry Pi 3 models with limited USB current.
What’s the best sample rate for streaming?
44.1kHz is the standard for most streaming and playback applications, balancing quality with processing overhead. Only use 48kHz or higher if your source material requires it or you’re doing professional recording work.
How do I make settings persistent across reboots?
Save your ALSA configuration in /etc/asound.conf and PulseAudio settings in ~/.config/pulse/. For systemd services, enable them with systemctl enable to ensure they start automatically on boot.
Is the onboard audio ever sufficient for advanced applications?
No. The built-in 3.5mm jack uses PWM (pulse-width modulation) rather than a proper DAC, resulting in poor signal-to-noise ratio, limited dynamic range, and audible artifacts that make it unsuitable for streaming servers, recording, or any professional audio work.
Why does my audio stutter when the CPU is busy?
USB audio processing competes with other system tasks for CPU time. Set your CPU governor to performance mode, increase ALSA buffer sizes in your configuration, or use JACK with real-time scheduling to prioritize audio threads over background processes.
These questions come up constantly in Raspberry Pi audio forums, and getting the answers right early saves hours of troubleshooting later. The powered hub question is particularly important because underpowered USB devices are the number one cause of mysterious audio dropouts that users blame on software configuration.
One common misconception worth addressing: many newcomers assume they can fix onboard audio issues with software tweaks or better cables. They can’t. The hardware limitation is fundamental, which is why USB audio adapters aren’t optional accessories for serious projects but core infrastructure. Understanding this upfront sets realistic expectations and prevents wasted effort trying to optimize something that’s inherently limited.
By working through the steps in this guide, you’ve transformed your Raspberry Pi from a device with basic, consumer-grade audio into a platform capable of studio-quality sound. USB audio adapters eliminate the noise, distortion, and limited fidelity of the built-in audio jack, opening the door to professional streaming servers, multi-room audio systems, podcast production setups, and even full DAW environments.
The core process is straightforward: connect your adapter, configure ALSA to recognize it as the default device, set up PulseAudio or PipeWire for application routing, and optimize latency settings for real-time performance. Each configuration layer builds on the previous one, creating a robust audio pipeline that rivals dedicated hardware costing far more.
Don’t hesitate to experiment with different sample rates, buffer sizes, and routing configurations once you have a working baseline. Your specific use case might benefit from settings that differ from the general recommendations here. A streaming server prioritizes stability over ultra-low latency, while a JACK-based recording setup demands the opposite trade-off.
This setup forms the foundation for countless advanced audio projects. Whether you’re building a whole-house audio system, a portable podcast rig, or a networked audio workstation, you now have the infrastructure to make it happen. Explore other Pidora tutorials to take your Raspberry Pi audio capabilities even further in 2026.