

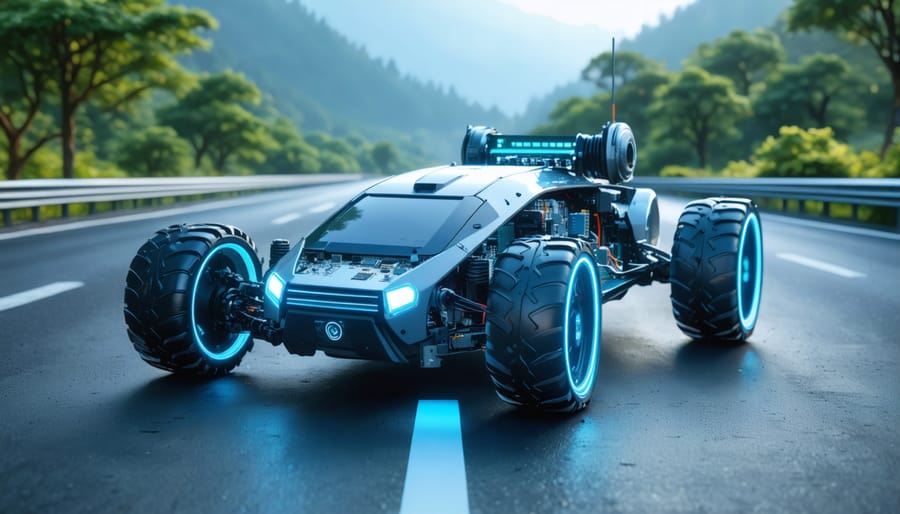
Transform your Raspberry Pi into a fully autonomous vehicle by combining cutting-edge computer vision, sensor integration, and machine learning algorithms. This exciting fusion of robotics and edge AI projects puts the power of self-driving technology right in your hands.
Start with a basic RC car chassis, attach a Raspberry Pi 4 as the brain, and integrate essential components like a camera module for visual navigation, ultrasonic sensors for obstacle detection, and motor controllers for precise movement. The Python-based control system leverages OpenCV for real-time image processing, enabling your vehicle to identify lanes, detect objects, and make split-second driving decisions.
What sets this project apart is its scalability – begin with basic line-following capabilities, then gradually implement advanced features like GPS navigation, dynamic path planning, and even neural network-based decision making. Whether you’re a hobbyist exploring robotics or an educator teaching autonomous systems, this project offers hands-on experience with real-world autonomous vehicle principles at a fraction of the cost of commercial solutions.
Essential Hardware Components
Core Components
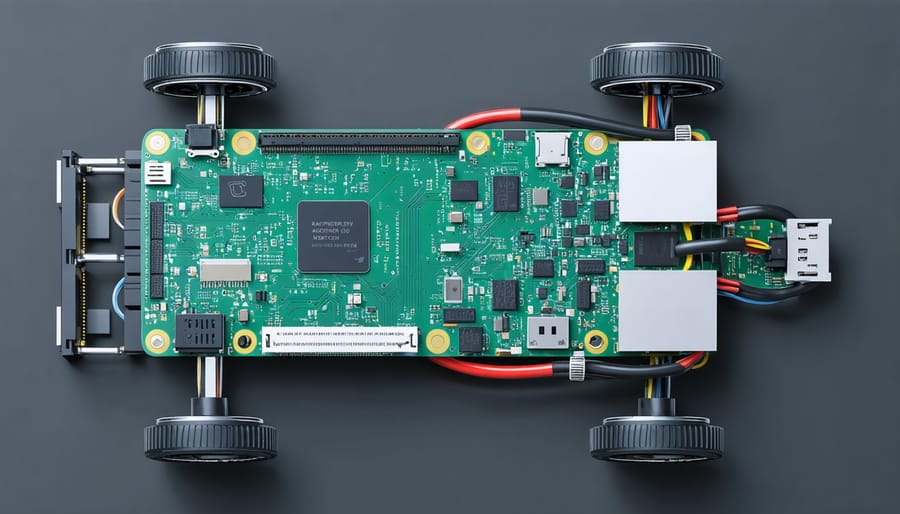
The heart of your autonomous car project begins with selecting the right Raspberry Pi model. The Raspberry Pi 4 Model B with at least 4GB RAM is recommended for optimal performance, as it provides enough processing power to handle real-time image processing and decision-making tasks. For projects on a tighter budget, the Raspberry Pi 3B+ can also work, though with some performance limitations.
For the chassis, you’ll need a sturdy platform designed for robotic projects. A 2WD or 4WD robot car chassis kit with mounting points for the Raspberry Pi and other components is ideal. These typically come with DC motors rated between 3V and 6V, which provide good torque and speed control capabilities.
Motor control is managed through an L298N motor driver board, which acts as an interface between the Raspberry Pi’s GPIO pins and the DC motors. This driver can handle the higher current requirements of the motors while protecting your Pi from electrical damage.
Power management is crucial for reliable operation. A dedicated battery pack providing 7.4V-11.1V (using Li-Po or Li-ion batteries) is recommended for the motors, while the Raspberry Pi should be powered separately using a 5V power bank with at least 2.5A output capacity. This dual-power setup ensures stable operation and prevents voltage drops from affecting the Pi’s performance.
Don’t forget to include a power switch and emergency stop button for safety and convenience during testing and operation.
Sensors and Cameras
The success of an autonomous car heavily relies on its ability to perceive and understand its environment, making sensors and cameras crucial components. For basic obstacle detection, ultrasonic sensors like the HC-SR04 are essential, providing reliable distance measurements up to 4 meters. These sensors should be positioned at the front and sides of the vehicle for comprehensive coverage.
A Raspberry Pi Camera Module V2 or V3 serves as the primary visual input, offering high-quality 1080p video capture necessary for lane detection and object recognition. The camera should be mounted at the front of the vehicle, slightly angled downward to capture both immediate surroundings and the path ahead. For enhanced night vision capabilities, consider the Pi NoIR Camera, which works well in low-light conditions.
Additional sensors can significantly improve the car’s autonomous capabilities. An MPU-6050 gyroscope and accelerometer combination helps maintain balance and track movement, while a magnetometer provides accurate heading information. For precise positioning, a GPS module like the NEO-6M can be integrated.
When selecting sensors, consider their update rates and accuracy. The ultrasonic sensors should operate at least 20 times per second for reliable obstacle avoidance, while the camera should maintain a minimum of 30 frames per second for smooth visual processing. Remember to properly calibrate all sensors before testing to ensure accurate readings and reliable autonomous operation.
Software Setup and Configuration
Operating System and Dependencies
For our autonomous car project, we’ll be using Raspbian (now known as Raspberry Pi OS) as our operating system, specifically the 64-bit version with desktop environment. This lightweight and stable OS provides excellent compatibility with the hardware components and libraries we’ll need for our autonomous vehicle.
Start by downloading the latest Raspberry Pi OS from the official website and flash it onto a microSD card (minimum 16GB recommended) using the Raspberry Pi Imager tool. Once your Pi boots up, open the terminal to update the system:
“`bash
sudo apt update
sudo apt upgrade
“`
Next, install the essential dependencies for our autonomous car project:
“`bash
sudo apt install python3-pip
sudo apt install python3-opencv
sudo apt install python3-numpy
“`
We’ll also need TensorFlow Lite for our AI model implementation:
“`bash
pip3 install tflite-runtime
“`
For motor control and sensor integration, install these additional packages:
“`bash
sudo apt install python3-gpiozero
pip3 install adafruit-circuitpython-servokit
“`
Finally, set up the I2C interface for communicating with sensors:
“`bash
sudo raspi-config
“`
Navigate to “Interface Options” and enable I2C. After installation, reboot your Raspberry Pi to ensure all changes take effect. This setup provides the foundation for building our autonomous car’s control systems and sensor integration.
AI Framework Installation
To power our autonomous car’s AI capabilities, we’ll need to set up two essential frameworks: TensorFlow Lite and OpenCV. These tools are crucial for implementing computer vision applications and machine learning models on our Raspberry Pi.
First, open your terminal and update your system:
“`bash
sudo apt-get update
sudo apt-get upgrade
“`
Install TensorFlow Lite by running:
“`bash
pip3 install tflite-runtime
“`
For OpenCV installation, execute:
“`bash
sudo apt-get install python3-opencv
“`
If you encounter any memory issues during installation, consider expanding your swap space temporarily:
“`bash
sudo nano /etc/dphys-swapfile
“`
Change CONF_SWAPSIZE to 2048, save, and restart the swap service:
“`bash
sudo /etc/init.d/dphys-swapfile restart
“`
Verify your installations by running Python3 and importing the libraries:
“`python
import tflite_runtime.interpreter as tflite
import cv2
“`
If no errors appear, you’re ready to proceed with implementing AI features for your autonomous car. Remember to return the swap size to its original value (100) after completing the installation to prevent SD card wear.
Navigation Algorithm Setup
The navigation algorithm forms the brain of your autonomous car, enabling it to make intelligent driving decisions. We’ll implement a combination of path planning and obstacle avoidance using Python and OpenCV. Start by installing the necessary libraries using pip:
“`python
import numpy as np
import cv2
from shapely.geometry import Point, Polygon
“`
For basic path planning, we’ll use the A* algorithm, which efficiently finds the optimal route between two points while avoiding obstacles. The algorithm works by maintaining two lists: open nodes (to be evaluated) and closed nodes (already evaluated), continuously selecting the most promising path based on both distance and heuristic estimates.
Obstacle avoidance is implemented using a three-layer approach:
1. Primary detection using ultrasonic sensors
2. Secondary verification through camera feed
3. Emergency stop protocol for unexpected obstacles
Here’s a simplified implementation of the obstacle detection system:
“`python
def detect_obstacles(frame, min_distance):
processed_frame = cv2.cvtColor(frame, cv2.COLOR_BGR2GRAY)
obstacles = cv2.findContours(processed_frame, cv2.RETR_EXTERNAL,
cv2.CHAIN_APPROX_SIMPLE)
return [obstacle for obstacle in obstacles if
calculate_distance(obstacle) < min_distance]
```
Fine-tune the detection parameters based on your specific environment and lighting conditions. Remember to implement safety checks and emergency stop procedures to prevent collisions during testing phases.
For smooth navigation, combine both algorithms to create a dynamic path planning system that continuously updates based on real-time sensor data and obstacle detection results.
Programming the Autonomous Navigation
Computer Vision Implementation
The computer vision implementation for our autonomous car relies on AI-powered image processing techniques using OpenCV and Python. Here’s the core code for lane detection and processing:
“`python
import cv2
import numpy as np
def process_frame(frame):
# Convert to grayscale
gray = cv2.cvtColor(frame, cv2.COLOR_BGR2GRAY)
# Apply Gaussian blur
blur = cv2.GaussianBlur(gray, (5, 5), 0)
# Detect edges using Canny
edges = cv2.Canny(blur, 50, 150)
# Define region of interest
height = frame.shape[0]
polygons = np.array([[(0, height), (800, height), (380, 290)]])
mask = np.zeros_like(edges)
cv2.fillPoly(mask, polygons, 255)
masked = cv2.bitwise_and(edges, mask)
# Detect lines using Hough transform
lines = cv2.HoughLinesP(masked, 1, np.pi/180, 50,
minLineLength=40, maxLineGap=50)
return lines
def steering_angle(lines):
if lines is not None:
left_line = []
right_line = []
for line in lines:
x1, y1, x2, y2 = line[0]
slope = (y2 – y1) / (x2 – x1)
if slope < 0:
left_line.append(line)
else:
right_line.append(line)
return calculate_steering(left_line, right_line)
return 0
```
This code captures video frames from the Raspberry Pi camera, processes them to detect lane markings, and calculates the appropriate steering angle. The process_frame function handles image preprocessing, including grayscale conversion, blur application, and edge detection. The steering_angle function analyzes the detected lines to determine the car's position relative to the lanes and calculates the necessary steering adjustments.
Remember to adjust the parameters based on your specific lighting conditions and track layout. You might need to fine-tune values like the Canny thresholds or Hough transform parameters for optimal performance.
Motion Control System
The motion control system forms the backbone of your autonomous car, translating software commands into physical movement. Using Python, we’ll implement a motor control class that interfaces with the L298N motor driver to manage both forward/backward motion and steering.
Start by connecting your L298N driver to the Raspberry Pi’s GPIO pins. The basic motor control code structure uses PWM (Pulse Width Modulation) to regulate speed:
“`python
import RPi.GPIO as GPIO
class MotorControl:
def __init__(self, left_pins, right_pins):
self.left_forward, self.left_backward = left_pins
self.right_forward, self.right_backward = right_pins
self.setup_gpio()
def setup_gpio(self):
GPIO.setmode(GPIO.BCM)
for pin in (self.left_forward, self.left_backward,
self.right_forward, self.right_backward):
GPIO.setup(pin, GPIO.OUT)
“`
Implement basic movement functions like forward(), backward(), left(), and right(). Include speed control parameters (0-100%) for smooth acceleration and precise turning:
“`python
def forward(self, speed=50):
self.set_motor_speed(self.left_forward, speed)
self.set_motor_speed(self.right_forward, speed)
def turn(self, angle, speed=30):
# Positive angle turns right, negative turns left
left_speed = speed + (angle / 2)
right_speed = speed – (angle / 2)
self.set_motor_speed(self.left_forward, left_speed)
self.set_motor_speed(self.right_forward, right_speed)
“`
Add safety features like maximum speed limits and emergency stop functions to prevent hardware damage during testing. Remember to implement proper GPIO cleanup when the program exits to avoid pin states remaining active.

Obstacle Detection and Avoidance
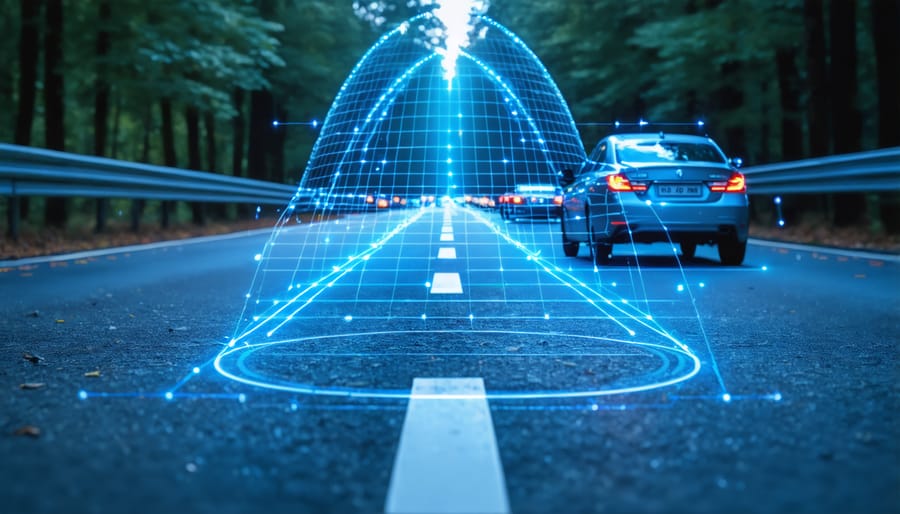
Effective obstacle detection and avoidance is crucial for any autonomous vehicle system. The Raspberry Pi car uses a combination of ultrasonic sensors and computer vision to identify and navigate around potential hazards in real-time.
The primary sensor we’ll implement is the HC-SR04 ultrasonic sensor, which sends out sound waves and measures the time taken for them to bounce back from obstacles. By connecting three of these sensors (front, left, and right) to the GPIO pins, we can create a comprehensive detection system. The Python code processes these sensor readings using the RPi.GPIO library, converting the time measurements into distance values in centimeters.
To enhance detection capabilities, we integrate a Raspberry Pi Camera Module for visual obstacle recognition. Using OpenCV libraries, we implement real-time image processing to identify objects in the car’s path. The system analyzes frames for distinct shapes and colors, allowing it to differentiate between various types of obstacles.
The avoidance algorithm works on a priority-based decision system. When the ultrasonic sensors detect an obstacle within 30cm, the car immediately initiates its avoidance routine. The algorithm first checks readings from all three sensors to determine the best escape route, then adjusts the motor controls accordingly. If multiple obstacles are detected, the system calculates the safest path based on the largest available space.
For improved reliability, we implement a fail-safe mechanism that stops the car if sensor readings become erratic or if multiple obstacles create a potential trap situation. The system logs all detection events and avoidance maneuvers, which helps in debugging and optimizing the algorithm’s performance over time.
Remember to regularly calibrate the sensors and adjust the detection thresholds based on your specific environment and requirements.
Testing and Optimization
Performance Tuning
To achieve optimal performance in your autonomous car project, focus on both hardware and software optimization. Start by real-time AI processing efficiency through model optimization and hardware acceleration. Reduce image resolution to balance between accuracy and processing speed, typically aiming for 640×480 pixels.
Memory management is crucial for smooth operation. Monitor your RAM usage and implement garbage collection in your Python code. Consider using lightweight libraries and removing unnecessary background processes. Optimizing Raspberry Pi performance through overclocking can provide additional processing power, but ensure proper cooling is in place.
For improved accuracy, implement frame averaging to reduce noise in sensor readings and use rolling averages for smoother steering decisions. Fine-tune your PID controller values through systematic testing, starting with conservative values and gradually adjusting for optimal response. Remember to benchmark your system’s performance at each optimization step to ensure improvements are actually beneficial.
Common Issues and Solutions
When building a Raspberry Pi autonomous car, you might encounter several common challenges. Here’s how to address them effectively:
Power issues often manifest as sudden shutdowns or erratic behavior. Ensure you’re using a high-quality power bank with sufficient amperage (at least 2.5A) and check all power connections. If problems persist, consider adding a voltage regulator to stabilize power delivery.
Motor control problems typically stem from incorrect GPIO pin configurations or PWM settings. Double-check your pin assignments in the code and verify that your motor driver is properly connected. If motors spin in the wrong direction, simply swap the corresponding wires or adjust your code accordingly.
Camera recognition issues usually relate to lighting conditions or processing speed. Optimize your camera settings for your environment and consider reducing the resolution if processing is too slow. Adding LED lights can help maintain consistent object detection in varying light conditions.
Sensor interference can occur when multiple components interact. Keep ultrasonic sensors away from motors and ensure proper grounding. If you experience random readings, add capacitors to filter noise or adjust sensor placement.
For laggy responses, optimize your code by reducing unnecessary loops and implementing multi-threading where possible. Monitor your CPU usage and consider overclocking if necessary, but be mindful of temperature management.
Building an autonomous car with Raspberry Pi opens up endless possibilities for learning and innovation in robotics and artificial intelligence. Throughout this project, we’ve covered essential aspects from selecting the right hardware components to implementing advanced features like obstacle detection and lane following. The combination of affordable Raspberry Pi hardware with powerful machine learning capabilities demonstrates how accessible autonomous vehicle technology has become for hobbyists and educators.
Key takeaways from this build include the importance of proper sensor calibration, the role of computer vision in navigation, and the fundamental principles of autonomous systems. The modular approach we’ve taken allows for incremental improvements and modifications based on your specific needs and interests.
For those looking to enhance their autonomous car further, consider exploring additional features such as GPS navigation, advanced path planning algorithms, or even implementing voice control. You might also experiment with different sensors or upgrade to more powerful cameras for improved environmental awareness.
Remember that building an autonomous vehicle is an iterative process. Start with the basic functionalities we’ve covered, test thoroughly, and gradually add more sophisticated features. Join online communities and share your experiences – the Raspberry Pi community is known for its collaborative spirit and innovative solutions.
Whether you’re a student, educator, or hobbyist, this project serves as an excellent foundation for understanding autonomous systems and practical robotics applications. Keep experimenting, learning, and pushing the boundaries of what’s possible with your Raspberry Pi autonomous car.