

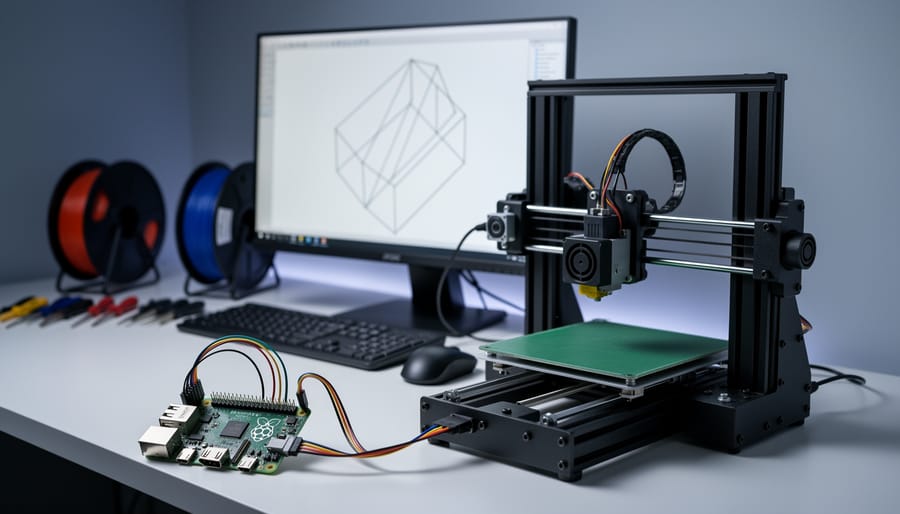
Choose CAD software based on your hardware constraints and project complexity. For Raspberry Pi users, lightweight options like TinkerCAD through a web browser or FreeCAD compiled for ARM processors deliver surprising capability without overwhelming limited system resources. Desktop solutions like Fusion 360 and Blender offer advanced features for complex prototypes but require offloading design work to more powerful machines before transferring STL files to your Pi-based 3D printing software.
Prioritize software that exports clean STL or OBJ files compatible with popular slicing tools. Open-source options like FreeCAD and OpenSCAD provide parametric modeling capabilities essential for adjustable designs, letting you modify dimensions through code or spreadsheets rather than rebuilding models from scratch. This approach proves invaluable when prototyping enclosures or mechanical parts that require iterative sizing adjustments.
Test software workflows before committing to complex projects. Install multiple CAD programs and model a simple calibration cube or bracket to evaluate interface responsiveness, export quality, and compatibility with your specific printer setup. Many experienced makers maintain two workflows: quick conceptual designs in browser-based tools for rapid iteration, and detailed final models in full-featured desktop applications for production-ready prints.
Consider learning curve versus feature depth. TinkerCAD offers immediate results for beginners within minutes, while FreeCAD demands several hours of tutorial investment but unlocks professional-grade assemblies and technical drawings. Your choice should align with both current skill level and long-term prototyping ambitions within the Raspberry Pi ecosystem.
Why CAD Design Software Matters for Your Raspberry Pi Projects
When you’re building Raspberry Pi projects that require custom enclosures, mounting brackets, or specialized components, CAD design software becomes your essential bridge between digital concepts and physical reality. The relationship is straightforward: CAD software creates the precise 3D models, your 3D printer transforms those models into tangible parts, and your Raspberry Pi projects benefit from perfectly fitted, custom-designed components.
Using proper CAD software directly prevents print failures by allowing you to catch design flaws before they waste your filament. You can verify wall thickness, check for unsupported overhangs, and ensure proper tolerances between interlocking parts. A case designed with incorrect dimensions might look fine on screen but fail catastrophically during printing, consuming hours of time and meters of filament. CAD tools with built-in analysis features help you identify these issues during the design phase.
The filament savings alone justify learning CAD software. Instead of printing multiple iterations to get dimensions right, you can measure twice and print once. For educators and hobbyists working within tight budgets, this efficiency matters significantly. A well-designed Raspberry Pi camera mount that fits perfectly on the first print saves more than just material—it maintains momentum and enthusiasm for your project.
CAD software also accelerates your development cycle by enabling rapid iteration in the digital space. You can experiment with different mounting solutions, test various ventilation patterns for Pi cases, or modify connector placements without touching your printer. This digital prototyping approach lets you explore creative solutions faster, transforming ideas into working prototypes in days rather than weeks. For classroom environments and maker spaces, this speed enables more ambitious projects within limited timeframes.
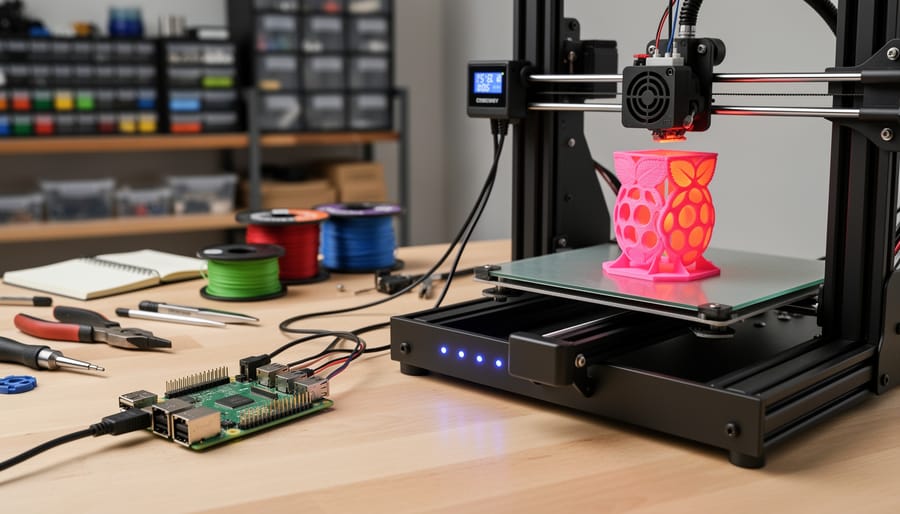
CAD Software That Runs Directly on Raspberry Pi
OpenSCAD: Code Your Way to Perfect Models
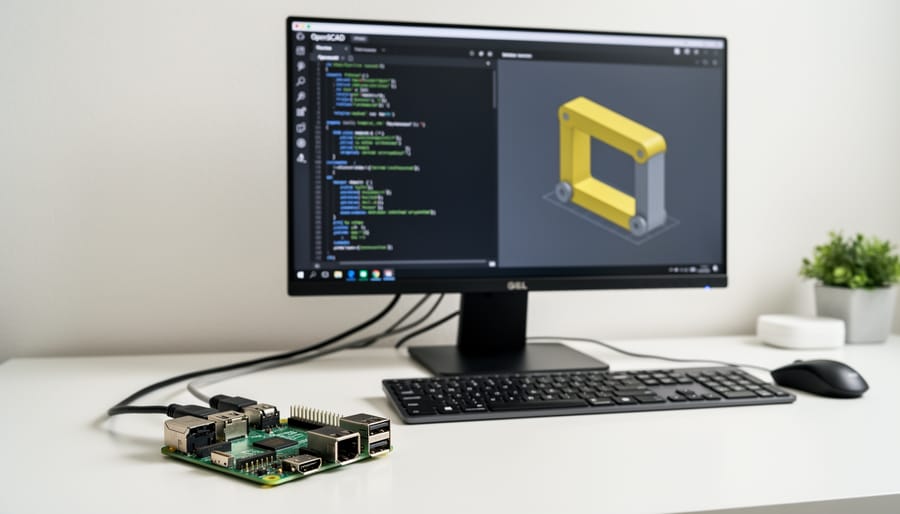
OpenSCAD takes a completely different approach to 3D modeling by treating your designs as code rather than visual objects you manipulate with a mouse. Instead of clicking and dragging, you write scripts using a simple programming language to define shapes, dimensions, and relationships. This makes it perfect for parametric designs where you can adjust a few variables and watch your entire model update automatically.
The software runs surprisingly well on Raspberry Pi 4 and 5, though you’ll want at least 4GB RAM for comfortable operation. The text-based approach means it requires far less graphical processing power than traditional CAD programs, making it an excellent choice for Pi users. You can install it directly from the Raspbian repositories with a simple command: sudo apt-get install openscad.
What makes OpenSCAD special for 3D printing is its precision and repeatability. Need to create a custom enclosure for your Pi project? Write a script with parameters for dimensions, and you can easily modify it for different versions. The programming approach means you can create complex geometric patterns, arrays, and mathematical shapes that would be tedious in visual CAD tools.
For better performance on Pi, keep your preview quality settings moderate and use the render function only when finalizing designs. The learning curve might seem steep if you’re new to programming, but the OpenSCAD community provides excellent documentation and examples. Start with simple shapes like boxes and cylinders, then gradually combine them using union, difference, and intersection operations to build more complex models.
FreeCAD and Other Linux-Compatible Options
FreeCAD stands out as the most popular open-source CAD option for Raspberry Pi users working on 3D printing projects. This parametric modeling software runs surprisingly well on the Pi 4 with 8GB RAM, though you’ll want to manage your expectations compared to desktop performance. The Pi 5, with its improved processor and graphics capabilities, handles FreeCAD noticeably better, making it a viable option for educational environments and hobbyist workshops where dedicated desktop computers aren’t practical.
When running FreeCAD on Raspberry Pi, start with simpler designs and gradually work up to more complex models. You’ll find that basic geometric shapes and functional prints like mounting brackets or enclosures work smoothly, while highly detailed organic models may test the hardware limits. The software’s Part Design and Part workbenches are particularly useful for creating printable objects, and the built-in STL export makes the transition to slicing software seamless. If you’re looking to transform physical objects into digital models, FreeCAD’s reverse engineering capabilities complement scanning workflows nicely.
For users finding FreeCAD too resource-intensive, SolveSpace offers a lightweight alternative that excels at constraint-based modeling. This minimalist CAD program runs effortlessly even on older Pi models and focuses on precision mechanical design. While it lacks some advanced features, SolveSpace’s simplicity makes it excellent for learning fundamental CAD concepts and creating straightforward functional prints.
Another option worth exploring is OpenSCAD, which uses script-based modeling rather than traditional GUI manipulation. This approach demands minimal graphics resources, making it ideal for Pi deployment while teaching valuable programming concepts alongside design principles.
Desktop CAD Software for Advanced Prototyping
Fusion 360: The Prototyper’s Best Friend
Autodesk Fusion 360 stands out as an exceptional choice for prototypers working on 3D printing projects, especially those on a budget. The software offers a free personal use license for hobbyists, students, and educators, making professional-grade CAD tools accessible without the hefty price tag. This democratization of design technology means you can create sophisticated models for your Raspberry Pi enclosures, mounting brackets, or custom robotics components without financial barriers.
The parametric modeling approach is where Fusion 360 truly shines. Instead of creating static shapes, you define relationships between features, allowing easy modifications later. Need to adjust the mounting hole spacing on your Pi case? Simply change a single parameter, and the entire design updates automatically. This flexibility saves countless hours during the iteration process, which is crucial when perfecting designs for 3D printing.
Beyond basic modeling, Fusion 360 includes integrated simulation tools that let you test your designs virtually before printing. Check stress points on structural components or analyze thermal properties for electronics enclosures. These features help identify potential failures early, saving filament and time.
The built-in CAM capabilities complete the workflow for makers who also work with CNC machines. You can design a custom Raspberry Pi mounting plate, simulate its performance, prepare it for 3D printing, and even generate toolpaths for CNC milling—all within one platform. This unified environment streamlines your prototyping process from concept to physical object.
Tinkercad: Fast Designs for Beginners
Tinkercad stands out as the perfect entry point for beginners venturing into 3D printing design. This completely browser-based platform requires zero installation—simply open your web browser, create a free account, and start designing immediately. This makes it incredibly accessible whether you’re working on a desktop computer or even a Raspberry Pi with a modern browser.
The interface uses intuitive drag-and-drop functionality with basic shapes that you combine to create more complex designs. For Raspberry Pi enthusiasts, Tinkercad excels at creating custom cases and enclosures. You can quickly design a protective case by measuring your Pi board, selecting rectangular shapes, and using the “hole” feature to create cutouts for ports, GPIO pins, and ventilation.
What makes Tinkercad particularly valuable is its speed. Simple designs like mounting brackets, cable organizers, or basic Pi cases can be completed in under 30 minutes. The platform automatically generates STL files ready for your 3D printer without complicated export settings.
The built-in tutorials guide you through fundamental concepts like grouping objects, aligning components, and measuring dimensions accurately. While it lacks advanced features found in professional software, Tinkercad delivers exactly what beginners need: a friction-free path from idea to printable model, making it ideal for educators introducing students to CAD design and rapid prototyping.
Blender for Organic and Artistic Prototypes
Blender stands out as the go-to choice when your 3D printing projects lean toward organic shapes, sculptural designs, or artistic prototypes rather than precise mechanical parts. While traditional CAD software excels at dimensional accuracy for functional components, Blender’s mesh modeling approach gives you the creative freedom to design characters, figurines, decorative objects, and complex curved surfaces that would be tedious in parametric CAD tools.
The key advantage of Blender for 3D printing lies in its polygon-based workflow. You can sculpt, subdivide, and manipulate surfaces intuitively, making it perfect for creating custom enclosures with artistic flair for your Raspberry Pi projects, unique mounting brackets with decorative elements, or educational models with organic forms. The software runs surprisingly well on modern Raspberry Pi 4 or Pi 5 models, though you’ll want at least 4GB RAM for comfortable workflow.
To ensure your Blender models print successfully, follow these essential tips. First, keep your mesh manifold by checking for non-manifold edges using the 3D Print Toolbox add-on built into Blender. Second, maintain a minimum wall thickness of 1-2mm depending on your printer’s capabilities. Third, avoid unnecessary internal geometry that won’t be visible in the final print. Fourth, use the remesh modifier to create uniform geometry that slices cleanly.
Before exporting to STL format, always run the mesh analysis tools to identify potential problems like intersecting faces or reversed normals. Scale your model correctly in Blender’s scene units, applying all transformations before export. With these practices, Blender becomes an invaluable companion to traditional CAD in your 3D printing toolkit.
Key Features to Look For in CAD Software
STL Export and Mesh Repair Tools
A clean STL file is the foundation of successful 3D printing. Even minor mesh errors like non-manifold edges, inverted normals, or gaps can cause print failures or unpredictable results. Think of STL files as blueprints for your printer—if the blueprint has errors, the final product won’t match your expectations.
Most CAD software includes built-in STL export, but quality varies. Fusion 360 offers excellent mesh refinement controls, letting you adjust triangle count for smoother curves without bloating file size. FreeCAD provides basic STL export but sometimes generates problematic meshes with complex geometries.
For mesh repair, dedicated tools shine. Meshmixer (free from Autodesk) excels at fixing common issues automatically and works great on Raspberry Pi 4 for smaller models. Microsoft 3D Builder offers simple one-click repairs for beginners. For serious problems, Netfabb (now part of Fusion 360) provides professional-grade analysis and repair tools.
Before sending files to your printer, always run them through a repair tool or your slicer’s built-in checker. This extra step takes seconds but prevents hours of failed prints and wasted filament.
Parametric Design Capabilities
Parametric design represents a game-changer for Raspberry Pi prototyping projects, allowing you to create models with adjustable dimensions through simple parameter changes. Instead of redrawing an entire enclosure when your sensor dimensions shift, parametric features let you modify a single value and watch the whole design update automatically.
This capability proves invaluable when iterating through multiple prototype versions. Imagine designing a custom Pi case that needs to accommodate different HAT configurations. With parametric constraints, you can define relationships between components—if the board thickness changes, mounting holes and standoff heights adjust proportionally. This saves hours compared to manual redesign.
Popular CAD software like FreeCAD and Fusion 360 offer robust parametric tools accessible to beginners. You’ll work with parameters like length, width, and spacing as variables rather than fixed measurements. For Pi projects requiring multiple iterations—such as perfecting ventilation holes or adjusting mounting brackets—this approach dramatically accelerates your workflow.
The learning curve exists, but mastering basic parametric modeling pays dividends quickly. Start simple: create a basic enclosure with parametric wall thickness and dimensions. Once comfortable, you’ll breeze through design variations, testing different configurations without starting from scratch each time. This iterative freedom makes parametric design essential for serious prototyping work.
Integration with Slicing Software
Once you’ve designed your model in CAD software, the next step is slicing, which converts your 3D design into printable layers. Most CAD tools export files in STL or OBJ formats, which slicing software like Cura, PrusaSlicer, or Slic3r can process. These slicers generate G-code instructions that your 3D printer understands.
Here’s where Raspberry Pi shines in your workflow. OctoPrint, a popular print server that runs beautifully on Raspberry Pi, accepts these G-code files and manages your printer remotely. Simply export your sliced file, upload it to OctoPrint’s web interface, and start printing from anywhere on your network. This eliminates the need for SD card swapping and lets you monitor prints via webcam.
For a streamlined experience, some CAD programs offer direct export to slicing software through plugins or built-in features. FreeCAD, for example, works well with open-source slicers, creating a completely free toolchain. You can even automate the workflow by setting up watched folders on your Pi, where dropped STL files automatically slice and queue for printing, perfect for classroom environments or maker spaces.
Setting Up Your Design-to-Print Workflow
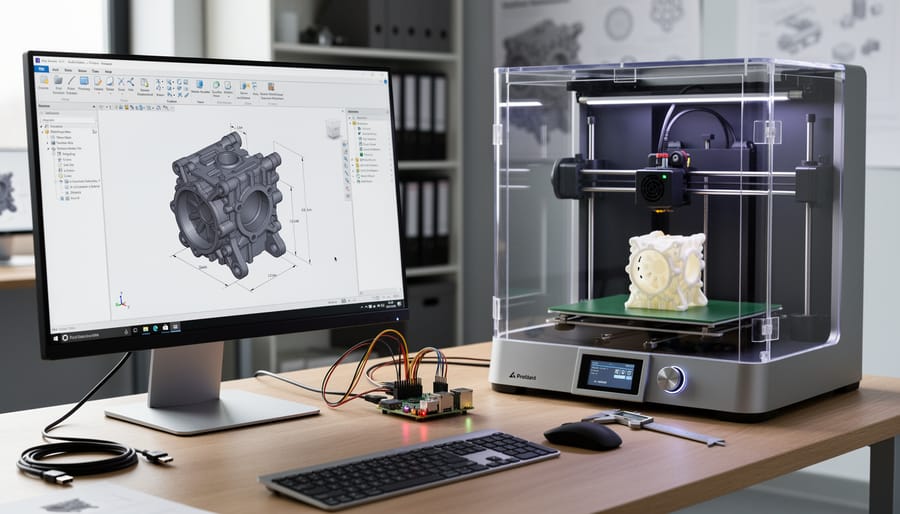
Connecting Your CAD Environment to Raspberry Pi
Once you’ve designed your 3D model, getting it from your CAD software to your Raspberry Pi-powered 3D printer requires a reliable file transfer method. Let’s explore several approaches that work seamlessly in a Pi ecosystem.
The simplest method is using a USB flash drive. Export your design as an STL or G-code file, save it to the drive, and plug it directly into your Raspberry Pi. This works great for occasional transfers and requires no network setup.
For regular file transfers, network sharing offers more convenience. If you’re running OctoPrint on your Pi (a popular 3D printing management platform), you can upload files directly through its web interface. Simply access OctoPrint by typing your Pi’s IP address into any browser on your local network, then drag and drop your files into the upload section.
Setting up a Samba share on your Raspberry Pi creates a network folder accessible from your desktop computer. After installation, you can map the Pi as a network drive in Windows, macOS, or Linux. This means your CAD exports folder can automatically sync to your Pi, streamlining your workflow significantly.
For remote access, consider using FileZilla or WinSCP for SFTP transfers. These tools provide secure file transfers over SSH and work from anywhere with an internet connection. Simply enable SSH on your Pi, note your credentials, and configure your FTP client.
Cloud storage services like Dropbox or Google Drive also work well. Install the appropriate client on your Pi, and files sync automatically between your design workstation and printing station without manual intervention.
Testing and Iterating Your Prototypes
Testing your 3D printed prototypes is where design theory meets real-world results. Start with quick test prints of critical features rather than printing the entire model—this saves time and filament while letting you verify dimensions and fit. Use digital calipers to measure key dimensions against your CAD specifications, checking tolerances within 0.1-0.2mm for most functional parts.
When issues arise, document them with photos and measurements before returning to your CAD software. Common adjustments include adding clearance gaps for moving parts, strengthening thin walls, and modifying support structures. Consider creating measurement test patterns to calibrate your printer’s dimensional accuracy.
Run iterative design cycles by printing small test sections, measuring results, tweaking your CAD model, and reprinting. This methodical approach helps you understand how your printer interprets your designs. Pay attention to layer adhesion, overhang performance, and bridging capabilities—these insights will improve your modeling decisions.
Once your prototype functions correctly, focus on post-processing your prints to achieve professional results. Keep a design journal noting successful parameters and lessons learned for future projects. This iterative workflow transforms good designs into exceptional, printable prototypes.
Real-World Project: Designing a Custom Raspberry Pi Case
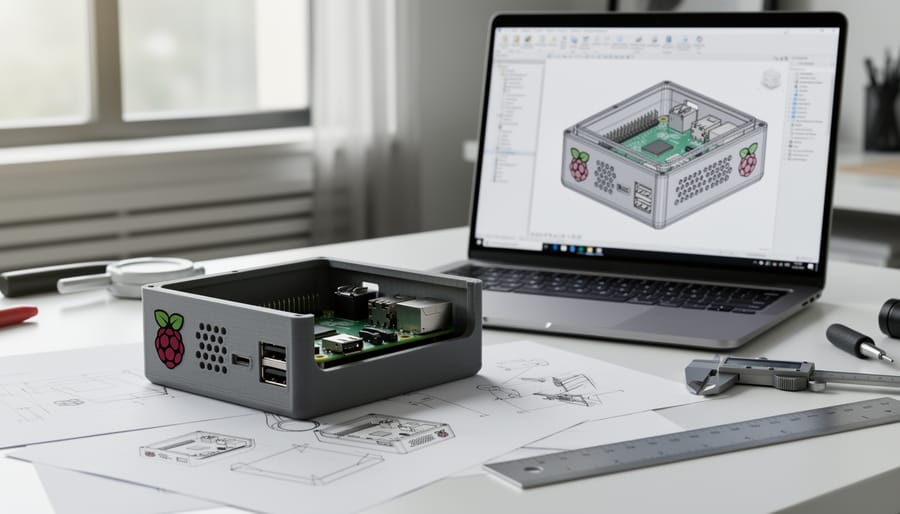
Let’s walk through creating a custom Raspberry Pi case from start to finish, demonstrating how CAD software transforms your ideas into physical objects. This project is perfect for practicing essential 3D modeling skills while producing something genuinely useful.
We’ll use Tinkercad for this tutorial since it’s beginner-friendly, free, and works directly in your browser. However, the principles apply to any CAD software you choose.
Start by measuring your Raspberry Pi model precisely. You’ll need the board dimensions, port locations, and mounting hole positions. The Raspberry Pi 4, for example, measures 85mm x 56mm with specific GPIO and USB port placements. Add 2-3mm clearance around the board for easy assembly.
Open Tinkercad and create a new design. Begin with the base by dragging a box onto the workplane. Resize it to approximately 90mm x 61mm x 3mm to accommodate your Pi with clearance. Next, add walls by placing four more boxes along the edges, each about 15mm high. This creates the basic enclosure structure.
Now comes the critical part: creating cutouts for ports and ventilation. Use the hole tool (a transparent shape in Tinkercad) to subtract material where needed. Position rectangular holes for the USB ports, HDMI connectors, and power input. Measure twice, cut once applies to digital design too. For the GPIO pins, create a rectangular opening along one edge. Add circular ventilation holes across the top by duplicating hole cylinders in a pattern.
Create mounting posts by placing small cylinders (2.5mm diameter) at the exact positions of your Pi’s mounting holes. These should rise about 3mm from the base. If you’re feeling adventurous, add screw threads using the built-in thread tool or by incorporating hex nuts into the design.
Design a lid separately using similar dimensions to your base. Include small tabs or a lip that fits snugly over the walls. Consider adding ventilation slots here too for better airflow.
Before exporting, group all solid shapes together using the Group function. This prevents printing issues. Export your design as an STL file, then import it into your slicing software. Set layer height to 0.2mm for good quality with reasonable print time. Use at least 20% infill for durability.
Print the base and lid separately without supports if possible. Orient pieces flat against the print bed for best results. After printing, test-fit your Raspberry Pi before assembly. If adjustments are needed, simply return to your CAD file, modify the dimensions, and reprint only the affected parts.
This project demonstrates how CAD software bridges the gap between concept and physical product, giving you complete control over custom solutions for your Raspberry Pi projects.
Choosing the right CAD software for your 3D printing projects ultimately depends on your skill level and the Raspberry Pi model you’re working with. Beginners should start with user-friendly options like Tinkercad or BlocksCAD, which offer intuitive interfaces and don’t require powerful hardware. These browser-based tools work seamlessly even on older Pi models and help you grasp fundamental design concepts without feeling overwhelmed.
For intermediate users with a Raspberry Pi 4 or 5, FreeCAD provides a solid balance between functionality and accessibility. It runs directly on your Pi and offers parametric modeling capabilities that grow with your skills. Advanced users seeking professional-grade features might prefer running Fusion 360 or SolidWorks on a desktop computer while using their Pi for print management and project control.
Remember, the journey into Pi and 3D printing is iterative. Start with simple enclosures or mounting brackets before tackling complex mechanical assemblies. Each project teaches valuable lessons about tolerances, support structures, and design optimization. Don’t be discouraged by initial failures; they’re essential learning opportunities.
The combination of Raspberry Pi’s versatility and accessible CAD software opens endless possibilities for prototyping, from custom robotics components to smart home devices. Whether you’re an educator guiding students or a hobbyist pursuing passion projects, these tools empower you to transform digital concepts into physical reality. Start small, experiment often, and watch your skills flourish.