


The Raspberry Pi’s kernel serves as the vital bridge between your hardware and software, determining everything from power management to device compatibility. Understanding and optimizing your Pi’s kernel unlocks enhanced performance, better hardware support, and more efficient resource utilization. Whether you’re building an embedded system or experimenting with custom hardware configurations, mastering kernel management transforms your Raspberry Pi from a basic single-board computer into a highly customizable computing platform.
Recent kernel updates have introduced significant improvements for the Raspberry Pi platform, including better USB handling, enhanced GPIO performance, and improved power management features. These advancements make kernel customization more accessible than ever, allowing makers and developers to fine-tune their systems for specific use cases – from real-time applications to advanced IoT projects.
This guide explores essential kernel concepts, practical optimization techniques, and step-by-step instructions for compiling and installing custom kernels on your Raspberry Pi. We’ll cover everything from basic kernel parameters to advanced modifications, ensuring your Pi performs exactly as needed for your specific project requirements.
Understanding the Raspberry Pi Kernel
Default vs. Custom Kernels
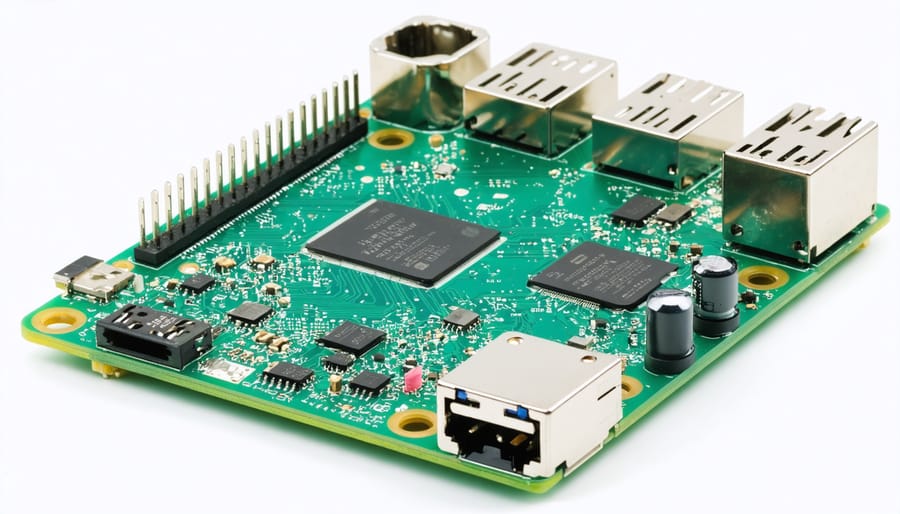
The Raspberry Pi’s default kernel, maintained by the Raspberry Pi Foundation, offers stability and broad compatibility for most users. It comes pre-configured with essential drivers and optimizations that work well for common use cases. However, some projects, particularly those involving baremetal Raspberry Pi development or specialized hardware, may benefit from a custom kernel.
Custom kernels allow you to fine-tune performance, reduce boot time, and optimize memory usage by removing unnecessary modules and adding specific features. You might choose to compile a custom kernel when working with unique hardware configurations or when pursuing maximum performance for specific applications.
However, customizing your kernel comes with risks. An improperly configured kernel can lead to system instability or boot failures. Additionally, custom kernels require manual updates and maintenance, unlike the default kernel which receives automatic security patches and updates through the standard update system.
For most users, the default kernel provides the best balance of stability and functionality. Consider custom kernels only when your project has specific requirements that cannot be met by the standard configuration.
Essential Kernel Components
The Raspberry Pi kernel contains several essential components that work together to ensure smooth hardware integration and system operation. At its core, the bootloader manages the initial startup process, loading critical system files and preparing the hardware for operation. The device tree, a crucial component, describes the hardware configuration and peripheral connections, allowing the kernel to properly identify and initialize connected devices.
Memory management is another vital component, handling RAM allocation and virtual memory operations specific to the Pi’s architecture. The GPIO (General Purpose Input/Output) subsystem enables direct interaction with external hardware, making it possible to connect sensors, displays, and other peripherals. The kernel’s power management module optimizes energy consumption and manages different power states.
The scheduler coordinates process execution and resource allocation, while the driver framework provides the foundation for hardware-specific drivers. These components are complemented by the interrupt controller, which manages hardware interruptions and ensures proper timing of system events. Understanding these core elements is essential for customizing the kernel to meet specific project requirements and optimizing hardware performance.
Preparing Your Development Environment
Required Tools and Dependencies
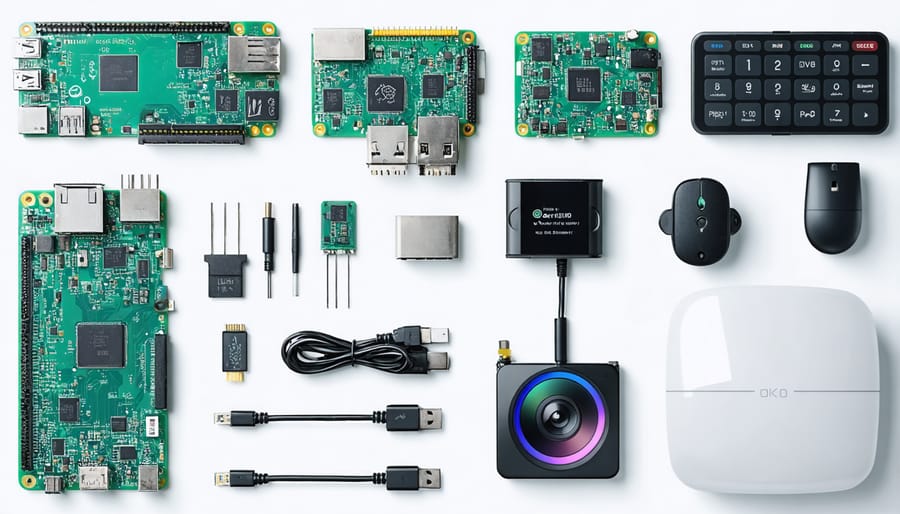
To get started with Raspberry Pi kernel development and customization, you’ll need several essential tools and software components. First, ensure you have a Raspberry Pi board (any model works, but Pi 4 or newer is recommended) and a reliable power supply. You’ll also need a microSD card (16GB or larger) with the latest Raspberry Pi OS installed.
The core software requirements include:
– Git version control system
– Cross-compilation toolchain for ARM architecture
– Build essentials package (gcc, make, etc.)
– BC (Basic Calculator) package
– Libncurses development files
– Raspberry Pi firmware files
– Text editor (like Nano or Visual Studio Code)
For remote development, install an SSH client on your computer to connect to your Pi. Additionally, having a backup solution is crucial – either another microSD card or external storage device will work. If you’re planning to test different kernel configurations, a USB-to-TTL serial cable can be invaluable for debugging boot issues.
Make sure your development environment has at least 10GB of free space for kernel source code and compilation files. A stable internet connection is also necessary for downloading source code and updates.
Source Code Management
Managing the Raspberry Pi kernel source code is a straightforward process that begins with obtaining the official repository. To get started, open your terminal and use Git to clone the Raspberry Pi kernel repository with the command: “git clone https://github.com/raspberrypi/linux.git”. This will download the complete source code to your local machine.
Before making any modifications, it’s essential to check out the correct branch for your Raspberry Pi model and OS version. You can view available branches using “git branch -a” and switch to the appropriate one with “git checkout rpi-x.y.z”, where x.y.z represents the version number.
To keep your source code up-to-date, regularly run “git pull” to fetch and merge the latest changes from the upstream repository. This ensures you’re working with the most recent bug fixes and improvements.
For version control of your custom modifications, create a new branch using “git checkout -b my-custom-kernel”. This practice helps maintain a clean separation between official code and your changes. Remember to commit your modifications frequently with meaningful commit messages that describe the purpose of each change.
If you need to revert to a previous version or specific commit, use “git reset” or “git checkout” with the appropriate commit hash. Always maintain a backup of your working configuration before making significant changes to the kernel source code.
Customizing Your Kernel
Driver Integration
Integrating new hardware drivers into your Raspberry Pi’s kernel is essential for expanding its capabilities and ensuring smooth hardware interface integration. The process begins with identifying the correct driver for your hardware component and determining whether it’s already included in the kernel or needs to be added separately.
To add a new driver, you’ll first need to modify the kernel configuration file using the ‘make menuconfig’ command. Navigate to the appropriate subsection, such as “Device Drivers,” and select the module you wish to include. For built-in drivers, mark them with ‘*’; for loadable modules, use ‘M’.
After configuring the driver, compile the kernel with the new changes using:
“`
make -j4 zImage modules dtbs
sudo make modules_install
sudo cp arch/arm/boot/dts/*.dtb /boot/
sudo cp arch/arm/boot/dts/overlays/*.dtb* /boot/overlays/
sudo cp arch/arm/boot/dts/overlays/README /boot/overlays/
sudo cp arch/arm/boot/zImage /boot/$KERNEL.img
“`
Remember to back up your existing configuration before making changes. If something goes wrong, you can always restore your previous working kernel. For testing new drivers, it’s recommended to first load them as modules rather than building them directly into the kernel.
Performance Optimization
When it comes to optimizing Raspberry Pi OS performance, tweaking kernel parameters can significantly boost your system’s efficiency. Start by adjusting the CPU governor settings through the /boot/config.txt file. Setting force_turbo=1 can maximize clock speeds, while over_voltage parameters can help stabilize overclocking attempts.
Memory management is another crucial aspect. Modify the vm.swappiness value in /etc/sysctl.conf to control how aggressively the system uses swap space. A lower value (like 10) makes the system prefer to keep processes in RAM, which can improve responsiveness for most applications.
For I/O performance, adjusting the deadline scheduler parameters can help. Set the scheduler to deadline by adding elevator=deadline to your kernel parameters in /boot/cmdline.txt. This particularly benefits SD card performance and database operations.
Consider enabling zswap compression by adding zswap.enabled=1 to your kernel parameters. This feature compresses data in RAM before moving it to swap, reducing I/O overhead and improving system responsiveness.
Remember to test thoroughly after each modification and keep a backup of your original configuration files. Small tweaks can lead to significant improvements, but they should be implemented carefully to maintain system stability.
Hardware-Specific Adjustments
The Raspberry Pi’s versatility allows for extensive hardware customization, but to get the most out of your specific setup, you’ll need to make appropriate kernel adjustments. Start by examining your config.txt file in the /boot directory, where most hardware-specific settings are stored.
For display configurations, modify the hdmi_group and hdmi_mode parameters to match your monitor’s specifications. If you’re using specialized HATs or add-on boards, you’ll need to enable relevant device tree overlays. These can be activated by adding dtoverlay lines to config.txt, such as dtoverlay=i2c-gpio for I2C devices.
Memory allocation is another crucial aspect. Adjust gpu_mem to balance between GPU and system memory based on your usage. For multimedia projects, increase GPU memory, while for server applications, minimize it.
When dealing with USB peripherals, parameters like max_usb_current can be modified to provide adequate power supply. For optimal network configuration optimization, consider adjusting network interface settings through kernel parameters.
Remember to backup your configuration files before making changes, and reboot your Pi after modifications. Monitor system performance and temperature using tools like vcgencmd to ensure your adjustments aren’t causing stability issues.
Testing and Deployment
Safety Measures
Before making any kernel modifications, it’s crucial to establish proper backup procedures to prevent potential system failures. Always create a complete backup of your SD card using tools like ‘dd’ or specialized imaging software. Store this backup on a separate device, and clearly label it with the date and current configuration details.
For additional safety, maintain a separate SD card with a working installation of your Raspberry Pi’s operating system. This serves as a fallback option if your primary system becomes unbootable after kernel modifications. Keep a detailed log of all kernel changes you make, including dates and specific parameters modified.
When testing new kernel configurations, implement them incrementally rather than making multiple changes at once. This approach makes it easier to identify and rollback problematic modifications. Consider setting up a boot delay in your config.txt file, which provides a window to interrupt the boot process if needed.
Remember to periodically update your backups, especially after successful kernel modifications, and maintain version control for any custom kernel configurations you create.
Performance Validation
After implementing kernel optimizations on your Raspberry Pi, it’s crucial to validate the performance improvements. Start by establishing a baseline using standard benchmarking tools like sysbench or stress-ng. These tools help measure CPU performance, memory access speeds, and I/O operations before and after your modifications.
Monitor your system’s real-time performance using top or htop commands, which provide insights into CPU usage, memory consumption, and process management. For temperature monitoring, use vcgencmd measure_temp to ensure your optimizations haven’t negatively impacted thermal performance.
To validate boot time improvements, use systemd-analyze to measure and compare boot duration before and after kernel modifications. For storage performance, employ tools like dd or iozone to measure read/write speeds and verify any I/O-related optimizations.
Keep detailed logs of your performance metrics using tools like collectd or prometheus. This data helps track long-term stability and identify potential issues. Don’t forget to test your specific use case thoroughly – if you’ve optimized for GPIO performance, use GPIO testing tools; if focusing on network performance, utilize iperf3 for network throughput testing.
Remember to stress test your system under various conditions to ensure stability. Document all your findings and maintain backup configurations of working setups before making additional changes.
Understanding and working with the Raspberry Pi kernel opens up a world of possibilities for customizing and optimizing your projects. Throughout this guide, we’ve explored the fundamental concepts of kernel compilation, configuration, and optimization specifically tailored for the Raspberry Pi platform. By now, you should have a solid foundation in managing kernel parameters, implementing hardware-specific modifications, and troubleshooting common issues.
For those ready to take the next step, consider exploring custom kernel modules or diving deeper into device tree overlays for specialized hardware integration. Remember to always back up your existing configuration before making kernel modifications, and maintain detailed documentation of your changes for future reference.
The Raspberry Pi community continues to grow and innovate, offering countless resources and support for kernel-related projects. Whether you’re building an IoT device, creating a custom media center, or developing educational tools, the skills you’ve learned here will serve as a valuable foundation for future endeavors.
To further enhance your knowledge, consider joining online Raspberry Pi forums, contributing to open-source projects, or sharing your experiences with the community. The journey of kernel customization is ongoing, and each project brings new opportunities to learn and improve your skills in embedded Linux development.
Stay curious, keep experimenting, and don’t hesitate to push the boundaries of what’s possible with your Raspberry Pi!