

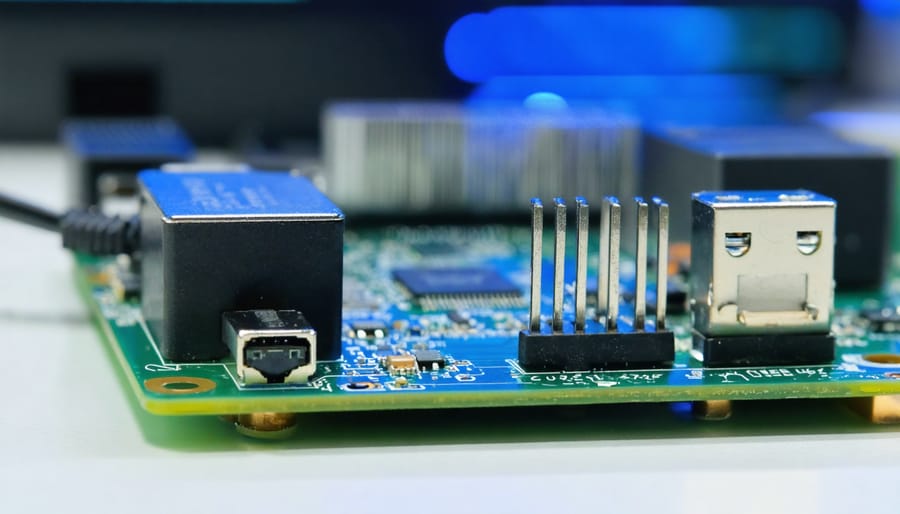
Transform your Raspberry Pi 3 into a professionally managed system by implementing a proper power switch solution. Safe shutdown capabilities protect your Pi from data corruption and hardware damage while enhancing its usability for both everyday projects and automated applications. Modern power switch implementations range from simple GPIO-based buttons to advanced power management HATs, each offering unique power consumption considerations and functionality.
Choose between three proven approaches: install a basic momentary switch connected to GPIO pins for software-controlled shutdown, integrate a dedicated power management HAT for advanced features like scheduled power cycling, or build a custom circuit using a MOSFET-based solution for complete hardware control. Each method balances complexity with functionality, letting you match the solution to your project’s specific requirements while maintaining the Pi’s core reliability.
This guide explores practical power switch implementations, from basic DIY solutions costing under $5 to premium hardware options, complete with step-by-step installation instructions and essential safety protocols.
Why Your Raspberry Pi 3 Needs a Proper Power Switch
Common Power-Related Issues
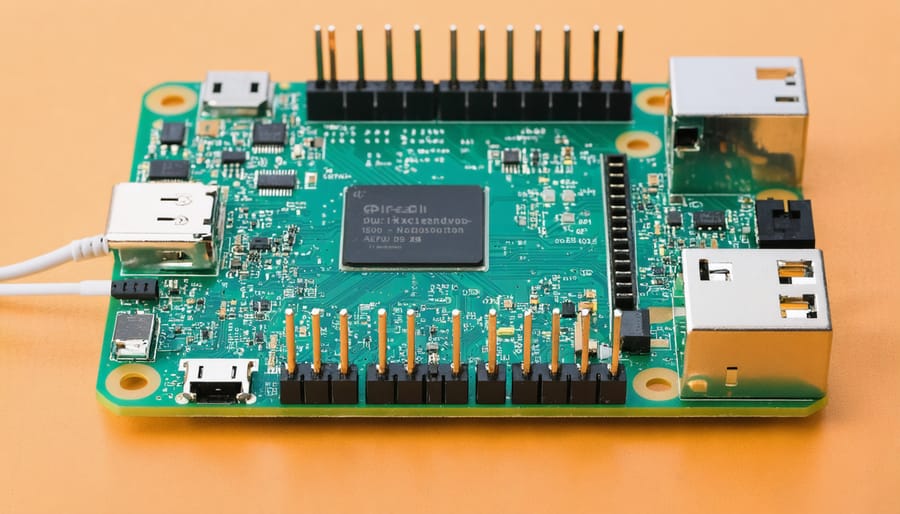
Improper shutdown of your Raspberry Pi 3 can lead to several serious issues that may compromise your projects and system stability. The most common problem is SD card corruption, which occurs when the system doesn’t have time to properly write cached data to storage before losing power. This can result in lost files, corrupted configurations, and in severe cases, a completely unbootable system.
Data loss is another significant concern. When the Pi loses power abruptly, any unsaved work in running applications is immediately lost. This is particularly problematic for projects that collect or process data continuously, such as weather stations or monitoring systems. Additionally, frequent improper shutdowns can gradually wear out your SD card due to incomplete write operations.
System instability can manifest in various ways after improper shutdowns. You might experience random crashes, slower performance, or corrupted system files that cause unexpected behavior. In some cases, essential system services may fail to start correctly, requiring a fresh installation of the operating system. These issues underscore the importance of implementing a proper power switch solution for your Raspberry Pi 3.
Benefits of a Hardware Power Switch
Adding a hardware power switch to your Raspberry Pi 3 offers several significant advantages. First, it protects your Pi from potential data corruption caused by sudden power cuts, ensuring your system and files remain intact. The switch also extends the lifespan of your SD card by enabling proper shutdown procedures. For portable projects, a physical switch eliminates the need to unplug cables or access terminal commands, making your setup more user-friendly and professional-looking. Additionally, it reduces power consumption when the Pi isn’t in use, as you can completely cut off power rather than leaving it in standby mode. For educational environments and shared spaces, a hardware switch provides a familiar and safe way for users to control the device without requiring technical knowledge.
Hardware Options for Power Switching
Simple Push-Button Solutions
The simplest way to add a power switch to your Raspberry Pi 3 is by using a basic push button connected to the GPIO pins. You’ll need a momentary push button, two female-to-female jumper wires, and basic soldering equipment. Connect one wire to GPIO3 (PIN5) and the other to Ground (PIN6) on your Raspberry Pi.
To set this up, first, ensure your Raspberry Pi is powered off. Solder the jumper wires to your push button’s terminals if necessary. Connect the wires to the appropriate GPIO pins, making sure the connections are secure. This configuration creates a simple circuit that can trigger a shutdown sequence when the button is pressed.
For the software side, you’ll need to enable GPIO shutdown functionality by adding a few lines to your /boot/config.txt file:
dtoverlay=gpio-shutdown,gpio_pin=3
This tells your Pi to monitor GPIO3 for button presses. When pressed, it initiates a safe shutdown sequence. To power the Pi back on, you’ll need to temporarily disconnect and reconnect the power supply, as this basic setup doesn’t support a direct power-on function.
While this solution is straightforward and cost-effective, it’s worth noting that it only handles the shutdown process. For a complete power control solution, you might want to consider more advanced implementations using additional components.
Advanced Power Management Boards
For users seeking professional-grade power control, several commercial power management HATs (Hardware Attached on Top) offer sophisticated features to optimize power management for the Raspberry Pi 3. Popular options include the PiJuice HAT, which provides battery backup and programmable wake/sleep functions, and the Pi UPS HAT, featuring real-time power monitoring and safe shutdown capabilities.
These boards typically include features like intelligent battery charging, voltage regulation, and status LED indicators. Some advanced models offer temperature monitoring, scheduled power cycling, and remote management capabilities through GPIO pins. For those interested in advanced power management solutions, boards like the StromPi 3 provide multiple power input options and automatic failover protection.
Most commercial HATs come with dedicated software utilities and APIs, making it easy to integrate power management into your projects. While these solutions are more expensive than DIY options, they offer reliability and features that make them ideal for critical applications or professional deployments.
DIY Power Switch Circuits
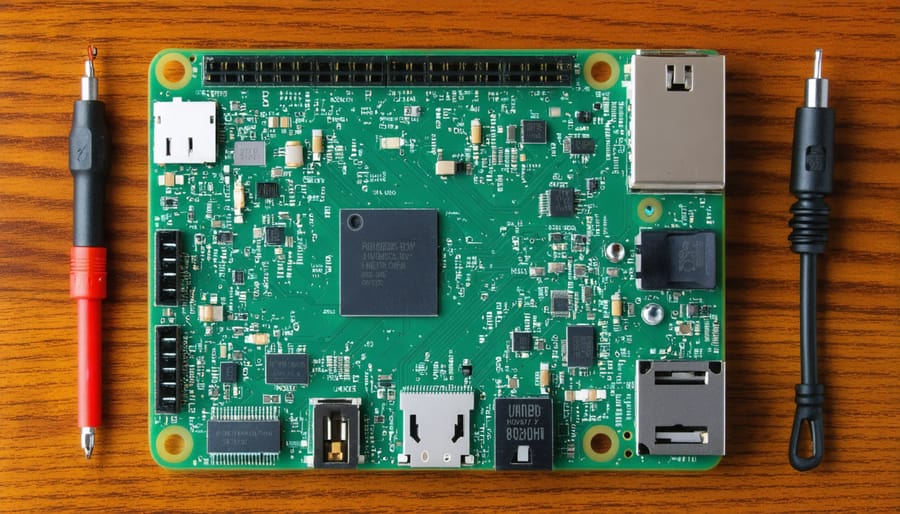
Building a custom power switch circuit for your Raspberry Pi 3 is both cost-effective and educational. Here’s a simple circuit you can create using common components:
Materials needed:
– 1x Momentary push button
– 1x 10kΩ resistor
– 1x NPN transistor (2N2222 or similar)
– Jumper wires
– Soldering iron and solder
– Breadboard (for testing)
Start by connecting the momentary push button to GPIO3 (PIN5) and ground. Add the 10kΩ pull-up resistor between GPIO3 and 3.3V to ensure stable readings. Next, connect the NPN transistor’s collector to GPIO2 (PIN3), emitter to ground, and base through a 1kΩ resistor to GPIO3.
For testing, assemble the circuit on a breadboard first. Once confirmed working, you can solder the components together for a permanent solution. This setup allows for both software shutdown and power control through a single button press.
Remember to handle components carefully and double-check all connections before powering on your Raspberry Pi. This DIY solution provides reliable power control while maintaining the Pi’s safe shutdown capability.
Software Configuration
Required Scripts and Dependencies
To implement a power switch for your Raspberry Pi 3, you’ll need to install several essential software components. First, ensure your Raspberry Pi is running the latest version of Raspberry Pi OS (formerly Raspbian) with all current updates.
Install the required Python libraries by opening the terminal and running:
“`bash
sudo apt-get update
sudo apt-get install python3-gpio
sudo pip3 install RPi.GPIO
“`
For the shutdown script to work properly, create a new Python file named ‘power_switch.py’ in your home directory. You’ll also need to set up the script to run automatically at boot by adding it to your system’s startup sequence. This can be done by modifying the /etc/rc.local file:
“`bash
sudo nano /etc/rc.local
“`
To ensure the script has the necessary permissions, run:
“`bash
sudo chmod +x power_switch.py
“`
If you’re planning to use LED indicators with your power switch, you’ll need the additional LED control library:
“`bash
sudo pip3 install gpiozero
“`
These components will provide the foundation for your power switch implementation, allowing for safe shutdown and power control of your Raspberry Pi 3.
GPIO Configuration
To set up your Raspberry Pi 3 power switch, you’ll need to configure specific GPIO pins that will handle the power management functions. The recommended approach is to use GPIO3 (PIN 5) for power control, as it can be configured to trigger a safe shutdown sequence.
First, enable GPIO3 as an input pin with a pull-up resistor. This configuration ensures the pin maintains a stable state and prevents false triggers. You can do this by adding the following line to your /boot/config.txt file:
gpio=3=ip,pu
For the shutdown detection circuit, you’ll need to monitor GPIO3’s state changes. When the pin is pulled low (ground), it triggers the shutdown sequence. This setup provides a reliable way to detect when the physical power switch is activated.
Additionally, you might want to configure GPIO14 (PIN 8) as an output pin to control an LED indicator. This visual feedback helps users know when it’s safe to disconnect power:
gpio=14=op
Remember to set appropriate permissions for GPIO access in your system to ensure proper functionality of the power switch circuit.
Testing and Troubleshooting
After installing your power switch, test it by following these simple steps: First, connect your Raspberry Pi to a monitor and ensure all connections are secure. Press the power switch to turn on the Pi and verify that the power LED illuminates. Watch for the boot sequence on your display to confirm proper startup.
To test the shutdown functionality, initiate a shutdown through the OS and check that the Pi powers off completely. The power LED should turn off, indicating a successful shutdown. If using a script-based solution, verify that your shutdown script executes correctly when the button is pressed.
Common issues to watch for include loose wire connections, incorrect GPIO pin assignments, or unresponsive switches. If the switch doesn’t work, double-check your wiring and script configurations. Ensure your power supply provides stable 5V output for reliable operation.
Safety Considerations and Best Practices
Electrical Safety Guidelines
When working with power circuits for your Raspberry Pi 3 switch project, always prioritize safety to protect both yourself and your hardware. Before beginning any work, ensure your workspace is clean, dry, and well-ventilated. Always disconnect power sources completely before making any modifications or connections to avoid short circuits or electrical shock.
Use properly rated components that match your Pi’s power specifications (5V, 2.5A recommended). Never exceed these ratings, as it could damage your board or create fire hazards. When soldering or working with electrical connections, use insulated tools and wear appropriate safety gear.
Keep all connections properly insulated and avoid exposed wires. Double-check your wiring before powering on the system, paying special attention to positive and negative terminals to prevent reverse polarity. If using a custom power switch solution, incorporate a fuse or circuit breaker rated appropriately for additional protection.
Store your project in a non-conductive case to prevent accidental shorts, and keep it away from liquids and excessive heat. If you notice any burning smell, unusual heat, or smoke, immediately disconnect the power and investigate the cause.
Maintenance and Monitoring
Regular maintenance and monitoring of your Raspberry Pi power switch setup is crucial for ensuring reliable operation and extending the lifespan of your components. Start by establishing a monthly inspection routine to check all physical connections, especially the power switch wiring and solder joints. Look for signs of wear, loose connections, or oxidation that might affect performance.
Keep the switch and surrounding area clean from dust and debris, as these can interfere with proper functioning and potentially cause short circuits. A gentle cleaning with compressed air or a soft brush should be performed every few months. Monitor the switch’s response time and behavior – any delays or inconsistencies might indicate potential issues that need addressing.
For optimal energy-efficient operation, regularly check your power supply’s output voltage using a multimeter. The reading should remain stable at around 5V. If you notice fluctuations, consider replacing the power supply to prevent damage to your Raspberry Pi.
Log any unusual behavior or system crashes that might be related to power issues. This information can be valuable for troubleshooting and preventing future problems. If you’re using a software-based shutdown script, periodically test it to ensure it’s working correctly and update it when necessary to maintain compatibility with system updates.
Consider implementing a backup power solution, such as a UPS, to protect against unexpected power interruptions that could corrupt your SD card or damage your setup.
Implementing a power switch for your Raspberry Pi 3 is essential for maintaining the health and longevity of your device. Whether you choose a simple mechanical switch, a smart power management solution, or a software-controlled shutdown system, the key is to ensure safe and proper power cycling. Remember to always initiate a proper shutdown sequence before cutting power to prevent SD card corruption and system damage. Regular testing of your power switch setup will help identify any potential issues early on. By following the guidelines and safety measures outlined in this article, you can confidently manage your Raspberry Pi’s power while protecting your valuable projects and data. Keep experimenting with different power management solutions to find the perfect setup for your specific needs.