


Configure your Raspberry Pi’s network settings in minutes with three powerful methods: direct Ethernet connection, wireless setup through raspi-config, or headless Wi-Fi configuration via wpa_supplicant. Whether you’re building a home server, IoT device, or media center, proper network configuration unlocks your Pi’s full potential and helps you optimize your Raspberry Pi OS for maximum performance.
Modern Raspberry Pi models support both 2.4GHz and 5GHz Wi-Fi bands, alongside Gigabit Ethernet, giving you flexible connectivity options for any project. Static IP assignment, custom DNS settings, and network bridging capabilities transform your Pi into a versatile networking powerhouse – perfect for everything from VPN servers to network monitoring tools.
Master your Pi’s networking fundamentals now to build sophisticated projects later. Whether you’re configuring a single board or managing a cluster, understanding these core networking concepts provides the foundation for advanced implementations and troubleshooting capabilities.
Essential Network Configuration Tools
Command-Line Network Tools
The Raspberry Pi offers several powerful command-line tools for managing network configurations. The primary tool, raspi-config, provides a text-based interface for basic network setup, including enabling/disabling wireless connections and configuring locale settings.
For wireless network management, iwconfig is your go-to tool. It displays and configures wireless network interfaces, showing essential information like signal strength, connection quality, and current network SSID. The command “iwconfig wlan0” gives you a quick overview of your wireless interface status.
The ifconfig command (or its modern replacement, ip) helps manage network interfaces. Use “ifconfig -a” to view all network interfaces, including their IP addresses, MAC addresses, and status. To bring an interface up or down, use “ifconfig wlan0 up” or “ifconfig wlan0 down” respectively.
Other useful tools include iwlist for scanning available wireless networks (“iwlist wlan0 scan”) and dhclient for manually requesting an IP address from your DHCP server. For advanced users, wpa_cli provides interactive control over wireless connections and configurations.

GUI-Based Configuration Options
For users who prefer a more visual approach to network configuration, Raspberry Pi OS offers several GUI-based network configuration tools through its desktop environment. The Network Manager icon in the top-right corner of your screen provides quick access to available Wi-Fi networks and basic connection settings. Simply click the icon to view nearby networks, enter your credentials, and establish a connection.
For more detailed network configuration, you can use the Raspberry Pi Configuration tool found in the Preferences menu. This utility offers options to enable/disable specific interfaces, configure static IP addresses, and manage network services through an intuitive interface. The tool also provides access to hostname configuration and SSH enabling/disabling features.
Additionally, third-party network management tools like Wicd Network Manager offer alternative interfaces for managing your Pi’s network connections, particularly useful for users working with multiple network configurations or those requiring more advanced networking features while maintaining the convenience of a graphical interface.
Setting Up Different Network Configurations
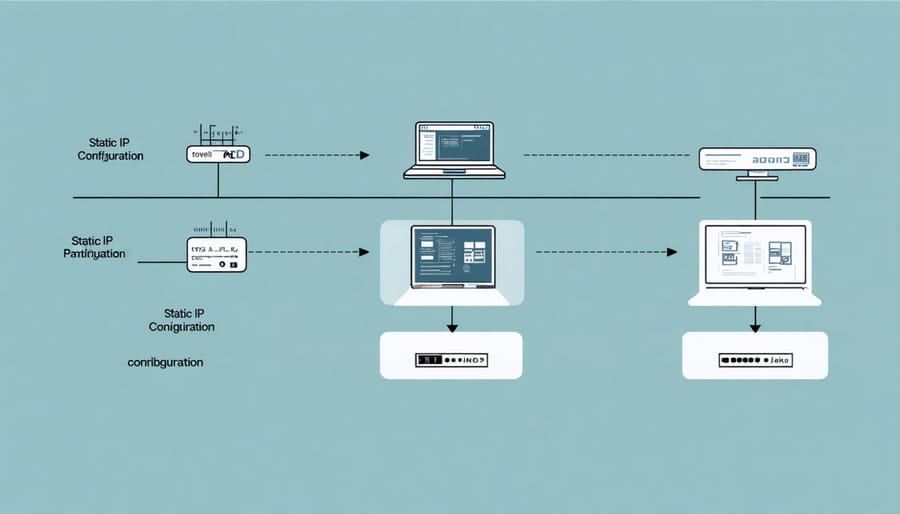
Static IP Configuration
Setting up a static IP address on your Raspberry Pi ensures your device maintains the same IP address after every reboot, which is essential for hosting services or remote access. To configure a static IP, you’ll need to modify the dhcpcd.conf file.
First, open a terminal and backup your current configuration:
“`
sudo cp /etc/dhcpcd.conf /etc/dhcpcd.conf.backup
“`
Then, edit the configuration file:
“`
sudo nano /etc/dhcpcd.conf
“`
Add the following lines at the bottom of the file, adjusting the values to match your network:
“`
interface eth0
static ip_address=192.168.1.100/24
static routers=192.168.1.1
static domain_name_servers=192.168.1.1 8.8.8.8
“`
For Wi-Fi configuration, use ‘wlan0’ instead of ‘eth0’. The IP address should be within your network range, the router address should match your network gateway, and the DNS servers can be your router’s IP or public DNS servers like Google’s (8.8.8.8).
Save the file by pressing Ctrl+X, then Y, and Enter. Restart the networking service to apply changes:
“`
sudo service dhcpcd restart
“`
To verify the configuration, check your IP address:
“`
ip addr show
“`
Remember to note down your static IP address for future reference, as you’ll need it for remote access and network services.
Wi-Fi Connection Management
Managing Wi-Fi connections on your Raspberry Pi is essential for ensuring reliable wireless connectivity. The process of configuring WiFi connections can be handled through either the desktop interface or command line, depending on your preference and setup.
To add a new wireless network, you can modify the wpa_supplicant.conf file located in /etc/wpa_supplicant/. This file stores your network credentials and connection preferences. Here’s what you need to do:
1. Open the configuration file using sudo nano
2. Add your network details using the following format:
network={
ssid=”YourNetworkName”
psk=”YourPassword”
priority=1
}
You can configure multiple networks by adding additional network blocks with different priority levels. Higher priority numbers (like 10) take precedence over lower ones (like 1), allowing your Pi to automatically connect to preferred networks when available.
For enhanced security, consider using the wpa_passphrase command to generate an encrypted PSK instead of storing your password in plain text. This adds an extra layer of protection to your network configuration.
Remember to use the wpa_cli command for real-time network management, which allows you to scan for available networks, check connection status, and troubleshoot connectivity issues without rebooting your Pi.
Ethernet and Bridge Configuration
Configuring Ethernet on your Raspberry Pi provides a reliable and fast network connection, perfect for projects requiring stable connectivity. To set up a wired connection, simply plug an Ethernet cable into your Pi’s port – it should automatically configure itself using DHCP in most cases.
For manual configuration, edit the /etc/dhcpcd.conf file to set a static IP address:
“`
interface eth0
static ip_address=192.168.1.100/24
static routers=192.168.1.1
static domain_name_servers=192.168.1.1
“`
Network bridging allows you to connect different network interfaces, useful for creating a network switch or extending your wireless network. To set up a bridge between Ethernet and Wi-Fi:
1. Install bridge utilities:
“`
sudo apt-get install bridge-utils
“`
2. Create a bridge configuration in /etc/network/interfaces:
“`
auto br0
iface br0 inet dhcp
bridge_ports eth0 wlan0
bridge_stp off
bridge_fd 0
bridge_maxwait 0
“`
Remember to restart networking services after making changes:
“`
sudo systemctl restart networking
“`
For most home setups, the default DHCP configuration works fine, but static IP assignment is recommended for servers or specific network roles. Always backup configuration files before making changes to avoid connectivity issues.
Advanced Network Features
Network Security Settings
Securing your Raspberry Pi’s network configuration is crucial for protecting your device and data from unauthorized access. Start by changing the default password for the ‘pi’ user account using the passwd command in the terminal. Choose a strong password combining letters, numbers, and special characters.
Enable the built-in firewall (UFW) with these commands:
“`
sudo apt-get install ufw
sudo ufw enable
“`
Configure basic firewall rules to allow essential services while blocking potentially dangerous incoming connections. For example:
“`
sudo ufw allow ssh
sudo ufw allow http
sudo ufw deny 23
“`
Consider implementing SSH key-based authentication instead of password login:
1. Generate SSH keys on your main computer
2. Copy the public key to your Raspberry Pi
3. Disable password authentication in /etc/ssh/sshd_config
For additional security, change the default SSH port from 22 to a custom number between 1024 and 65535. This helps prevent automated scanning attempts from finding your SSH service.
Keep your system updated with regular security patches:
“`
sudo apt-get update
sudo apt-get upgrade
“`
If your Pi is exposed to the internet, consider installing fail2ban to protect against brute force attacks:
“`
sudo apt-get install fail2ban
sudo systemctl enable fail2ban
“`
Finally, disable unnecessary services and ports that aren’t required for your specific project. This reduces potential attack vectors and improves overall system security. Regularly monitor system logs for suspicious activity using the journalctl command.

Remote Access Setup
Setting up remote access to your Raspberry Pi is essential for managing your device without a direct physical connection. The most common and secure method is enabling SSH (Secure Shell), which allows you to control your Pi from any computer on your network.
To enable SSH, you can either create an empty file named ‘ssh’ in the boot partition of your SD card before first boot, or use the raspi-config utility after booting:
1. Open terminal and type: sudo raspi-config
2. Navigate to Interface Options
3. Select SSH and enable it
4. Select Finish and reboot
For enhanced security, it’s recommended to change your default password and set up SSH key authentication:
“`bash
passwd
ssh-keygen -t rsa
ssh-copy-id pi@raspberry_pi_ip_address
“`
If you need to access your Pi from outside your local network, consider setting up a VPN server. OpenVPN is a popular choice that provides secure remote access:
“`bash
curl -L https://install.pivpn.io | bash
“`
For graphical remote access, VNC (Virtual Network Computing) offers a user-friendly solution:
1. Enable VNC through raspi-config
2. Install VNC Viewer on your remote device
3. Connect using your Pi’s IP address
Remember to keep your system updated and regularly monitor access logs for security. If you’re using your Pi as a headless server, these remote access tools become invaluable for maintenance and management tasks.
Troubleshooting Common Issues
When your Raspberry Pi encounters network issues, don’t worry – most common problems have straightforward solutions. If your Pi isn’t connecting to Wi-Fi, first check if the network name (SSID) and password in your wpa_supplicant.conf file are correct. Even a single mistyped character can prevent connection. Also, verify that your country code is set correctly, as this affects which Wi-Fi channels are available.
If you’re getting “No IP address” errors, try running sudo dhclient -v to request a new IP address from your router. Sometimes, simply rebooting both your Pi and router can resolve IP conflicts. For static IP issues, double-check your /etc/dhcpcd.conf file for syntax errors, especially in the interface and static IP declarations.
Poor Wi-Fi performance is often related to interference or distance from the router. Try repositioning your Pi or using a USB Wi-Fi adapter with an external antenna for better reception. If you’re experiencing frequent disconnections, adding the “power_save=off” parameter to your wireless interface configuration can help maintain a more stable connection.
For ethernet connectivity problems, check your cable connections and try a different ethernet cable to rule out hardware issues. If your Pi isn’t being recognized on the network, ensure the ethernet interface is enabled in raspi-config and verify that your router’s DHCP server is functioning correctly.
DNS resolution problems can usually be fixed by editing /etc/resolv.conf and adding reliable DNS servers like Google’s (8.8.8.8) or Cloudflare’s (1.1.1.1). If you’re still having issues, try updating your Raspberry Pi OS with sudo apt update && sudo apt upgrade, as older versions might have known networking bugs.
Remember to back up your configuration files before making changes, and always reboot your Pi after significant network configuration modifications to ensure changes take effect properly.
Configuring your Raspberry Pi’s network settings is a crucial step in maximizing its potential as a versatile computing platform. We’ve covered essential aspects from basic Wi-Fi setup to advanced networking configurations, helping you establish a reliable connection for your projects. Remember to regularly update your network configurations, implement security best practices, and backup your settings before making significant changes.
To optimize your Pi’s network performance, consider monitoring network traffic, implementing Quality of Service (QoS) settings, and regularly checking for firmware updates. If you encounter issues, refer to the troubleshooting steps we discussed or consult the Raspberry Pi community forums for additional support.
With these configurations in place, you’re now ready to explore more advanced projects, from setting up a home media server to creating your own VPN. Keep experimenting and adjusting your network settings to match your specific needs and usage patterns.