


Transform your Raspberry Pi collection into a cloud-ready Kubernetes cluster with enterprise-grade capabilities. Build a powerful, scalable homelab environment using readily available hardware and open-source tools that mirror production deployments. This compact yet robust setup enables hands-on learning of container orchestration, microservices architecture, and DevOps practices—all while consuming minimal power and space.
Deploy production-grade applications on ARM architecture, leverage built-in high availability features, and experiment with cutting-edge cloud-native technologies without incurring costly cloud provider fees. Whether you’re a hobbyist seeking practical experience or an educator creating a learning environment, a Raspberry Pi-based Kubernetes cluster offers an accessible entry point into modern infrastructure management.
From basic cluster operations to advanced deployment strategies, this comprehensive guide will walk you through establishing a fully functional k8s environment on Raspberry Pi hardware, complete with networking, storage, and monitoring solutions tailored for ARM-based systems.
Setting Up Your Raspberry Pi Cluster
Hardware Requirements
To build a functional Kubernetes cluster with Raspberry Pi, you’ll need several essential components for a successful mini data center setup. At minimum, gather three Raspberry Pi 4B units (one master node and two worker nodes), each with 4GB RAM or more, though 8GB is recommended for optimal performance. For storage, use high-quality microSD cards (32GB minimum) with A2 speed ratings.
Essential peripherals include:
– Ethernet cables (Cat 6 recommended)
– Network switch (Gigabit Ethernet)
– Power supplies (Official 5V/3A USB-C)
– Cooling solutions (heatsinks or fans)
– Cluster case or rack mount
– USB keyboard and monitor (for initial setup)
Optional but recommended components:
– SSD drives for enhanced storage performance
– Dedicated network router
– UPS for power stability
– GPIO expansion boards
Ensure all Raspberry Pi units are the same model for consistency and performance. These specifications provide a stable foundation for running a Kubernetes cluster while maintaining cost-effectiveness.

Network Configuration
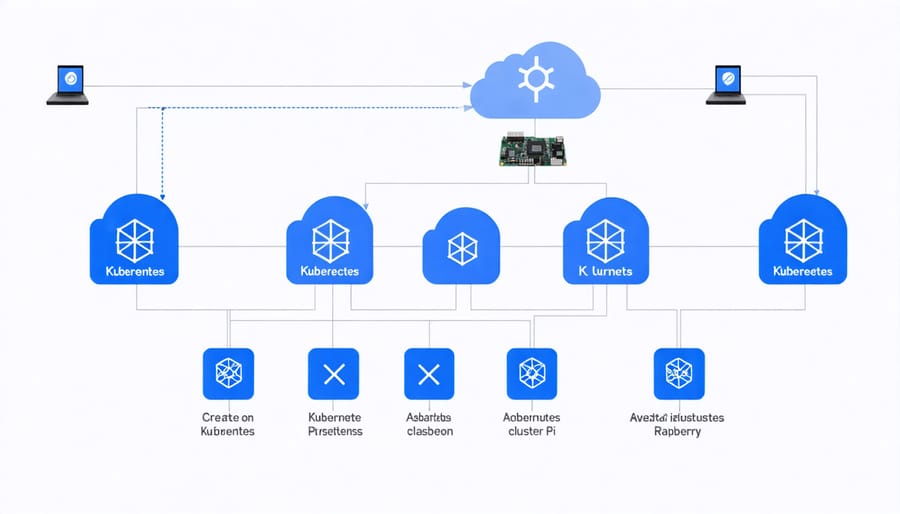
Proper network configuration is essential for your Kubernetes cluster to function effectively. Start by assigning static IP addresses to each Raspberry Pi node to ensure consistent networking. You can accomplish this by editing the /etc/dhcpcd.conf file on each Pi, adding the following configuration:
“`
interface eth0
static ip_address=192.168.1.X/24
static routers=192.168.1.1
static domain_name_servers=192.168.1.1
“`
Replace ‘X’ with a unique number for each node (e.g., 100 for master, 101, 102 for workers).
Ensure all Pis can communicate by testing connectivity with ping commands between nodes. Configure hostnames for easier identification by editing /etc/hosts on each Pi, mapping IP addresses to memorable names:
“`
192.168.1.100 master
192.168.1.101 worker1
192.168.1.102 worker2
“`
For Kubernetes networking, you’ll need to enable container networking by adding the following to /etc/sysctl.conf:
“`
net.bridge.bridge-nf-call-ip6tables = 1
net.bridge.bridge-nf-call-iptables = 1
“`
Apply these changes with ‘sudo sysctl -p’. Finally, ensure your network supports Container Network Interface (CNI) plugins like Flannel or Calico for pod-to-pod communication. Flannel is recommended for Raspberry Pi clusters due to its simplicity and lightweight nature.
Installing Kubernetes on Raspberry Pi
Operating System Preparation
Before installing Kubernetes, we need to prepare a suitable operating system on each Raspberry Pi. For optimal performance and compatibility, we’ll use Raspberry Pi OS Lite (64-bit), which provides a minimal installation without unnecessary desktop components.
Start by downloading the official Raspberry Pi Imager tool from the Raspberry Pi website. This tool simplifies the process of writing the OS image to your SD cards. After launching the imager, select “Raspberry Pi OS Lite (64-bit)” as your operating system.
Before writing the image, click the settings gear icon to configure some important options. Enable SSH access and set a username and password that you’ll use across all nodes. It’s also recommended to configure your WiFi settings here if you’re not using ethernet connections.
Once you’ve written the OS to all your SD cards, boot up each Raspberry Pi and perform these essential configurations:
1. Update the system packages:
“`
sudo apt update && sudo apt upgrade -y
“`
2. Enable container features by adding these lines to /boot/cmdline.txt:
“`
cgroup_enable=cpuset cgroup_enable=memory cgroup_memory=1
“`
3. Assign static IP addresses to each node through /etc/dhcpcd.conf to ensure stable network communication.
4. Disable swap since Kubernetes performs better without it:
“`
sudo dphys-swapfile swapoff && sudo systemctl disable dphys-swapfile
“`
After completing these steps, reboot each Pi to ensure all changes take effect. Your Raspberry Pis are now ready for Kubernetes installation.
Kubernetes Installation Steps
To install Kubernetes on your Raspberry Pi cluster, we’ll use k3s, a lightweight Kubernetes distribution perfect for IoT and edge computing. Here’s how to set it up:
First, prepare your master node by updating the system:
“`bash
sudo apt update && sudo apt upgrade -y
“`
Enable container features by adding these lines to /boot/cmdline.txt:
“`
cgroup_enable=cpuset cgroup_memory=1 cgroup_enable=memory
“`
Install k3s on your master node:
“`bash
curl -sfL https://get.k3s.io | sh –
“`
After installation, retrieve the node token from:
“`bash
sudo cat /var/lib/rancher/k3s/server/node-token
“`
For worker nodes, run this command (replace IP_OF_MASTER and NODE_TOKEN with your values):
“`bash
curl -sfL https://get.k3s.io | K3S_URL=https://IP_OF_MASTER:6443 K3S_TOKEN=NODE_TOKEN sh –
“`
Verify your cluster setup on the master node:
“`bash
sudo kubectl get nodes
“`
To enable external access to your cluster, copy the config file:
“`bash
mkdir ~/.kube
sudo cp /etc/rancher/k3s/k3s.yaml ~/.kube/config
sudo chown $USER:$USER ~/.kube/config
“`
Your Kubernetes cluster is now ready for deploying applications. Remember to maintain consistent node temperatures and power supply for optimal performance. For testing, try deploying a simple nginx pod to verify everything works correctly.
Post-Installation Configuration
After successfully installing Kubernetes on your Raspberry Pi cluster, several essential configurations are needed to ensure optimal performance. Start by configuring your network policies and ensuring all nodes can communicate effectively. Set up a Container Network Interface (CNI) like Flannel or Calico for managing pod networking.
Next, implement RBAC (Role-Based Access Control) policies to secure your cluster. Create appropriate roles and role bindings for different users and service accounts. This step is crucial for maintaining cluster security.
To optimize cloud performance, configure resource limits for your pods and nodes. Set appropriate CPU and memory constraints to prevent any single application from consuming excessive resources.
Don’t forget to set up monitoring tools like Prometheus and Grafana to track cluster health. These tools help you identify potential issues before they become critical. Finally, configure persistent storage solutions for your applications using options like NFS or local storage provisioners, ensuring your data remains safe across pod restarts.
Running Your First Applications
Test Deployment
Let’s create a simple test deployment to verify our Kubernetes cluster is working correctly. We’ll deploy a basic Nginx web server, which is perfect for testing both basic functionality and IoT management capabilities.
First, create a file named nginx-deployment.yaml with the following content:
“`yaml
apiVersion: apps/v1
kind: Deployment
name: nginx-test
spec:
replicas: 2
selector:
matchLabels:
app: nginx
template:
metadata:
labels:
app: nginx
spec:
containers:
– name: nginx
image: nginx:alpine
ports:
– containerPort: 80
“`
Apply the deployment using:
“`bash
kubectl apply -f nginx-deployment.yaml
“`
To verify the deployment, run:
“`bash
kubectl get deployments
kubectl get pods
“`
You should see two nginx pods running. To expose the deployment, create a service:
“`bash
kubectl expose deployment nginx-test –type=NodePort –port=80
“`
Find the assigned port with:
“`bash
kubectl get services
“`
You can now access the nginx welcome page by visiting any of your Raspberry Pi node IPs on the assigned port. This confirms that your cluster is properly handling deployments, pod scheduling, and network connectivity.
Monitoring Setup
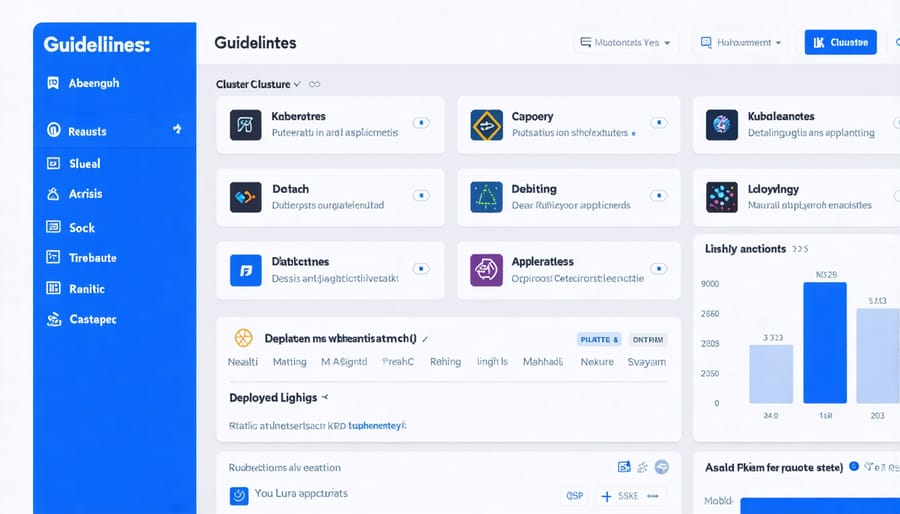
Monitoring your Kubernetes cluster on Raspberry Pi is essential for maintaining its health and performance. We’ll set up a basic monitoring stack using Prometheus and Grafana, two popular open-source tools that work excellently even on low-powered devices.
Start by creating a monitoring namespace in your cluster:
“`bash
kubectl create namespace monitoring
“`
Install Prometheus using Helm, which provides a lightweight configuration suitable for Raspberry Pi:
“`bash
helm repo add prometheus-community https://prometheus-community.github.io/helm-charts
helm install prometheus prometheus-community/prometheus \
–namespace monitoring \
–set server.persistentVolume.enabled=false
“`
Next, deploy Grafana for visualization:
“`bash
helm repo add grafana https://grafana.github.io/helm-charts
helm install grafana grafana/grafana \
–namespace monitoring \
–set persistence.enabled=false
“`
To access Grafana’s dashboard, get the admin password:
“`bash
kubectl get secret –namespace monitoring grafana \
-o jsonpath=”{.data.admin-password}” | base64 –decode
“`
Port-forward the Grafana service to access it locally:
“`bash
kubectl port-forward -n monitoring svc/grafana 3000:3000
“`
Visit localhost:3000 in your browser and log in with username “admin” and the password you retrieved. Import the “Kubernetes Cluster Overview” dashboard (ID: 315) to start monitoring your cluster’s basic metrics like CPU usage, memory consumption, and node status.
Remember that running monitoring tools consumes resources, so keep an eye on your Pi’s performance and adjust retention periods and scraping intervals if needed.
Troubleshooting Common Issues
When running Kubernetes on Raspberry Pi, you might encounter several common issues. Here’s how to address them effectively:
Memory Pressure Issues
If your nodes are showing memory pressure warnings, try reducing the number of running pods or increasing the swap space. However, be cautious with swap usage as it can impact performance. Consider using the –memory parameter when deploying containers to set appropriate limits.
Network Connectivity Problems
Sometimes pods fail to communicate properly. Check that your network plugin is correctly configured and that all nodes can reach each other. If using Flannel, ensure the correct network interface is specified in the configuration. Run ‘kubectl get nodes -o wide’ to verify node connectivity.
CPU Temperature Alerts
Raspberry Pis can get hot under heavy workloads. Install proper cooling solutions and monitor temperatures using ‘vcgencmd measure_temp’. If temperatures exceed 80°C, consider adding heat sinks or fans, or scaling down your workload.
Image Pull Errors
ARM compatibility issues often cause pod startup failures. Ensure you’re using ARM-compatible container images. When building custom images, use multi-architecture builds or specify the ARM64 platform explicitly in your Dockerfile.
Storage Performance
SD cards can become a bottleneck. For better performance, consider using USB-attached SSDs for container storage. Configure your container runtime to use the external storage location instead of the SD card.
Resource Constraints
When pods fail to schedule, check resource requests and limits. Raspberry Pis have limited resources, so be conservative with resource allocations. Use ‘kubectl describe node’ to view resource usage and available capacity.
DNS Resolution Issues
If pods can’t resolve domain names, verify your CoreDNS deployment is running correctly. Check CoreDNS logs and ensure your cluster’s DNS service has sufficient resources allocated.
These solutions should help you maintain a stable Kubernetes cluster on your Raspberry Pi setup. Remember to regularly monitor system resources and maintain proper cooling for optimal performance.
Building a Kubernetes cluster on Raspberry Pi devices offers an excellent way to learn container orchestration while creating a cost-effective, energy-efficient home lab. By following the steps outlined in this guide, you’ve learned how to set up the hardware, install necessary software, configure networking, and deploy your first applications on a Pi-based K8s cluster.
Remember to regularly update your system, monitor resource usage, and implement proper security measures to maintain a stable cluster. For your next steps, consider exploring more advanced topics like high availability configurations, automated deployments, or running specific workloads optimized for ARM architecture.
Whether you’re using this setup for learning, development, or running home services, your Raspberry Pi Kubernetes cluster provides a solid foundation for expanding your DevOps skills and experimenting with cloud-native technologies. Start small, build incrementally, and don’t hesitate to participate in the vibrant Raspberry Pi and Kubernetes communities for support and inspiration.