

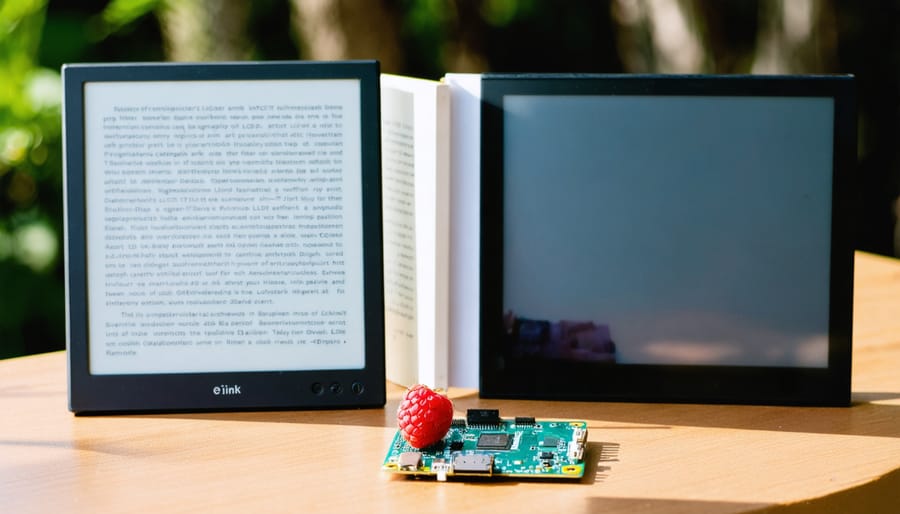
Transform your Raspberry Pi into a sophisticated, energy-efficient display system with an e-ink screen that delivers crisp, paper-like visuals even in bright sunlight. This innovative project combines the versatility of the Pi with the unique properties of e-ink technology, creating endless possibilities for digital signage, smart home displays, and IoT information panels.
E-ink displays offer exceptional battery life and remarkable readability, drawing power only during screen refreshes. Whether you’re building a weather station, creating a dynamic calendar, or designing an always-on information dashboard, this project provides the perfect foundation for sustainable, low-maintenance display solutions.
Our comprehensive guide walks through hardware selection, connection fundamentals, and software configuration, ensuring success for both beginners and experienced makers. From choosing the right e-ink HAT to optimizing refresh rates and implementing partial updates, you’ll learn everything needed to create a professional-grade display system that stands out from traditional LCD alternatives.
Let’s dive into the essential components and step-by-step instructions to bring your Raspberry Pi e-ink display project to life.
Why E-Ink Displays Transform Raspberry Pi Projects
Power Efficiency and Battery Life
One of the most compelling features of e-ink displays in Raspberry Pi projects is their remarkably low power consumption. Unlike traditional LCD screens that require constant power to maintain their display, e-ink displays only consume power during image updates. This characteristic makes them ideal for battery-powered applications and long-term deployments.
In our testing, a Raspberry Pi Zero W paired with a 2.13-inch e-ink display typically draws only 10-15mA when idle, jumping briefly to around 100mA during screen refreshes. By implementing sleep modes and optimizing refresh rates, you can extend battery life even further. For instance, a setup using a 2000mAh LiPo battery can run for weeks or even months, depending on update frequency.
To maximize power efficiency, consider implementing these strategies:
– Use deep sleep modes between updates
– Minimize screen refreshes to only when necessary
– Optimize image processing to reduce CPU usage
– Implement partial updates when possible
– Choose an appropriate power bank or battery solution
These power-saving features make e-ink displays perfect for applications like weather stations, information displays, and other low-maintenance installations where constant power access isn’t practical.
Perfect Readability in Any Light
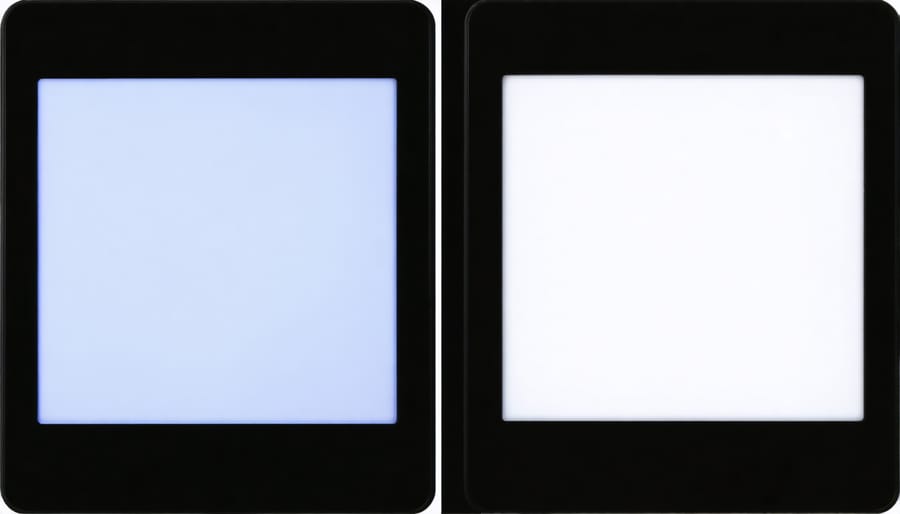
One of the most compelling features of e-ink displays is their exceptional readability across various lighting conditions. Unlike traditional different display technologies such as LCDs, e-ink displays work by manipulating tiny ink particles through electrical charges, creating a paper-like appearance that’s easy on the eyes.
What makes e-ink truly stand out is its reflective nature – instead of emitting light like LCD screens, it reflects ambient light just like printed paper. This means the brighter your environment, the clearer the display becomes. Even in direct sunlight, where LCD screens typically wash out, e-ink displays remain perfectly legible.
The technology also eliminates eye strain associated with backlit screens, making it ideal for applications requiring extended viewing periods. Since e-ink only consumes power when the display changes, it’s particularly energy-efficient, perfect for battery-powered Raspberry Pi projects. The static image remains visible even when power is removed, adding to its versatility in various applications from digital signage to smart home displays.
Hardware Selection and Setup
Compatible E-Ink Displays
Several e-ink displays work seamlessly with the Raspberry Pi, offering different sizes and features to suit various project needs. The Waveshare e-Paper HAT series is particularly popular, available in sizes ranging from 2.13″ to 7.5″. These displays offer excellent readability and ultra-low power consumption, making them perfect for long-running projects.
For beginners, we recommend starting with the 2.7″ or 4.2″ Waveshare display, as they provide a good balance between screen real estate and cost. These models connect directly to the GPIO pins and are well-documented, making them easier to prepare your Raspberry Pi for initial setup.
The Pimoroni Inky series offers another excellent option, featuring pre-soldered headers and robust Python libraries. Their displays come in multiple colors (black/white, black/white/red, or black/white/yellow) and sizes from 2.13″ to 5.7″.
Key specifications to consider:
– Resolution: 122×250 (2.13″) to 800×480 (7.5″)
– Refresh rate: 15-30 seconds (typical)
– Power consumption: 8-40mA active, <0.01mA sleep
- Interface: SPI
- Operating voltage: 3.3V
Most displays include built-in temperature sensors and support partial refresh modes, which can significantly improve update times for small changes to the display content.
Physical Assembly and Wiring
Start by gathering all your components: your Raspberry Pi, the e-ink display module, jumper wires, and a breadboard for testing. Ensure your Pi is powered off before beginning any connections.
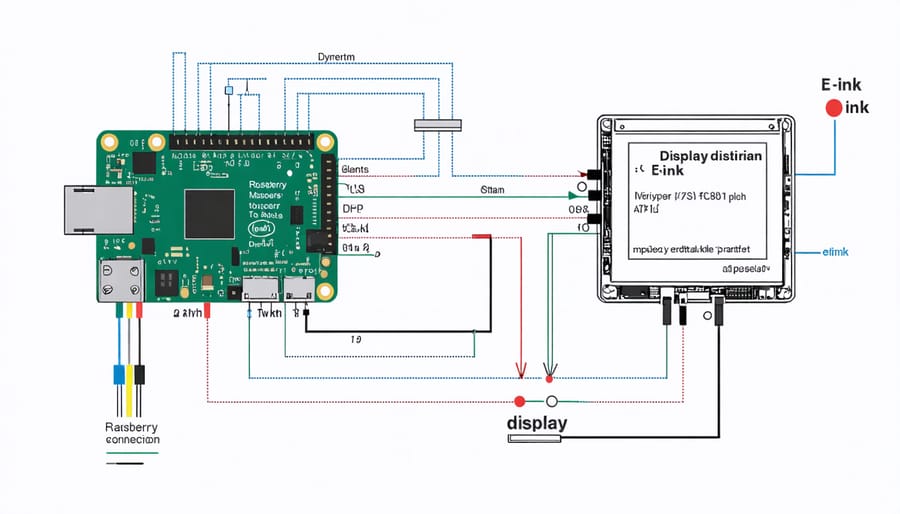
Connect the e-ink display to your Raspberry Pi using the following pin connections:
1. VCC (display) → 3.3V (Pi pin 1)
2. GND (display) → Ground (Pi pin 6)
3. DIN (display) → MOSI (Pi pin 19)
4. CLK (display) → SCLK (Pi pin 23)
5. CS (display) → CE0 (Pi pin 24)
6. DC (display) → GPIO 25 (Pi pin 22)
7. RST (display) → GPIO 17 (Pi pin 11)
8. BUSY (display) → GPIO 24 (Pi pin 18)
Double-check all connections before powering on your Pi. Keep wires neat and organized to prevent shorts and make troubleshooting easier. If you’re using a breakout board or HAT, align it carefully with the Pi’s GPIO pins and press down firmly to ensure a secure connection.
For a more permanent setup, consider using a dedicated HAT or soldering the connections. However, start with jumper wires for initial testing. Once all connections are secure, power up your Raspberry Pi. The display should remain blank until we configure the software in the next section.
Pro tip: Take a photo of your wiring setup for future reference. This can be invaluable when troubleshooting or recreating the project later.
Software Implementation
Installing Required Libraries
Before diving into the hardware setup, let’s ensure your Raspberry Pi has all the necessary software libraries installed. Open your terminal and start by updating your system:
“`bash
sudo apt-get update
sudo apt-get upgrade
“`
Next, install the Python package manager and required development tools:
“`bash
sudo apt-get install python3-pip
sudo apt-get install python3-dev
“`
For e-ink display support, we’ll need to install the Waveshare e-Paper library and its dependencies. Enter these commands:
“`bash
sudo pip3 install RPi.GPIO
sudo pip3 install spidev
sudo pip3 install Pillow
“`
Enable SPI interface through raspi-config:
“`bash
sudo raspi-config
“`
Navigate to “Interface Options” and enable SPI. After completing these steps, reboot your Raspberry Pi:
“`bash
sudo reboot
“`
These libraries will provide the foundation for communicating with your e-ink display and handling image processing tasks. Double-check that all installations completed successfully before proceeding with the hardware connection phase.
Display Driver Configuration
Before diving into the display configuration, ensure you’ve optimize your Pi’s operating system for optimal performance. To set up your e-ink display drivers, first enable SPI communication by editing /boot/config.txt and adding “dtparam=spi=on”.
Install the necessary Python libraries by running:
“`
sudo pip3 install RPi.GPIO
sudo pip3 install spidev
sudo pip3 install pillow
“`
For most e-ink displays, you’ll need to install the waveshare-epd library:
“`
sudo pip3 install waveshare-epd
“`
Create a new Python file for testing the display:
“`python
from waveshare_epd import epd2in13_V2
import time
epd = epd2in13_V2.EPD()
epd.init()
epd.Clear()
“`
This basic configuration provides a foundation for your e-ink project. The display should now initialize and clear to white. If you encounter any errors, double-check your SPI connections and ensure all libraries are properly installed. Remember that different e-ink display models may require specific library versions or additional configuration steps, so consult your display’s documentation for model-specific requirements.
Creating Your First Display Program
Let’s create your first program to control the e-ink display. We’ll start with a simple example that displays “Hello, World!” on your screen. First, ensure you have the required Python libraries installed by running:
“`python
pip install waveshare-epd
“`
Create a new Python file named display_test.py and add the following code:
“`python
from waveshare_epd import epd2in13_V2
import time
from PIL import Image, ImageDraw, ImageFont
# Initialize the display
epd = epd2in13_V2.EPD()
epd.init()
epd.Clear(0xFF)
# Create a new image with mode ‘1’ for 1-bit color
width = epd.width
height = epd.height
image = Image.new(‘1’, (width, height), 255)
# Get drawing object
draw = ImageDraw.Draw(image)
# Load a font
font = ImageFont.truetype(‘/usr/share/fonts/truetype/dejavu/DejaVuSans.ttf’, 24)
# Add text to the image
draw.text((10, 50), ‘Hello, World!’, font=font, fill=0)
# Display the image
epd.display(epd.getbuffer(image))
“`
This code initializes the display, creates a blank canvas, adds text, and updates the screen. Remember that e-ink displays refresh slowly, so be patient when running your program. You can modify the text position, font size, and content by adjusting the parameters in the draw.text() function.
After running this basic example, experiment with different fonts, positions, and drawing functions like lines or shapes to create more complex displays. Always remember to properly close your program by adding epd.sleep() at the end to preserve display longevity.
Advanced Features and Optimization
Partial Updates for Better Performance
E-ink displays are known for their relatively slow refresh rates, but there are several techniques you can implement to maximize performance and create a smoother user experience. The key lies in implementing partial updates, which refresh only the changed portions of the screen rather than the entire display.
To implement partial updates, divide your display content into logical regions that can be updated independently. For example, if you’re creating a dashboard, separate the time display from weather information and status indicators. This way, you can refresh the time every minute without updating the entire screen.
Use the display manufacturer’s partial update commands in your code. Most e-ink displays support commands like setPartialWindow() or displayPartial(). These functions typically require coordinates for the update region and the new content to display.
Remember that partial updates may show some artifacts over time, so it’s good practice to perform a full refresh every few updates. A common approach is to do a full refresh every 10-15 partial updates or when switching between significantly different content layouts.
For optimal results, keep partial update regions rectangular and align them with the display’s pixel boundaries. This ensures clean updates without unexpected artifacts or ghosting effects.
Power Management Strategies
Power management is crucial for portable e-ink display projects, especially when running on battery power. The Raspberry Pi’s low-power modes can be leveraged effectively by implementing sleep states between display updates. Since e-ink displays only consume power during image updates, you can significantly extend battery life by refreshing the screen only when necessary.
To maximize battery efficiency, configure your Pi to disable unused USB ports, Wi-Fi, and Bluetooth when they’re not needed. Install the tlp package for advanced power management controls, and consider using a voltage regulator to optimize power delivery. For ultra-low power consumption, implement a wake-on-schedule system where the Pi powers down completely between updates.
Monitor your power consumption using a USB power meter to identify power-hungry components and optimize accordingly. Consider using a power bank with pass-through charging capability, allowing for continuous operation while charging. For solar-powered setups, implement charge controllers and voltage monitoring to prevent battery damage.
Remember to use efficient coding practices in your display update routines. Partial updates consume less power than full refreshes, and implementing proper error handling prevents unnecessary screen rewrites. These strategies can extend battery life from hours to days or even weeks, depending on your update frequency and power setup.
Building your own Raspberry Pi e-ink display project opens up a world of possibilities for creating energy-efficient, easy-to-read displays for your home or office. Through this guide, we’ve explored everything from selecting the right hardware components to implementing advanced features like partial updates and image optimization. The combination of Raspberry Pi’s versatility with e-ink technology’s unique characteristics makes this an exciting project for both beginners and experienced makers.
As you move forward with your project, consider experimenting with different display sizes, implementing weather stations, creating dynamic calendar displays, or building your own e-reader. The skills you’ve learned here form a solid foundation for more complex e-ink applications. Remember to regularly check for software updates and new libraries that might enhance your project’s capabilities.
Don’t hesitate to join online Raspberry Pi communities to share your experiences and learn from others. The maker community is incredibly supportive and often the source of innovative solutions and inspiring ideas. With the fundamentals covered in this guide, you’re well-equipped to start building and customizing your own e-ink display projects.