

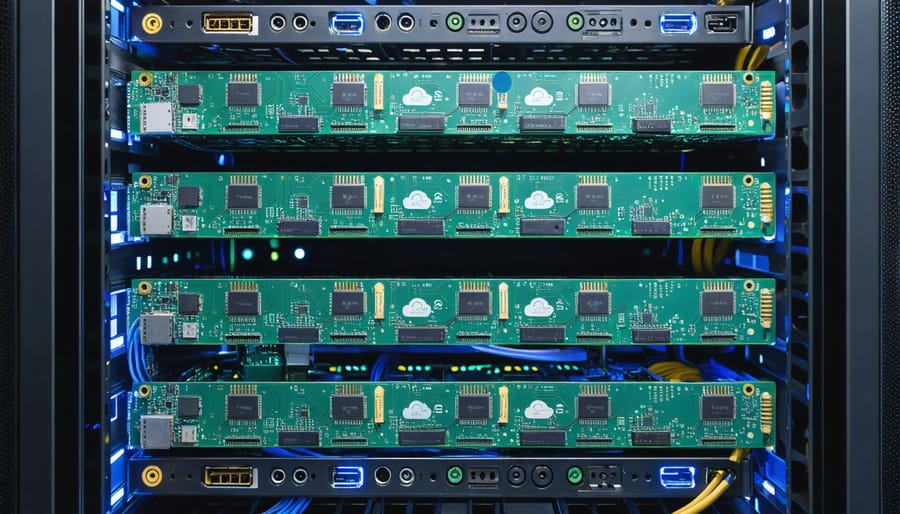
Transform multiple Raspberry Pi units into a powerful personal cloud storage system and scalable datacenter for a fraction of traditional infrastructure costs. Stack 4-8 Raspberry Pi 4B boards with dedicated power management, network switches, and custom cooling solutions to create a compact, energy-efficient computing cluster capable of handling distributed workloads, containerized applications, and redundant storage arrays.
This DIY approach delivers enterprise-level functionality through open-source tools like Kubernetes for orchestration, Ceph for distributed storage, and Prometheus for monitoring – all while consuming less than 100 watts of power. Whether you’re prototyping edge computing solutions, building a homelab for development, or implementing an affordable backup system, a Raspberry Pi datacenter provides the perfect balance of cost, capability, and hands-on learning.
Modern Pi 4 models with 8GB RAM can support serious computational tasks when properly clustered, making them ideal for small business applications, educational environments, and enthusiast projects requiring reliable, maintainable infrastructure without enterprise-level investment.
Why Build a Raspberry Pi Data Center?
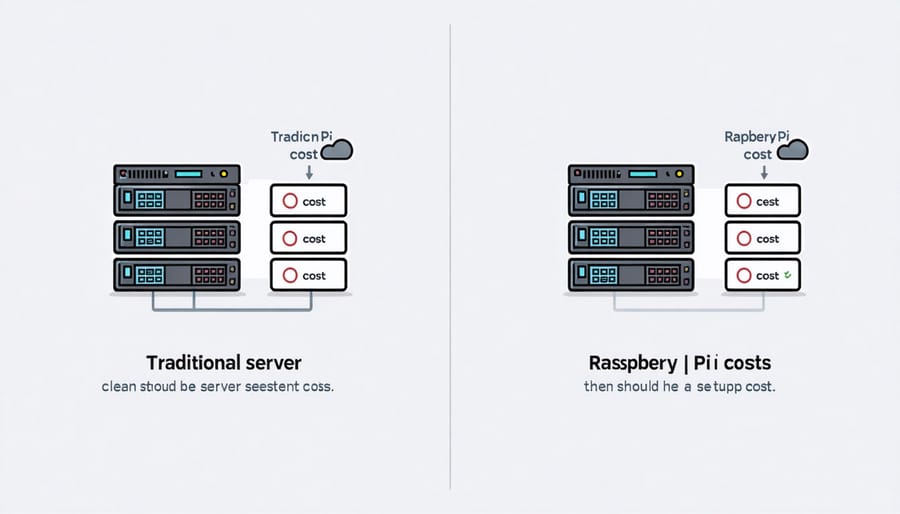
Cost Comparison: Traditional vs. Pi-Based Storage
When comparing traditional storage solutions with a Raspberry Pi-based datacenter, the cost differences are substantial. A traditional small business server setup typically costs between $2,000 and $5,000, including hardware, software licenses, and installation. In contrast, a cost-effective cloud server setup using Raspberry Pi can be achieved for as little as $200-$500, depending on storage requirements.
A basic Pi datacenter configuration, including a Raspberry Pi 4 ($75), power supply ($15), case ($20), and a 1TB external drive ($50), totals around $160. Scaling up storage is also more economical – adding 1TB of storage to a traditional server might cost $300-$500, while equivalent Pi-compatible external drives cost $50-$100.
Operating costs show similar savings. A Pi datacenter typically consumes 5-10 watts of power, compared to 100-300 watts for traditional servers. Over a year, this translates to electricity savings of $100-$300, depending on local rates. Additionally, the absence of expensive licensing fees and reduced cooling requirements further decrease the total cost of ownership.
Power Consumption Benefits
One of the most compelling advantages of building a Raspberry Pi datacenter is its remarkably low power consumption. A typical Raspberry Pi 4 consumes between 3.5 to 7.5 watts under load, which is just a fraction of what traditional servers use. To put this into perspective, a standard rack server can consume anywhere from 100 to 400 watts, making a Raspberry Pi cluster up to 50 times more energy-efficient.
When running a cluster of four Raspberry Pi units, the total power consumption typically stays under 30 watts, even during intensive operations. This translates to significant cost savings on electricity bills, with annual power costs often under $30 for a small cluster running 24/7. The low power requirements also mean that these mini datacenters can run effectively on renewable energy sources like solar panels, making them environmentally friendly alternatives to traditional setups.
Additionally, Raspberry Pi boards generate minimal heat, reducing the need for extensive cooling systems. This further decreases power consumption and operating costs, as cooling typically accounts for a substantial portion of datacenter energy usage.

Essential Hardware Components
Choosing the Right Raspberry Pi Model
When building a Raspberry Pi datacenter, selecting the right model is crucial for optimal performance. The Raspberry Pi 4 Model B stands out as the top choice, offering up to 8GB of RAM, USB 3.0 ports, and Gigabit Ethernet – essential features for data storage applications. Its improved processor and memory bandwidth make it significantly more capable than previous generations.
For budget-conscious projects, the Raspberry Pi 3 Model B+ remains a viable alternative, providing adequate performance for basic storage needs with its 1GB RAM and 1.4GHz processor. However, its limited USB 2.0 ports and slower network speeds may impact data transfer rates.
Consider these key factors when choosing your Pi model:
– RAM capacity (more is better for running multiple services)
– Network connectivity (Gigabit Ethernet preferred)
– USB port speeds (USB 3.0 enables faster external storage)
– Power consumption (affects long-term running costs)
– Price per unit (important for multi-node setups)
For maximum storage capacity and performance, opt for the 8GB Raspberry Pi 4. If building a cluster, you might mix models to balance cost and performance, using Pi 4s as primary nodes and Pi 3B+ units for secondary storage. Remember that all models support microSD cards for the operating system, while external USB drives provide additional storage capacity.
Storage Options and Configuration
When building a Raspberry Pi datacenter, storage configuration plays a crucial role in both performance and reliability. The Pi 4 supports various storage options, from basic USB drives to more sophisticated NAS setups.
For the boot drive, a high-quality microSD card (Class 10 or better) is essential, though you can also boot from USB SSDs for improved speed and reliability. For data storage, external USB 3.0 hard drives or SSDs offer the best balance of cost and performance, with SSDs being particularly suitable for frequently accessed data.
RAID configurations can significantly enhance both storage capacity and data security. Using software RAID through Linux’s mdadm utility, you can implement various RAID levels:
– RAID 1 (Mirroring): Ideal for critical data protection
– RAID 5: Good balance of storage efficiency and redundancy
– RAID 10: Best performance but requires more drives
For smaller setups, a simple two-drive RAID 1 configuration provides adequate data protection. Larger implementations might benefit from RAID 5, which requires at least three drives but offers better storage efficiency.
Remember to consider power consumption when selecting storage devices. While SSDs consume less power than traditional hard drives, they’re more expensive per gigabyte. For cold storage or backups, standard HDDs remain cost-effective. Using a powered USB hub is recommended when connecting multiple drives to ensure stable power delivery.
Software Setup and Configuration
Operating System Selection
Selecting the right operating system for your Raspberry Pi datacenter is crucial for optimal performance and reliability. Several OS options stand out for datacenter applications, each with its own strengths and use cases.
Raspberry Pi OS Lite (formerly Raspbian Lite) is an excellent choice for datacenter implementations due to its minimal resource footprint and stability. This headless version eliminates unnecessary GUI components, allowing more resources for server operations. It’s particularly well-suited for storage and networking tasks.
Ubuntu Server for ARM offers enterprise-grade features and regular security updates, making it ideal for more demanding datacenter applications. Its extensive package repository and strong community support make it easier to implement various server roles and services.
DietPi deserves special mention for its ultra-lightweight design and optimization for server applications. It comes pre-configured with numerous server applications and offers excellent performance on limited hardware resources.
For those focusing on storage applications, OpenMediaVault provides a dedicated NAS solution with an intuitive web interface. It’s particularly effective for managing multiple storage devices and sharing protocols.
Consider these factors when choosing:
– Resource utilization requirements
– Intended server applications
– Update frequency and security patches
– Community support and documentation
– Compatibility with planned software stack
For most Raspberry Pi datacenter projects, Raspberry Pi OS Lite or Ubuntu Server provide the best balance of features, stability, and support. However, DietPi might be preferable for highly optimized setups with limited resources.
Cloud Storage Software Solutions
When setting up your Raspberry Pi datacenter, choosing the right cloud storage software is crucial for managing and accessing your data. NextCloud stands out as a popular choice, offering a comprehensive self-hosted solution with features like file sharing, calendar sync, and collaborative tools. It runs smoothly on Raspberry Pi and provides apps for various platforms, making it easy to access your files from any device.
OwnCloud, another excellent option, provides similar functionality with a focus on simplicity and reliability. It’s particularly well-suited for users who prioritize ease of setup and maintenance. The platform offers robust file synchronization capabilities and integrates well with existing infrastructure.
For those seeking alternatives, Seafile offers impressive performance with its file syncing and organization features. It’s especially efficient for handling large files and provides strong encryption for security-conscious users. MinIO presents another option, focusing on S3-compatible object storage that’s perfect for developers and more technical users.
Consider your specific needs when choosing a solution. NextCloud works well for users wanting a complete collaboration suite, while ownCloud might be better for those prioritizing straightforward file storage. Seafile shines in performance-critical scenarios, and MinIO suits those needing S3 compatibility.
Remember that all these solutions can be installed alongside other services on your Raspberry Pi datacenter, allowing you to create a truly customized storage solution.

Security Considerations
Securing your Raspberry Pi datacenter is crucial for protecting your data and maintaining system integrity. Start by changing the default credentials and implementing strong passwords for all user accounts. Enable SSH key-based authentication instead of password login, and consider setting up a firewall using UFW (Uncomplicated Firewall) to control incoming and outgoing traffic.
Regular system updates are essential – configure automatic security updates or establish a routine maintenance schedule. Install and configure fail2ban to protect against brute force attacks by temporarily blocking IP addresses that show suspicious behavior.
Physical security shouldn’t be overlooked. Place your Raspberry Pi cluster in a secure, well-ventilated location with controlled access. Consider using a locked enclosure to prevent unauthorized physical access to the devices and storage media.
Implement network segmentation by creating separate VLANs for management and data traffic. Use encrypted connections for all remote access, and follow cloud storage security best practices when integrating with external services.
Back up your data regularly and store copies in separate physical locations. Monitor system logs for unusual activity and set up alerts for potential security breaches. Consider implementing intrusion detection systems like Snort or Security Onion to provide additional protection layers.
Remember to document all security measures and create an incident response plan for potential security breaches. Regular security audits will help identify and address vulnerabilities before they can be exploited.
Performance Optimization Tips
Cooling Solutions
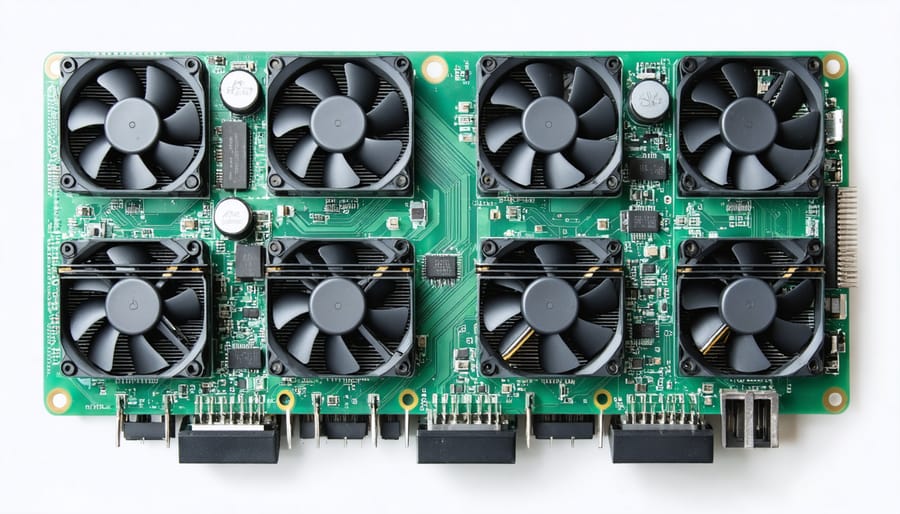
Maintaining optimal operating temperature is crucial for a Raspberry Pi datacenter, as these small computers can generate significant heat when running continuously. The most basic cooling solution involves strategically placing small fans to create proper airflow through your rack or enclosure. USB-powered 40mm fans work well for individual Pis, while larger 120mm case fans can cool multiple units simultaneously.
For more advanced cooling, consider installing heatsinks on your Raspberry Pi’s CPU and memory chips. These aluminum or copper components passively dissipate heat and work particularly well when combined with active air cooling. Some enthusiasts opt for custom 3D-printed cases with integrated cooling channels to maximize airflow efficiency.
Temperature monitoring is essential – the Raspberry Pi’s built-in sensor can trigger automatic shutdowns if temperatures exceed safe limits. Consider implementing a monitoring system using Python scripts to track temperatures across your cluster and adjust cooling accordingly. For larger setups, you might want to explore rack-mounted cooling solutions or even experiment with mineral oil immersion cooling, though this requires careful planning and proper containment.
Remember to maintain adequate spacing between units and avoid placing your datacenter in areas with poor ventilation or direct sunlight.
Backup Strategies
Implementing reliable backup strategies is crucial for protecting your Raspberry Pi datacenter from data loss. A robust backup system should follow the 3-2-1 rule: maintain three copies of your data, store them on two different types of media, and keep one copy off-site.
For local backups, utilize external USB hard drives connected to your Raspberry Pi cluster. Configure automated backup scripts using tools like rsync or rclone to perform regular incremental backups. These tools are lightweight and perfect for Raspberry Pi systems, allowing you to schedule backups during off-peak hours.
Consider implementing RAID configurations for real-time data redundancy, though remember that RAID isn’t a backup solution by itself. For off-site backups, leverage cloud storage services or set up a secondary Raspberry Pi at a different location for remote synchronization.
Regular backup testing is essential – schedule monthly restore tests to ensure your backup system works as intended. Document your backup configuration and maintain a simple recovery procedure guide for quick reference during emergencies. This systematic approach ensures your Raspberry Pi datacenter remains resilient against hardware failures and data corruption.
Real-World Applications
Home Media Server Setup
Transform your Raspberry Pi datacenter into a powerful media storage hub by setting up a home media server. Popular software solutions like Plex, Jellyfin, or Emby make it easy to organize and stream your media collection across all your devices.
Start by connecting an external hard drive or NAS to your Pi for storing your media files. Format the drive with ext4 for optimal Linux compatibility and mount it permanently using fstab. Install your chosen media server software through the command line or package manager – Jellyfin is particularly Pi-friendly and open-source.
Configure your media server by creating libraries for different content types (movies, TV shows, music) and point them to the corresponding folders on your storage drive. Enable hardware transcoding on your Pi to improve streaming performance, especially for high-definition content.
Set up remote access by configuring port forwarding on your router and using a dynamic DNS service. This allows you to stream your media collection securely from anywhere. Consider implementing Wireguard VPN for enhanced security when accessing your server from outside your home network.
Remember to organize your media files following your server software’s naming conventions for proper metadata scraping and library management. Regular backups of your media database will ensure you don’t lose your carefully curated collection.
Small Business Solutions
A Raspberry Pi datacenter offers practical and cost-effective solutions for small businesses looking to manage their data infrastructure. For organizations with limited IT budgets, a cluster of Raspberry Pis can serve as an affordable alternative to traditional enterprise hardware, providing essential services like file sharing, backup storage, and basic web hosting.
Small offices can implement a Raspberry Pi datacenter to create a centralized Network-Attached Storage (NAS) system, enabling team members to securely store and access shared documents. With proper configuration, this setup can handle daily backups of workstations and serve as a local cloud solution, reducing dependency on expensive third-party services.
For businesses running simple websites or internal applications, a Raspberry Pi cluster can function as a lightweight web server and development environment. While not suitable for high-traffic commercial websites, it’s perfect for hosting internal tools, documentation sites, or small business websites with moderate traffic.
The system can also be configured as a print server, managing multiple network printers, or as a media server for digital signage and presentation systems. Small businesses can start with a basic 2-3 Pi cluster and scale up as needed, making it an adaptable solution that grows with the organization.
To maximize reliability, implementing redundancy through RAID configurations and regular maintenance schedules is essential. This ensures business continuity while maintaining the cost-effective nature of the solution.
Building a Raspberry Pi datacenter is an exciting and rewarding project that brings enterprise-level concepts into the realm of personal computing. Throughout this article, we’ve explored how these affordable single-board computers can be transformed into a powerful, scalable datacenter solution that’s perfect for learning, experimentation, and even practical applications.
We’ve seen that with just a few Raspberry Pi boards, some basic networking equipment, and the right software configuration, you can create a miniature version of what powers many of today’s cloud services. The beauty of this setup lies not just in its affordability, but in its potential as a learning platform for understanding distributed computing, containerization, and cluster management.
Remember that your Raspberry Pi datacenter can start small and grow with your needs and expertise. Whether you’re looking to host a personal cloud storage solution, experiment with kubernetes, or create a testing environment for distributed applications, the possibilities are virtually endless.
To begin your own project, start with two or three Raspberry Pi boards and focus on mastering the basics of clustering. As your confidence grows, you can expand your setup by adding more nodes, implementing advanced features, and exploring different use cases. Don’t be afraid to experiment and learn from any challenges you encounter – they’re all part of the learning process.
The most important takeaway is that building a Raspberry Pi datacenter is not just about creating a functional system; it’s about gaining hands-on experience with modern computing concepts in a cost-effective way. So gather your equipment, follow the steps we’ve outlined, and start building your own mini datacenter today. The knowledge and skills you’ll gain are invaluable in today’s technology-driven world.