


Transform your Raspberry Pi into a cloud-powered computing powerhouse by connecting it to major cloud platforms like AWS, Azure, or Google Cloud. Modern cloud integration architectures enable everything from real-time data processing to remote device management, revolutionizing how makers and developers leverage their Pi projects.
Security-hardened cloud connectivity unlocks advanced capabilities like automated backups, remote sensor monitoring, and distributed computing networks – all while maintaining robust encryption and access controls. Whether you’re building a home automation system, environmental monitoring station, or edge computing node, cloud integration transforms your Pi from a standalone device into a node in a powerful, scalable network.
Master cloud connectivity fundamentals through hands-on implementation of MQTT brokers, REST APIs, and containerized applications. This foundation enables seamless data flow between your Pi and cloud services while maintaining complete control over your device’s security and resource usage.
What Is Pi Cloud Connect?
Key Features and Capabilities
Pi Cloud Connect offers a robust suite of features designed to seamlessly integrate your Raspberry Pi projects with cloud services. At its core, the platform provides RESTful API integration, allowing your Pi to communicate effortlessly with popular cloud platforms like AWS, Google Cloud, and Azure.
The data synchronization capabilities ensure real-time updates between your Pi devices and cloud storage, with support for both automated and manual sync options. This feature proves invaluable for projects requiring continuous data logging or remote monitoring. The platform implements advanced cloud storage security protocols including end-to-end encryption and multi-factor authentication to protect your sensitive data.
Other notable features include websocket support for real-time bidirectional communication, built-in error handling and retry mechanisms, and comprehensive logging capabilities. The platform also offers local caching to maintain functionality during temporary internet outages, ensuring your projects remain operational even when connectivity is interrupted.
For developers, Pi Cloud Connect provides SDK support for multiple programming languages, including Python, Node.js, and C++. The platform’s modular architecture allows for easy expansion through custom plugins and middleware, making it adaptable to various project requirements. Additionally, the built-in monitoring dashboard helps track system performance, data transfer rates, and connection status in real-time.

Setting Up Pi Cloud Connect
Installation Requirements
To get started with Pi Cloud Connect, you’ll need specific hardware and software components to ensure smooth operation. The basic hardware requirements include a Raspberry Pi (Model 3B+ or newer recommended), a microSD card (16GB minimum, Class 10), a stable power supply (5V/2.5A), and a reliable internet connection. For optimal performance in your personal cloud server setup, an Ethernet connection is preferred over Wi-Fi.
On the software side, you’ll need the latest version of Raspberry Pi OS (formerly Raspbian) installed on your microSD card. Additional required packages include Python 3.7 or newer, pip package manager, and the cloud SDK for your chosen cloud service provider (AWS, Google Cloud, or Azure). Make sure your Raspberry Pi OS is up-to-date by running ‘sudo apt update’ and ‘sudo apt upgrade’ commands before installation.
For development and debugging purposes, having SSH access configured is essential. You’ll also need to enable specific interfaces through raspi-config, including I2C and SPI, depending on your project requirements. A basic understanding of Linux commands and Python programming will help you navigate the setup process more effectively.
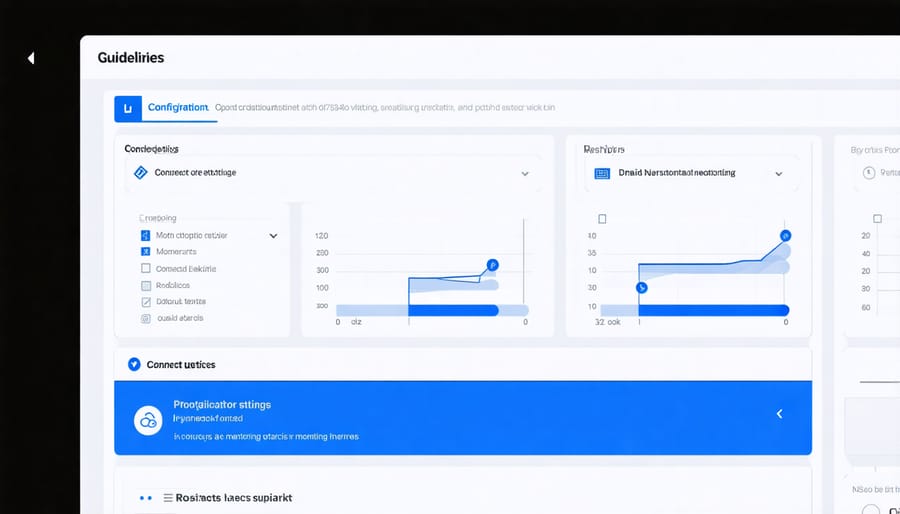
Configuration Steps
To set up cloud connectivity for your Raspberry Pi, follow these essential configuration steps:
1. Install the required dependencies by running:
“`bash
sudo apt-get update
sudo apt-get install python3-pip
pip3 install azure-iot-device boto3 google-cloud-iot
“`
2. Create a configuration file named ‘cloud_config.json’ in your project directory:
“`json
{
“cloud_provider”: “aws”,
“device_id”: “pi_device_001”,
“region”: “us-west-2”,
“api_key”: “YOUR_API_KEY”
}
“`
3. Set up secure authentication by generating an SSL certificate:
“`bash
openssl req -x509 -newkey rsa:2048 -keyout private.pem -out cert.pem -days 365
“`
4. Configure your network settings in ‘/etc/network/interfaces’:
“`bash
auto wlan0
iface wlan0 inet dhcp
wpa-ssid “YourNetworkName”
wpa-psk “YourPassword”
“`
5. Create a systemd service for automatic startup:
“`bash
sudo nano /etc/systemd/system/cloud-connect.service
[Unit]
Description=Pi Cloud Connect Service
After=network.target
[Service]
ExecStart=/usr/bin/python3 /home/pi/cloud_connect.py
Restart=always
[Install]
WantedBy=multi-user.target
“`
Enable persistent connectivity by running:
“`bash
sudo systemctl enable cloud-connect
sudo systemctl start cloud-connect
“`
For optimal performance, implement error handling and reconnection logic in your main script. Monitor your connection status using built-in logging tools, and ensure your API keys and credentials are stored securely using environment variables rather than hardcoding them in your configuration files.
Remember to regularly update your security certificates and maintain proper firewall rules to protect your device from unauthorized access.
Cloud Integration Examples
AWS Integration
Integrating your Raspberry Pi with Amazon Web Services opens up a world of possibilities for cloud-based projects and IoT applications. The AWS integration for Raspberry Pi process begins with setting up an AWS account and installing the necessary SDK on your Pi.
To get started, you’ll need to install the AWS IoT Device SDK using pip: ‘pip install AWSIoTPythonSDK’. Next, create an AWS IoT thing in your AWS console and download the required certificates. These certificates are essential for secure communication between your Pi and AWS services.
Configure your credentials by placing the certificates in a dedicated directory on your Pi and updating the connection parameters in your Python script. Here’s a basic connection template:
“`python
import AWSIoTPythonSDK.MQTTLib as AWSIoTPyMQTT
client = AWSIoTPyMQTT.AWSIoTMQTTClient(“clientId”)
client.configureEndpoint(“endpoint.iot.region.amazonaws.com”, 8883)
client.configureCredentials(“rootCA.pem”, “private.pem.key”, “certificate.pem.crt”)
“`
Once connected, you can leverage various AWS services like IoT Core for device communication, S3 for data storage, or Lambda for serverless computing. This integration enables real-time data processing, remote device management, and automated actions based on sensor data.
Remember to implement proper error handling and reconnection logic to maintain a robust connection. Also, consider using AWS IoT Device Defender to monitor and secure your connected Pi devices.
Google Cloud Integration
Integrating your Raspberry Pi with Google Cloud Platform (GCP) opens up powerful possibilities for data processing, storage, and analytics. The process begins with creating a Google Cloud account and setting up a new project in the GCP Console. You’ll need to enable the necessary APIs for your specific use case, such as Cloud IoT Core for device management or Cloud Storage for data storage.
To establish the connection, install the Google Cloud SDK on your Raspberry Pi by running the following commands in the terminal:
“`bash
curl https://sdk.cloud.google.com | bash
exec -l $SHELL
gcloud init
“`
After installation, authenticate your device using OAuth2 by following the prompts. You’ll need to generate credentials for your project, which typically involves creating a service account and downloading the JSON key file to your Pi.
For IoT applications, consider using Google’s IoT Core library:
“`bash
pip install google-cloud-iot
“`
Configure your device’s connection settings in the provided configuration file, including your project ID, region, and registry ID. Remember to implement proper security measures by using SSL certificates for authentication and enabling two-factor authentication for your Google Cloud account.
Once connected, you can leverage various Google Cloud services:
– Cloud Storage for file backup and sharing
– BigQuery for data analysis
– Cloud Functions for serverless computing
– Cloud Pub/Sub for real-time messaging
Monitor your cloud resources through the GCP Console dashboard, where you can track usage, manage permissions, and optimize costs. Remember to implement proper error handling and logging in your applications to maintain reliable connectivity between your Pi and Google Cloud services.
Security Best Practices
When connecting your Raspberry Pi to cloud services, security should be your top priority. Here are essential practices to protect your device and data while using Pi Cloud Connect.
Always start by changing the default password for your Raspberry Pi’s operating system. Choose a strong password combining uppercase and lowercase letters, numbers, and special characters. Enable SSH key-based authentication instead of password authentication whenever possible, as this provides an additional layer of security.
Implement a robust firewall configuration using UFW (Uncomplicated Firewall) to control incoming and outgoing traffic. Only open ports that are absolutely necessary for your cloud connectivity requirements. Remember to regularly update your firewall rules as your project needs evolve.
Keep your Raspberry Pi’s operating system and all installed packages up to date. Enable automatic security updates to ensure you’re protected against known vulnerabilities. Use the following commands regularly:
sudo apt update
sudo apt upgrade
When setting up cloud connections, always use encrypted protocols like HTTPS, SSL/TLS, or VPN tunnels. Never transmit sensitive data over unencrypted connections. Store API keys and credentials in encrypted configuration files, and never hard-code them directly in your scripts.
Consider implementing rate limiting and monitoring tools to detect and prevent potential security breaches. Set up logging to track access attempts and system activities. Tools like Fail2ban can help protect against brute-force attacks by automatically blocking suspicious IP addresses.
For projects requiring user authentication, implement multi-factor authentication (MFA) whenever possible. Use secure token-based authentication methods and ensure all sessions have appropriate timeout settings.
Regularly backup your configuration files and data, but ensure these backups are also properly secured. Consider using encrypted backup solutions to protect sensitive information, even in storage.
Finally, create a security incident response plan. Document procedures for handling potential security breaches and regularly test your security measures to ensure they’re working as intended. Remember that security is an ongoing process, not a one-time setup.
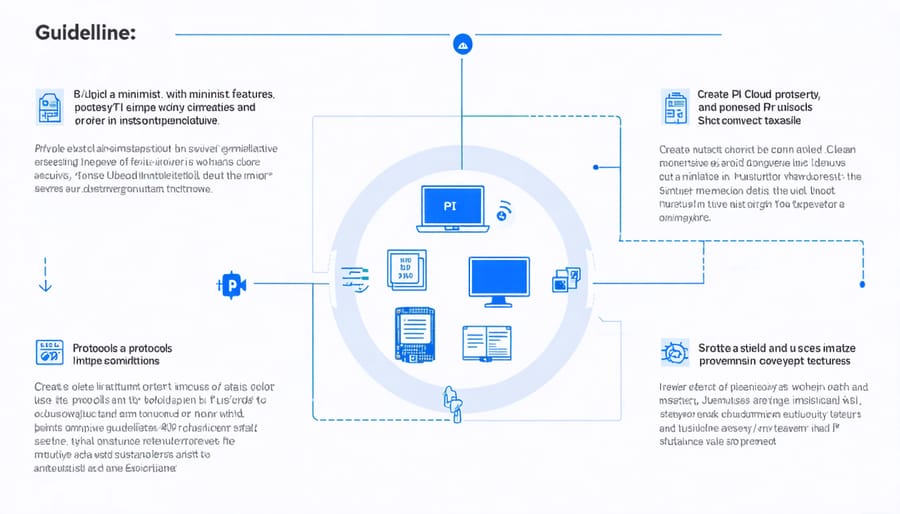
Pi Cloud Connect represents a powerful solution for bridging the gap between Raspberry Pi projects and cloud computing capabilities. By enabling seamless cloud connectivity, makers and developers can transform their local projects into sophisticated IoT applications with remote monitoring, data storage, and control capabilities. The platform’s versatility makes it ideal for various applications, from home automation systems and environmental monitoring stations to educational projects and industrial sensors. With its robust security features, user-friendly interface, and extensive compatibility with popular cloud services, Pi Cloud Connect empowers users to take their projects to the next level. Whether you’re a hobbyist exploring IoT possibilities or an educator teaching cloud computing concepts, this tool provides the foundation for creating innovative, connected solutions that can scale with your needs.