


Transform your Raspberry Pi into a powerful C programming workstation by setting up Raspberry Pi OS, installing essential development tools (gcc, make, and gdb), and configuring a proper IDE like Code::Blocks or Visual Studio Code. C programming on Raspberry Pi combines the efficiency of a low-level language with direct hardware access through GPIO pins, enabling everything from LED control to sensor integration and real-time data processing.
Master GPIO programming through the WiringPi library to control physical components, create responsive hardware interfaces, and build sophisticated embedded systems. Whether you’re building automated home systems, developing IoT devices, or learning embedded programming fundamentals, C on Raspberry Pi provides the perfect platform for turning your ideas into reality.
This comprehensive guide walks through essential C programming concepts, GPIO manipulation, and practical project implementation, emphasizing hands-on learning with real-world applications. Get ready to harness the full potential of your Raspberry Pi through the power and precision of C programming.
Setting Up Your C Development Environment
Essential Tools Installation
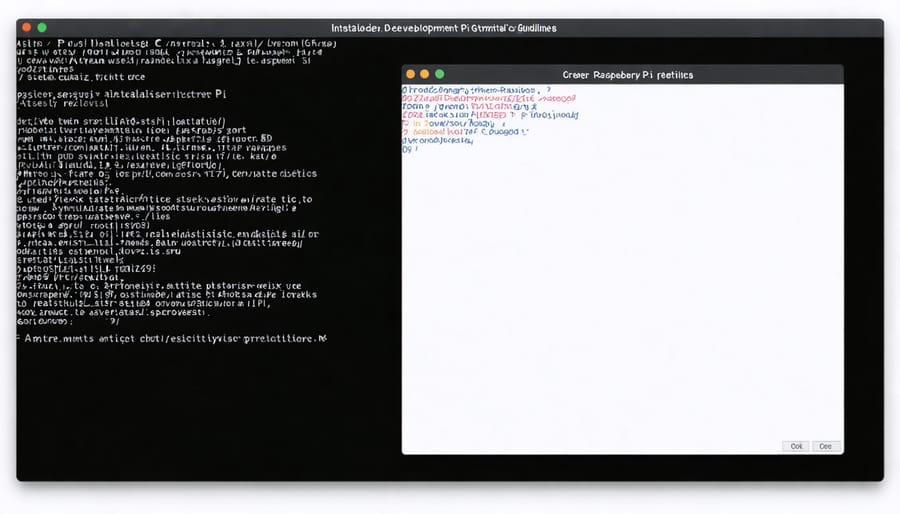
Before diving into C programming on your Raspberry Pi, you’ll need to set up the essential tools for a proper development environment setup. Start by opening the terminal and updating your system:
“`
sudo apt update
sudo apt upgrade
“`
Install the GCC compiler and related tools with:
“`
sudo apt install build-essential
“`
This package includes GCC, GNU Make, and other development essentials. For editing your code, you have several excellent options. Nano is pre-installed and perfect for beginners, while more advanced users might prefer VS Code or Geany:
“`
sudo apt install geany
sudo apt install code
“`
Don’t forget to install the GNU debugger (GDB) for troubleshooting your programs:
“`
sudo apt install gdb
“`
To verify your installations, run these commands:
“`
gcc –version
gdb –version
“`
These tools will provide everything you need to write, compile, and debug C programs on your Raspberry Pi. Keep your development environment updated regularly to ensure smooth operation and access to the latest features.
IDE Options for Raspberry Pi
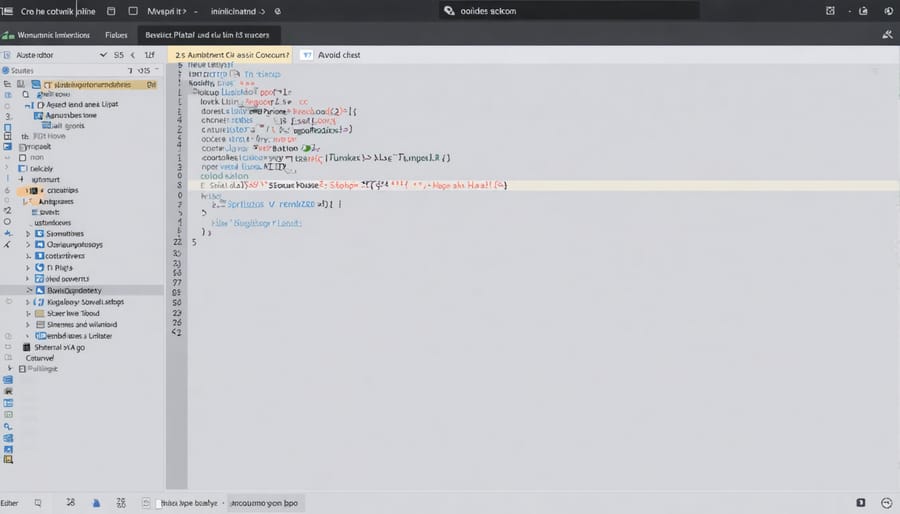
When programming in C on your Raspberry Pi, several integrated development environments (IDEs) can enhance your coding experience. The most popular choice is Geany, which comes pre-installed with the Raspberry Pi OS. It offers syntax highlighting, code completion, and a clean, intuitive interface that’s perfect for beginners.
For those seeking more advanced features, Code::Blocks provides a robust development environment. To install it, simply open the terminal and run ‘sudo apt-get install codeblocks’. This IDE offers excellent debugging capabilities and project management tools, making it ideal for larger projects.
Visual Studio Code (VS Code) has also gained significant popularity among Raspberry Pi developers. While it requires a bit more setup, its extensive marketplace of extensions and powerful features make it worth the effort. Install it through the terminal with ‘sudo apt install code’ and enhance your C programming experience with helpful extensions like “C/C++” and “Code Runner.”
For minimalists, Nano and Vim are lightweight text editors available directly through the terminal. While they have steeper learning curves, they’re incredibly efficient once mastered and don’t consume many system resources.
Remember to install the necessary development tools regardless of your chosen IDE by running ‘sudo apt-get install build-essential’ to ensure you have the required C compiler and related utilities.
Writing Your First C Program
Basic Program Structure
Every C program on the Raspberry Pi starts with the main() function, which serves as the entry point for program execution. Here’s how a basic C program structure looks:
“`c
#include
int main() {
// Your code goes here
printf(“Hello, Raspberry Pi!\n”);
return 0;
}
“`
The #include statement at the top imports necessary libraries, with stdio.h being the most common for input/output operations. The main() function returns an integer (int) and conventionally returns 0 to indicate successful execution.
When writing C programs for Raspberry Pi, maintaining proper syntax is crucial. Each statement must end with a semicolon (;), and code blocks are enclosed in curly braces {}. Comments can be added using // for single lines or /* */ for multiple lines.
Here’s a slightly more complex example:
“`c
#include
int main() {
int led_pin = 18; // Declare variables
float voltage = 3.3; // Use appropriate data types
/* Initialize GPIO
and set pin mode */
printf(“LED Pin: %d\n”, led_pin);
printf(“Voltage: %.1f V\n”, voltage);
return 0;
}
“`
Remember to save your programs with a .c extension (like program.c) and compile them using gcc before running. This basic structure will serve as the foundation for all your Raspberry Pi C programming projects, from simple LED blinking to complex sensor interactions.
Compiling and Running
After installing the necessary tools, compiling and running C programs on your Raspberry Pi is straightforward. The primary compiler we’ll use is GCC (GNU Compiler Collection), which comes pre-installed on most Raspberry Pi operating systems.
To compile a simple C program, open your terminal and navigate to the directory containing your source code. Use the following basic command:
gcc myprogram.c -o myprogram
This command tells GCC to compile myprogram.c and create an executable named myprogram. To run your compiled program, simply type:
./myprogram
For more complex programs, especially those involving GPIO operations, you’ll need additional flags and libraries. Here’s a typical compilation command for GPIO programs:
gcc -Wall myprogram.c -o myprogram -lwiringPi
The -Wall flag enables helpful warning messages, while -lwiringPi links the WiringPi library for GPIO access.
To make development more efficient, you can optimize your compilation process by creating makefiles or using build automation tools. This becomes particularly important as your projects grow in complexity.
For debugging, use the -g flag during compilation:
gcc -g myprogram.c -o myprogram
This adds debugging information to your executable, allowing you to use tools like gdb for troubleshooting.
Remember to check for compilation errors in the terminal output. GCC provides helpful error messages that point to specific lines in your code where problems occur.
GPIO Programming in C
GPIO Library Setup
To work with GPIO pins on your Raspberry Pi using C, you’ll need to install and configure appropriate GPIO libraries. The two most popular options are WiringPi and BCM2835, each offering different advantages for your projects.
To install WiringPi, open your terminal and run:
“`
sudo apt-get update
sudo apt-get install wiringpi
“`
Verify the installation by typing:
“`
gpio -v
“`
For the BCM2835 library, download and install it using these commands:
“`
wget http://www.airspayce.com/mikem/bcm2835/bcm2835-1.71.tar.gz
tar zxvf bcm2835-1.71.tar.gz
cd bcm2835-1.71
./configure
make
sudo make check
sudo make install
“`
When using WiringPi in your C programs, include the library with:
“`
#include
“`
For BCM2835, use:
“`
#include
“`
WiringPi is ideal for beginners due to its Arduino-like syntax and extensive documentation. BCM2835, while more complex, offers lower-level control and better performance for advanced projects. Choose the library that best suits your project’s requirements and your programming experience level.
Remember to initialize your chosen library at the start of your program and clean up properly when your program exits to ensure proper GPIO management.
Basic GPIO Operations
GPIO (General Purpose Input/Output) pins are fundamental to physical computing with the Raspberry Pi. These pins allow you to interact with the outside world by reading inputs from sensors and controlling outputs like LEDs or motors.
To work with GPIO in C, you’ll first need to include the necessary library:
“`c
#include
“`
Before using any GPIO functions, initialize the wiringPi library:
“`c
wiringPiSetup();
“`
To control an output pin, first set its mode:
“`c
pinMode(1, OUTPUT); // Set GPIO pin 1 as output
“`
You can then turn the pin on or off using:
“`c
digitalWrite(1, HIGH); // Turn on
digitalWrite(1, LOW); // Turn off
“`
For reading inputs, configure the pin as an input:
“`c
pinMode(0, INPUT); // Set GPIO pin 0 as input
“`
Then read the pin’s state:
“`c
int value = digitalRead(0); // Read input value
“`
Remember to use pull-up or pull-down resistors when working with input pins to ensure stable readings. The wiringPi library provides built-in functions for this:
“`c
pullUpDnControl(0, PUD_UP); // Enable pull-up resistor
pullUpDnControl(0, PUD_DOWN); // Enable pull-down resistor
“`
When you’re done with your program, it’s good practice to reset all GPIO pins to their default state to avoid any potential issues with future programs.
Simple LED Project
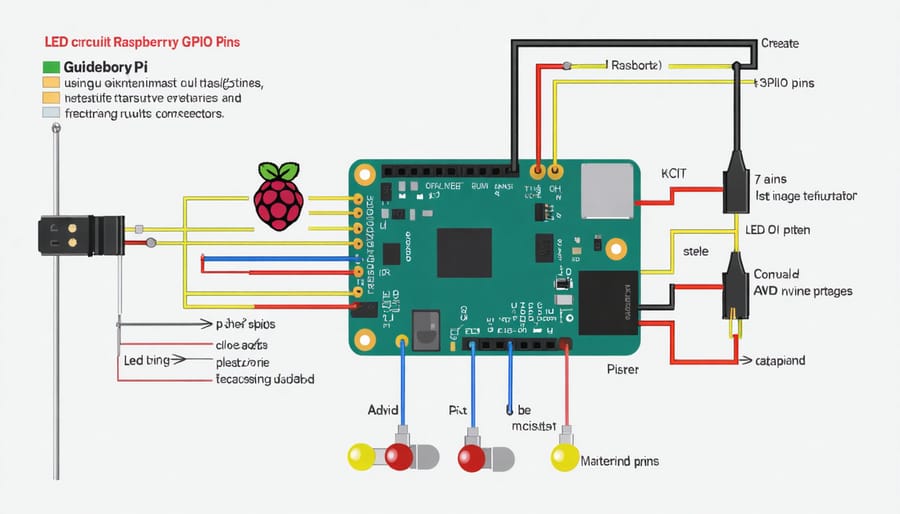
Let’s create a simple LED blinking project to get hands-on experience with C programming and GPIO control on your Raspberry Pi. This project serves as an excellent introduction to GPIO hardware projects and will help you understand the basics of hardware interaction.
First, connect an LED to GPIO pin 18 and ground through a 220-ohm resistor. This setup protects both the LED and your Raspberry Pi from excessive current. Here’s the C code to make the LED blink:
“`c
#include
#include
int main(void) {
wiringPiSetupGpio();
pinMode(18, OUTPUT);
while(1) {
digitalWrite(18, HIGH);
delay(1000);
digitalWrite(18, LOW);
delay(1000);
}
return 0;
}
“`
Save this code as ‘blink.c’ and compile it using:
“`
gcc -o blink blink.c -lwiringPi
“`
Run the program with:
“`
sudo ./blink
“`
The LED should now blink at one-second intervals. Try modifying the delay values to change the blinking pattern, or add more LEDs to create interesting sequences. This simple project demonstrates the fundamental concepts of GPIO control and serves as a foundation for more complex hardware interactions.
C programming on the Raspberry Pi opens up a world of possibilities for creating efficient and powerful applications. Throughout this guide, we’ve explored the essential components of getting started with C programming on your Pi, from setting up your development environment to working with GPIO pins and creating practical projects.
We’ve seen how C provides direct hardware access and superior performance, making it an excellent choice for Raspberry Pi projects that require speed and efficiency. The combination of C’s power and the Pi’s versatility creates opportunities for developing everything from simple LED controllers to complex automation systems.
Key takeaways from our discussion include the importance of proper development environment setup, understanding basic C syntax and structure, and mastering GPIO programming fundamentals. We’ve also explored practical applications through our LED blinking project, demonstrating how theory translates into real-world implementation.
For those looking to continue their C programming journey on the Raspberry Pi, consider these next steps:
1. Experiment with more complex GPIO projects, such as working with sensors or motors
2. Explore multi-threading applications to handle multiple tasks simultaneously
3. Dive into interfacing with different communication protocols like I2C or SPI
4. Join online Raspberry Pi communities to share projects and learn from others
5. Practice debugging techniques to improve your problem-solving skills
Remember that becoming proficient in C programming takes time and practice. Start with small projects and gradually increase complexity as your confidence grows. Don’t hesitate to consult the official Raspberry Pi documentation and community forums when you encounter challenges.
Whether you’re building home automation systems, creating educational tools, or developing professional applications, the skills you’ve learned here provide a solid foundation for your future projects. Keep experimenting, learning, and pushing the boundaries of what’s possible with C programming on your Raspberry Pi.