

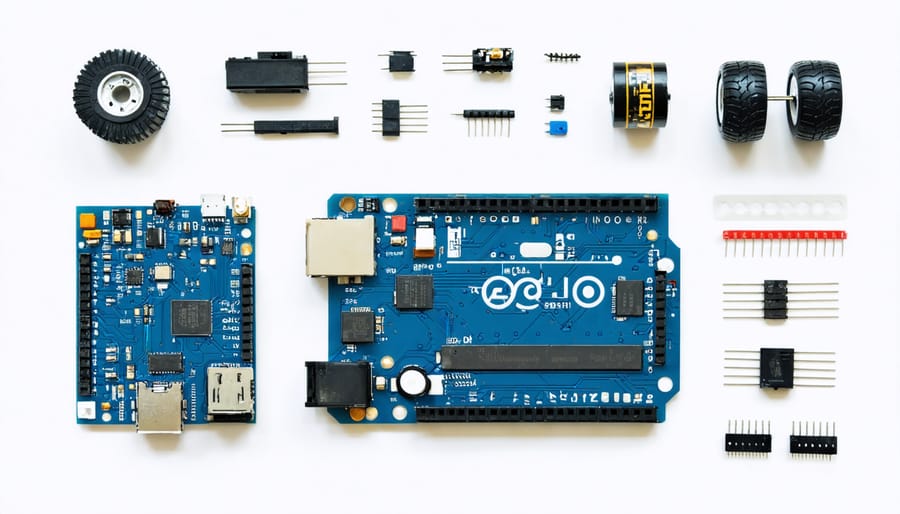
Transform simple electronics into intelligent machines with Arduino’s powerful robotics capabilities. From basic wheeled robots to sophisticated autonomous systems, Arduino provides the perfect platform for bringing your robotic creations to life. Whether you’re a hobbyist tinkering in your garage or an educator inspiring the next generation of engineers, Arduino’s open-source hardware and extensive library support make robotics accessible and engaging.
This comprehensive guide explores essential robotics concepts through hands-on Arduino projects, covering everything from motor control and sensor integration to advanced programming techniques. Learn how to combine affordable components like servos, ultrasonic sensors, and motor drivers with Arduino’s intuitive programming environment to create robots that can navigate, interact, and respond to their environment.
Perfect for beginners yet scalable for advanced projects, Arduino robotics offers an exciting gateway into the world of automation and mechatronics. By mastering these fundamental skills, you’ll build a solid foundation in electronics, programming, and mechanical design – core competencies that drive modern robotics innovation.
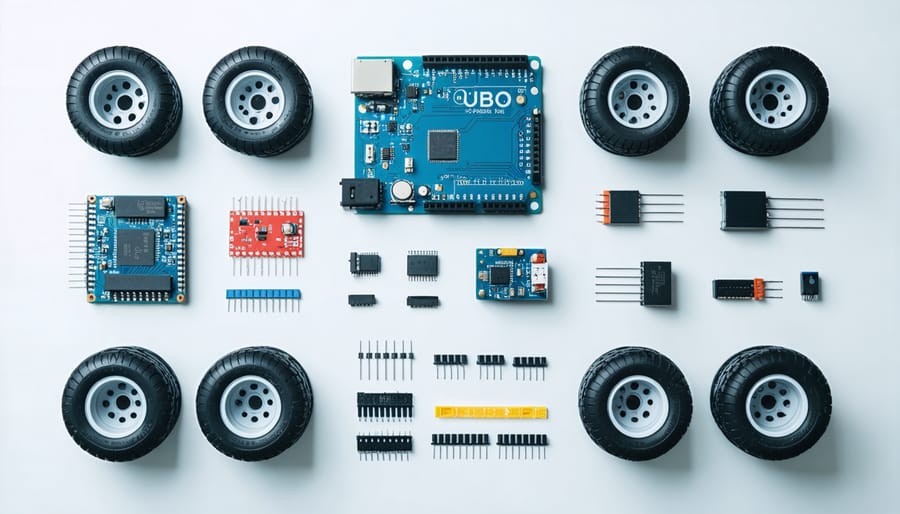
Essential Hardware Components
Choosing the Right Arduino Board
When starting your robotics journey, proper Arduino board selection is crucial for project success. The Arduino Uno R3 remains a popular choice for beginners due to its robust design, extensive community support, and ample I/O pins. However, for more complex robotics projects, the Arduino Mega 2560 offers additional pins and memory, making it ideal for projects requiring multiple sensors and servos.
The Arduino Nano is perfect for compact robots, offering similar capabilities to the Uno in a smaller form factor. For advanced projects requiring wireless connectivity, the Arduino MKR WiFi 1010 provides built-in WiFi capabilities while maintaining low power consumption.
Consider these key factors when choosing:
– Available I/O pins for sensors and motors
– Processing power requirements
– Physical size constraints
– Power consumption needs
– Budget limitations
For most beginner robotics projects, the Uno R3 provides the best balance of features, cost, and learning curve. As your skills advance, you can explore more specialized boards based on your specific project requirements.
Motors and Motor Controllers
Arduino robots typically use two main types of motors: DC motors and servo motors. DC motors are perfect for continuous rotation tasks like driving wheels, while servo motors excel at precise position control for robotic arms or steering mechanisms.
For DC motors, the L298N motor driver is a popular choice, capable of controlling two DC motors simultaneously. It’s both affordable and reliable, making it ideal for beginner projects. The TB6612FNG is another excellent option, offering better efficiency and smaller size compared to the L298N.
Servo motors connect directly to Arduino’s PWM pins and don’t require additional drivers, making them easier to implement. Standard servos offer 180-degree rotation, while continuous rotation servos can spin full circles, similar to DC motors but with better speed control.
Stepper motors, though less common in beginner projects, provide precise position control and are perfect for projects requiring exact movements. They typically need dedicated controllers like the A4988 or DRV8825 drivers.
When selecting motors, consider your project’s power requirements and ensure your power supply can handle the load. Most motor drivers require a separate power source to prevent overwhelming the Arduino’s voltage regulator.
Sensors for Robot Navigation
Selecting the right sensors is crucial for building a functional Arduino-based robot. Common essential sensors include ultrasonic sensors for distance measurement, infrared sensors for line following, and accelerometers for detecting movement and orientation. Understanding sensor communication protocols is key to successful implementation. For basic obstacle avoidance, the HC-SR04 ultrasonic sensor offers reliable performance, while the TCRT5000 infrared sensor works well for line-following robots. Adding an MPU6050 accelerometer/gyroscope enables advanced features like balanced movement and tilt detection. When mounting sensors, ensure proper positioning and clean wiring to avoid interference. For beginners, starting with a simple ultrasonic setup provides a solid foundation before adding more complex sensor combinations.
Setting Up Your Arduino IDE
Getting started with Arduino robotics begins with setting up the Arduino Integrated Development Environment (IDE) on your computer. Visit the official Arduino website and download the latest version of the IDE that matches your operating system – whether it’s Windows, macOS, or Linux.
Once installed, launch the IDE and familiarize yourself with its interface. The main window consists of a text editor for writing code (called sketches), a message area for feedback, and a series of buttons for common functions like verifying and uploading code. The toolbar at the top provides quick access to essential features you’ll frequently use in robotics programming.
Before diving into robotics projects, you’ll need to install several important libraries. Go to Tools > Manage Libraries in the IDE to open the Library Manager. Some essential libraries for robotics include:
– Servo: For controlling servo motors
– NewPing: For ultrasonic sensors
– L298N: For DC motor control
– AccelStepper: For stepper motor control
– MPU6050: For gyroscope and accelerometer sensors
To install a library, simply search for it in the Library Manager and click the “Install” button. The IDE will handle all dependencies automatically.
Next, connect your Arduino board to your computer via USB. Select your board model under Tools > Board and choose the correct port under Tools > Port. For most beginners, the Arduino Uno is the recommended board to start with.
Test your setup by loading the basic “Blink” example (File > Examples > 01.Basics > Blink) and uploading it to your board. If the onboard LED starts blinking, your IDE is properly configured and ready for robotics programming.
Remember to set the correct board settings and serial port each time you connect a different Arduino board. Also, keep your IDE and libraries updated to ensure compatibility with new hardware and access to the latest features.
Basic Robot Programming Concepts
Motor Control Programming
Controlling DC motors with Arduino is straightforward once you understand the basic code structure. Here’s a simple example to get your motors running:
“`cpp
// Define motor pins
const int motorA1 = 9;
const int motorA2 = 10;
void setup() {
pinMode(motorA1, OUTPUT);
pinMode(motorA2, OUTPUT);
}
void loop() {
// Move forward
digitalWrite(motorA1, HIGH);
digitalWrite(motorA2, LOW);
}
“`
For more precise control, you can use PWM (Pulse Width Modulation) to adjust motor speed:
“`cpp
void setMotorSpeed(int speed) {
analogWrite(motorA1, speed); // Speed range: 0-255
analogWrite(motorA2, 0);
}
“`
To optimize your robot’s power consumption and achieve smoother motion, consider implementing acceleration control:
“`cpp
void accelerateMotor(int targetSpeed) {
for(int i = 0; i <= targetSpeed; i += 5) {
setMotorSpeed(i);
delay(50);
}
}
```
Remember to include appropriate delays between direction changes to prevent damage to your motors and ensure proper functionality. These code examples serve as a foundation that you can build upon for more complex robot movements and behaviors.
Sensor Integration
Sensors are the eyes and ears of your Arduino robot, enabling it to interact with its environment intelligently. Start by connecting basic sensors like ultrasonic distance sensors (HC-SR04) or infrared line followers to your Arduino’s digital or analog pins. When working with environmental sensors, ensure proper power supply and ground connections.
To read sensor data, use Arduino’s built-in functions like digitalRead() for binary inputs or analogRead() for continuous values. Here’s a simple example for an ultrasonic sensor:
const int trigPin = 9;
const int echoPin = 10;
digitalWrite(trigPin, HIGH);
delayMicroseconds(10);
digitalWrite(trigPin, LOW);
long duration = pulseIn(echoPin, HIGH);
float distance = duration * 0.034 / 2;
Process raw sensor data using filtering techniques to reduce noise and improve accuracy. Moving averages work well for smoothing fluctuating readings:
float readings[10];
float average = 0;
for(int i = 0; i < 10; i++) {
readings[i] = getSensorReading();
average += readings[i];
}
average = average / 10;
Remember to calibrate sensors before deployment and implement error checking to handle unreliable readings. This ensures your robot responds appropriately to environmental changes and maintains stable operation.
Building Your First Robot
Hardware Assembly
Now that we have all our components ready, let’s begin assembling our Arduino robot. Start by mounting the Arduino Uno board onto the chassis using the provided standoffs and screws. Ensure it’s centered and securely fastened to maintain stability during movement.
Next, attach the L298N motor driver to the chassis near the Arduino. Position it so the terminal blocks are easily accessible for wire connections. Mount the motors to the wheel brackets and secure them to the chassis’s designated motor mounts. Attach the wheels to the motor shafts, making sure they’re properly aligned and tightened.
Connect the motors to the L298N driver:
– Left motor: Connect to OUT1 and OUT2
– Right motor: Connect to OUT3 and OUT4
– Connect the motor driver’s power pins (12V and GND) to your battery pack
– Wire the control pins (IN1, IN2, IN3, IN4) to Arduino digital pins 5, 4, 3, and 2 respectively
Install the ultrasonic sensor at the front of the chassis, pointing forward. Use the sensor bracket or create a simple mount using zip ties. Connect the sensor pins:
– VCC to Arduino 5V
– GND to Arduino GND
– TRIG to digital pin 12
– ECHO to digital pin 11
Mount the battery holder in a position that maintains the robot’s balance. Consider using double-sided tape or zip ties for secure attachment. Keep the power switch accessible for easy operation.
Finally, double-check all connections and ensure all wires are properly insulated and neatly organized. Use cable ties to manage loose wires and prevent them from interfering with the wheels or other moving parts.
Before powering up, verify that:
– All screws are tight
– Wheels spin freely
– Wiring connections are secure
– Components are firmly mounted
– Battery polarity is correct
Your robot’s hardware assembly is now complete and ready for programming!
Programming Your Robot
Let’s dive into programming your Arduino robot with a simple yet effective code example that will get your robot moving. We’ll break down each component of the code to understand exactly what’s happening.
First, let’s set up our basic structure:
“`cpp
// Define motor pins
const int leftMotorPin1 = 2;
const int leftMotorPin2 = 3;
const int rightMotorPin1 = 4;
const int rightMotorPin2 = 5;
void setup() {
// Set all motor pins as outputs
pinMode(leftMotorPin1, OUTPUT);
pinMode(leftMotorPin2, OUTPUT);
pinMode(rightMotorPin1, OUTPUT);
pinMode(rightMotorPin2, OUTPUT);
}
“`
This initial setup defines our motor pins and configures them as outputs. Now, let’s add the main movement functions:
“`cpp
void forward() {
digitalWrite(leftMotorPin1, HIGH);
digitalWrite(leftMotorPin2, LOW);
digitalWrite(rightMotorPin1, HIGH);
digitalWrite(rightMotorPin2, LOW);
}
void stop() {
digitalWrite(leftMotorPin1, LOW);
digitalWrite(leftMotorPin2, LOW);
digitalWrite(rightMotorPin1, LOW);
digitalWrite(rightMotorPin2, LOW);
}
“`
In the main loop, we can create a simple navigation sequence:
“`cpp
void loop() {
forward(); // Move forward for 2 seconds
delay(2000);
stop(); // Stop for 1 second
delay(1000);
}
“`
This basic code makes your robot move forward for two seconds, stop for one second, and repeat. You can expand this by adding more movement functions like turning left or right by adjusting the motor signals accordingly.
Remember to test your code in small increments and make adjustments based on your robot’s behavior. If the motors spin in the wrong direction, simply swap the HIGH and LOW values for that motor’s pins.
Testing and Troubleshooting
When working with Arduino robotics projects, you’ll likely encounter some common issues. Here’s how to identify and resolve them effectively:
One frequent problem is jerky or inconsistent motor movement. This usually stems from loose wire connections or insufficient power supply. Double-check all connections and ensure your power source can handle the current requirements of your motors. If using batteries, verify they’re properly charged.
Code-related issues often manifest as unexpected behaviors. If your robot isn’t responding correctly to commands, use Serial.println() statements strategically in your code to debug. This helps track variable values and program flow. Remember to check for proper pin assignments and verify that your sensor readings are within expected ranges.
Sensor calibration problems can cause erratic robot behavior. For line-following robots, adjust the threshold values based on your specific lighting conditions. For ultrasonic sensors, ensure there are no obstacles causing false readings and verify the sensor positioning.
Power management issues are common in mobile robots. If your robot stops unexpectedly or behaves strangely, it might be due to voltage drops. Consider using a voltage regulator and monitoring battery levels through code.
When troubleshooting, always follow a systematic approach: check hardware connections first, verify power supply, test sensors individually, and then examine the code. Keep a multimeter handy to measure voltages and test continuity when needed. Most importantly, document your solutions for future reference.
Next Steps and Advanced Features
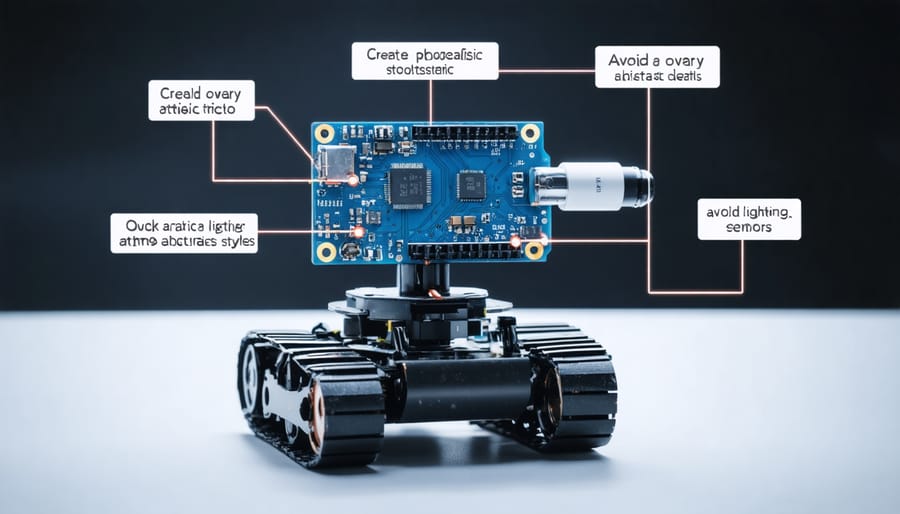
As you become more comfortable with basic Arduino robotics, there are numerous exciting paths to explore for enhancing your robot’s capabilities. Consider incorporating sensors like LIDAR for advanced obstacle detection or implementing computer vision using cameras and OpenCV libraries. These additions can transform your basic robot into a more sophisticated autonomous system with advanced robotics capabilities.
Machine learning integration is another frontier worth exploring. While Arduino’s processing power is limited, you can implement simple AI algorithms or connect your robot to a more powerful companion computer like a Raspberry Pi for complex computations. This hybrid approach opens up possibilities for pattern recognition and adaptive behaviors.
Adding wireless connectivity through WiFi or Bluetooth modules enables remote control and data logging features. You might consider developing a mobile app interface or implementing IoT functionality to monitor and control your robot from anywhere.
For mechanical improvements, explore different drive systems like omnidirectional wheels or tracked locomotion. Consider adding articulated arms or grippers for object manipulation. 3D printing custom parts can help you create unique mechanical solutions tailored to your specific needs.
Power management is crucial for advanced projects. Research better battery solutions, implement efficient charging systems, and optimize your code for lower power consumption. This becomes especially important when adding more sensors and actuators to your design.
Remember to document your improvements and share your experiences with the Arduino community. The robotics field is constantly evolving, and your contributions could help inspire others in their journey.
Arduino robotics opens up an exciting world of possibilities for makers and enthusiasts of all skill levels. Throughout this guide, we’ve explored the essential components, basic programming concepts, and practical steps needed to bring your robotic creations to life. From understanding servo motors and sensors to implementing basic movement and automation, you now have the foundational knowledge to start your robotics journey.
Remember that successful robotics projects often start small and grow through experimentation. Don’t be afraid to modify the example projects we’ve discussed or combine different components to create something entirely new. The Arduino community is vast and supportive, offering countless resources and project ideas to inspire your next build.
Whether you’re interested in building a simple line-following robot or dreaming of creating a more complex autonomous system, the skills you’ve learned here will serve as a solid foundation. Keep practicing, stay curious, and most importantly, enjoy the learning process. The world of Arduino robotics is constantly evolving, and your next project could be the one that pushes the boundaries of what’s possible with these versatile microcontrollers.