


Transform your Raspberry Pi Zero 2 W into a powerful computing platform in under 30 minutes with this comprehensive setup guide. Master essential configurations from initial SD card flashing to remote desktop setup, ensuring secure access across Windows, Mac, and Linux systems. Whether you’re building a compact home server, creating an IoT device, or developing a portable computing solution, this step-by-step tutorial delivers professional-grade results using the latest Raspberry Pi OS. Gather your Pi Zero 2 W, a microSD card (16GB minimum), power supply, and basic peripherals – then follow our battle-tested configuration process that’s helped thousands of makers successfully launch their projects.
Essential Hardware Requirements
Basic Components
To get started with your Raspberry Pi Zero 2 W, you’ll need several essential components. The main board itself is just the beginning. You’ll require a power supply that provides 5V via micro-USB, with at least 2.5A output for stable performance. A microSD card (8GB minimum, though 16GB or larger is recommended) will serve as your primary storage. For initial setup, you’ll need a micro-HDMI to HDMI adapter or cable to connect to a display, and a USB OTG adapter for connecting a keyboard and mouse. Don’t forget a suitable case to protect your board, though this is optional. Having a good quality USB power cable is crucial, as poor-quality cables can cause performance issues or unreliable operation.

Recommended Accessories
To enhance your remote desktop experience with the Raspberry Pi Zero 2 W, consider these valuable accessories. A mini HDMI to HDMI adapter is essential for initial setup and troubleshooting. A powered USB hub expands connectivity options, allowing you to connect multiple peripherals simultaneously. For improved wireless performance, a short USB Wi-Fi antenna can boost signal strength. A good-quality microSD card reader helps with image flashing and backups. If you’re planning extended use, a dedicated 5V/2.5A power supply ensures stable operation. A compact case with heatsinks helps maintain optimal temperature during remote sessions, especially for resource-intensive tasks. Finally, a USB OTG adapter enables connection to standard USB devices, making your setup more versatile.
Initial Setup and OS Installation
Installing Raspberry Pi OS
The first step in setting up your Raspberry Pi Zero 2 W is installing the operating system. The recommended choice is Raspberry Pi OS (formerly known as Raspbian), which is specifically optimized for Raspberry Pi hardware.
Start by downloading the Raspberry Pi Imager tool from the official Raspberry Pi website. This user-friendly application streamlines the OS installation process. After installing the Imager on your computer, insert your microSD card using a card reader.
Launch the Raspberry Pi Imager and click “Choose OS.” For the Zero 2 W, select “Raspberry Pi OS (32-bit)” from the list. While the 64-bit version is available, the 32-bit option offers better compatibility with existing software. Next, click “Choose Storage” and select your microSD card.
Before writing the OS, click the settings gear icon to access advanced options. Here, you can:
– Set up Wi-Fi credentials
– Configure a hostname
– Enable SSH
– Create a username and password
– Set your timezone and keyboard layout
These pre-configuration steps save time during the initial boot. Click “Save” and then “Write” to begin the installation process. The Imager will format your card and write the OS files, which typically takes 5-10 minutes.
Once complete, safely eject the microSD card and insert it into your Raspberry Pi Zero 2 W. When you power up the device for the first time, it will automatically expand the file system and apply your pre-configured settings. The initial boot may take a few minutes as the system performs first-time setup tasks.
Network Configuration
Configuring network connectivity is crucial for getting the most out of your Raspberry Pi Zero 2 W. The built-in wireless capabilities make it perfect for various IoT projects and remote access applications. Let’s set up your Wi-Fi connection properly.
First, locate the ‘wpa_supplicant.conf’ file in the boot partition of your SD card. If it doesn’t exist, create it using a text editor. Add the following configuration:
“`
country=US
ctrl_interface=DIR=/var/run/wpa_supplicant GROUP=netdev
update_config=1
network={
ssid=”YourWiFiNetworkName”
psk=”YourWiFiPassword”
}
“`
Replace “YourWiFiNetworkName” and “YourWiFiPassword” with your actual network credentials. Remember to adjust the country code if you’re not in the US.
To ensure reliable connectivity, position your Pi Zero 2 W away from metal objects and electronic devices that might cause interference. You can optimize WiFi connectivity by using a USB Wi-Fi adapter or strategically placing your router.
Once connected, test your connection by opening the terminal and running:
“`
ping -c 4 google.com
“`
If you receive responses, your network is properly configured. For added security, consider changing the default password and enabling SSH key authentication. You can also set up a static IP address through the dhcpcd.conf file if you need consistent remote access to your Pi.
Enabling Remote Desktop Access
VNC Server Setup
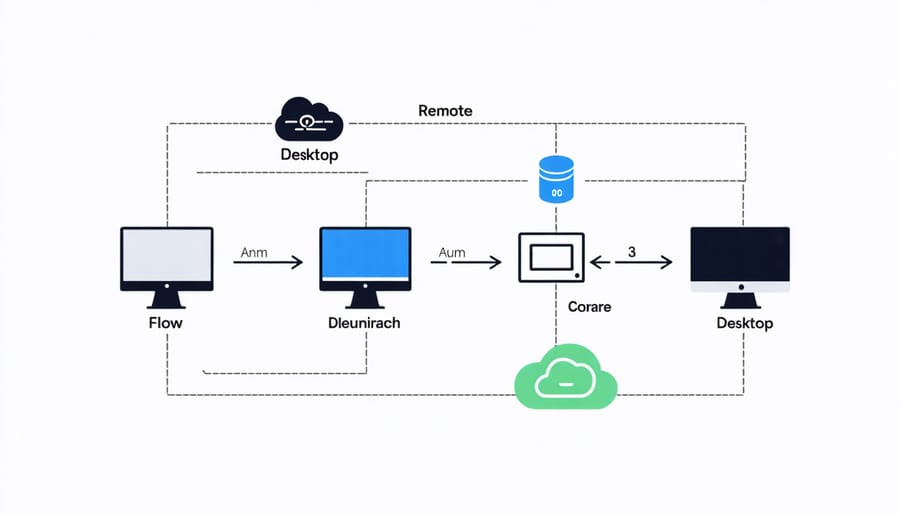
Setting up VNC (Virtual Network Computing) on your Raspberry Pi Zero 2 W enables accessing your Pi remotely through a graphical interface. The process is straightforward and begins with enabling VNC through the Raspberry Pi Configuration tool.
Open Terminal and type:
“`
sudo raspi-config
“`
Navigate to “Interface Options” and select “VNC.” Choose “Yes” to enable the VNC server. After enabling VNC, ensure your Pi boots to the desktop environment by selecting “System Options” > “Boot / Auto Login” and choosing “Desktop Autologin.”
For the best experience, install the latest version of RealVNC server:
“`
sudo apt update
sudo apt install realvnc-vnc-server
“`
To enhance security, set a strong VNC password:
“`
vncpasswd
“`
The VNC server will start automatically on boot, but you can manually start it with:
“`
sudo systemctl start vncserver-x11-serviced
“`
To connect to your Pi, download and install VNC Viewer on your computer from the RealVNC website. Enter your Pi’s IP address in the VNC Viewer, followed by the password you created. The connection should establish, giving you full desktop access to your Raspberry Pi Zero 2 W.
Remember to keep your VNC password secure and regularly update your system for the best security and performance.
SSH Configuration
To enable SSH access on your Raspberry Pi Zero 2 W, you’ll first need to create an empty file named ‘ssh’ in the boot partition of your microSD card. This signals to the Raspberry Pi to enable SSH on first boot. If you’re using Windows, simply right-click in the boot folder and create a new text file, then remove the .txt extension.
For enhanced security, it’s recommended to change your default password immediately. After connecting to your Pi for the first time using the default credentials (username: pi, password: raspberry), use the following command:
passwd
Follow the prompts to set a strong, unique password. To further secure your SSH connection, consider setting up SSH keys instead of password authentication. Generate your SSH key pair on your main computer with:
ssh-keygen -t rsa -b 4096
Then, copy your public key to the Pi:
ssh-copy-id pi@raspberrypi.local
You can also modify the SSH configuration file at /etc/ssh/sshd_config to disable password authentication and root login. After making these changes, restart the SSH service:
sudo systemctl restart ssh
To connect to your Pi, use:
ssh pi@raspberrypi.local
If you’re using a static IP address, replace ‘raspberrypi.local’ with your Pi’s IP address.
Security Best Practices
When setting up your Raspberry Pi Zero 2 W for remote access, implementing robust security measures is crucial to protect your device from unauthorized access. Start by changing the default password for the ‘pi’ user account using the passwd command. It’s recommended to create a strong password combining uppercase and lowercase letters, numbers, and special characters.
Enable SSH key-based authentication instead of password authentication for secure remote access. Generate an SSH key pair on your main computer and transfer the public key to your Pi. Then, disable password authentication in the SSH configuration file (/etc/ssh/sshd_config) by setting ‘PasswordAuthentication’ to ‘no’.
Consider changing the default SSH port (22) to a non-standard port to reduce automated attack attempts. Additionally, install and configure a firewall like ‘ufw’ to control incoming connections. Only open the ports you specifically need for your projects.
Regular system updates are essential for security. Set up automatic updates using ‘unattended-upgrades’ package, or create a simple cron job to run ‘apt update’ and ‘apt upgrade’ periodically. Monitor your system logs for any suspicious activities and consider installing fail2ban to protect against brute force attacks.
Remember to backup your SSH keys and configuration files in a secure location. These security measures will help ensure your Raspberry Pi remains protected while maintaining convenient remote access capabilities.
Connecting from Different Devices
Windows Connection
For Windows users, connecting to your Raspberry Pi Zero 2 W is straightforward using built-in Remote Desktop Protocol (RDP) or third-party VNC software. First, download and install PuTTY, a popular SSH client for Windows. Open PuTTY and enter your Pi’s IP address in the “Host Name” field, keeping the port at 22.
Once connected via SSH, you’ll need to enable VNC on your Pi by running “sudo raspi-config” and navigating to Interface Options > VNC > Enable. After enabling VNC, install a VNC viewer on your Windows PC – RealVNC Viewer is recommended as it’s free and user-friendly.
Launch RealVNC Viewer and enter your Pi’s IP address in the connection bar. When prompted, enter the default credentials (username: pi, password: raspberry). For security, change these default credentials immediately after your first successful connection.
If you encounter connection issues, ensure both devices are on the same network and that your Pi’s IP address hasn’t changed. For enhanced security, consider setting up a static IP address for your Pi.
Mac and Mobile Access
For Mac users, accessing your Raspberry Pi Zero 2 W is straightforward using the built-in VNC Viewer or SSH capabilities. Start by opening Terminal and connecting via SSH using the command “ssh pi@raspberrypi.local” (or your Pi’s IP address). When prompted, enter your password to establish the connection.
To set up a graphical interface, download and install the official VNC Viewer from RealVNC’s website. Once installed, launch VNC Viewer and enter your Pi’s address in the format “raspberrypi.local” or the IP address. After entering your credentials, you’ll have full desktop access to your Pi.
Mobile users can access their Pi through dedicated apps available on both iOS and Android. For iOS devices, download “VNC Viewer” from the App Store. Android users can find the same app on the Google Play Store. After installation, open the app and add a new connection using your Pi’s address and credentials.
For enhanced security on mobile devices, consider setting up SSH key authentication instead of password-based login. This is particularly important when accessing your Pi over public networks. You can generate SSH keys using your mobile device and transfer them to your Pi.
Both Mac and mobile users should ensure their Pi is configured with VNC and SSH enabled through the Raspberry Pi Configuration tool. Remember to change the default password and regularly update your system to maintain security. When connecting from public networks, using a VPN is recommended for additional protection.
Setting up your Raspberry Pi Zero 2 W opens up a world of exciting possibilities for your DIY projects and learning journey. By following this guide, you’ve learned how to prepare your hardware, install the operating system, configure essential settings, and establish remote access capabilities. Remember to keep your system updated and maintain strong security practices by regularly changing passwords and keeping your SSH configurations secure.
With your Pi Zero 2 W now ready for action, you can explore numerous project possibilities, from creating a compact web server to building automated home devices. The lightweight nature and wireless capabilities of the Zero 2 W make it perfect for portable and IoT applications.
If you’re encountering any issues, double-check your connections and configurations. The Raspberry Pi community is vast and supportive, offering extensive resources and forums where you can find help. Consider joining local maker spaces or online Raspberry Pi communities to share experiences and learn from others.
Your next steps might include exploring Python programming, setting up specific services, or diving into GPIO projects. The foundation you’ve built today will serve as a launching pad for your future Raspberry Pi adventures.