

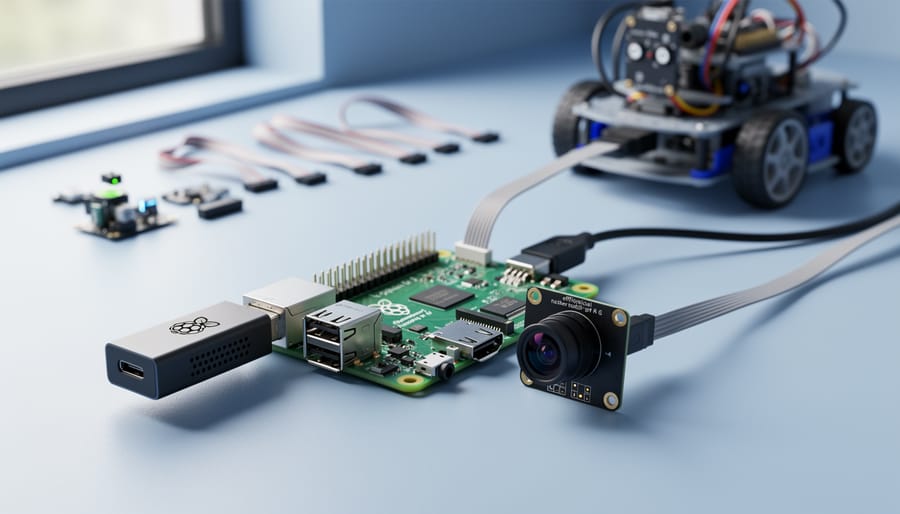
Edge AI brings artificial intelligence processing directly to your device—no cloud connection required. Instead of sending data to remote servers for analysis, Edge AI runs machine learning models locally on compact hardware like your Raspberry Pi, enabling real-time decisions with enhanced privacy and reduced latency.
Think of it as giving your Raspberry Pi its own brain. Traditional AI systems depend on powerful cloud servers to process information, creating delays and privacy concerns as your data travels back and forth over the internet. Edge AI flips this model by performing computations right where data is generated—at the “edge” of the network. Your Raspberry Pi analyzes camera feeds, sensor data, or voice commands instantly, without waiting for cloud responses.
This shift matters for practical reasons. A smart security camera running Edge AI on a Raspberry Pi can detect intruders in milliseconds, even if your internet connection drops. A voice-controlled robot responds immediately to commands without uploading audio to external servers. Agricultural sensors make crop decisions in remote fields where connectivity is unreliable.
The technology has become accessible thanks to optimized AI frameworks and specialized hardware accelerators that squeeze impressive performance from affordable single-board computers. What once required data center infrastructure now fits in your pocket. Whether you’re building a wildlife monitoring system, creating a gesture-controlled interface, or developing predictive maintenance tools, Edge AI on Raspberry Pi transforms abstract machine learning concepts into tangible, responsive projects you can deploy anywhere.
What Is Edge AI? Breaking Down the Basics
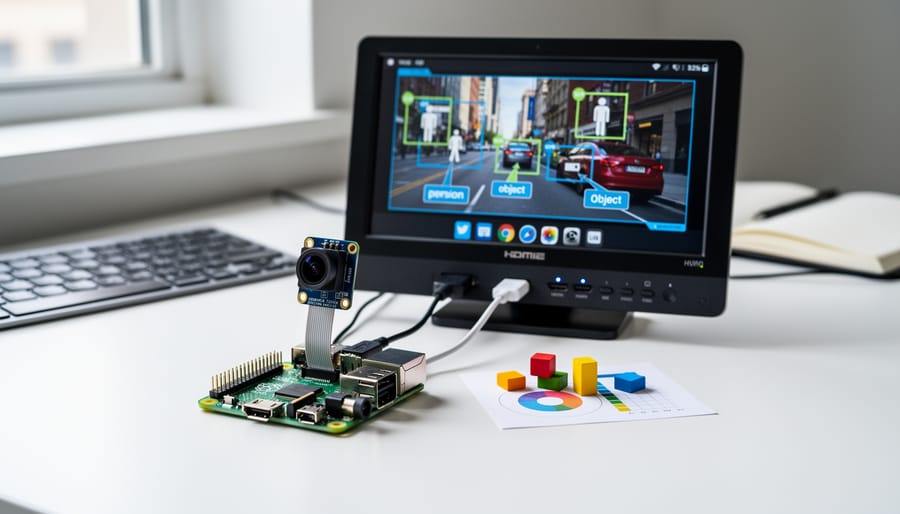
Cloud AI vs. Edge AI: Understanding the Difference
Understanding the difference between Cloud AI and Edge AI comes down to where the computing happens. Cloud AI processes data on remote servers—you send your data over the internet, powerful servers crunch the numbers, and results come back to you. Edge AI, on the other hand, runs directly on local devices like your Raspberry Pi, processing everything right where the data is collected.
The most noticeable difference is latency. Cloud AI requires a round trip to distant servers, which can take hundreds of milliseconds or even seconds. For a Raspberry Pi project monitoring your garden, this delay might be acceptable. But for time-sensitive applications like autonomous robots or real-time object detection, Edge AI responds instantly because everything happens locally.
Privacy is another major distinction. With Cloud AI, your data travels across networks and gets processed on third-party servers. Edge AI keeps everything on your device—your Raspberry Pi camera footage never leaves your home network. This local processing is perfect for projects involving personal information or sensitive applications.
Connectivity requirements differ significantly too. Cloud AI needs a stable internet connection to function. Your Raspberry Pi running Edge AI works independently, even in remote locations or during internet outages. This makes Edge AI ideal for outdoor projects, mobile robots, or any situation where reliable connectivity isn’t guaranteed.
The tradeoff? Cloud AI offers virtually unlimited computing power, while Edge AI is constrained by your device’s capabilities. However, modern Raspberry Pi models with AI accelerators provide impressive performance for many practical applications.
Why Edge AI Matters for Your Projects
Edge AI transforms how your Raspberry Pi projects work by bringing powerful benefits that traditional cloud-based AI simply can’t match. First, you’ll notice dramatically faster response times since your device processes data locally instead of sending it to distant servers and waiting for results. This makes Edge AI perfect for time-sensitive projects like security cameras or robotic applications where milliseconds matter.
Privacy protection is another major advantage. When your Raspberry Pi analyzes data on-device, sensitive information never leaves your network. Whether you’re building a smart home monitor or a personal voice assistant, your data stays under your control.
The offline capability means your projects keep working even when internet connectivity fails. Your AI-powered garden monitor or wildlife camera won’t miss a beat during network outages.
Finally, Edge AI significantly reduces bandwidth costs and network congestion. Instead of streaming endless video or sensor data to the cloud, your Raspberry Pi processes everything locally and only sends essential results. For hobbyists running multiple projects or educators managing classroom devices, this efficiency translates to real savings and more reliable performance.
Why Raspberry Pi Is Perfect for Edge AI
Hardware Capabilities That Make It Work
Not all Raspberry Pi boards are created equal when it comes to Edge AI workloads. Let’s explore which models pack the punch needed for intelligent edge computing.
The Raspberry Pi 4 Model B remains a solid starting point for Edge AI projects. With options for 4GB or 8GB of RAM, a quad-core Cortex-A72 processor, and a VideoCore VI GPU, it handles lightweight machine learning tasks comfortably. The 8GB variant is particularly well-suited for image recognition and simple neural networks.
The newer Raspberry Pi 5 takes performance up a notch with its quad-core Cortex-A76 processor and improved GPU architecture. This translates to roughly 2-3x faster inference speeds compared to the Pi 4, making it ideal for real-time applications like object detection or voice recognition.
For industrial applications, the Compute Module 4 (CM4) offers the same processing power as the Pi 4 but in a compact form factor perfect for custom Edge AI solutions and embedded systems.
What really unlocks Edge AI potential is hardware acceleration. The Raspberry Pi’s AI Module, featuring the Hailo-8L accelerator, delivers up to 13 TOPS (tera operations per second) of AI processing power. This dedicated chip handles neural network computations far more efficiently than the CPU alone. Alternatively, you can use USB accelerators like the Coral TPU, which provides around 4 TOPS and works seamlessly across Pi models. These accessories transform your board from capable to genuinely powerful for Edge AI applications.
The Cost Advantage
One of the most compelling reasons to choose Raspberry Pi for Edge AI projects is the significant cost advantage. A Raspberry Pi 4 or Pi 5 typically costs between $35-$75, making it incredibly accessible for hobbyists and educators. In contrast, NVIDIA Jetson devices range from $150 for the Jetson Nano to over $500 for more powerful models like the Jetson Xavier.
The cost difference becomes even more striking when comparing Edge AI to cloud-based solutions. While cloud computing seems affordable initially, processing fees add up quickly. Running continuous AI inference in the cloud can cost $50-$200 monthly, meaning you’d spend more in just a few months than investing in a Raspberry Pi that you own outright. There are no subscription fees, no data transfer costs, and no unexpected bills.
For educational settings or personal projects, this affordability is transformative. You can experiment freely without worrying about burning through cloud credits. Multiple Raspberry Pi devices for different projects or a classroom full of students becomes financially feasible. While NVIDIA Jetson boards offer more raw power, Raspberry Pi delivers remarkable AI capabilities at a fraction of the cost, making Edge AI technology genuinely accessible to everyone ready to learn and build.
How Edge AI Works on Raspberry Pi
Machine Learning Models and Frameworks
Running Edge AI on your Raspberry Pi requires the right machine learning framework to turn your models into working applications. These frameworks optimize complex neural networks to run efficiently on resource-constrained devices like the Pi.
TensorFlow Lite is Google’s lightweight solution designed specifically for edge devices. It converts full TensorFlow models into compact versions that run faster with less memory. You’ll want to use TensorFlow Lite when working with pre-trained models from Google’s extensive library or when you need excellent documentation and community support. It’s particularly strong for image classification and object detection tasks, making it ideal for many machine learning projects.
PyTorch Mobile brings Facebook’s popular PyTorch framework to edge devices. If you’re already familiar with PyTorch or prefer its more Pythonic approach to building models, this is your go-to choice. It offers flexible deployment options and works seamlessly if you’ve trained models using PyTorch on your desktop.
ONNX Runtime provides an open standard that bridges different frameworks. Think of it as a universal translator for AI models. You can train a model in TensorFlow or PyTorch, convert it to ONNX format, and run it efficiently on your Raspberry Pi. This flexibility makes ONNX Runtime perfect when you’re experimenting with models from various sources or collaborating with teams using different tools.
Each framework has hardware acceleration support for the Pi, but your choice often depends on your existing workflow and the specific model you’re deploying.
The Inference Process Explained
Once you’ve got a trained AI model on your Raspberry Pi, the inference process is where the magic happens. Think of inference as your Pi using its “learned knowledge” to make predictions or decisions about new data it encounters—all without needing to connect to the cloud.
Let’s use image recognition as a practical example. Imagine you’ve loaded a pre-trained model onto your Pi that can identify different types of fruits. When you point a camera at an apple, here’s what happens:
First, your Pi’s camera captures the image and converts it into numerical data—essentially breaking the picture down into pixels with color values. This raw data then flows into your AI model, which is essentially a series of mathematical operations stored in your Pi’s memory.
The model processes this data through multiple layers, comparing patterns it sees (like the apple’s round shape and red color) against patterns it learned during training. Each layer extracts different features—edges, textures, colors—gradually building understanding from simple to complex characteristics.
Finally, the model outputs a prediction: “This is an apple with 95% confidence.” This entire process happens locally on your Raspberry Pi in milliseconds, typically without any internet connection required.
The beauty of edge inference is speed and privacy. Your Pi doesn’t need to upload images to a remote server and wait for a response. Everything processes right there on the device, making it perfect for real-time applications like security cameras, wildlife monitors, or quality control systems in small manufacturing setups.
Real-World Edge AI Applications for Raspberry Pi
Smart Home Automation with Voice and Vision
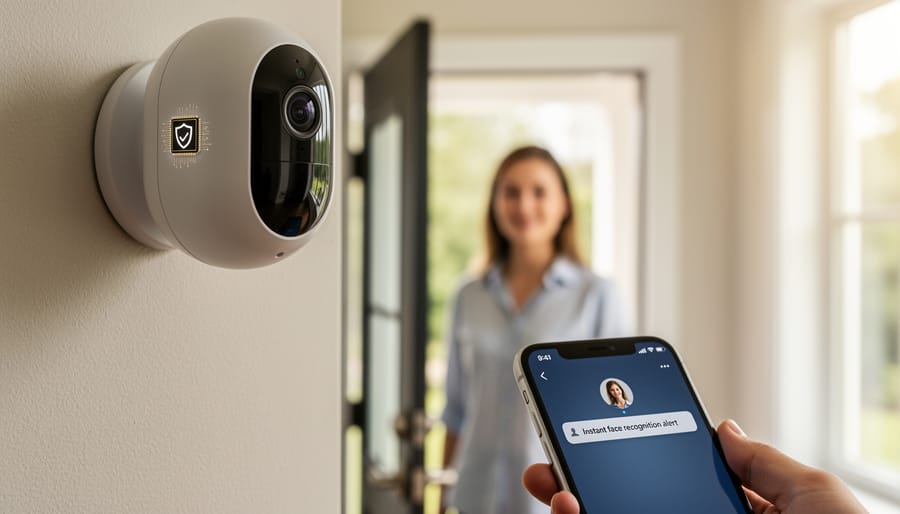
Edge AI brings powerful automation capabilities right into your home through Raspberry Pi-powered devices that process data locally. Facial recognition door locks use onboard neural networks to identify household members in real-time, granting instant access without cloud delays. These systems capture a face image, compare it against stored profiles using computer vision models, and trigger the lock mechanism—all within seconds on your Pi.
Voice assistants like those built with Raspberry Pi and offline speech recognition process wake words and commands directly on device. They convert your speech to text, interpret intent through lightweight language models, and execute actions without sending data to external servers, ensuring privacy and faster response times.
Occupancy detection systems leverage infrared sensors or camera-based person detection models to determine room occupancy. Your Raspberry Pi analyzes sensor data or video frames through efficient AI models, counting people and triggering lighting or HVAC adjustments accordingly.
Smart security cameras powered by Edge AI perform object detection, motion tracking, and anomaly detection locally. They run optimized models like MobileNet or YOLO variants to identify people, vehicles, or suspicious activities, sending alerts only when necessary while maintaining your privacy through local processing.
Industrial and Agricultural Monitoring
Edge AI is transforming industrial and agricultural operations by bringing intelligence directly to where work happens. In manufacturing, edge devices can perform real-time defect detection on assembly lines, identifying faulty products instantly without sending images to distant servers. This immediate processing prevents defective items from advancing through production, saving time and money.
Agricultural monitoring benefits immensely from edge processing too. Farmers use edge AI systems to analyze crop health through camera-equipped devices deployed across fields. These systems detect early signs of disease, pest damage, or nutrient deficiencies on-site, enabling quick intervention before problems spread.
Predictive maintenance is another game-changer. Edge AI analyzes vibration patterns, temperature fluctuations, and sound signatures from machinery to predict failures before they occur. Processing this sensor data locally means equipment can be serviced proactively, preventing costly downtime.
Why does edge processing matter here? These environments often lack reliable internet connectivity, whether in remote farms or factory floors with interference. Additionally, sending continuous video streams or sensor data to the cloud is expensive and slow. Edge AI delivers split-second decisions where they’re needed most, making Raspberry Pi-based solutions incredibly practical for these real-world monitoring applications.
Robotics and Autonomous Systems
Edge AI is transforming robotics and autonomous systems by enabling real-time decision-making directly on devices like Raspberry Pi. When you’re building autonomous robots, processing data locally means your robot can detect obstacles, recognize objects, and respond to gestures in milliseconds rather than waiting for cloud processing. This low-latency processing is crucial for safety and performance.
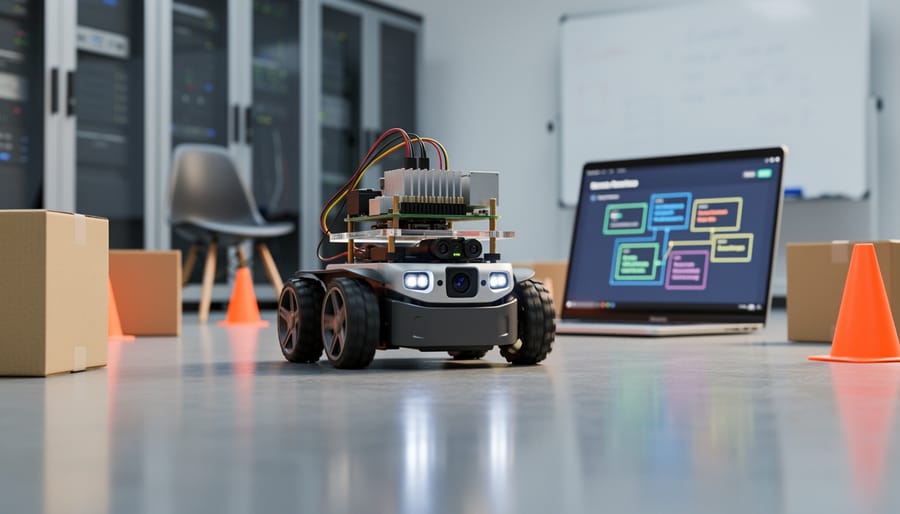
For autonomous vehicles and mobile robots, every millisecond counts. Imagine a robot navigating a cluttered room or a small autonomous vehicle avoiding obstacles—delays in processing could mean collisions. Edge AI on Raspberry Pi allows these systems to run computer vision models for object detection, interpret sensor data, and make split-second decisions without internet connectivity.
Gesture control is another exciting application. Your Raspberry Pi can recognize hand movements in real-time, enabling intuitive robot control or interactive projects. The combination of affordable hardware and powerful edge AI frameworks means you can build sophisticated robotics projects at home, from delivery robots to educational platforms that teach machine learning concepts through hands-on experimentation.
Getting Started: Your First Edge AI Project
What You’ll Need
Getting started with Edge AI on your Raspberry Pi doesn’t require a massive investment, but choosing the right components will make your experience much smoother. For the board itself, we recommend the Raspberry Pi 4 Model B with at least 4GB of RAM, though the 8GB version offers better performance for complex AI models. The Raspberry Pi 5 works even better if you want faster processing speeds.
You’ll need a quality microSD card with at least 32GB capacity and Class 10 speed rating to handle the operating system and AI software. A reliable USB-C power supply delivering 3A is essential for stable operation. For vision-based projects, the Raspberry Pi Camera Module 3 or Camera Module 2 works perfectly and connects directly to the camera port.
Additional accessories include a case with adequate ventilation or active cooling, since AI processing generates heat, and an HDMI cable plus monitor for initial setup. A USB keyboard and mouse complete the basic setup.
On the software side, you’ll start with Raspberry Pi OS as your base operating system. Popular Edge AI frameworks include TensorFlow Lite, which runs efficiently on limited hardware, and OpenCV for computer vision tasks. Most of these tools are free and available through straightforward installation commands, making them beginner-friendly even if you’re new to AI development.
Recommended Starter Project
Ready to put your Edge AI knowledge into practice? A great starter project is real-time object detection using your Raspberry Pi and a camera module. This project impressively demonstrates Edge AI capabilities by identifying everyday objects directly on your device without cloud connectivity.
For your first AI project, you’ll need a Raspberry Pi 4 (2GB RAM minimum), a camera module or USB webcam, and a pre-trained model like MobileNet or YOLO Lite. The process involves installing the Raspberry Pi OS, setting up necessary libraries such as TensorFlow Lite or OpenCV, loading your chosen model, and running inference on live camera feed.
What makes this project particularly rewarding is seeing immediate results. Your Pi will identify and label objects in real-time, displaying bounding boxes around detected items like cups, keyboards, or houseplants. The entire setup takes just a few hours, even for beginners.
Once you’ve mastered basic object detection, you can expand into face recognition, gesture control, or even wildlife monitoring systems. The skills you develop transfer directly to more complex Edge AI applications.
Detailed step-by-step tutorials are available online, breaking down each stage from hardware setup through model optimization. Many guides include troubleshooting tips and performance tweaks specific to Raspberry Pi’s ARM architecture, ensuring you’ll have support throughout your learning journey.
Common Challenges and How to Overcome Them
Performance Limitations and Optimization
Running Edge AI on Raspberry Pi comes with real-world constraints you’ll need to understand. The most significant challenge is model size—your Pi has limited RAM and storage compared to cloud servers. A typical deep learning model that runs smoothly in the cloud might overwhelm your device’s resources.
Processing speed is another consideration. Complex AI models can be slow on Pi’s hardware, especially when handling high-resolution images or video streams in real-time. This is where optimization becomes essential.
Two powerful techniques can help: quantization and pruning. Quantization reduces the precision of model weights (converting 32-bit floats to 8-bit integers), shrinking model size by up to 75% with minimal accuracy loss. Pruning removes unnecessary neural network connections, creating leaner models that run faster.
Here are actionable tips for optimizing your Edge AI projects: Start with pre-optimized models specifically designed for edge devices, like MobileNet or TinyML frameworks. Use TensorFlow Lite or ONNX Runtime, which are built for embedded systems. Consider adding a Coral USB Accelerator or Neural Compute Stick for hardware acceleration. Monitor your Pi’s temperature and use adequate cooling during intensive tasks. Finally, test different model versions to find the sweet spot between accuracy and performance for your specific application.
Power and Cooling Considerations
Running Edge AI on your Raspberry Pi means dealing with increased power demands and heat generation. When your device processes neural networks continuously, the CPU and GPU work overtime, which can lead to thermal throttling—a protective mechanism that slows down performance when temperatures climb too high.
For stable AI workloads, you’ll need a quality power supply. The official Raspberry Pi power adapter (5V/3A for Pi 4) is essential, as underpowered supplies cause voltage drops that trigger performance issues. Budget USB chargers often can’t deliver consistent power during intensive tasks like object detection or image classification.
Cooling becomes critical for sustained performance. A passive heatsink works for light tasks, but active cooling makes a real difference with AI applications. Adding a small fan keeps temperatures manageable during extended inference sessions. For serious projects, consider aluminum cases with integrated cooling or the official Active Cooler, which can reduce temperatures by 20-30 degrees Celsius.
Monitor your Pi’s temperature using simple commands or dashboard tools. If you notice throttling (indicated by a thermometer icon), it’s time to upgrade your cooling solution. Proper thermal management ensures your Edge AI projects run reliably without unexpected slowdowns, letting you focus on building rather than troubleshooting.
Edge AI on Raspberry Pi opens up exciting possibilities for hobbyists, educators, and tech enthusiasts alike. By bringing intelligent processing directly to your device, you gain faster response times, enhanced privacy, reduced bandwidth usage, and the ability to create projects that work independently of cloud connectivity. The best part? This powerful technology is surprisingly accessible. With affordable hardware, free software tools, and a wealth of community support, you don’t need an advanced degree or enterprise budget to get started.
Whether you’re interested in building a smart home assistant, creating a wildlife monitoring camera, or developing educational projects for students, the Raspberry Pi provides an ideal platform for hands-on learning. Start small with a simple image classification project or object detection system to build your confidence and understanding.
Ready to dive in? Explore our comprehensive tutorials and getting-started guides on this website to find step-by-step instructions tailored for beginners. The Edge AI revolution isn’t just for tech giants anymore—it’s in your hands, and your first project is just a few clicks away.