


Transform your Raspberry Pi into a powerful machine learning hub, bringing advanced AI capabilities to this affordable single-board computer. From image recognition to predictive analytics, the Pi’s compact form factor and growing ML ecosystem make it an ideal platform for experimenting with artificial intelligence at the edge. Whether you’re building a smart security camera, developing voice recognition systems, or creating automated sensor networks, the combination of TensorFlow Lite, OpenCV, and specialized ML frameworks optimized for ARM processors enables sophisticated AI applications without requiring expensive hardware.
The surge in edge computing and IoT applications has positioned the Raspberry Pi as a game-changing platform for machine learning enthusiasts and developers. By leveraging pre-trained models and efficient ML frameworks, you can now process data locally, reduce latency, and create responsive AI systems that operate independently of cloud services. This guide will walk you through essential setup procedures, framework installations, and practical projects that demonstrate the remarkable potential of machine learning on the Raspberry Pi.
Getting Your Raspberry Pi Ready for Machine Learning
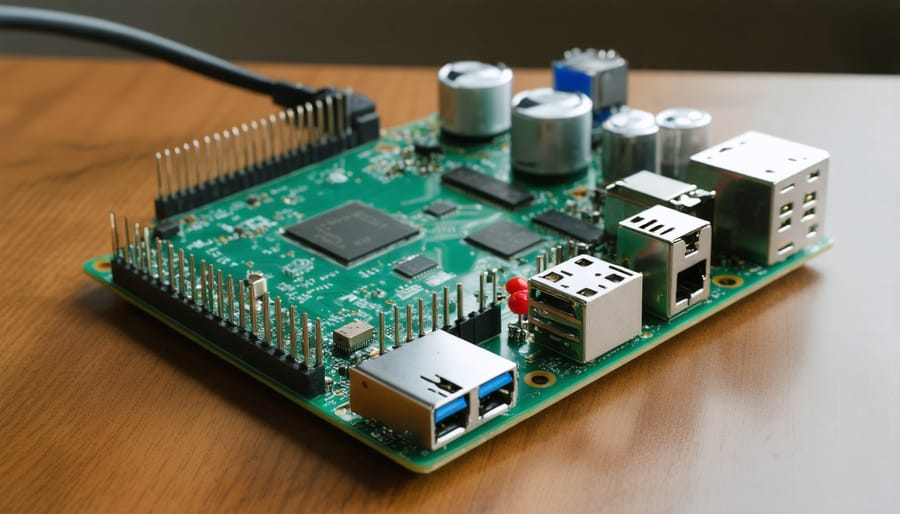
Essential Hardware Components
To get started with machine learning on Raspberry Pi, you’ll need a few key hardware components. At minimum, we recommend using a Raspberry Pi 4 Model B with at least 4GB of RAM, though 8GB is preferred to better optimize your Raspberry Pi for ML tasks. A high-quality microSD card (32GB or larger) with Class 10 speed rating is essential for smooth operation and adequate storage for ML models.
Power supply requirements are crucial – use a genuine Raspberry Pi USB-C power supply rated at 5.1V/3A to ensure stable performance. For cooling, either a heat sink or small fan is recommended as ML processing can generate significant heat. Consider exploring essential hardware add-ons like the Coral USB Accelerator or Google’s Edge TPU for enhanced ML capabilities.
Don’t forget peripherals: a keyboard, mouse, and display for initial setup, though you can switch to headless operation later. A reliable internet connection, either via Ethernet or Wi-Fi, is necessary for downloading models and updates.
Setting Up Your Development Environment
To get started with machine learning on your Raspberry Pi, you’ll need to set up a proper development environment. Begin by ensuring your Raspberry Pi runs the latest version of Raspberry Pi OS (formerly Raspbian). Open the terminal and update your system by running ‘sudo apt update’ followed by ‘sudo apt upgrade’.
Next, install Python 3 and pip3 if they aren’t already on your system. Most machine learning projects rely on essential libraries like TensorFlow, NumPy, and scikit-learn. Install these using pip3 with the following commands:
sudo pip3 install tensorflow
sudo pip3 install numpy
sudo pip3 install scikit-learn
sudo pip3 install pandas
For better performance, consider installing OpenCV for computer vision tasks and GPIO libraries for hardware integration. You might also want to set up a virtual environment using ‘python3 -m venv ml_env’ to keep your projects isolated and manage dependencies effectively.
Remember to install a code editor like Thonny or Visual Studio Code for easier development. These editors provide helpful features like syntax highlighting and code completion, making your machine learning journey more enjoyable.
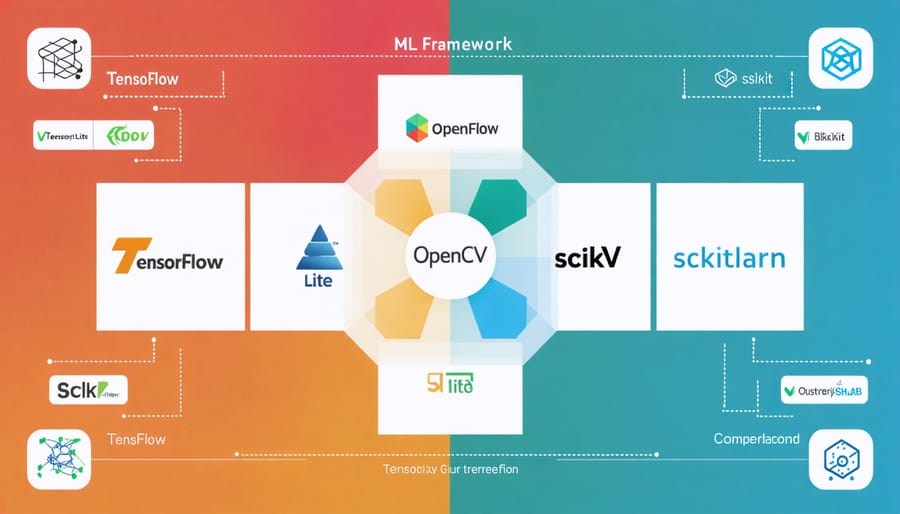
Popular Machine Learning Frameworks for Raspberry Pi
TensorFlow Lite
TensorFlow Lite represents a game-changing solution for running machine learning models on resource-constrained devices like the Raspberry Pi. This lightweight version of TensorFlow is specifically optimized for edge devices, making it possible to run sophisticated ML models without requiring constant internet connectivity or powerful hardware.
On the Raspberry Pi, TensorFlow Lite excels at tasks such as image classification, object detection, and voice recognition while consuming minimal system resources. The framework supports both pre-trained models and custom-trained solutions, offering flexibility for various project requirements. Installation is straightforward through Python’s pip package manager, and the official TensorFlow Lite documentation provides comprehensive guides for getting started.
One of the key benefits of using TensorFlow Lite on Raspberry Pi is its optimization for ARM processors, which results in faster inference times and better overall performance. The framework includes features like model quantization, which reduces model size and improves execution speed without significantly impacting accuracy. This makes it ideal for real-time applications like smart cameras or voice assistants.
For beginners, TensorFlow Lite offers example projects and pre-built models that can be implemented with minimal coding experience. Advanced users can leverage the framework’s model converter to optimize their existing TensorFlow models for deployment on the Pi, ensuring efficient execution in resource-limited environments.
OpenCV
OpenCV (Open Source Computer Vision Library) is a powerful tool that transforms your Raspberry Pi into a capable platform for computer vision applications. This versatile library enables your Pi to process and analyze visual data in real-time, making it perfect for projects ranging from simple image recognition to complex motion tracking systems.
Installing OpenCV on your Raspberry Pi is straightforward using pip:
“`
pip install opencv-python
“`
Once installed, you can leverage OpenCV’s extensive features for tasks like face detection, object tracking, and image processing. The library works seamlessly with popular machine learning frameworks, allowing you to combine traditional computer vision techniques with modern ML approaches.
Common applications include:
– Real-time face and object detection
– Motion tracking and surveillance
– Image classification and recognition
– Gesture control interfaces
– Automated quality control systems
For beginners, OpenCV offers simple functions to capture and process images from the Raspberry Pi Camera Module. More advanced users can implement sophisticated algorithms for edge detection, feature extraction, and pattern recognition. The library’s Python API makes it accessible while maintaining the performance needed for real-world applications.
Remember to optimize your code for the Pi’s hardware capabilities, and consider using the Pi Camera Module v2 or better for optimal results in your vision projects.
scikit-learn
Scikit-learn is a powerful Python library that brings machine learning capabilities to your Raspberry Pi projects. This versatile toolkit offers a wide range of algorithms for classification, regression, and clustering tasks, making it perfect for beginners and intermediate users alike.
To get started with scikit-learn on your Raspberry Pi, install it using pip:
“`python
pip3 install scikit-learn
“`
The library includes several popular algorithms that work well within the Pi’s resource constraints. For classification tasks, you can implement Support Vector Machines (SVM) or Decision Trees. For numerical predictions, Linear Regression provides a solid foundation. Here’s a simple example using a Decision Tree classifier:
“`python
from sklearn.tree import DecisionTreeClassifier
model = DecisionTreeClassifier()
model.fit(X_train, y_train)
predictions = model.predict(X_test)
“`
When working with scikit-learn on Raspberry Pi, it’s important to consider memory usage. Start with smaller datasets and simpler models, then scale up as needed. Pre-processing features like StandardScaler or MinMaxScaler can help optimize your model’s performance:
“`python
from sklearn.preprocessing import StandardScaler
scaler = StandardScaler()
X_scaled = scaler.fit_transform(X)
“`
For real-world applications, consider implementing simple classification tasks like image recognition or sensor data analysis. These projects provide excellent learning opportunities while remaining within the Pi’s processing capabilities.
Hands-on Project: Image Recognition System
Setting Up the Camera Module
The Camera Module is essential for computer vision and image recognition projects on your Raspberry Pi. Begin by powering down your Pi completely before making any connections. Locate the Camera Serial Interface (CSI) port on your board – it’s the small ribbon connector between the HDMI and Ethernet ports. Gently lift the black clip on the CSI port and insert the camera module’s ribbon cable with the blue side facing the Ethernet port. Press down the clip to secure the connection.
Once the hardware is connected, boot up your Raspberry Pi and open the terminal. Enable the camera interface by running sudo raspi-config, navigating to “Interface Options,” and selecting “Camera.” After enabling, reboot your Pi for the changes to take effect.
To test your camera setup, use the following commands:
“`
raspistill -o test.jpg
“`
This captures a still image, or:
“`
raspivid -o video.h264 -t 10000
“`
This records a 10-second video.
For machine learning applications, you’ll need to install additional Python libraries. Install OpenCV for image processing:
“`
sudo apt-get install python3-opencv
“`
Test the camera in Python with a simple script:
“`python
from picamera import PiCamera
camera = PiCamera()
camera.capture(‘image.jpg’)
“`
Your camera module is now ready for machine learning projects!
Training Your Model
Training a machine learning model for your Raspberry Pi project involves two crucial steps: data collection and model training. For effective results, you’ll need to gather a substantial dataset relevant to your project’s goals. If you’re building an image recognition system, for example, collect hundreds or thousands of labeled images representing your target categories.
Start by organizing your dataset into appropriate training and validation sets. A common split is 80% for training and 20% for validation. Ensure your data is clean, properly labeled, and representative of real-world scenarios your model will encounter.
For the actual training process, you have several options. While the Raspberry Pi can handle some lightweight training tasks, it’s generally recommended to train your model on a more powerful computer and then deploy it to your Pi. Popular frameworks like TensorFlow Lite and OpenCV provide excellent tools for this purpose.
When training your model, begin with simple architectures and gradually increase complexity as needed. Monitor key metrics like accuracy and loss to avoid overfitting. For image classification projects, consider using transfer learning with pre-trained models to save time and computational resources.
Once your model achieves satisfactory performance, export it to a format compatible with Raspberry Pi’s capabilities. TensorFlow Lite models are particularly well-suited for Pi deployment, as they’re optimized for edge devices. Test your model thoroughly with various inputs before moving to the deployment phase.
Remember to document your training process, including hyperparameters and architecture decisions. This documentation will prove invaluable when troubleshooting or making improvements to your model later.

Deploying and Testing
Once your machine learning model is trained and ready, deploying it on your Raspberry Pi requires careful attention to optimize performance. Start by transferring your model files to the Pi using SSH or a USB drive. Before running the model, ensure all dependencies are properly installed and your Python environment is correctly configured.
To test your model, begin with a small dataset that represents your intended use case. Monitor the Pi’s resource usage during inference using commands like ‘top’ or ‘htop’ to ensure smooth operation. If you notice performance issues, consider using model optimization techniques like quantization or pruning to reduce computational overhead.
For real-time applications, such as advanced camera projects, implement a simple logging system to track inference times and accuracy. This helps identify potential bottlenecks and areas for improvement. Create a basic web interface or command-line tool to interact with your model, making it easier to input data and view results.
Remember to implement error handling and graceful shutdown procedures to protect your Pi from potential crashes. Regular testing under various conditions helps ensure reliable performance. For continuous deployment, consider setting up automated scripts that can restart your model if it encounters issues.
Document your deployment process, including any specific configurations or modifications needed for your particular setup. This documentation will prove invaluable when troubleshooting or scaling your project in the future. Finally, establish a maintenance schedule to update dependencies and check for potential security vulnerabilities in your deployed model.
Embarking on machine learning projects with Raspberry Pi opens up a world of possibilities for both learning and innovation. Throughout this guide, we’ve explored how this powerful combination can bring AI capabilities to your doorstep without breaking the bank. From setting up your first ML environment to implementing practical projects, the journey demonstrates that advanced computing concepts are increasingly accessible to hobbyists and developers alike.
The key takeaway is that Raspberry Pi provides an excellent platform for hands-on machine learning experimentation. Its combination of affordability, versatility, and community support makes it an ideal choice for beginners while offering enough capability for more advanced projects. Whether you’ve successfully implemented image recognition, created a smart home sensor, or built a voice assistant, these projects serve as stepping stones to more complex applications.
To continue your machine learning journey with Raspberry Pi, consider these next steps:
– Experiment with different ML frameworks beyond those we’ve discussed
– Join online communities and forums to share your projects and learn from others
– Contribute to open-source projects to gain more experience
– Explore edge computing applications for your existing projects
– Challenge yourself with more complex datasets and algorithms
Remember that the field of machine learning is constantly evolving, and your Raspberry Pi can grow with you as you tackle more ambitious projects. Start small, build incrementally, and don’t be afraid to experiment with new ideas. The skills you develop working with ML on Raspberry Pi will serve you well in both hobby projects and professional development.
As you progress, keep documenting your successes and challenges – your experience could help others in the community. Happy coding, and may your machine learning adventures with Raspberry Pi be both educational and rewarding!