

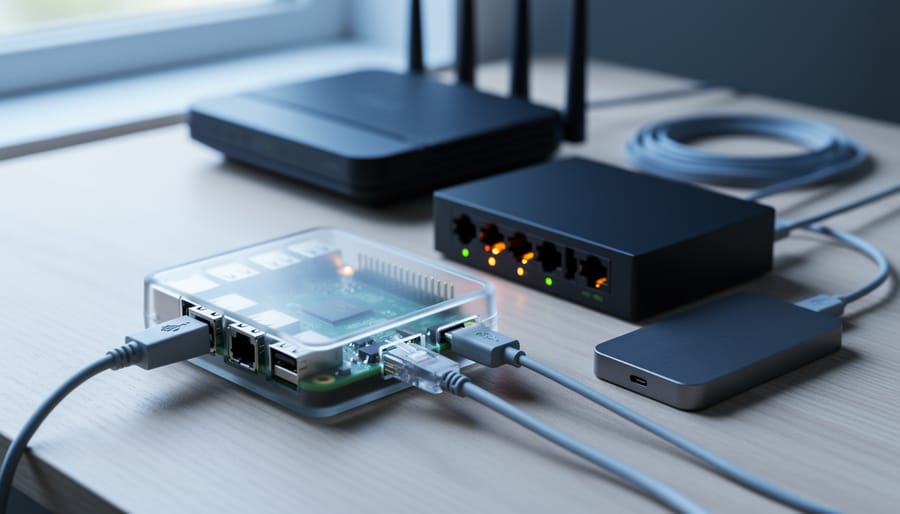
Transform a spare Raspberry Pi into a powerful learning platform by starting with a simple DNS server using Pi-hole to block ads across your entire network—it takes just 30 minutes and teaches you fundamental networking concepts. Build on this foundation by adding a media server with Plex or Jellyfin, giving you hands-on experience with file systems, user permissions, and remote access while creating something your whole household can enjoy.
Set up your first containerized application using Docker to run services like Home Assistant, Nextcloud, or a personal wiki. This approach lets you experiment without breaking your system, since each container runs in isolation. You’ll learn industry-standard deployment practices that directly translate to professional IT environments.
Create a monitoring dashboard with Prometheus and Grafana to visualize your home lab’s performance metrics. This project introduces you to data collection, time-series databases, and system observability—skills that are invaluable whether you’re troubleshooting network issues or building a career in DevOps.
The beauty of a Raspberry Pi home lab lies in its low cost and low risk. Unlike expensive server hardware, you can make mistakes, break things, and start over without financial consequences. Each project builds on the last, creating a compound learning effect where networking knowledge enhances your understanding of security, which improves your ability to manage services effectively.
This workshop-style guide walks you through everything from initial hardware selection to deploying your first services, ensuring you gain practical experience that extends far beyond following tutorials.
Why Raspberry Pi Makes the Perfect Home Lab Foundation
The Raspberry Pi has emerged as an ideal platform for building your first home lab, offering a unique combination of benefits that make it perfect for both beginners and experienced tech enthusiasts. Let’s explore why these credit-card-sized computers are transforming how we approach hands-on learning and experimentation.
One of the most compelling advantages is power efficiency. Unlike traditional servers that can consume hundreds of watts, a Raspberry Pi draws just 5-15 watts under typical load. This means you can run your home lab 24/7 without worrying about skyrocketing electricity bills. For a year of continuous operation, you’re looking at just a few dollars in energy costs compared to hundreds with conventional hardware.
Cost-effectiveness is another game-changer. With prices ranging from $15 to $75 depending on the model, you can build a multi-node cluster for less than the cost of a single traditional server. This affordability allows you to experiment freely without the fear of damaging expensive equipment. Choosing the right Raspberry Pi for your specific needs ensures you’re getting the best value for your projects.
The compact footprint means you can set up an entire lab in a desk drawer or on a small shelf. This is particularly valuable for apartment dwellers or anyone with limited space. You can easily transport your entire lab setup for demonstrations or collaborative projects.
Beyond the hardware benefits, a Raspberry Pi home lab provides invaluable real-world skills. You’ll gain hands-on experience with Linux administration, networking concepts, containerization, and automation—all highly sought-after skills in today’s job market. The ARM architecture used in Raspberry Pi devices also mirrors what you’ll find in cloud infrastructure and edge computing environments, making your learning directly applicable to professional scenarios.
Essential Hardware and Equipment You’ll Need
Core Components for Your Lab
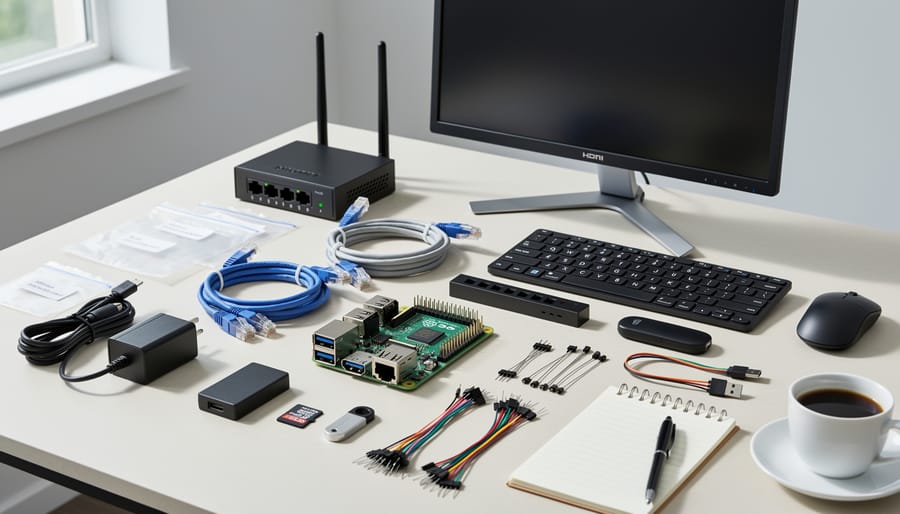
Building your home lab starts with selecting the right hardware. The Raspberry Pi 4 Model B (4GB or 8GB RAM) remains an excellent choice for most projects, offering solid performance at around $55-$75. If budget allows, the newer Raspberry Pi 5 delivers significantly faster processing speeds and improved connectivity, making it ideal for running multiple services simultaneously. Both models provide the Raspberry Pi capabilities needed for server applications, network monitoring, and development environments.
For power supplies, always use official Raspberry Pi adapters or certified alternatives providing at least 3A for the Pi 4 and 5A for the Pi 5. Underpowered supplies cause instability and random shutdowns. Storage-wise, invest in quality microSD cards from reputable brands like Samsung or SanDisk, with at least 32GB capacity and A2 rating for better performance. Consider 64GB or larger if you plan to run data-intensive applications.
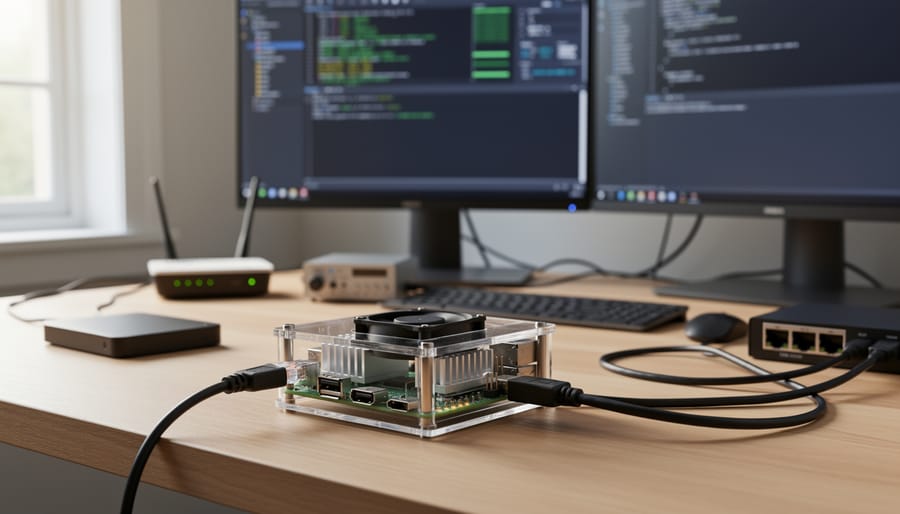
Proper cooling prevents thermal throttling during heavy workloads. The official Raspberry Pi case offers basic protection, but aluminum cases with passive cooling or cases with active fans keep temperatures lower during sustained use. The Argon ONE V2 case combines sleek design with excellent cooling and easy access to ports.
For serious lab setups, consider adding a powered USB hub for peripherals and external SSDs for faster, more reliable storage than SD cards alone.
Networking Equipment Essentials
A reliable networking setup is the backbone of any functional home lab. At minimum, you’ll need a gigabit ethernet switch to connect your Raspberry Pi devices—an 8-port unmanaged switch works great for most beginners and costs around $20-30. For larger setups, consider managed switches that offer VLAN support and traffic monitoring capabilities.
Quality ethernet cables matter more than you might think. Cat5e cables handle gigabit speeds adequately for short runs, but Cat6 cables provide better shielding and future-proofing for 10-gigabit upgrades. Keep various lengths on hand—1-foot patch cables keep things tidy, while 6-10 foot cables offer flexibility.
Your existing home router typically works fine, but ensure it supports DHCP reservation so your Pi devices maintain consistent IP addresses. This simplifies SSH connections and service access. A basic UPS (uninterruptible power supply) protects against sudden outages that can corrupt SD cards.
Optional but helpful accessories include a small rack or shelf system for organization, cable management clips, and a network testing tool for troubleshooting connectivity issues. These seemingly minor additions transform a messy collection of devices into a professional-looking home lab that’s both functional and maintainable.
Optional Upgrades Worth Considering
As you expand your home lab capabilities, several upgrades can significantly enhance your experience. External storage solutions like USB SSDs dramatically improve performance over SD cards, especially for database-heavy projects or media servers. Power over Ethernet (PoE) HATs eliminate the need for separate power adapters, creating cleaner cable management when running multiple units.
A small uninterruptible power supply (UPS) protects your lab from unexpected power outages and provides graceful shutdown capabilities, preventing data corruption. Consider investing in additional Raspberry Pi units to experiment with clustering technologies like Kubernetes or Docker Swarm—these multi-node setups teach valuable distributed computing concepts that mirror real-world enterprise environments.
Quality network switches with VLAN support enable advanced networking experiments, while dedicated cooling solutions like tower cases with active fans allow sustained heavy workloads. Start with one or two upgrades based on your specific projects, then expand as your skills and requirements grow.
Setting Up Your First Raspberry Pi Server
Installing and Configuring the Operating System
Getting your Raspberry Pi up and running is easier than ever with Raspberry Pi Imager, the official tool for flashing operating systems to your SD card. Start by downloading Raspberry Pi Imager from the official Raspberry Pi website and installing it on your computer. Insert your microSD card (minimum 8GB recommended) into your card reader.
When you launch the imager, you’ll face an important decision: Raspberry Pi OS Lite or Desktop. For home lab projects, Lite is often the better choice. This lightweight, command-line-only version consumes minimal resources, leaving more power for your server tasks and containerized applications. The Desktop version includes a graphical interface, which is helpful if you’re new to Linux or prefer visual navigation, but it uses significantly more RAM and storage. Consider your comfort level with the command line and whether you’ll need a monitor connected to your Pi.
After selecting your OS, choose your storage device and click the settings gear icon before writing. This crucial step enables headless setup, meaning you can configure your Pi without a monitor or keyboard. Enable SSH by checking the appropriate box and setting a secure password for the default pi user. Configure your WiFi credentials if you’re not using ethernet, and set your locale settings to match your timezone.
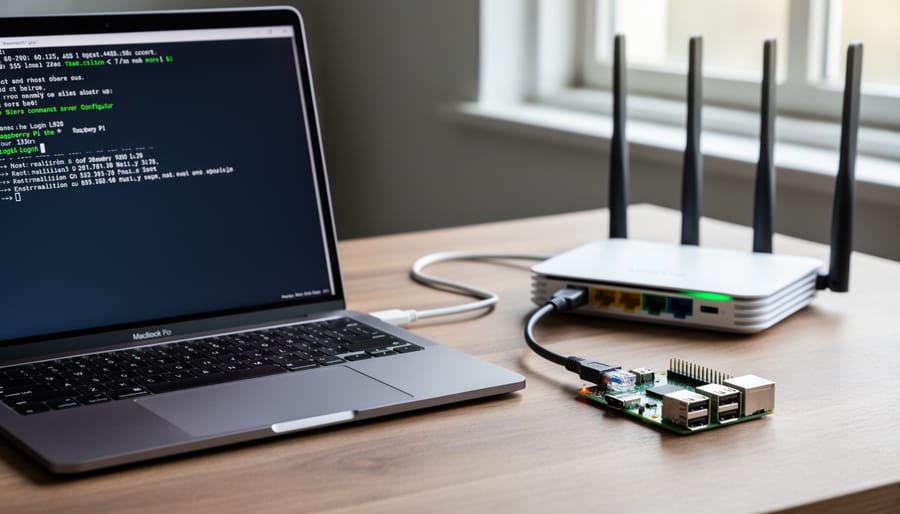
Once you’ve written the image to your SD card, insert it into your Raspberry Pi and power it on. After a minute or two, you can connect via SSH from your computer using the command ssh pi@raspberrypi.local or the IP address assigned by your router. This headless approach streamlines your workflow and is essential for managing multiple Pis in your lab. You can now install software tools for Pi projects and begin configuring your services.
Essential First Steps and Security Hardening
Before diving into exciting projects, securing your Raspberry Pi should be your top priority. These essential steps will protect your home lab from unauthorized access and establish a solid foundation for everything that follows.
Start by changing the default password immediately. The standard username “pi” with password “raspberry” is well-known and makes your device an easy target. Use the command `passwd` in the terminal and choose a strong, unique password combining letters, numbers, and special characters.
Next, update your system to patch security vulnerabilities and ensure compatibility. Run `sudo apt update` to refresh the package list, followed by `sudo apt full-upgrade` to install all available updates. Make this a regular habit, checking for updates weekly or setting up automatic updates for critical security patches.
Setting up SSH key authentication significantly enhances security over password-based access. Generate an SSH key pair on your main computer using `ssh-keygen`, then copy the public key to your Raspberry Pi with `ssh-copy-id pi@your-pi-ip-address`. Once verified, disable password authentication by editing `/etc/ssh/sshd_config` and setting `PasswordAuthentication no`.
Configure a basic firewall using UFW (Uncomplicated Firewall). Install it with `sudo apt install ufw`, then allow SSH access with `sudo ufw allow ssh` before enabling the firewall using `sudo ufw enable`. Add rules for specific services as you set up new projects, following the principle of least privilege.
Finally, consider changing the default username from “pi” to something unique, and disable root login completely. These straightforward security measures take less than 30 minutes but provide robust protection for your home lab environment.
Hands-On Networking Fundamentals for Your Lab
Understanding Your Home Network Structure
Before diving into your Raspberry Pi home lab, let’s demystify how your network actually works. Think of your home network as a neighborhood where every device needs a unique address to receive mail—that’s where IP addressing comes in.
Your router acts as the network’s postal service, managing two critical services: DHCP (Dynamic Host Configuration Protocol) and DNS (Domain Name System). DHCP automatically assigns IP addresses to devices when they connect, like giving temporary addresses to visitors. DNS translates friendly website names into IP addresses computers understand, similar to a phone book for the internet.
For your Raspberry Pi lab, you’ll want to configure a static IP address rather than relying on DHCP. Why? Imagine trying to access your Pi’s web server, but its address keeps changing every few days—frustrating, right? A static IP ensures your Pi always lives at the same address, making it reliable for hosting services.
To set this up, first check your router’s DHCP range (typically something like 192.168.1.100-192.168.1.200). Choose an IP address outside this range but within your network’s subnet, such as 192.168.1.50. Access your Pi’s network configuration file and set this static IP along with your router’s gateway address and DNS servers.
Pro tip: Document your static IP assignments in a simple spreadsheet. As your home lab grows with multiple Pis and services, you’ll thank yourself for maintaining this network map. This foundational step prevents IP conflicts and makes troubleshooting significantly easier down the road.
Setting Up Network Services
Now that your Raspberry Pi is up and running, let’s transform it into a powerful network services hub. We’ll start with three essential services that will give you hands-on experience while providing real value to your home network.
Pi-hole is an excellent first project that blocks ads and tracking at the DNS level for your entire network. Begin by installing Pi-hole with a single command: curl -sSL https://install.pi-hole.net | bash. The automated installer will guide you through the setup process, asking you to select an upstream DNS provider like Cloudflare or Google. Once installed, access the web interface by navigating to your Pi’s IP address followed by /admin. Configure your router to use your Pi’s IP address as the primary DNS server, and all devices on your network will automatically benefit from ad-blocking without requiring individual software installations.
Next, setting up a DHCP server gives you complete control over IP address assignments on your network. You can configure Pi-hole to handle DHCP duties, or use the standalone dnsmasq service. If using Pi-hole’s built-in DHCP, navigate to Settings, then the DHCP tab, and enable the DHCP server. Remember to disable DHCP on your existing router to prevent conflicts. Set your IP range carefully, leaving room for static assignments for servers and network equipment.
For network monitoring, install Netdata with the command: bash <(curl -Ss https://my-netdata.io/kickstart.sh). This real-time monitoring tool provides beautiful dashboards showing bandwidth usage, connected devices, and system performance. Access it through your browser at port 19999. These three services work together seamlessly, giving you visibility and control over your home network while teaching fundamental networking concepts through practical application.
Practical Home Lab Projects to Start With
Network-Wide Ad Blocking with Pi-hole
Pi-hole transforms your Raspberry Pi into a network-wide ad blocker that protects every device on your home network without installing individual software. This powerful DNS sinkhole blocks ads at the network level before they even reach your devices, resulting in faster browsing and reduced bandwidth usage.
To get started, ensure your Pi has a static IP address through your router’s DHCP settings. Install Pi-hole using the automated installer by running “curl -sSL https://install.pi-hole.net | bash” in your terminal. The installation wizard will guide you through selecting your DNS provider and configuring basic settings. Choose a strong admin password when prompted.
Once installed, access the web interface by navigating to your Pi’s IP address followed by “/admin” in any browser. The dashboard displays blocking statistics and allows you to whitelist or blacklist specific domains. For optimal performance, configure your router’s DHCP settings to point all devices to your Pi-hole’s IP address as the primary DNS server.
Start with the default blocklists, then gradually add more from the community as needed. Within hours, you’ll notice fewer ads across all your devices, including smart TVs and mobile phones that typically can’t use browser extensions.
Personal Cloud Storage with Nextcloud
Nextcloud transforms your Raspberry Pi into a private cloud storage solution, giving you complete control over your files without relying on third-party services. Start by updating your system with sudo apt update && sudo apt upgrade, then install Apache, MariaDB, and PHP using sudo apt install apache2 mariadb-server php php-mysql php-gd php-curl php-zip php-xml php-mbstring. After securing MariaDB with sudo mysql_secure_installation, download the latest Nextcloud package from their official website and extract it to /var/www/html/.
Configure proper permissions by running sudo chown -R www-data:www-data /var/www/html/nextcloud, then create a database for Nextcloud through MariaDB. Access your Pi’s IP address in a browser to complete the web-based installation wizard, where you’ll create an admin account and connect to your database.
Once installed, download the Nextcloud desktop client or mobile app to sync files seamlessly across all your devices. You can now upload documents, photos, and videos while maintaining complete privacy. Consider setting up port forwarding on your router and implementing SSL certificates for secure external access. This project typically takes 30-45 minutes to complete and provides an excellent foundation for exploring additional Nextcloud features like calendar syncing and collaborative document editing.
Home Automation Hub with Home Assistant
Home Assistant transforms your Raspberry Pi into a powerful home automation hub, providing centralized control for all your smart devices. This open-source platform supports thousands of devices from different manufacturers, eliminating the need for multiple apps and hubs. Getting started is straightforward—download the Home Assistant Operating System image, flash it to your microSD card using tools like Raspberry Pi Imager, and boot up your Pi. Once running, access the web interface through your browser to begin the setup wizard. From there, you can connect smart lights, thermostats, sensors, and security cameras through automatic discovery or manual configuration. Home Assistant’s intuitive dashboard lets you create automations, such as turning lights on at sunset or adjusting temperature based on occupancy. Building a smart home with Raspberry Pi becomes remarkably accessible when you leverage Home Assistant’s extensive documentation and active community support for troubleshooting and advanced configurations.
Media Server with Plex or Jellyfin
Transform your Raspberry Pi into a personal Netflix by installing either Plex or Jellyfin. Start by installing Raspberry Pi OS Lite and updating your system with sudo apt update && sudo apt upgrade. For Jellyfin, the open-source option, add the official repository and install using apt. Plex requires downloading their ARM-compatible package from their website. Both applications run through your web browser, letting you organize movies, TV shows, and music stored on an external hard drive connected via USB. Configure your media libraries by pointing the software to your content folders, and enable remote access if you want streaming outside your home network. Your Pi 4 with 4GB RAM handles 1080p streaming smoothly to multiple devices simultaneously.
Troubleshooting Common Home Lab Issues
Even experienced tinkerers encounter hiccups when building their Raspberry Pi home labs. Let’s tackle the most common issues you might face and get you back on track quickly.
Problem: Your Raspberry Pi won’t boot or shows a blank screen.
Solution: This typically points to power supply issues or SD card problems. Make sure you’re using an official power adapter or one that provides at least 5V/3A for Raspberry Pi 4 models. Check that your SD card is properly flashed with the operating system by re-imaging it using the Raspberry Pi Imager tool. If you see a rainbow square on screen, that confirms insufficient power.
Problem: Cannot connect to your Raspberry Pi via SSH.
Solution: First, verify SSH is enabled on your Pi. If you set up a headless installation, ensure you created an empty file named “ssh” in the boot partition. Check that your Pi and computer are on the same network by pinging the Pi’s IP address. Use your router’s admin panel to find the assigned IP if you’re unsure. For future convenience, set up a static IP address in your router settings to avoid connection issues.
Problem: Network services are unreachable from other devices.
Solution: This often relates to firewall settings or incorrect port forwarding. Use the command “sudo ufw status” to check your firewall rules and ensure necessary ports are open. For services like Pi-hole or web servers, verify the service is actually running using “sudo systemctl status servicename”. Double-check that you’re accessing the correct IP address and port combination.
Problem: Running out of storage space quickly.
Solution: Regular maintenance helps tremendously. Clean up package caches with “sudo apt clean” and remove unused packages with “sudo apt autoremove”. Consider using external storage via USB for large files or Docker containers. Monitor disk usage with the “df -h” command to identify space hogs before they become critical.
Remember, troubleshooting is part of the learning process. Document your solutions as you discover them, creating your own knowledge base for future reference.
Expanding Your Lab: Next Steps and Advanced Ideas
Once you’ve mastered the basics of running a single Raspberry Pi lab, you’ll naturally want to expand your capabilities and tackle more ambitious projects. The beauty of a Raspberry Pi home lab is its scalability—adding more devices opens up exciting possibilities for clustering, distributed computing, and enterprise-level technologies at home.
Start by acquiring a second or third Raspberry Pi to experiment with multi-node setups. This allows you to simulate real-world network environments and learn about load balancing, failover systems, and distributed applications. You can create dedicated servers for different functions: one for web hosting, another for database management, and a third for monitoring and logging.
Containerization is your next natural progression. Docker transforms how you deploy applications on your Pis, allowing you to run isolated services without conflicts. Begin with simple containers like Pi-hole or Portainer, then graduate to creating custom Docker images. This hands-on experience translates directly to professional DevOps skills and complements home automation projects beautifully.
For those ready to dive deeper, Kubernetes represents the frontier of container orchestration. While resource-intensive, lightweight distributions like K3s are specifically designed for Raspberry Pi clusters. Setting up a three-node Kubernetes cluster teaches you cloud-native architecture and prepares you for modern infrastructure management.
Create a learning roadmap that progresses logically. Start with basic networking and services, move to containerization, then explore clustering technologies. Document everything—your configurations, troubleshooting steps, and lessons learned. Consider integrating monitoring tools like Prometheus and Grafana to visualize your lab’s performance.
Remember, expanding your lab isn’t just about accumulating hardware. Focus on projects that genuinely interest you, whether that’s building a private cloud, experimenting with CI/CD pipelines, or creating a media server cluster. Each addition should teach you something new while reinforcing fundamental concepts. The journey from single Pi to sophisticated multi-node environment is where real learning happens.
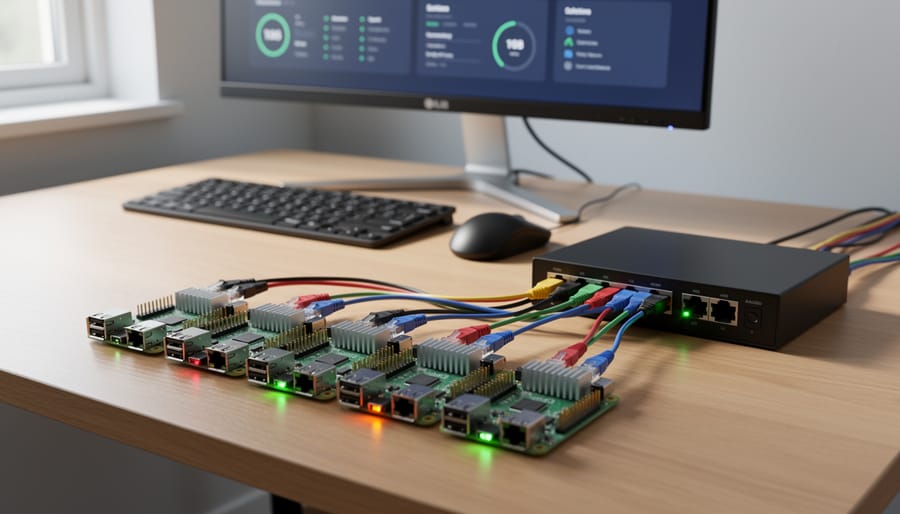
Building your own Raspberry Pi home lab isn’t just accessible—it’s one of the most rewarding tech projects you can undertake. You don’t need an extensive background in networking or programming to get started. The beauty of beginning with a Raspberry Pi is that these affordable, compact computers let you experiment, make mistakes, and learn without significant financial risk.
Start simple. Choose one project from this workshop guide that resonates with your interests—whether it’s a basic web server, a network-wide ad blocker, or a media center. Complete it from start to finish. That single accomplishment will give you the confidence and foundational knowledge to tackle more complex configurations later.
The skills you’ll develop through hands-on home lab experimentation—Linux administration, networking fundamentals, troubleshooting, and system automation—are genuinely valuable in today’s tech landscape. These aren’t just hobbyist pursuits; they’re capabilities that professionals use daily in IT, cybersecurity, and development roles.
You now have the roadmap, the hardware recommendations, and the project ideas to begin your journey. Your home lab awaits. Power up that Raspberry Pi, open a terminal window, and start building. The hands-on learning experience you create will be uniquely yours, shaped by curiosity and driven by the satisfaction of making technology work for you.