

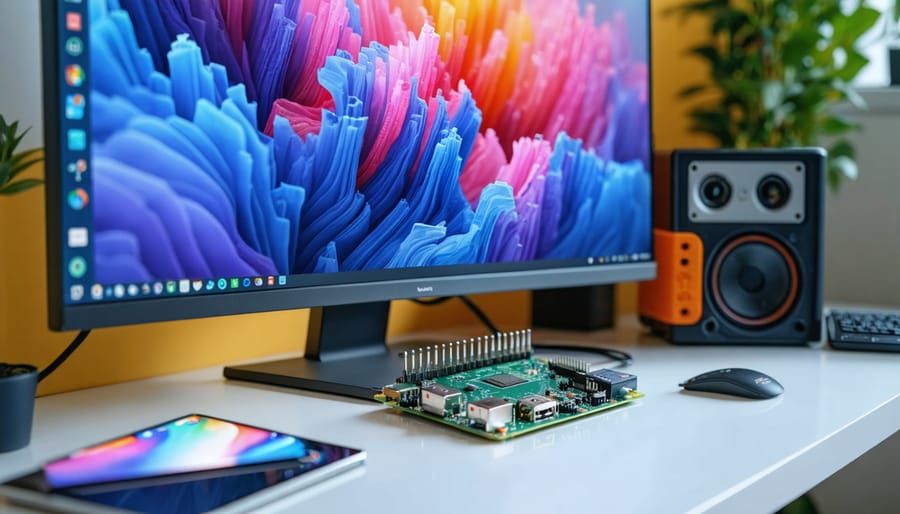
Transform your artistic vision into a dynamic digital display for under $100 using a Raspberry Pi as the backbone of your custom signage system. Mount the credit-card-sized computer behind any HDMI monitor, install free digital signage software like Screenly OSE or Anthias, and watch your gallery rotate images, videos, and Raspberry Pi music projects with professional polish.
**Start by selecting your hardware strategically.** The Raspberry Pi 4 (4GB RAM) delivers smooth 4K playback for high-resolution artwork, while the Pi 3B+ handles 1080p displays perfectly for budget-conscious creators. Pair it with a microSD card (32GB minimum), reliable power supply, and a compatible monitor to build your foundation.
**Choose software that matches your skill level.** Beginners benefit from user-friendly platforms like Screenly, which offers drag-and-drop scheduling through a web interface. Advanced users can leverage PiSignage for playlist customization or FullPageOS for browser-based displays that pull content directly from cloud galleries.
**The beauty of DIY digital signage lies in its versatility.** Deploy your system as an exhibition piece in art studios, create rotating portfolios for creative spaces, or build interactive music visualizers for performances. Unlike expensive commercial solutions that lock you into proprietary ecosystems, your Raspberry Pi setup remains fully customizable and expandable as your projects evolve.
This guide walks you through every step—from selecting components and comparing software options to creating your first compelling display and troubleshooting common challenges.
Why Raspberry Pi Beats Commercial Digital Signage for Artists
The Real Cost Breakdown
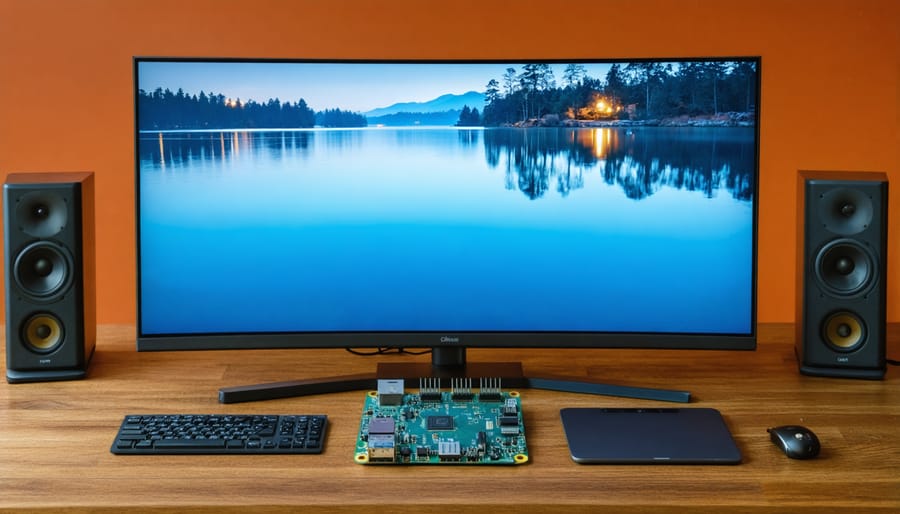
Let’s break down the numbers to see just how much you’ll save with a DIY approach. A basic Raspberry Pi 4 (4GB) costs around $55, while an official power supply runs $8. Add a microSD card ($10), HDMI cable ($6), and a protective case ($10), and you’re looking at roughly $89 for the core setup.
Compare this to commercial digital signage solutions, which typically start at $300-500 for entry-level hardware alone, plus monthly software subscriptions ranging from $10-30. That’s $420-860 in the first year!
For display hardware, you can repurpose an existing monitor or TV—a huge cost saver. If purchasing new, budget displays start around $100-150. Even with a new screen, your total investment stays under $250, representing savings of 40-70% compared to commercial alternatives.
Need multiple displays? The savings multiply. Three Raspberry Pi setups cost approximately $267 versus $900-1500 for commercial units. Plus, open-source software eliminates recurring subscription fees, making this approach especially attractive for educators, small businesses, and creative professionals managing ongoing projects.
Creative Freedom Without Subscriptions
One of the most compelling advantages of building your own Raspberry Pi digital signage system is breaking free from expensive subscription models. Commercial digital signage platforms typically charge $10-50 per screen monthly, which adds up quickly for multi-display installations. With a DIY approach, you pay once for hardware and enjoy unlimited usage.
You’re not locked into proprietary ecosystems either. Unlike vendor-specific solutions that restrict content formats or require particular file types, your Raspberry Pi setup gives you complete control. Display rotating artwork from any source, create custom slideshows with Python scripts, or integrate real-time data feeds—all without requesting permission or paying upgrade fees.
The customization possibilities are genuinely limitless. Want to display generative art that responds to music? Build it. Need a gallery wall that pulls images from your own server? Done. Commercial solutions often charge premium prices for features you can implement yourself using free, open-source software like Screenly OSE, Pi Signage, or even simple web-based displays.
This freedom means your digital art display evolves with your needs rather than being constrained by someone else’s roadmap. You invest in hardware once and maintain complete creative autonomy forever.
Essential Hardware You’ll Need
Choosing Your Raspberry Pi Model
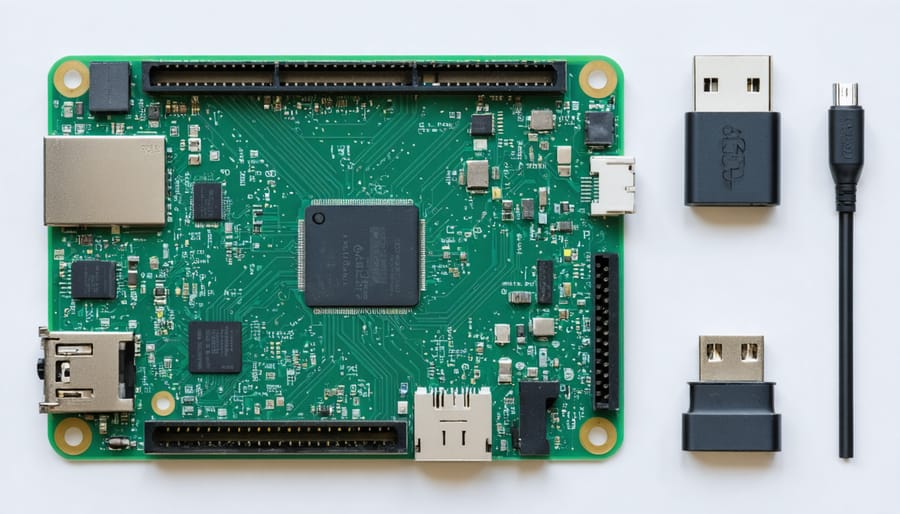
Selecting the right Raspberry Pi model significantly impacts your digital signage performance and budget. For most art display applications, the **Raspberry Pi 4** (4GB RAM) offers excellent value, handling high-resolution images and smooth transitions effortlessly. It’s powerful enough for rotating galleries, slideshow displays, and even basic video art installations.
If you’re working with demanding content like 4K video art or interactive displays, the newer **Raspberry Pi 5** delivers superior processing power and improved graphics capabilities. However, it comes at a higher price point, so consider whether your project truly requires this extra performance.
Budget-conscious creators can still achieve impressive results with the **Raspberry Pi 3B+** for static images or simple slideshows. While it handles 1080p content adequately, you may notice slower loading times with larger image files.
For ultra-compact installations, the **Raspberry Pi Zero 2 W** works surprisingly well for basic digital art displays, though it’s best suited for smaller screens and lighter content loads.
When planning your digital signage setup alongside other Raspberry Pi projects, matching your model to your specific display requirements ensures smooth performance without overspending on unnecessary hardware capabilities.
Display Options That Actually Work
Choosing the right display for your Raspberry Pi digital signage project doesn’t need to break the bank. Any HDMI-compatible monitor or TV will work, but there are sweet spots worth targeting.
For resolution, aim for 1920×1080 (Full HD) as your baseline. The Raspberry Pi 4 handles this beautifully, and it’s the standard for most modern displays. If you’re using a Pi 3 or older, stick with 720p to avoid performance hiccups. The Pi 4 can push 4K, but for digital signage purposes, Full HD offers the best balance of clarity and smooth operation.
**HDMI Considerations**: Raspberry Pi 4 uses micro-HDMI ports, so budget for adapters or appropriate cables. Older Pi models use standard HDMI, which is more straightforward. Test your HDMI-CEC settings—some displays can be powered on and off remotely through the Pi, saving energy and simplifying operation.
**Mounting Solutions**: For wall installations, VESA mount-compatible displays make life easier. Pick up a basic TV wall mount from any hardware store, or get creative with picture frame enclosures for smaller screens. Portrait orientation works great for menu boards or art displays—just ensure your chosen software supports screen rotation.
Consider refurbished commercial displays for budget-friendly reliability, or repurpose that spare monitor gathering dust in your closet.
Storage and Power Solutions
Your Raspberry Pi digital signage needs reliable storage and consistent power to run smoothly. Start with a quality microSD card—at least 32GB Class 10 or UHS-I rated for faster read/write speeds. Samsung EVO or SanDisk Ultra models offer excellent reliability for continuous operation.
For displaying high-resolution art files or videos, consider adding a USB 3.0 external drive or thumb drive. This offloads large media from your microSD card, improving performance and longevity.
Power is critical—display interruptions frustrate viewers and can corrupt your storage. Use the official Raspberry Pi power supply (5V/3A for Pi 4, 5V/2.5A for Pi 3) rather than random phone chargers. For professional installations, invest in an uninterruptible power supply (UPS) to protect against unexpected outages. Some makers prefer PoE (Power over Ethernet) HATs, which simplify cable management by delivering power through your network connection.
Best Software Options for Digital Art Displays
Screenly OSE: The Artist-Friendly Choice
Screenly Open Source Edition (OSE) stands out as one of the most beginner-friendly solutions for Raspberry Pi digital signage. This free, open-source software excels at displaying images and videos in a continuous loop, making it perfect for art galleries, music venues, or home displays showcasing your creative work.
The beauty of Screenly OSE lies in its simplicity. Once installed on your Raspberry Pi, you’ll access a clean web-based interface from any device on your network. Simply drag and drop your media files, set display durations, and arrange your playlist order. The software supports common formats like JPG, PNG, MP4, and even web URLs, giving you flexibility in content creation.
Getting started requires just a few steps: flash Screenly’s disk image to your SD card using tools like Raspberry Pi Imager, boot up your Pi, and connect to the web interface through your browser. Within minutes, you’ll have a fully functional digital sign without writing a single line of code.
While Screenly OSE lacks some advanced scheduling features found in paid alternatives, it’s ideal for straightforward projects where you need reliable, rotating visual content. The active community provides excellent documentation and troubleshooting support, ensuring you’re never stuck on technical issues.
info-beamer and Anthias for Advanced Control
For those ready to push beyond basic slideshow capabilities, info-beamer and Anthias (formerly Screenly OSE) offer sophisticated control over your digital art displays. These platforms transform your Raspberry Pi into a professional-grade signage system with features that shine in gallery settings and interactive installations.
Info-beamer excels at creating dynamic, responsive displays. You can divide your screen into multiple zones showing different content simultaneously—imagine displaying artwork in the main area while a side panel shows artist information or event schedules. Its scheduling engine lets you program content changes based on time, day, or even external triggers like sensors or API calls. This makes it perfect for installations that respond to viewer presence or environmental conditions.
Anthias provides an intuitive web interface for managing your digital signage remotely. Upload images, videos, and web content through your browser, then arrange them in playlists with precise timing controls. The open-source platform supports multiple displays from a central dashboard, making it ideal for multi-room exhibitions or distributed art projects.
Both platforms require more initial setup than basic solutions, but they reward your effort with professional-level control. Info-beamer offers a paid hosted service alongside its free version, while Anthias remains completely open-source—choose based on your technical comfort level and feature requirements.
Simple Solutions: Feh and Omxplayer
When you’re just getting started with digital signage, you don’t need fancy software or complicated setups. Two command-line tools—Feh and Omxplayer—offer straightforward solutions that work beautifully on the Raspberry Pi’s limited resources.
**Feh** is your go-to image viewer for creating simple slideshows. This lightweight tool displays images in fullscreen mode and automatically cycles through them at intervals you define. With a single command like `feh –fullscreen –slideshow-delay 10 /path/to/images/`, you’ll have a working digital art display in seconds. It’s perfect for rotating artwork, classroom presentations, or gallery exhibitions.
**Omxplayer** handles video playback with impressive efficiency, leveraging the Raspberry Pi’s hardware acceleration. It plays most video formats smoothly, even high-definition content on older Pi models. The command `omxplayer –loop /path/to/video.mp4` creates a continuous video loop—ideal for music videos, promotional content, or ambient visual displays.
Both tools require minimal setup, consume little memory, and work reliably for basic digital signage needs. They’re excellent starting points before exploring more feature-rich solutions, and many users find they’re all they ever need.
Step-by-Step Setup: From Box to Beautiful Display
Preparing Your Raspberry Pi
Getting your Raspberry Pi ready for digital signage is straightforward and takes about 30 minutes. Start by downloading the latest Raspberry Pi OS (previously called Raspbian) from the official Raspberry Pi website. We recommend using Raspberry Pi Imager, a user-friendly tool that simplifies the installation process onto your microSD card.
Insert the microSD card into your computer, launch Raspberry Pi Imager, and select “Raspberry Pi OS (32-bit)” as your operating system. Choose your microSD card as the storage destination, then click “Write.” The imager will handle everything automatically.
Once complete, insert the card into your Raspberry Pi, connect a keyboard, mouse, and monitor, then power it up. You’ll be greeted by a setup wizard that walks you through connecting to Wi-Fi, setting your timezone, and creating a password.
Before proceeding with signage software, open the Terminal and run these essential commands:
“`
sudo apt update
sudo apt upgrade -y
“`
This ensures all system packages are current and your Pi runs smoothly. The upgrade process typically takes 10-15 minutes depending on your internet connection. Once finished, reboot your Pi with `sudo reboot`, and you’re ready to transform it into a powerful digital display!
Installing Your Chosen Signage Software
Let’s walk through installing Screenly OSE, one of the most popular open-source digital signage solutions for Raspberry Pi. This straightforward process will have your display running in about 30 minutes.
First, ensure your Raspberry Pi is running a fresh install of Raspberry Pi OS Lite (32-bit). Open the terminal and update your system:
“`
sudo apt update && sudo apt upgrade -y
“`
Next, download and run the Screenly OSE installation script with this single command:
“`
bash <(curl -sL https://www.screenly.io/install-ose.sh)
```
The installer will automatically handle dependencies and configure your system. This process typically takes 15-20 minutes, so grab a coffee while it works its magic. Once complete, your Pi will reboot automatically.
After rebooting, access the Screenly web interface by opening a browser on any device connected to the same network. Navigate to `http://[your-pi-ip-address]` to reach the dashboard where you'll manage your content.
**Common troubleshooting tips:** If the installation fails, verify your internet connection is stable. For "permission denied" errors, ensure you're using `sudo` where required. If the web interface doesn't load, check that your Pi's IP address hasn't changed—use `hostname -I` in the terminal to confirm it.
You're now ready to upload images, videos, and web pages to create your custom digital signage display!
Uploading and Scheduling Your Art
Now that your digital signage system is up and running, it’s time to populate it with content. Most solutions like Screenly OSE provide a web-based dashboard where you can upload files directly from your computer or pull content from URLs.
Start by organizing your media files beforehand—supported formats typically include JPG, PNG, MP4, and web URLs. For music visualizations, consider using web-based visualizers or install specialized software like Cava for terminal-based audio displays.
To create a playlist, simply upload your images and videos through the interface, then assign display durations to each asset. Most systems let you set individual timings—for example, 15 seconds for images and full duration for videos. Drag and drop items to reorder your sequence.
Scheduling takes your display to the next level. Set specific content to appear during certain hours or days—perfect for displaying morning announcements, evening ambiance, or weekend-specific art. Many platforms support multiple playlists that automatically rotate based on your configured schedule.
For dynamic content, integrate RSS feeds, weather widgets, or social media streams. This keeps your display fresh without constant manual updates, ideal for educational settings or public installations.
Boot Settings and Auto-Start Configuration
To ensure your digital signage launches automatically, you’ll need to configure your Raspberry Pi’s boot settings. First, enable auto-login by running `sudo raspi-config`, navigating to System Options > Boot / Auto Login, and selecting Desktop Autologin. This eliminates the login screen.
Next, create an autostart file to launch your signage software. Open terminal and type `nano ~/.config/lxsession/LXDE-pi/autostart`. Add these lines:
“`
@xset s off
@xset -dpms
@xset s noblank
@chromium-browser –kiosk –noerrdialogs –disable-infobars –app=your-content-url
“`
These commands disable screen blanking and launch Chromium in kiosk mode. Replace `your-content-url` with your signage content location. For a cleaner look, hide the taskbar by right-clicking it and selecting Panel Settings > Advanced > Minimize panel when not in use. Save all changes and reboot to test your configuration.
Creative Project Ideas for Digital Art Signage
Rotating Digital Art Gallery
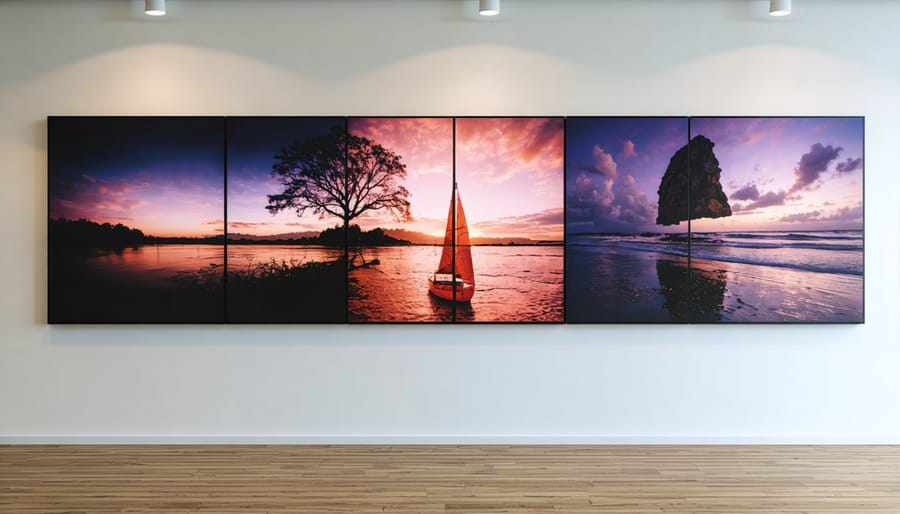
Transform your Raspberry Pi into a stunning rotating art gallery that breathes life into your favorite digital artwork and photography. Start by creating a dedicated folder on your Pi to store high-resolution images—JPEGs or PNGs work best for smooth playback. Use the lightweight **feh** image viewer, which you can install with a simple `sudo apt-get install feh` command.
Configure feh to run at startup by editing your autostart file, adding the command `feh –fullscreen –slideshow-delay 30 –randomize /home/pi/gallery/`. This displays each image for 30 seconds in random order. For more control, try **Pi3D** or **Pygame** to add elegant transition effects like fades and crossfades.
Connect your Raspberry Pi to any HDMI display—from repurposed monitors to modern smart TVs—and mount it in your living room, office, or hallway. You can even sync multiple displays throughout your home for a cohesive gallery experience. Update your collection regularly via USB or network transfer to keep your digital gallery fresh and inspiring.
Live Music Visualization Display
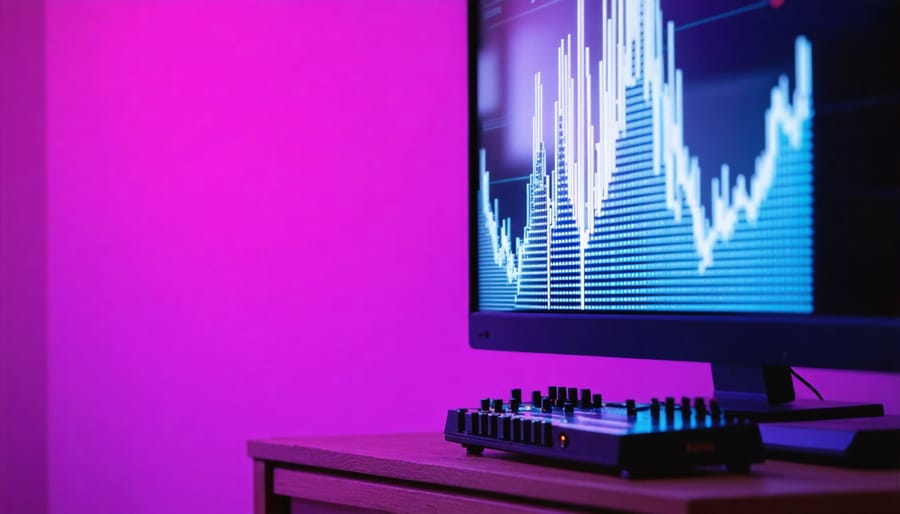
Transform your Raspberry Pi into a mesmerizing music visualization display that reacts to audio in real-time. Two excellent tools make this achievable: ProjectM and Cava. ProjectM delivers stunning 3D visual effects that pulse and morph with your music, while Cava offers sleek, customizable audio spectrum displays perfect for minimalist setups.
Start by installing your chosen software through the terminal. For ProjectM, use `sudo apt-get install projectm-pulseaudio`, while Cava requires adding a repository first. Connect your audio source—whether it’s streaming services, local files, or a microphone input—and watch as the visuals instantly respond to beats, frequencies, and volume changes.
Both tools are highly customizable, letting you adjust colors, sensitivity, and visual styles. ProjectM includes hundreds of preset visualizations, while Cava allows fine-tuning through its configuration file. The result? A captivating display perfect for parties, relaxation spaces, or simply adding ambiance to your listening experience.
Weather-Responsive Art Installations
Transform your Raspberry Pi digital signage into a living artwork that responds to real-world conditions. By integrating weather APIs like OpenWeatherMap with generative art libraries such as Processing or p5.js, you can create displays that shift palettes, patterns, and imagery based on temperature, precipitation, or time of day. For example, your display might show warm, vibrant colors on sunny days and cool, muted tones during rain.
Start by fetching weather data using Python’s `requests` library, then map conditions to visual parameters. A sunrise might trigger golden gradients, while evening could activate deep blues and purples. This project combines programming skills with artistic expression, similar to other smart home projects that blend functionality with ambiance.
Consider adding sensors for local temperature or light levels to make your installation even more responsive. The result is an ever-changing digital canvas that reflects your environment in real-time.
Troubleshooting Common Setup Issues
Fixing Display and HDMI Problems
Display issues are among the most common frustrations when setting up your Raspberry Pi digital signage, but they’re usually straightforward to fix.
**Blank Screen Problems**
If your screen shows nothing, first verify your HDMI cable is securely connected at both ends. Try a different cable or HDMI port, as faulty connections cause most blank screens. Ensure your display is powered on and set to the correct input source. If you’re using an adapter, test without it first to rule out compatibility issues.
**Resolution Mismatches**
When content appears stretched or doesn’t fill your screen properly, you’ll need to adjust the resolution settings. Edit the `/boot/config.txt` file by accessing your Pi through SSH or directly. Add these lines to force a specific resolution:
“`
hdmi_group=2
hdmi_mode=82
“`
Mode 82 sets 1080p at 60Hz—check the official Raspberry Pi documentation for other resolution codes that match your display.
**Overscan and Underscan Fixes**
Black borders around your content indicate overscan issues. In the same `config.txt` file, disable overscan by setting `disable_overscan=1`. For fine-tuning, adjust individual borders using `overscan_left`, `overscan_right`, `overscan_top`, and `overscan_bottom` parameters with positive or negative pixel values until your content fits perfectly.
Always reboot after configuration changes to apply them.
Improving Performance and Reducing Lag
Smooth performance is crucial for professional-looking digital signage. Start by optimizing your media files—resize images to match your display’s resolution (typically 1920×1080) and compress them using tools like TinyPNG or GIMP. Large files consume precious memory and cause stuttering during transitions.
Next, adjust your Raspberry Pi’s GPU memory allocation. Open the terminal and type `sudo raspi-config`, navigate to Performance Options, then GPU Memory. Allocate at least 256MB for displays showing images and videos, or 128MB for simple slideshows. This gives your Pi enough graphics horsepower for smooth rendering.
For video content, use H.264 codec with hardware acceleration, which the Raspberry Pi handles efficiently. Avoid resource-heavy formats like 4K videos on older Pi models—the Pi 4 handles higher resolutions better than its predecessors.
Consider disabling unnecessary background services and using lightweight software like feh for image displays or VLC in kiosk mode for videos. If you’re running a web-based interface, disable browser animations and use static content when possible.
Finally, ensure adequate cooling with heatsinks or a small fan, as thermal throttling significantly impacts performance during extended operation.
You’ve now got everything you need to bring your digital signage project to life! Whether you’re planning to display rotating artwork in your studio, showcase event information, or create an interactive music visualization system, your Raspberry Pi offers endless creative possibilities. The beauty of this DIY approach lies not just in the cost savings, but in the complete control and customization you have over every aspect of your display.
Don’t let perfectionism hold you back from starting. Begin with a simple setup and expand as you gain confidence. Remember, every expert in DIY Raspberry Pi builds started exactly where you are now. Experiment with different software options, test various display layouts, and don’t be afraid to troubleshoot along the way—that’s where the real learning happens.
We’d love to see what you create! Share your digital signage projects, unique configurations, and creative solutions with our community. Your experience could inspire and help others on their journey. Browse our site for more Raspberry Pi tutorials, project ideas, and technical guides to keep your creativity flowing. Have questions or want to showcase your completed build? Connect with us and join a community of makers who are transforming spaces with innovative digital displays. Now grab your Raspberry Pi and start building!