

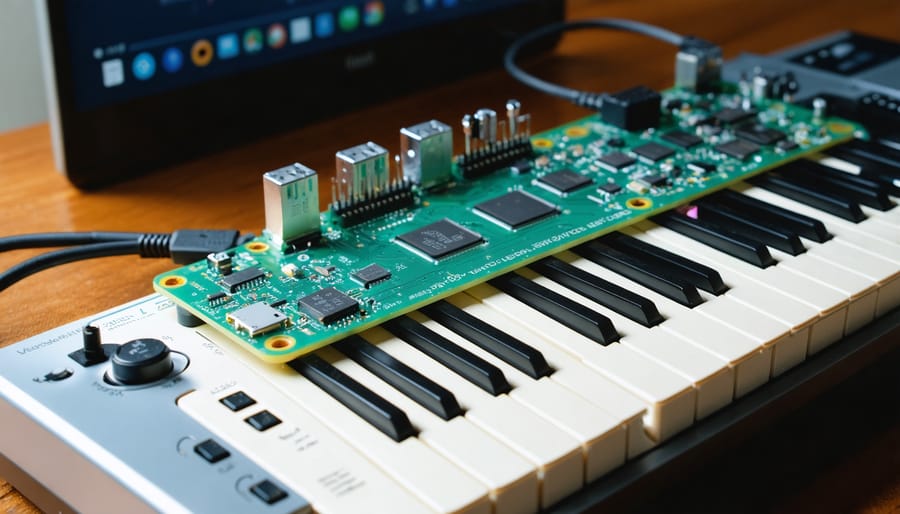
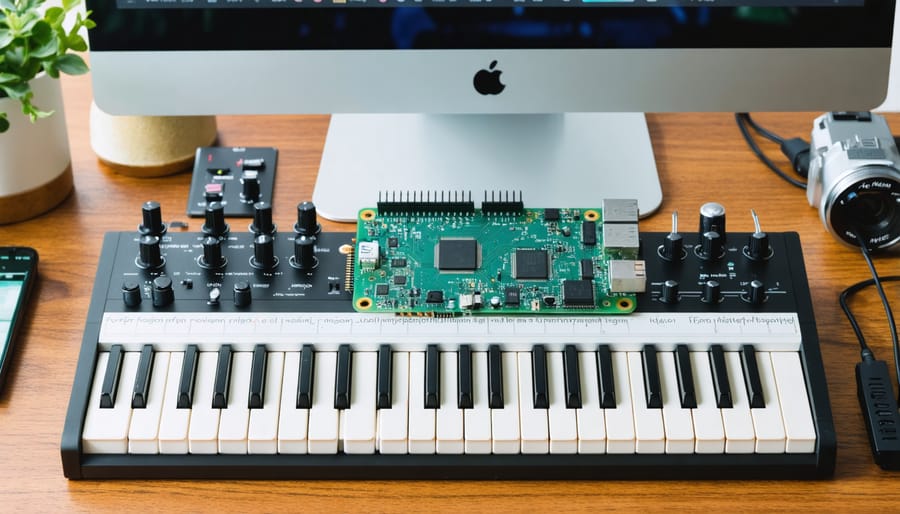
Transform your Raspberry Pi into a fully functional digital piano using readily available components and straightforward programming. Connect a standard USB MIDI keyboard to your Pi’s USB port, install Piano-Python libraries through the terminal, and configure ALSA drivers for optimal audio output. Leverage Raspberry Pi project kits to simplify the hardware setup process, especially if you’re new to DIY electronics.
This versatile setup enables realistic piano sounds, MIDI recording capabilities, and custom sound modifications through Python scripts. By combining affordable hardware with open-source software, create a powerful digital instrument that rivals commercial alternatives at a fraction of the cost. The project scales from basic piano functionality to advanced features like sound synthesis, multi-track recording, and even AI-powered music generation.
Whether you’re a musician seeking a customizable instrument or a developer exploring audio programming, this Raspberry Pi piano project offers endless possibilities for experimentation and creativity. The entire setup process takes approximately two hours, requires basic Linux knowledge, and costs under $100 excluding the MIDI keyboard.
Required Hardware Components
Core Components
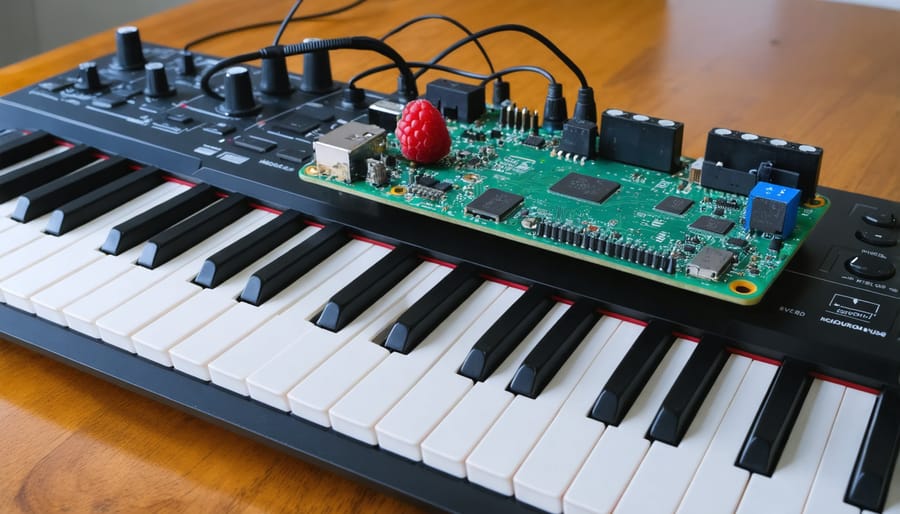
Building a Raspberry Pi piano requires several key components working in harmony. Like many DIY Raspberry Pi projects, the heart of this system is the Raspberry Pi itself. For optimal performance, we recommend using a Raspberry Pi 4 Model B with at least 2GB RAM, though earlier models can work with some limitations.
The second essential component is a USB MIDI keyboard. While professional MIDI keyboards offer enhanced features, budget-friendly options like the Alesis V49 or AKAI LPK25 work perfectly for beginners. These keyboards connect directly to your Pi via USB, providing immediate plug-and-play functionality.
For audio output, you’ll need either a USB audio interface or the Pi’s built-in 3.5mm audio jack. We recommend a USB audio interface like the Behringer UCA202 for better sound quality. You’ll also need powered speakers or headphones for output, and a reliable 5V power supply rated at least 3A for the Raspberry Pi to ensure stable operation during extended playing sessions.
Optional Accessories
To enhance your Raspberry Pi piano project, several optional accessories can significantly improve your playing experience. A 7-inch touchscreen display can be mounted to show virtual piano keys, sheet music, or a customized interface. Consider adding a MIDI controller or keyboard for more authentic piano feel and better key response. USB sustain pedals are available for under $20 and add essential piano functionality.
For improved sound quality, connect powered speakers or a digital audio converter (DAC) to bypass the Raspberry Pi’s basic audio output. A dedicated USB audio interface can provide better sound processing and lower latency. If you’re building a permanent setup, consider a custom case to house all components neatly.
Motion sensors or LED strips can add interactive elements to your project, creating visual feedback when keys are pressed. For wireless connectivity, a Bluetooth adapter enables connection to wireless speakers or headphones. Don’t forget about a reliable power supply – a 5V 3A adapter is recommended for stable performance, especially when using multiple accessories.
Software Setup and Configuration
Operating System and Dependencies
Before diving into the piano project, ensure you have a properly configured Raspberry Pi running the latest version of Raspberry Pi OS (formerly Raspbian). If you’re new to getting started with Raspberry Pi, installing the operating system is straightforward using the Raspberry Pi Imager tool.
Once your OS is installed, update your system by opening the terminal and running:
“`
sudo apt update
sudo apt upgrade
“`
For the piano project, you’ll need several key dependencies. Install them using:
“`
sudo apt install python3-pip
sudo apt install python3-pygame
sudo apt install fluidsynth
pip3 install mido python-rtmidi
“`
These packages provide MIDI support, sound synthesis, and audio playback capabilities essential for your digital piano. FluidSynth handles the sound generation, while pygame manages audio output and user interface elements.
Ensure your audio output is properly configured by testing the sound system. You can adjust the volume and output device through the Raspberry Pi’s audio settings menu or using the command line tool ‘alsamixer’.
If you’re planning to use USB MIDI devices, they should be automatically recognized by the system. However, you might need to add your user to the ‘audio’ group:
“`
sudo usermod -a -G audio $USER
“`
Remember to reboot your Raspberry Pi after installing all dependencies to ensure everything works correctly.
Piano Software Installation
To transform your Raspberry Pi into a digital piano, you’ll need to install specialized software and sound libraries. Start by updating your Raspberry Pi OS to the latest version using the terminal commands ‘sudo apt update’ and ‘sudo apt upgrade’.
For a basic setup, install FluidSynth, a software synthesizer that uses SoundFont technology. Enter ‘sudo apt install fluidsynth’ in the terminal. Next, you’ll need high-quality piano sound fonts. Download the ‘Steinway Grand’ or ‘General User GS’ SoundFont files, which are freely available and offer excellent piano samples.
To enhance your piano’s functionality, install JACK Audio Connection Kit with ‘sudo apt install jackd2’. This audio server will help minimize latency between keystrokes and sound output. For a complete MIDI setup, install QSynth using ‘sudo apt install qsynth’, which provides a graphical interface for FluidSynth.
Consider installing Pianoteq, a professional-grade piano modeling software that offers exceptional sound quality. While it’s a paid option, it provides superior sound compared to free alternatives. For beginners, the open-source MuseScore can serve as both a piano interface and music notation software.
Remember to configure your audio settings through the Raspberry Pi’s audio preferences menu to ensure optimal sound output and minimal latency. Test your setup by connecting your MIDI keyboard and adjusting the volume levels accordingly.
Audio Configuration
To achieve the best sound quality and minimal latency for your Raspberry Pi piano, proper audio configuration is essential. Start by ensuring your system uses the built-in audio output or a high-quality USB audio interface. Edit the /boot/config.txt file to set the audio output priority and adjust the sampling rate to 48kHz for optimal performance.
For minimal latency, modify the ALSA configuration by creating or editing the /etc/asound.conf file. Set the buffer size to 128 or 256 samples and the number of periods to 2. These settings provide a good balance between responsiveness and stability. You can experiment with lower values, but be cautious as this might cause audio crackling.
Install the following packages to enhance audio performance:
“`
sudo apt-get install jackd2 qjackctl
“`
Configure JACK settings through qjackctl with these recommended values:
– Frames/Period: 256
– Periods/Buffer: 2
– Sample Rate: 48000
Enable real-time audio processing by adding your user to the audio group:
“`
sudo usermod -a -G audio $USER
“`
If you’re using a USB audio interface, ensure it’s set as the default output device. Check the device status with:
“`
aplay -l
“`
These optimizations should result in a responsive piano experience with minimal audio delay and clear sound output.
Advanced Features and Customization
Sound Libraries and Effects
The Raspberry Pi’s versatility shines when it comes to piano sound libraries and effects. Several excellent options are available to enhance your DIY piano project, with FluidSynth being one of the most popular choices. This software synthesizer uses SoundFont technology to deliver high-quality piano sounds and can be easily installed through the terminal using apt-get.
To get started with FluidSynth, you’ll need quality SoundFont files. The General User GS SoundFont is a free, widely-used option that provides decent piano samples. For better quality, consider downloading the Salamander Grand Piano samples, which offer more realistic grand piano sounds specifically designed for digital pianos.
You can also explore various audio effects to enhance your piano’s sound. With Pure Data (Pd), you can add reverb, chorus, and delay effects. JACK Audio Connection Kit allows you to route audio between different applications, enabling you to chain multiple effects together.
For those seeking more advanced options, LinuxSampler provides professional-grade sample playback capabilities. While it requires more setup time, it offers superior sound quality and lower latency, making it ideal for serious musicians.
To manage these sounds and effects efficiently, consider installing QSynth, a graphical interface for FluidSynth. It provides an intuitive way to load different SoundFonts and adjust various parameters like reverb, chorus, and gain settings.
Remember to configure your audio settings properly in your Raspberry Pi’s config.txt file to minimize latency and ensure smooth playback. Using a dedicated USB audio interface can further improve sound quality and reduce latency issues.
Performance Optimization
When building a Raspberry Pi piano, optimizing performance is crucial for achieving a responsive and enjoyable playing experience. Like other Raspberry Pi automation projects, reducing latency and maximizing system resources should be your priority.
Start by overclocking your Raspberry Pi safely to improve processing speed. Navigate to raspi-config and adjust the CPU frequency, but monitor temperatures to prevent overheating. Installing a small cooling fan or heatsinks can help maintain stable performance during extended playing sessions.
Optimize your audio settings by adjusting the buffer size in your sound configuration. Smaller buffers reduce latency but may cause audio glitches if set too low. A buffer size between 128 and 256 samples usually offers the best balance between responsiveness and stability.
Memory management is equally important. Close unnecessary background processes and disable unused services to free up RAM. Consider using a lightweight operating system like DietPi or a minimal Raspbian installation instead of the full desktop version.
To minimize USB latency, connect your piano keyboard directly to the Raspberry Pi rather than through a USB hub. If using MIDI, ensure you’re using high-quality cables and consider using a powered USB hub if multiple devices are necessary.
For software optimization, compile your piano application with performance flags enabled and use real-time scheduling priorities. Adding the following line to /etc/security/limits.conf can improve real-time performance:
audio – rtprio 99
Remember to regularly update your system and monitor CPU usage to identify and address any performance bottlenecks as they arise.
Troubleshooting Common Issues
When working with a Raspberry Pi piano project, you might encounter several common issues. Here’s how to address them effectively:
Audio Delay or Latency
If you’re experiencing noticeable delay between pressing keys and hearing sounds, try reducing the buffer size in your audio configuration. Additionally, ensure your Raspberry Pi isn’t running unnecessary background processes that could impact performance. Using a dedicated USB audio interface can also significantly reduce latency.
No Sound Output
First, check if your audio output is properly selected in Raspberry Pi’s configuration. Run ‘sudo raspi-config’ and verify the audio settings. If using USB audio, ensure it’s recognized by running ‘aplay -l’. Sometimes, simply unplugging and reconnecting the audio device can resolve detection issues.
Key Response Problems
When keys aren’t responding correctly, verify your wiring connections and ensure they’re properly soldered or connected. Check for loose connections or crossed wires. If using a key matrix, confirm your pull-up/pull-down resistors are correctly installed.
System Crashes
If your piano application crashes frequently, monitor your Raspberry Pi’s temperature using ‘vcgencmd measure_temp’. Overheating can cause stability issues. Consider adding a cooling solution or reducing the CPU clock speed if necessary. Also, ensure your power supply provides adequate current (at least 2.5A recommended).
Memory Issues
For larger sound samples, you might encounter memory limitations. Try reducing the sample rate or bit depth of your audio files. Using swap space can help, but may impact performance. Consider using lighter sound fonts or implementing sample streaming.
GPIO Conflicts
When other hardware interferes with your piano’s GPIO pins, review your pin assignments and ensure they don’t conflict with other connected devices. Use ‘gpio readall’ to check pin status and assignments. Sometimes, changing pin assignments in your code can resolve conflicts.
Remember to regularly backup your configuration files and code before making changes. This allows you to easily revert if troubleshooting steps don’t yield the desired results.
Building a Raspberry Pi piano project opens up a world of creative possibilities for music enthusiasts and tech hobbyists alike. Not only does it provide an affordable alternative to traditional digital pianos, but it also serves as an excellent educational tool for understanding both music technology and programming concepts. The customizable nature of this project allows for endless modifications, from adding new sound samples to implementing advanced MIDI features. Whether you’re creating an interactive music installation, developing a teaching tool, or simply exploring the intersection of technology and music, a Raspberry Pi piano project delivers both practical value and learning opportunities. The skills gained from this project can be applied to other audio-related Raspberry Pi ventures, making it an excellent stepping stone for future innovations in digital music creation and performance.