

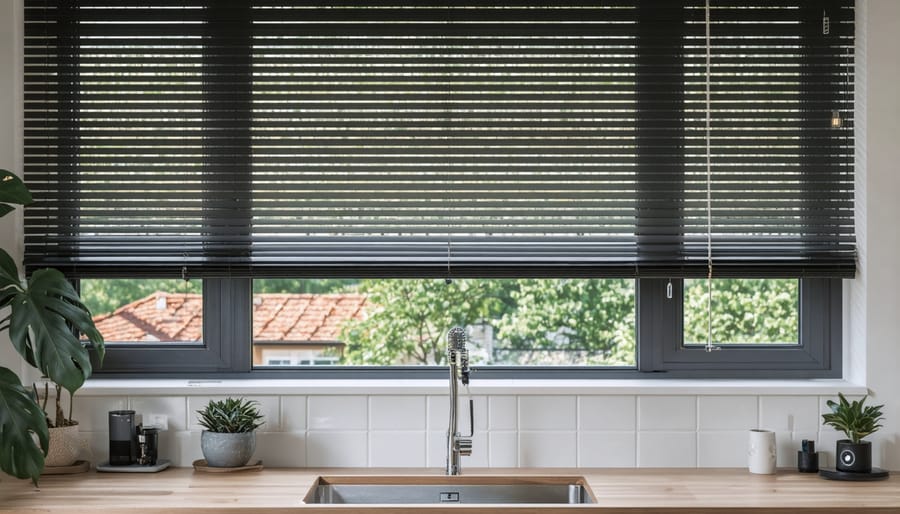
Transform your manual window blinds into a sophisticated smart home feature using a Raspberry Pi, servo motors, and basic coding skills. Like many Raspberry Pi robotics projects, automating blinds combines hardware integration with practical programming to create a genuinely useful home improvement.
Connect a standard servo motor to your blind’s beaded chain or wand using a 3D-printed mounting bracket, wire it to your Raspberry Pi’s GPIO pins, and control everything through Python scripts or home automation platforms like Home Assistant. The entire setup costs under $50 per window and requires only basic soldering and programming knowledge.
This DIY approach offers superior customization compared to commercial solutions – program your blinds to respond to sunrise/sunset times, temperature sensors, or voice commands through Alexa or Google Home integration. The system can be expanded to control multiple blinds throughout your home, creating a fully automated environment that enhances both comfort and energy efficiency.
Whether you’re a beginner maker or experienced programmer, blind automation serves as an ideal entry point into practical home automation while delivering immediate, tangible benefits to your daily routine.
Required Hardware and Components
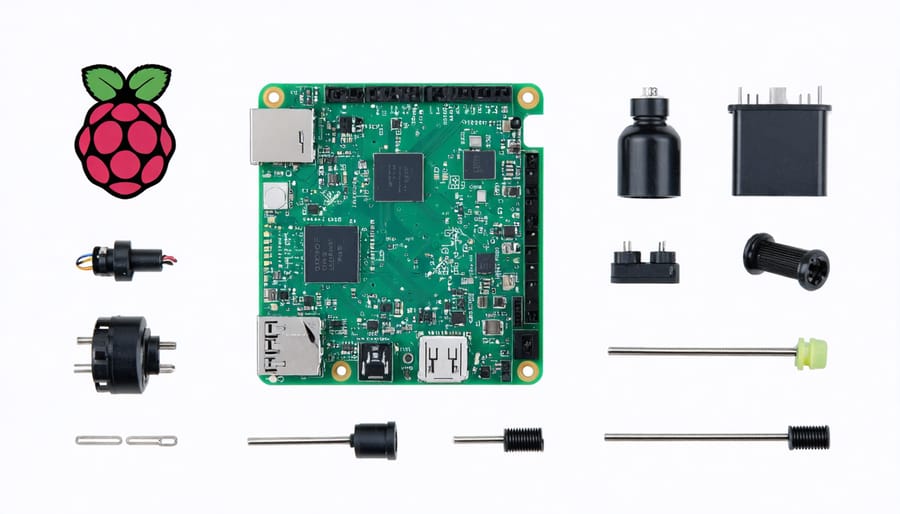
Core Components
Before diving into the automation process, let’s explore the essential hardware components needed for this project. If you’re new to getting started with Raspberry Pi, you’ll find this project is an excellent introduction to home automation.
The heart of our blind automation system is the Raspberry Pi microcontroller, preferably a Pi 3 or newer model, which offers sufficient processing power and built-in Wi-Fi capabilities. Paired with this is a NEMA 17 stepper motor, chosen for its precise control and reliable torque output. This motor type is particularly well-suited for blind automation as it allows for exact positioning and quiet operation.
To control the stepper motor, you’ll need a compatible motor driver board, such as the A4988 or DRV8825. These drivers act as intermediaries between the Raspberry Pi and the motor, handling the power requirements and movement controls. Additional components include a power supply (12V for the motor, 5V for the Pi), mounting brackets, and connecting wires. Optional but recommended components are limit switches to prevent over-rotation and a real-time clock module for scheduling capabilities.
Optional Enhancements
Once you’ve mastered the basic automation setup, several exciting enhancements can take your project to the next level. Adding a light sensor module like the BH1750 allows your blinds to respond automatically to natural light levels, perfect for maintaining optimal room brightness throughout the day. For convenience, consider incorporating an IR receiver and remote control, enabling manual adjustments without reaching for your phone or computer.
Voice control integration through platforms like Google Assistant or Amazon Alexa can be achieved by adding a compatible microphone module and implementing the necessary APIs. Temperature sensors can work alongside light sensors to help manage room climate more effectively, especially useful during summer months.
For enhanced safety, position sensors can detect obstacles and prevent damage to your blinds. A battery backup system ensures your blinds continue functioning during power outages, while a simple LED status indicator can provide visual feedback about system operation and potential issues.
These additions not only improve functionality but also create a more sophisticated home automation system that truly adapts to your daily needs.
Hardware Assembly
Motor Mounting
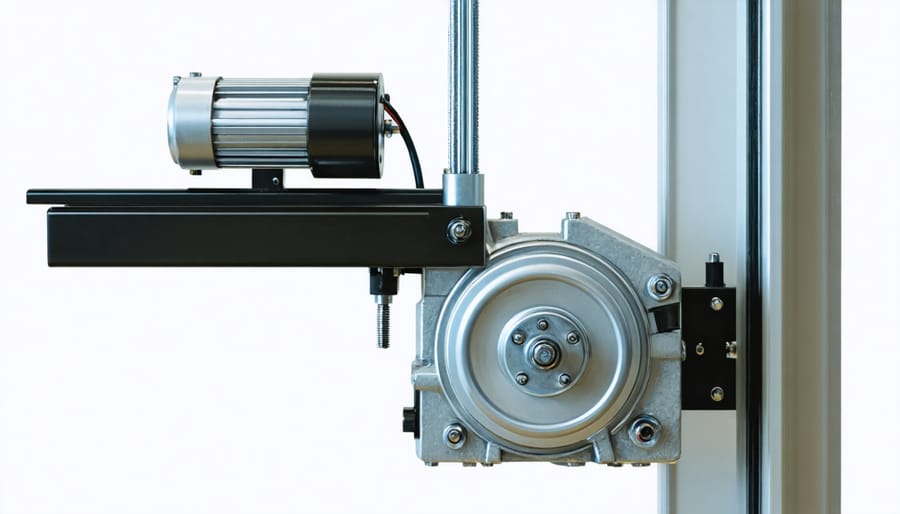
The motor mounting process requires careful attention to ensure smooth operation of your automated blind system. Start by identifying the most suitable mounting position – typically at the top of your blind, where the existing manual mechanism is located. Remove the original wand or chain mechanism, but keep the mounting brackets in place if they’re sturdy enough to support your motor.
For tube-style blinds, you’ll need to attach the motor to one end of the roller tube. Most DC motors come with mounting brackets or adapters that can be secured directly to the tube. Ensure the motor shaft aligns perfectly with the center of the roller to prevent uneven movement or strain on the mechanism.
For venetian or vertical blinds, mount the motor near the headrail where it can connect to the tilting mechanism. Create a custom bracket if needed, using sturdy materials like aluminum or 3D-printed parts. The bracket should hold the motor firmly while allowing enough clearance for the gear system to operate freely.
Always double-check that your mounting solution can support both the motor’s weight and the force it generates. Use appropriate screws and wall anchors rated for the combined weight. Test the mounting by gently pulling on the motor to ensure it’s secure before connecting any power or control systems.
Remember to leave enough space for cable management and ensure the motor’s position allows easy access for future maintenance or adjustments.
Wiring Configuration
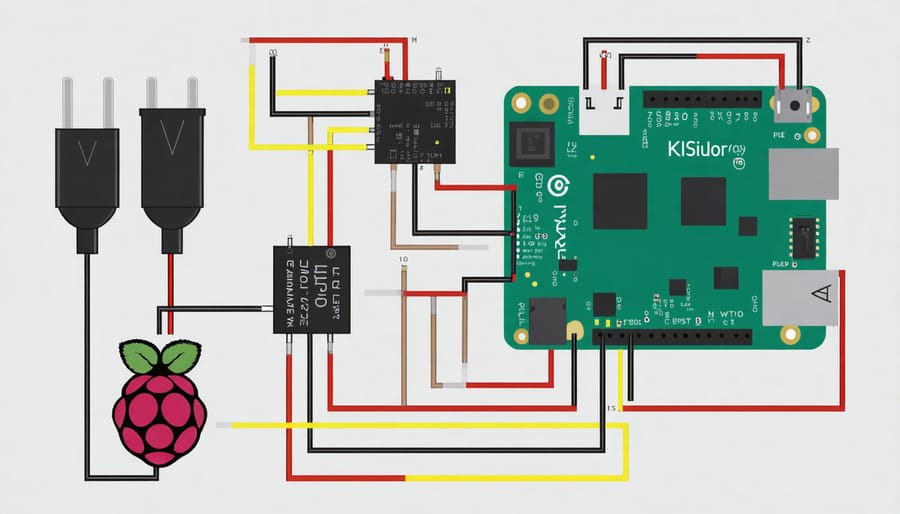
Before connecting any components, familiarize yourself with Raspberry Pi wiring basics to ensure safe and proper installation. Start by connecting the stepper motor to the motor driver board. The motor has four wires (typically black, green, red, and blue) that should be connected to the corresponding A1, A2, B1, and B2 terminals on the driver board.
Next, connect the motor driver to the Raspberry Pi’s GPIO pins. The STEP pin goes to GPIO23, DIR to GPIO24, and MS1/MS2/MS3 to GPIO pins 14, 15, and 18 respectively. Don’t forget to connect the driver’s GND to the Pi’s ground pin and VDD to the 5V pin.
For power supply connections, wire the 12V adapter’s positive terminal to the motor driver’s VMOT pin and the negative to GND. Use appropriate gauge wires that can handle the current requirements of your stepper motor.
If you’re adding limit switches, connect them between GPIO pins 17 and 27 and ground. Include pull-up resistors (10kΩ) between the GPIO pins and 3.3V to ensure stable readings.
Double-check all connections before powering up the system. Secure any loose wires with heat shrink tubing or electrical tape to prevent short circuits. Keep power wires separated from signal wires to minimize interference.
Physical Installation
Once your automated blind system is assembled and tested, it’s time to mount it to your window frame. Start by removing your existing blind mechanism while keeping the brackets in place if they’re compatible with your new system. If not, install the new mounting brackets that came with your stepper motor, ensuring they’re level and securely fastened.
Position your motor assembly on one side of your window frame, typically the side where your blind’s control chain was located. Use a spirit level to ensure the motor shaft is perfectly horizontal, as any misalignment can cause binding and uneven movement. Mark the mounting points and pre-drill holes if necessary, being careful not to damage the window frame.
Secure the motor housing using appropriate screws for your frame material – wood screws for timber frames or wall anchors for masonry. The control box containing your Raspberry Pi and electronics should be mounted nearby, ideally within cable length of both the motor and a power outlet. Consider using cable channels or conduit to keep wires neat and protected.
Finally, attach your blind material to the roller mechanism. Most systems use either clips or adhesive strips. Test the movement manually before connecting power to ensure everything moves freely without catching. Make any necessary adjustments to the mounting brackets or motor position to achieve smooth operation.
Software Setup
Initial Raspberry Pi Configuration
Before diving into the automation components, let’s ensure your Raspberry Pi is properly configured. Start with a basic Raspberry Pi setup by downloading and installing the latest Raspberry Pi OS (formerly Raspbian) onto your microSD card using the Raspberry Pi Imager tool.
Once your Pi boots up, open the terminal and run ‘sudo apt update’ followed by ‘sudo apt upgrade’ to ensure your system is up to date. Enable essential interfaces through the Raspberry Pi Configuration tool (raspi-config) by navigating to Interface Options and enabling I2C and GPIO, which we’ll need for motor control.
Install the required Python libraries by entering these commands:
“`
sudo pip3 install RPi.GPIO
sudo pip3 install pigpio
sudo pip3 install schedule
“`
These packages provide GPIO control capabilities and scheduling functions for your automated blind system. Additionally, enable the pigpio daemon to start on boot by running:
“`
sudo systemctl enable pigpiod
sudo systemctl start pigpiod
“`
Finally, create a new directory for your project files using ‘mkdir blind_automation’ and navigate to it with ‘cd blind_automation’. This setup provides the foundation for implementing the motor control and automation scripts we’ll develop in the following sections.
Python Control Script
Let’s create the Python script that will control our automated blind system. The main script will handle motor control, scheduling, and user inputs. Here’s a basic implementation that you can expand based on your needs:
“`python
import RPi.GPIO as GPIO
import time
from datetime import datetime
import schedule
# Define GPIO pins
MOTOR_PIN1 = 17
MOTOR_PIN2 = 18
LIMIT_SWITCH_TOP = 23
LIMIT_SWITCH_BOTTOM = 24
# Setup GPIO
GPIO.setmode(GPIO.BCM)
GPIO.setup(MOTOR_PIN1, GPIO.OUT)
GPIO.setup(MOTOR_PIN2, GPIO.OUT)
GPIO.setup(LIMIT_SWITCH_TOP, GPIO.IN, pull_up_down=GPIO.PUD_UP)
GPIO.setup(LIMIT_SWITCH_BOTTOM, GPIO.IN, pull_up_down=GPIO.PUD_UP)
def move_blind(direction):
if direction == “up”:
GPIO.output(MOTOR_PIN1, GPIO.HIGH)
GPIO.output(MOTOR_PIN2, GPIO.LOW)
elif direction == “down”:
GPIO.output(MOTOR_PIN1, GPIO.LOW)
GPIO.output(MOTOR_PIN2, GPIO.HIGH)
else:
GPIO.output(MOTOR_PIN1, GPIO.LOW)
GPIO.output(MOTOR_PIN2, GPIO.LOW)
def schedule_blind():
# Morning routine
schedule.every().day.at(“07:00”).do(move_blind, “up”)
# Evening routine
schedule.every().day.at(“19:00”).do(move_blind, “down”)
“`
This script provides the foundation for controlling your automated blinds. The `move_blind` function handles the basic motor control, while the `schedule_blind` function sets up daily routines. You can customize the timing and add more sophisticated features like light sensor integration or weather-based adjustments.
To implement manual control, add these functions to your script:
“`python
def manual_control():
while True:
command = input(“Enter command (up/down/stop): “)
if command in [“up”, “down”, “stop”]:
move_blind(command)
elif command == “exit”:
break
if __name__ == “__main__”:
schedule_blind()
try:
while True:
schedule.run_pending()
time.sleep(1)
except KeyboardInterrupt:
GPIO.cleanup()
“`
Remember to handle the limit switches appropriately to prevent motor damage and ensure smooth operation. You can expand this basic script by adding features like position memory, smart home integration, or web-based control interfaces.
Home Assistant Integration
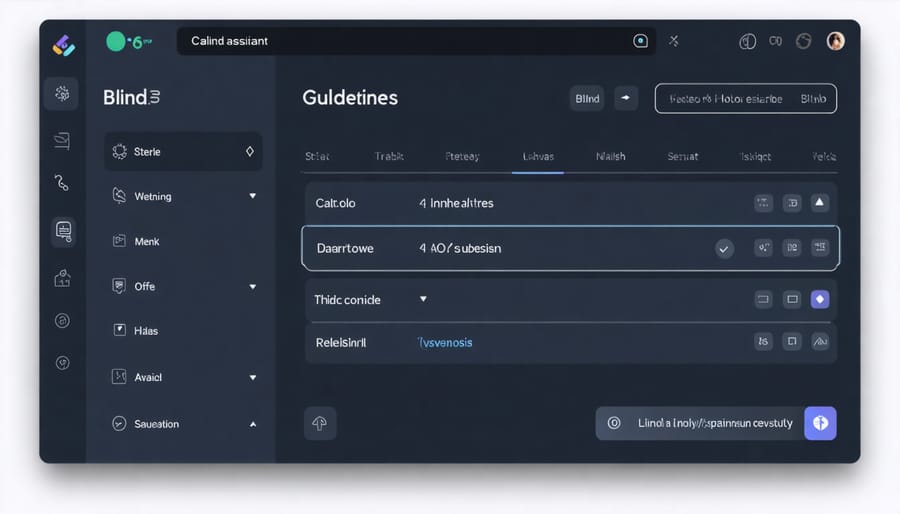
Integrating your DIY blind automation system with Home Assistant opens up a world of possibilities for smart home automation. The process begins with ensuring your Raspberry Pi is running on the same network as your Home Assistant instance. You’ll need to install the MQTT broker and configure it as a bridge between your blind controller and Home Assistant.
First, add the MQTT integration in Home Assistant through the Configuration > Integrations menu. If you’re using the Mosquitto broker, you’ll need to provide the broker’s address, port (typically 1883), and credentials if you’ve set them up.
Create a new cover entity in your Home Assistant configuration.yaml file:
“`yaml
cover:
– platform: mqtt
name: “Living Room Blind”
command_topic: “blind/livingroom/set”
position_topic: “blind/livingroom/position”
set_position_topic: “blind/livingroom/set_position”
position_open: 100
position_closed: 0
“`
Update your Python script on the Raspberry Pi to publish the blind’s position to MQTT and subscribe to commands. This enables two-way communication, allowing you to both control the blinds and receive status updates.
Once connected, you can create automations based on various triggers:
– Schedule-based operations (open at sunrise, close at sunset)
– Temperature-dependent actions
– Integration with other smart home devices
– Voice control through Alexa or Google Assistant
For enhanced functionality, consider adding sensors to your setup. A light sensor can help automate the blinds based on natural lighting conditions, while a temperature sensor can help manage room temperature by adjusting the blinds accordingly.
Remember to secure your MQTT communication by using strong passwords and, if possible, implementing SSL encryption for all MQTT traffic. This ensures your blind control system remains secure and protected from unauthorized access.
Advanced Features
Scheduling and Automation
One of the most powerful features of automation projects with Raspberry Pi is the ability to set up sophisticated scheduling and automation rules. Using Python’s schedule library, you can create time-based triggers that automatically open your blinds at sunrise and close them at sunset. Start by installing the schedule library using pip install schedule in your terminal.
To implement light-sensitive automation, connect a photoresistor to your Raspberry Pi’s GPIO pins. This sensor measures ambient light levels, allowing your system to respond to natural lighting conditions. Create threshold values that trigger your blinds to open when it’s bright and close when it’s dark.
Here’s a basic automation setup:
– Morning routine: Open blinds gradually between 7-8 AM
– Evening schedule: Close blinds at sunset or when light levels drop below your set threshold
– Holiday mode: Random operation times when you’re away for added security
– Weather integration: Connect to a weather API to close blinds during storms
Configure these settings through a simple web interface or mobile app. Store your preferences in a JSON file for easy modifications. Add conditional statements to prevent operation during system maintenance or manual override situations. Remember to include error handling to manage sensor failures or mechanical issues gracefully.
For advanced users, consider implementing machine learning to learn your preferences over time, automatically adjusting schedules based on your usage patterns.
Voice Control Integration
Adding voice control to your automated blind system transforms it into a truly smart home feature. Both Amazon Alexa and Google Assistant offer straightforward integration options through their respective platforms.
For Alexa integration, you’ll need to create a custom skill using the Alexa Developer Console and set up a Lambda function to handle commands. The process involves creating intents for basic operations like “open blinds,” “close blinds,” and “set blinds to 50 percent.” Your Raspberry Pi will need to run a service that listens for these commands through AWS IoT or a similar service.
Google Assistant integration can be achieved through the Google Actions console. You’ll need to create a new project and define conversation actions that map to your blind control functions. The integration requires setting up a webhook that your Raspberry Pi can respond to, enabling commands like “Hey Google, open the bedroom blinds.”
For both platforms, you’ll need to modify your existing Python control script to handle incoming voice commands. A simple REST API running on your Raspberry Pi can serve as the bridge between your voice assistant and the motor control system.
Security considerations are important when exposing your blind control system to the internet. Implement proper authentication and encrypt all communications between your voice assistant and Raspberry Pi to prevent unauthorized access.
Automating your blinds through this DIY project offers numerous benefits that extend beyond the initial satisfaction of creating something yourself. Not only does it provide convenient control over your home’s natural lighting, but it also contributes to energy efficiency by optimizing sunlight exposure throughout the day. The ability to schedule your blinds’ movement means you’ll never forget to close them during peak heat hours or open them to wake up naturally with the sunrise.
The beauty of this Raspberry Pi-based solution lies in its flexibility and potential for customization. You can expand the system by adding light sensors to automatically adjust blind positions based on ambient lighting, or integrate temperature sensors to help regulate your home’s climate. The project can also be extended to control multiple blinds throughout your home, creating a comprehensive home automation system.
For those looking to take their automation further, consider integrating your automated blinds with voice assistants or your existing smart home platform. The possibilities for enhancement are virtually endless, from adding motion sensors for presence-based operation to creating complex scenarios that work in harmony with other smart devices in your home.
Remember that this project serves as an excellent foundation for learning about electronics, programming, and home automation. Whether you stick with the basic setup or expand it with advanced features, you’ve created a practical solution that enhances your daily living while building valuable technical skills.