

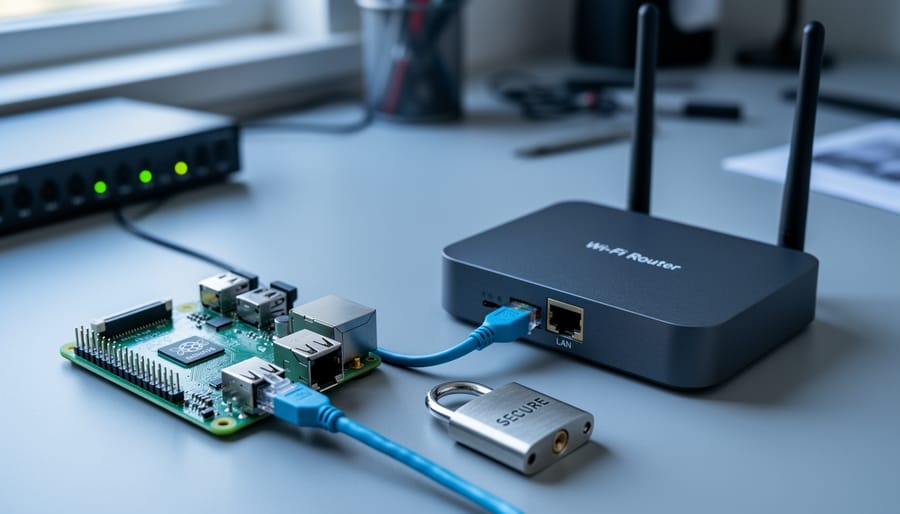
Secure your wireless network with RADIUS authentication by installing FreeRADIUS on a Raspberry Pi, creating individual user credentials instead of sharing a single WiFi password, and implementing 802.1X encryption that dynamically assigns unique encryption keys to each connected device. This enterprise-grade security approach, typically reserved for corporate environments, becomes surprisingly accessible through one of many network security projects you can build at home.
Configure your wireless access point to operate in WPA2-Enterprise or WPA3-Enterprise mode rather than the standard WPA2-PSK personal mode. Point your access point to your Raspberry Pi’s IP address as the RADIUS server, typically using port 1812 for authentication requests. Generate unique login credentials for each family member, employee, or student, enabling you to revoke individual access without changing network-wide passwords.
Deploy certificate-based authentication using EAP-TLS for maximum security, where devices authenticate through digital certificates rather than passwords, eliminating credential theft risks. Alternatively, implement EAP-PEAP with Active Directory integration for environments requiring centralized user management and password policies.
Monitor connection attempts through detailed logging that tracks which users connect, when they access the network, and from which devices. This audit trail proves invaluable for troubleshooting connectivity issues and identifying unauthorized access attempts.
The combination of a 35-dollar Raspberry Pi and open-source FreeRADIUS software delivers the same authentication infrastructure used by universities and corporations, transforming your home or small business network into a professionally secured environment that scales from a handful to hundreds of users.
Why Your Network Needs More Than Just a WiFi Password
Most home and small business WiFi networks rely on WPA2-PSK, which means everyone connects using the same shared password. While this setup is convenient, it creates some significant security headaches that become more obvious as your network grows.
Think about what happens in a typical shared password scenario. You give the WiFi password to family members, guests, colleagues, or students. Maybe you write it on a whiteboard in your office or hand it out on day one of class. The problem? That password often gets shared beyond your intended circle. A guest might give it to their friend, or a former employee might still have it saved on their device months after leaving.
When someone leaves your organization or you suspect unauthorized access, your only option is to change the password and redistribute it to everyone who should have access. It’s a time-consuming process that often gets postponed because of the hassle involved. Meanwhile, devices you don’t recognize might be consuming bandwidth or, worse, accessing resources they shouldn’t.
Here’s another challenge: with shared passwords, you can’t easily identify who’s connected to your network. Your router might show MAC addresses and device names, but these can be spoofed or changed. If something goes wrong or you notice suspicious activity, tracing it back to a specific person becomes nearly impossible.
This is where device-level authentication changes everything. Instead of everyone sharing one password, each device gets its own unique credentials. You can grant or revoke access individually, track exactly who’s connected, and maintain detailed logs of network activity. It’s the difference between having one key for your entire building versus individual access cards for each person.
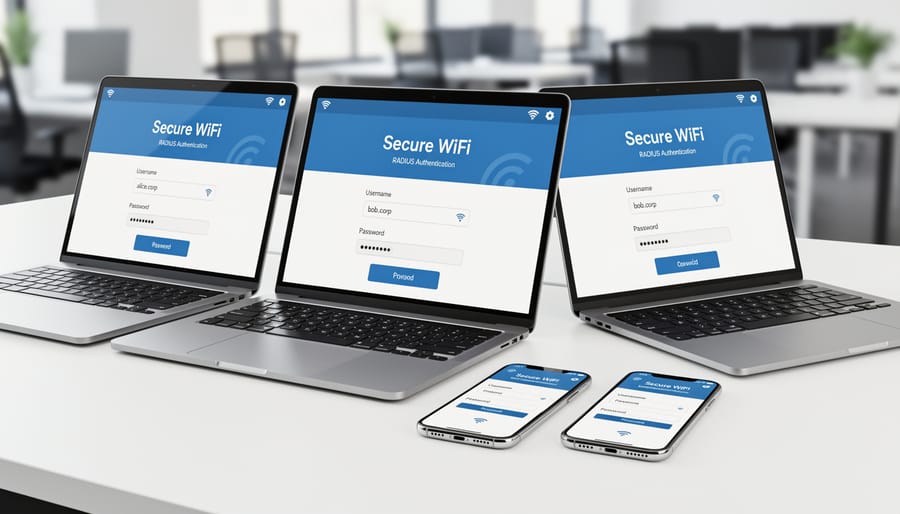
What is RADIUS and 802.1X Authentication?
How RADIUS Authentication Actually Works
Understanding how RADIUS authentication works helps you appreciate why it’s so much more secure than standard WiFi passwords. Let’s walk through what happens when a device tries to connect to your RADIUS-protected network.
The process begins when your device detects the WiFi network and attempts to connect. Instead of simply entering a shared password, your device initiates an 802.1X authentication handshake. At this point, the wireless access point acts as an authenticator but doesn’t make any decisions itself. It’s simply a messenger between your device (the supplicant) and the RADIUS server.
Your device sends its credentials, which could be a username and password, a digital certificate, or other authentication method. The access point forwards this information to the RADIUS server through a secure connection. Think of the access point as a security guard who checks with headquarters before letting anyone through the door.
The RADIUS server then verifies these credentials against its user database. This is where the magic happens. The server can check multiple authentication methods, apply specific policies, and even integrate with existing directory services like Active Directory or LDAP.
If the credentials are valid, the RADIUS server sends an Access-Accept message back through the access point to your device. This message can include additional network parameters like VLAN assignments or bandwidth limits. Your device receives confirmation and gains network access. If credentials fail, an Access-Reject message is sent instead, and the device remains disconnected.
The entire exchange happens in seconds, creating a seamless yet highly secure connection process.
Why Use a Raspberry Pi as Your RADIUS Server?
Using a Raspberry Pi as your RADIUS server offers several compelling advantages over commercial solutions or cloud-based services. First and foremost is cost-effectiveness. A Raspberry Pi 4 typically costs between $35-75, and once configured, there are no recurring subscription fees. Compare this to enterprise RADIUS appliances that can run into thousands of dollars or cloud services charging monthly per-user fees.
Power consumption is another significant benefit. A Raspberry Pi consumes roughly 3-7 watts, costing just a few dollars annually in electricity. This makes it perfect for 24/7 operation without worrying about your energy bill. If you’ve already completed a Raspberry Pi router setup, adding RADIUS authentication is a natural next step to enhance your network security.
Perhaps most importantly, running your own RADIUS server is an excellent learning opportunity. You’ll gain hands-on experience with enterprise-grade authentication protocols, network security concepts, and Linux server administration. This practical knowledge is invaluable for tech enthusiasts and students pursuing IT careers. Plus, you maintain complete control over your authentication infrastructure and user data, ensuring privacy and customization that cloud services can’t always provide.
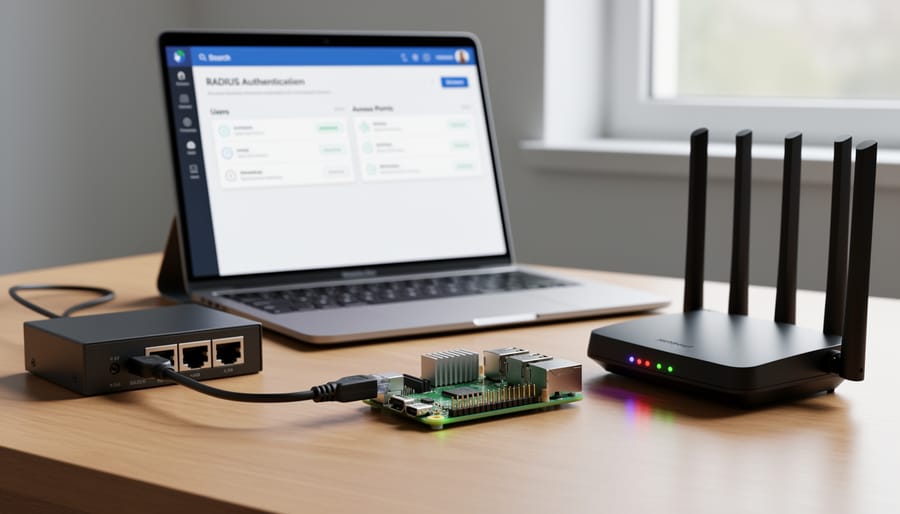
What You’ll Need to Get Started
Before diving into setting up WiFi RADIUS authentication on your Raspberry Pi, let’s gather everything you’ll need for a successful implementation. Don’t worry if you’re new to enterprise network security – this list breaks down exactly what’s required.
For hardware, you’ll need a Raspberry Pi 3B or newer. The Raspberry Pi 4 (2GB RAM minimum) is highly recommended for better performance, especially if you’re managing multiple simultaneous connections. If you’re building a more advanced network setup with dual ethernet ports, that can add extra flexibility. You’ll also need a microSD card (16GB or larger), a reliable power supply, and an ethernet cable for initial setup.
Your wireless access point or router must support WPA2-Enterprise or WPA3-Enterprise with 802.1X authentication. Many consumer routers don’t include this feature, so check your documentation first. Business-grade access points from manufacturers like Ubiquiti, TP-Link Omada, or Cisco typically work well.
On the software side, you’ll need Raspbian OS (now called Raspberry Pi OS) – the Lite version works perfectly for headless setups. The main software component is FreeRADIUS, an open-source RADIUS server that we’ll install during the tutorial. Basic familiarity with SSH and the Linux command line will make the process smoother, though we’ll guide you through each step.
Finally, ensure you have basic networking knowledge including IP addressing concepts and access to your router’s administrative interface.
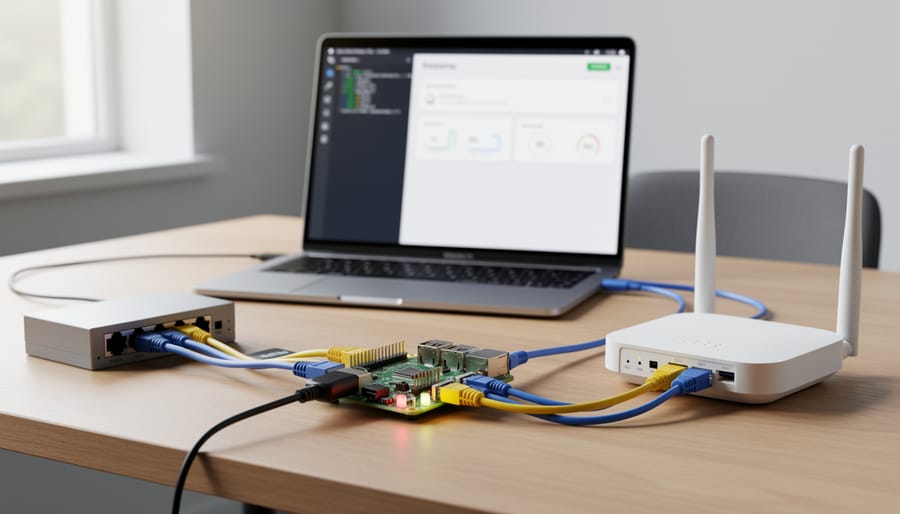
Setting Up Your Raspberry Pi RADIUS Server
Installing and Configuring FreeRADIUS
Getting FreeRADIUS up and running on your Raspberry Pi is straightforward, and you’ll be surprised how quickly you can have a functional authentication server. Let’s walk through the installation and initial setup together.
First, ensure your Raspberry Pi is updated. Open a terminal and run:
sudo apt update && sudo apt upgrade -y
Now install FreeRADIUS with a single command:
sudo apt install freeradius -y
The installation pulls in all necessary dependencies automatically. Once complete, FreeRADIUS starts running as a background service immediately, which is pretty convenient for testing.
Before diving into configuration, let’s understand the directory structure. FreeRADIUS organizes its files logically in /etc/freeradius/3.0/ (the version number may vary). The most important directories you’ll work with are:
The mods-enabled directory contains active modules like EAP for wireless authentication. Think of these as plugins that add specific functionality to your RADIUS server.
The sites-enabled directory holds virtual server configurations. The default configuration here handles standard authentication requests from your access point.
The clients.conf file is where you’ll define which devices (like your wireless router) can send authentication requests to FreeRADIUS. This is a critical security measure.
The users file stores simple username and password combinations, perfect for initial testing before implementing more advanced authentication methods.
To verify FreeRADIUS installed correctly, check its status:
sudo systemctl status freeradius
You should see an active (running) status. If something went wrong, the output provides helpful error messages. Don’t worry if you see warnings about missing certificates yet—we’ll address those in the next section when configuring secure wireless authentication.
Creating User Accounts and Credentials
With your RADIUS server running on your Raspberry Pi, the next step is populating it with user accounts. This is where you control who gets network access and what privileges they have.
Most RADIUS implementations, including FreeRADIUS, store user credentials in a simple text file to start. You’ll find this in the users file, typically located at /etc/freeradius/3.0/users. Open it with your preferred text editor using sudo privileges.
Adding a basic user is straightforward. Each entry follows this format:
username Cleartext-Password := “password”
For example, to add a user named “john” with password “SecurePass123”, you’d write:
john Cleartext-Password := “SecurePass123”
For better security in production environments, consider using hashed passwords instead of cleartext. You can generate MD5 or SHA hashes using command-line tools and specify them with the appropriate password attribute.
Organizing users by access level is crucial for managing different groups. RADIUS supports VLANs (Virtual Local Area Networks) to segment network traffic. You can assign users to specific VLANs by adding attributes to their entries:
student1 Cleartext-Password := “StudentPass”
Tunnel-Type = VLAN,
Tunnel-Medium-Type = IEEE-802,
Tunnel-Private-Group-ID = “10”
This configuration places student1 on VLAN 10, separating their traffic from other network segments.
For larger deployments, consider migrating to a database backend like MySQL or PostgreSQL, which offers better scalability and management tools. Remember to restart your FreeRADIUS service after making changes to ensure they take effect.
Configuring Network Clients and Certificates
With FreeRADIUS installed, you need to configure which devices can authenticate users. This happens in the clients configuration file, which acts as a whitelist for your access points and network equipment.
Open the clients configuration file using nano or your preferred text editor. You’ll find it at /etc/freeradius/3.0/clients.conf. Add an entry for your wireless access point by specifying its IP address and a shared secret password. This secret acts as a key between your access point and RADIUS server, so make it strong and unique. For example, if your access point’s IP is 192.168.1.10, you’d add a client block with that address and your chosen secret. Save the file when finished.
Next, you’ll need SSL certificates for secure authentication methods like EAP-PEAP and EAP-TTLS. These certificates encrypt the credentials traveling between client devices and your RADIUS server, preventing password interception. Good news: FreeRADIUS includes scripts to generate self-signed certificates for testing and home use.
Navigate to /etc/freeradius/3.0/certs/ and edit the ca.cnf and server.cnf files. Update the default values like country code, organization name, and common name to match your network. The common name should typically be your server’s hostname or domain.
Run the make command in the certs directory to generate your certificates. This creates several files including ca.pem, server.pem, and server.key. These files enable the encrypted tunnel that protects user credentials during authentication.
For production environments or heightened security needs, consider obtaining certificates from a trusted certificate authority instead of using self-signed certificates. However, self-signed certificates work perfectly well for home labs, schools, and small business deployments where you control the client devices.
Testing Your RADIUS Server
Before connecting any wireless devices, it’s essential to verify your RADIUS server is functioning properly. The radtest utility, included with FreeRADIUS, provides a straightforward way to authenticate test users from the command line.
Run a basic test using: `radtest username password localhost 0 testing123`. Replace “username” and “password” with credentials you’ve configured. If successful, you’ll see an “Access-Accept” response. An “Access-Reject” indicates authentication failure, while connection errors suggest the server isn’t running properly.
For deeper troubleshooting, launch FreeRADIUS in debug mode with `sudo freeradius -X`. This displays real-time authentication attempts and pinpoints configuration errors. You’ll see exactly where the authentication process succeeds or fails.
These command line network tools help identify issues before they affect your wireless network. Once radtest confirms successful authentication, test with a single device configured for 802.1X before rolling out to your entire network. This staged approach saves troubleshooting headaches later.
Connecting Your WiFi Access Point to RADIUS
With your RADIUS server running on your Raspberry Pi, it’s time to connect your WiFi access point or router to enable WPA2-Enterprise authentication. This process transforms your network from basic password protection to certificate-based security, similar to what large organizations use.
Start by accessing your router’s web interface through its IP address, typically found in your device documentation. Navigate to the wireless security settings. Instead of selecting WPA2-PSK (the standard home WiFi option), choose WPA2-Enterprise or 802.1X authentication. This option might be listed under advanced wireless settings depending on your router model.
You’ll need to enter several key pieces of information. First, input your RADIUS server’s IP address—this is your Raspberry Pi’s local network address. Next, specify the RADIUS port, which defaults to 1812 for authentication. Enter the shared secret you configured during your RADIUS server setup. This acts as a password between your access point and the RADIUS server, so make it strong and unique.
Some routers offer additional options worth configuring. The accounting port (usually 1813) tracks user sessions, though it’s optional for basic setups. You might also see settings for reauthentication intervals, which determine how often devices must verify their credentials.
Save your configuration and apply the changes. Your access point will restart with the new settings. At this point, older devices using the previous WiFi password won’t connect automatically—they’ll need the proper certificates or credentials you’ve configured on your RADIUS server.
If devices can’t connect, verify your network hub configuration ensures the router can reach your Raspberry Pi. Check firewall rules aren’t blocking ports 1812 and 1813, and confirm your RADIUS server logs show incoming authentication requests.
Connecting Devices to Your Secure Network
Once your RADIUS server is running, it’s time to connect your devices! The configuration process varies slightly by operating system, but the core principles remain consistent across platforms.
For Windows devices, navigate to Network Settings and select your RADIUS-protected WiFi network. Choose “WPA2-Enterprise” as the security type, then select “PEAP” or “EAP-TTLS” as the authentication method. Enter your username and password credentials, and if using certificates, you’ll need to import the CA certificate to the Trusted Root Certification Authorities store first. Windows may prompt you to verify the server certificate – ensure it matches your RADIUS server’s details before proceeding.
Mac users should click the WiFi icon, select the network, and when prompted, choose the appropriate 802.1X authentication protocol. Access Keychain Access to import any required certificates before connecting. Navigate to System Preferences > Profiles to configure more advanced settings if needed.
Linux distributions typically use NetworkManager or wpa_supplicant. In NetworkManager’s GUI, select your network, choose “WPA & WPA2 Enterprise” security, and configure the authentication details. For command-line enthusiasts, you’ll edit the wpa_supplicant configuration file with your network’s SSID, authentication method, and credentials.
Mobile devices are surprisingly straightforward. On iOS, tap Settings > WiFi, select your network, and enter the authentication details when prompted. Android follows a similar path through Settings > Network & Internet > WiFi. Both platforms support certificate-based authentication – simply email the certificate file to your device and install it before connecting.
Remember to test connectivity thoroughly after configuring each device to ensure proper authentication and network access.

Common Issues and How to Fix Them
Even with careful setup, you might encounter some hiccups when implementing RADIUS authentication on your Raspberry Pi. Here are the most common issues and their solutions.
Certificate errors are perhaps the most frequent problem. If clients can’t validate your server certificate, check that your certificate dates are valid and that the Common Name matches your RADIUS server’s hostname. Many beginners forget to install the CA certificate on client devices, which is essential for trust. Export your CA certificate from the Raspberry Pi and manually install it on each device that will connect.
Authentication failures often stem from misconfigured credentials or incorrect shared secrets. Double-check that your users file or database contains the exact username and password combinations. Remember that RADIUS is case-sensitive. Also verify that the shared secret in your access point matches exactly what you’ve configured in the clients.conf file on your RADIUS server.
Connectivity issues can be tricky. If devices can see your network but won’t authenticate, confirm your access point is properly configured for WPA2-Enterprise mode, not WPA2-Personal. Use the radiusd -X command to run FreeRADIUS in debug mode, which provides detailed output about what’s happening during authentication attempts. This real-time feedback is invaluable for pinpointing where the process breaks down.
Finally, firewall settings can block RADIUS traffic. Ensure UDP ports 1812 and 1813 are open on your Raspberry Pi. Test with iptables commands or temporarily disable the firewall to isolate the issue.
Congratulations on making it through the setup process! By implementing RADIUS authentication on your Raspberry Pi, you’ve transformed your wireless network from a simple shared-password system into an enterprise-grade security solution. Each user now has unique credentials, giving you complete control over who accesses your network and when. This setup isn’t just about security today—it’s a foundation you can build upon.
Consider expanding your authentication system with advanced features like VLAN assignment, where different users automatically connect to separate network segments based on their credentials. Guest networks become much more manageable with time-limited accounts or sponsored guest access. The logging capabilities you’ve configured provide invaluable insights into network activity, helping you troubleshoot issues and monitor usage patterns.
Whether you’re securing a home lab, educational environment, or small business network, RADIUS authentication scales beautifully with your needs. Start with the basic implementation we’ve covered, test it thoroughly, and gradually explore more sophisticated configurations as you grow comfortable with the system. Your Raspberry Pi is now doing the same job as equipment costing hundreds or thousands of dollars—that’s the power of open-source solutions and a bit of hands-on tinkering.