


Transform your home network into a powerful hub of innovation with a Raspberry Pi. From building secure VPN servers to creating automated network monitoring systems, these compact computers offer unlimited potential for networking enthusiasts. Whether you’re looking to enhance your network security, optimize bandwidth management, or set up a home media streaming solution, Raspberry Pi provides the perfect platform to bring these projects to life.
The beauty of Raspberry Pi networking projects lies in their versatility and cost-effectiveness. For less than $50, you can create enterprise-level networking solutions that would typically cost hundreds or even thousands of dollars. Advanced projects like DNS servers, network-wide ad blockers, and intrusion detection systems become accessible to hobbyists and professionals alike.
This guide explores ten essential Raspberry Pi networking projects, ranging from beginner-friendly setups to advanced configurations. Each project includes detailed implementation steps, hardware requirements, and practical applications for home and small business environments. Whether you’re a networking novice or a seasoned system administrator, these projects will help you leverage the full potential of your Raspberry Pi while enhancing your network infrastructure.
Network Security Projects
Pi-hole DNS Filter
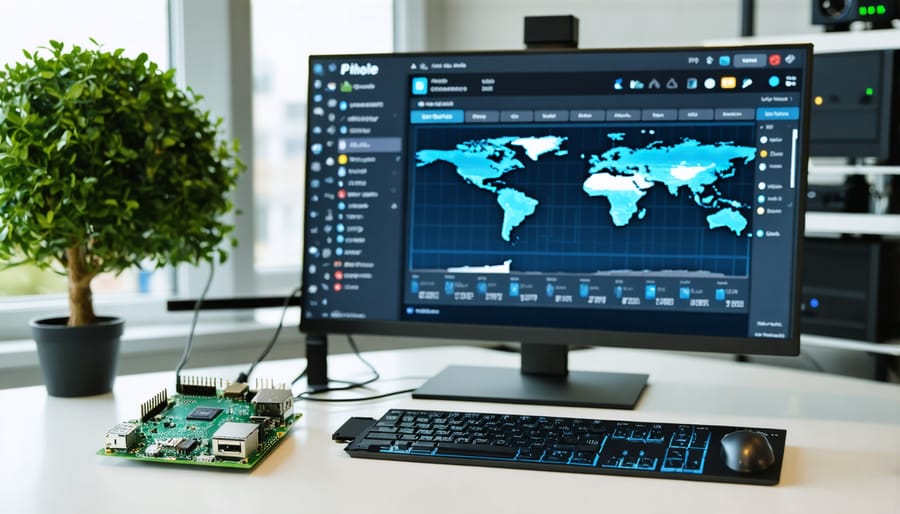
Pi-hole transforms your Raspberry Pi into a powerful network-wide ad blocker and DNS filter, protecting all devices on your network from unwanted advertisements and potential security threats. This elegant solution works by intercepting DNS queries for known advertising domains and blocking them before they reach your devices, resulting in faster browsing speeds and reduced data usage.
Setting up Pi-hole is surprisingly straightforward. Start by ensuring your Raspberry Pi is running the latest version of Raspberry Pi OS, then execute the one-line installation command from Pi-hole’s official repository. During setup, you’ll configure your Pi as a DNS server and choose which blocklists to implement. Once installed, point your router’s DNS settings to your Raspberry Pi’s IP address to enable network-wide filtering.
The web interface provides comprehensive statistics about your network’s DNS queries, showing blocked domains and potential security threats. You can customize blocking levels, whitelist trusted domains, and add extra blocklists for enhanced protection. Pi-hole even offers features like DHCP server capabilities and detailed query logging for network diagnostics.
One of the most significant advantages of Pi-hole is its minimal impact on network performance while delivering noticeable improvements in browsing speed. Unlike traditional ad blockers that work at the browser level, Pi-hole’s network-wide approach ensures that all devices – from smart TVs to mobile phones – benefit from ad blocking without installing additional software.
Regular updates keep the blocking lists current, ensuring continued protection against new advertising domains and potential security threats. For optimal performance, consider setting up a secondary DNS server as a fallback option to maintain network connectivity if your Pi-hole experiences downtime.
OpenVPN Server
Transform your Raspberry Pi into a powerful OpenVPN server to create your own secure, private network connection from anywhere in the world. This project not only enhances your privacy but also allows you to safely access your home network while traveling or using public Wi-Fi.
Setting up OpenVPN on your Raspberry Pi is surprisingly straightforward. Start by installing OpenVPN and the Easy-RSA package for managing encryption certificates. The initial configuration involves creating encryption keys and certificates, which act as secure digital signatures for your VPN connections. You’ll also need to configure your router to forward the appropriate ports (typically port 1194) to your Raspberry Pi.
Once configured, your OpenVPN server enables encrypted tunneling of all your internet traffic through your home network. This means you can browse securely even on potentially unsafe networks, access region-restricted content, and remotely connect to devices on your home network. The setup also allows you to share files and access network resources as if you were physically present at home.
For optimal performance, consider using a Raspberry Pi 3 or newer model, as the encryption process can be somewhat CPU-intensive. You’ll also want to set up dynamic DNS to maintain a consistent connection point to your home network, even if your ISP changes your IP address.
Remember to regularly update your OpenVPN installation and certificates to maintain security. With proper configuration, your Raspberry Pi VPN server can handle multiple simultaneous connections, making it perfect for family use or small team deployments.
Network Management Solutions
Network Monitoring Dashboard
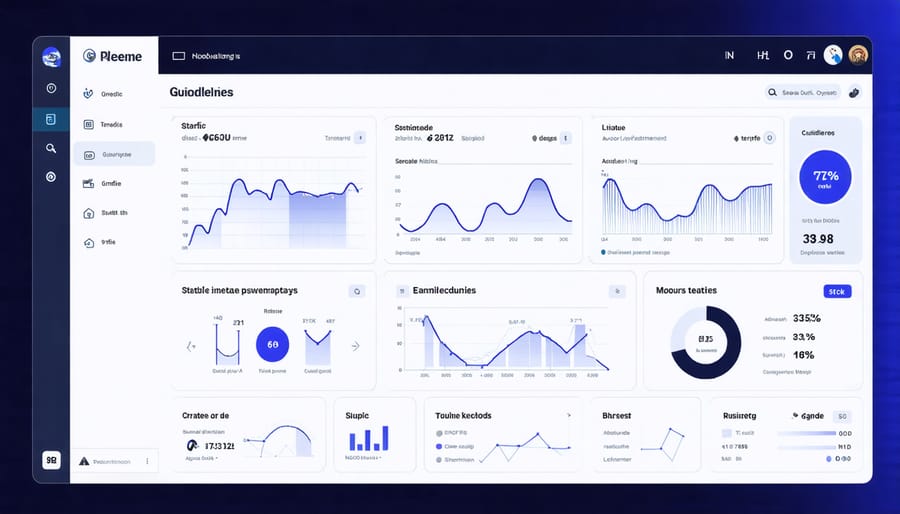
Creating a custom network monitoring dashboard with your Raspberry Pi transforms it into a powerful network analytics tool, giving you real-time insights into your network’s performance and health. This project combines remote management capabilities with detailed network analytics, making it perfect for home lab environments and small business networks.
To get started, you’ll need to install Grafana and Prometheus on your Raspberry Pi. These open-source tools work together to collect, store, and visualize network data. Begin by setting up Prometheus as your data collection engine, configuring it to gather metrics like bandwidth usage, device connections, and network latency.
Next, install Grafana to create stunning visual representations of your network data. The dashboard can be customized to display:
– Real-time bandwidth usage graphs
– Connected device inventory
– Network latency measurements
– CPU and memory usage of network devices
– Alert notifications for network issues
One of the most practical features is the ability to set up custom alerts. For example, you can receive notifications when bandwidth usage exceeds normal thresholds or when new devices connect to your network. This proactive monitoring helps identify potential issues before they impact your network performance.
To enhance your dashboard, consider integrating additional tools like Node Exporter for system metrics and Speedtest Exporter for internet speed monitoring. These components provide a more comprehensive view of your network’s performance.
The dashboard can be accessed from any device on your network through a web browser, making it convenient to check network status from your phone, tablet, or computer. You can even configure external access to monitor your network while away from home.
For beginners, start with basic metrics and gradually add more complex visualizations as you become comfortable with the system. The modular nature of Grafana allows you to expand your dashboard’s capabilities as your monitoring needs grow.
Bandwidth Management System
A Bandwidth Management System implemented on your Raspberry Pi can help you optimize network performance by prioritizing critical traffic and managing bandwidth allocation effectively. Using tools like tc (traffic control) and HTB (Hierarchical Token Bucket), you can create sophisticated QoS (Quality of Service) rules that ensure smooth network operation even during peak usage.
To get started, install the necessary packages using ‘sudo apt-get install tc’. Create traffic classes for different types of network usage, such as video streaming, gaming, and web browsing. Each class can be assigned specific bandwidth limits and priorities. For example, you might allocate 70% of your bandwidth to video conferencing during work hours while limiting torrents to 10%.
The configuration involves setting up queue disciplines (qdisc) that determine how packets are processed. HTB allows for nested classes, meaning you can create parent-child relationships for more granular control. Common implementations include:
– Prioritizing VoIP traffic for clear voice calls
– Limiting bandwidth for specific IP addresses or devices
– Setting up time-based rules for different network activities
– Implementing fair queuing between users
Traffic shaping can be fine-tuned using parameters like burst rates and ceiling values. Monitor your network’s performance using tools like iftop or nethogs to adjust these settings based on actual usage patterns. Remember to backup your configuration files before making changes.
For more advanced setups, consider integrating your bandwidth management system with a network monitoring solution. This combination provides valuable insights into traffic patterns and helps identify bottlenecks. Regular adjustments to your QoS rules ensure optimal performance as your network usage evolves.
File Sharing and Media Projects
NAS Server Setup
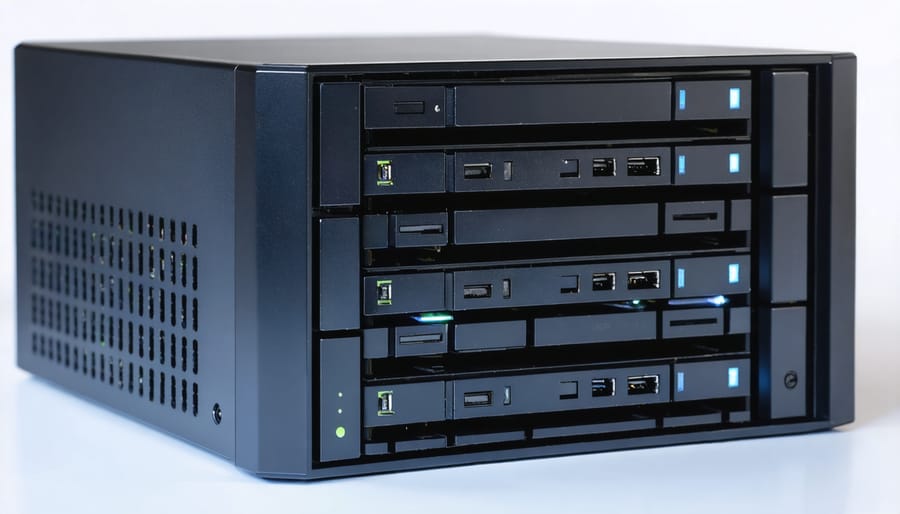
Transform your Raspberry Pi into a versatile Network Attached Storage (NAS) server to efficiently manage and share files across your home network. With just a few components and some basic configuration, you can create a network drive that’s accessible from any device in your home.
To get started, you’ll need an external hard drive or SSD for storage, along with your Raspberry Pi running the latest Raspberry Pi OS. The setup process involves installing and configuring Samba, which enables file sharing across different operating systems, making your NAS compatible with Windows, macOS, and Linux devices.
Begin by formatting your storage drive and mounting it to your Pi. Then, install Samba using the terminal command ‘sudo apt-get install samba samba-common-bin’. Create a dedicated folder for your shared files and configure the Samba settings to specify access permissions and user credentials.
One of the key advantages of a Pi-based NAS is its low power consumption compared to commercial NAS solutions. You can enhance your setup with additional features like automatic backups, RAID configurations for data redundancy, or even remote access capabilities through a VPN.
For optimal performance, consider using a Raspberry Pi 4 with its improved USB 3.0 ports and gigabit Ethernet. Also, implement a cooling solution to maintain stable operations during extended file transfers. With proper setup, your DIY NAS can reliably serve as your central file storage hub while consuming minimal power and offering impressive flexibility for future expansions.
Media Streaming Server
Transform your Raspberry Pi into a powerful media streaming hub using popular platforms like Plex or Emby. These servers allow you to organize and stream your media collection across all your devices, creating your personal Netflix-like experience at home.
Setting up a media server is surprisingly straightforward. First, connect an external hard drive to your Pi to store your media files. For Plex, install the official Plex Media Server package designed for Raspberry Pi. The server runs efficiently on newer Pi models (3B+ or 4), though transcoding capabilities may be limited compared to more powerful systems.
Alternatively, Emby offers similar functionality with a slightly different interface. Both platforms support various media formats and automatically fetch metadata, including movie posters, descriptions, and cast information. They also provide apps for smart TVs, phones, and tablets, making your content accessible throughout your home network.
To optimize performance, consider these tips:
– Use a wired ethernet connection for stable streaming
– Enable hardware acceleration where available
– Organize your media files in clear folder structures
– Keep your media server software updated
– Monitor your Pi’s temperature during extended use
The beauty of a Raspberry Pi media server lies in its low power consumption and quiet operation. While it may not handle multiple 4K transcoding sessions simultaneously, it’s perfect for direct play and most standard streaming scenarios. You can even access your media collection remotely by configuring port forwarding on your router, though this requires additional security considerations.
Embarking on Raspberry Pi networking projects opens up a world of possibilities for enhancing your home network while building valuable technical skills. From creating your own VPN server to setting up network monitoring tools, these projects offer practical solutions to everyday networking challenges while providing an excellent learning platform.
The beauty of Raspberry Pi networking projects lies in their accessibility and cost-effectiveness. With a minimal investment in hardware and some dedication to learning, you can create professional-grade networking solutions that rival commercial products. These projects not only help you understand networking concepts better but also give you complete control over your network infrastructure.
Whether you’re a beginner looking to take your first steps into networking or an experienced enthusiast seeking to expand your skillset, Raspberry Pi provides the perfect platform for experimentation and growth. The satisfaction of building and maintaining your own networking solutions is unmatched, and the knowledge gained is invaluable in today’s connected world.
Don’t be afraid to start small and gradually work your way up to more complex projects. The Raspberry Pi community is incredibly supportive, offering countless resources, tutorials, and forums where you can seek help when needed. So grab your Raspberry Pi, start with a project that interests you, and join the growing community of DIY network enthusiasts. The possibilities are endless, and the journey is just as rewarding as the destination.