

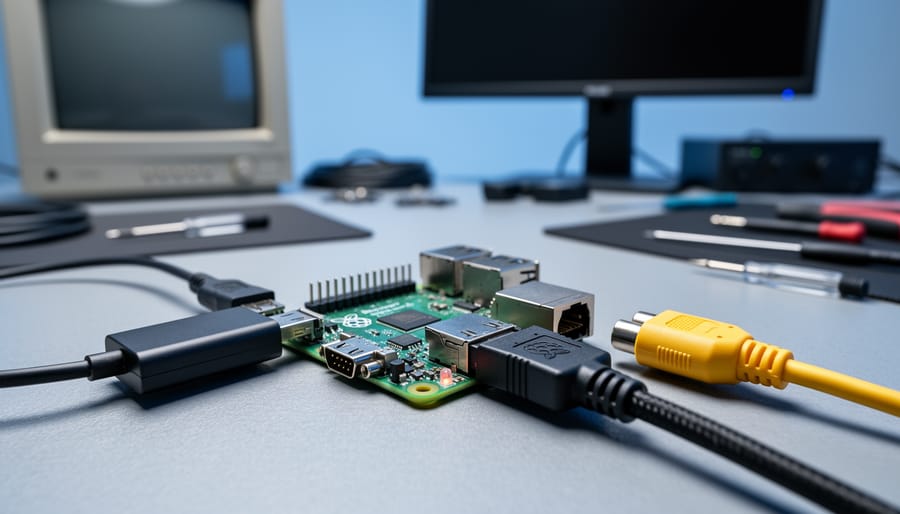
Check your Raspberry Pi model first—newer Pi 4 and Pi 5 boards use micro HDMI ports requiring adapters, while older models (Pi 3, 2, 1) feature full-size HDMI that connects directly to modern displays. Identify your monitor’s input ports carefully: VGA requires an HDMI-to-VGA converter with audio support since VGA carries no sound, composite video needs the 3.5mm AV jack found on older Pi models, and DVI connections work through simple HDMI-to-DVI cables without conversion.
Configure your display settings before first boot by editing the config.txt file on your Pi’s SD card from any computer. This prevents the frustrating black screen issue when resolution mismatches occur. For VGA monitors, add hdmi_drive=2 and set hdmi_group and hdmi_mode values matching your screen’s native resolution—typically hdmi_group=2 and hdmi_mode=16 for 1024×768 displays.
Power your converter from the Pi’s USB ports when using HDMI-to-VGA adapters, as many budget converters draw insufficient power from HDMI alone, causing flickering or no signal errors. This approach mirrors techniques used in other vintage hardware projects where power delivery determines success.
Test multiple adapters if initial attempts fail—compatibility varies significantly between manufacturers, and a five-dollar price difference often separates functional hardware from electronic paperweights. Budget ten to fifteen dollars for quality converters that include chipsets rather than passive adapters, ensuring stable signals across various monitor types and resolutions.
Understanding Your Classic Monitor’s Connection Types
HDMI on Raspberry Pi: What You’re Starting With
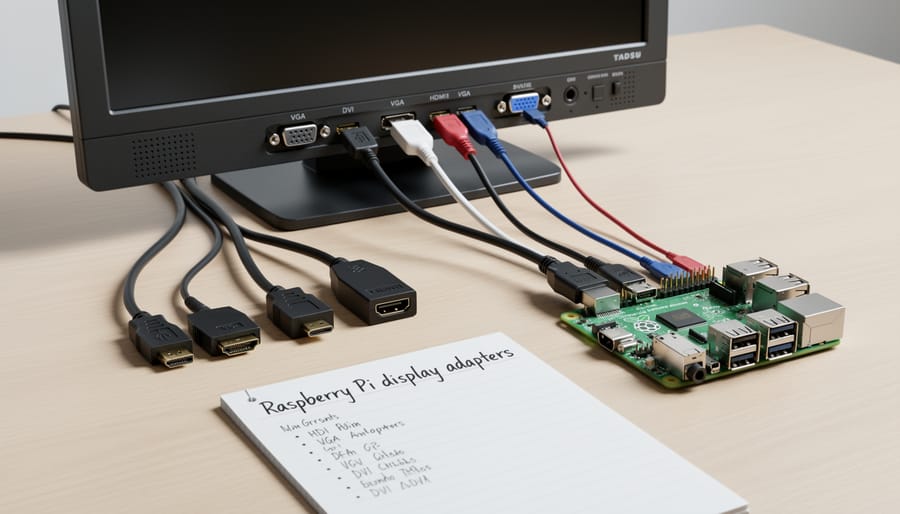
Modern Raspberry Pi boards come equipped with HDMI output right out of the box, making them compatible with today’s displays. The Raspberry Pi 3 and earlier models feature a full-size HDMI port, while the Raspberry Pi 4 upgraded to dual micro-HDMI ports for dual monitor support. The compact Pi Zero models use mini-HDMI connectors to save space.
Here’s where things get interesting for hobbyists with older equipment: while HDMI became the standard around 2003, many perfectly functional monitors still use legacy connections like VGA (the blue 15-pin connector), composite video (yellow RCA), or DVI. This creates a compatibility gap that prevents direct plug-and-play connections.
The good news? Your vintage monitor isn’t destined for the recycling bin. Understanding your Pi’s HDMI capabilities is the first step toward bridging this gap. Whether you’re working with a Pi 4’s micro-HDMI or a Pi 3’s standard HDMI, you’ll need the right adapter or converter to communicate with older display technology.
This compatibility challenge is actually an opportunity to learn about video signal conversion while giving new life to classic hardware. Let’s explore how to make these connections work seamlessly.
VGA: The Office Monitor Standard
VGA (Video Graphics Array) represents the classic analog connection that dominated computer monitors from the late 1980s through the mid-2010s. You’ll recognize VGA ports by their distinctive 15-pin, three-row connector with a blue-colored housing and thumbscrews on either side. This analog standard transmits video signals through separate red, green, and blue channels, making it reliable for everyday computing tasks.
Most VGA monitors comfortably support resolutions ranging from 640×480 up to 1920×1080 (Full HD), though performance varies by monitor quality. The standard sweet spot sits around 1024×768 or 1280×1024 for older office displays. If you’ve got a monitor from an office clearance or inherited from a previous computer setup, there’s a good chance it features VGA connectivity.
The Raspberry Pi doesn’t include a native VGA port, so you’ll need an HDMI-to-VGA adapter to bridge the connection. These affordable adapters actively convert the digital HDMI signal into analog VGA output, and many include audio extraction ports since VGA only carries video. This makes VGA an excellent option for repurposing existing monitors in educational settings or budget-conscious projects.
Composite Video: The Retro Gaming Favorite
For retro gaming enthusiasts and CRT television projects, composite video connections offer an authentic nostalgic experience. The Raspberry Pi includes a 3.5mm AV jack (on older models) or requires a simple adapter cable that carries both video and audio signals through the familiar yellow RCA plug.
Composite video delivers 480i resolution, which perfectly matches the capabilities of vintage CRT televisions from the 1980s and 1990s. While this might seem low-quality compared to modern standards, it’s ideal for running classic gaming emulators like RetroPie, where games were originally designed for these display types. The slight blur and scanlines actually enhance authenticity, making 8-bit and 16-bit games look exactly as they did decades ago.
Setting up composite output requires editing the config.txt file to enable the appropriate video mode. Simply connect your RCA cable, configure the video output settings, and you’ll have your retro gaming station ready. This connection method remains popular because it breathes new life into old televisions while providing the genuine retro gaming experience that HDMI simply cannot replicate.
DVI and Other Legacy Connections
DVI connections offer a valuable middle ground between analog VGA and modern digital displays. While Raspberry Pi models don’t include native DVI ports, you can easily use an HDMI-to-DVI adapter since both carry compatible digital signals. These adapters are inexpensive and widely available, making DVI monitors an excellent choice for Pi projects.
For even older equipment, S-Video connections were common on CRT televisions and some monitors. The Raspberry Pi 4 removed native composite video support, but earlier models like the Pi 3 include a 3.5mm jack that combines audio and composite video. You’ll need a specialized TRRS cable to access this functionality.
Component video cables, which split the signal into three separate connectors (red, green, blue), offer better quality than composite but require similar adapter solutions. These transitional formats work well when repurposing vintage displays for retro gaming stations or educational projects where authentic older hardware creates the desired aesthetic. Just remember that these analog connections typically require config.txt modifications to enable and may need resolution adjustments for optimal display quality.
Method 1: Connecting to VGA Monitors
Choosing the Right HDMI to VGA Adapter
Not all HDMI to VGA adapters work reliably with Raspberry Pi, so understanding the differences will save you frustration and money. The key distinction lies between active and passive adapters.
Active adapters contain a chip that converts the digital HDMI signal to analog VGA, making them essential for Raspberry Pi. Passive adapters only work with specific graphics cards that output analog signals through HDMI ports, which Raspberry Pi doesn’t support. Always choose an active adapter for your Pi projects.
Power requirements matter significantly. Many cheap adapters draw power solely from the HDMI port, which can strain your Raspberry Pi’s limited power budget and cause stability issues. Look for adapters with dedicated micro-USB power inputs, especially if you’re using power-hungry USB peripherals or running processor-intensive applications. These powered adapters ensure consistent signal quality and prevent random shutdowns.
Chip quality determines reliability and image clarity. Adapters using reputable chipsets from manufacturers like Chrontel or Analogix typically deliver better results than generic alternatives. Check product reviews specifically mentioning Raspberry Pi compatibility, as some adapters work perfectly with laptops but fail with Pi boards.
Regarding pricing, expect to spend between 8 and 20 dollars for quality adapters. Budget options under 8 dollars often lack proper power regulation or use inferior chips, leading to flickering displays or complete connection failures. Mid-range adapters around 12 to 15 dollars typically offer the best value, providing reliable performance without unnecessary premium pricing. Popular options include the GANA HDMI to VGA adapter and the Benfei HDMI to VGA converter, both known for consistent Raspberry Pi compatibility.
Physical Connection and Configuration
Now that you’ve gathered your adapter and cables, let’s get everything connected properly. Start by ensuring your Raspberry Pi is powered off and unplugged. This prevents any electrical issues during setup.
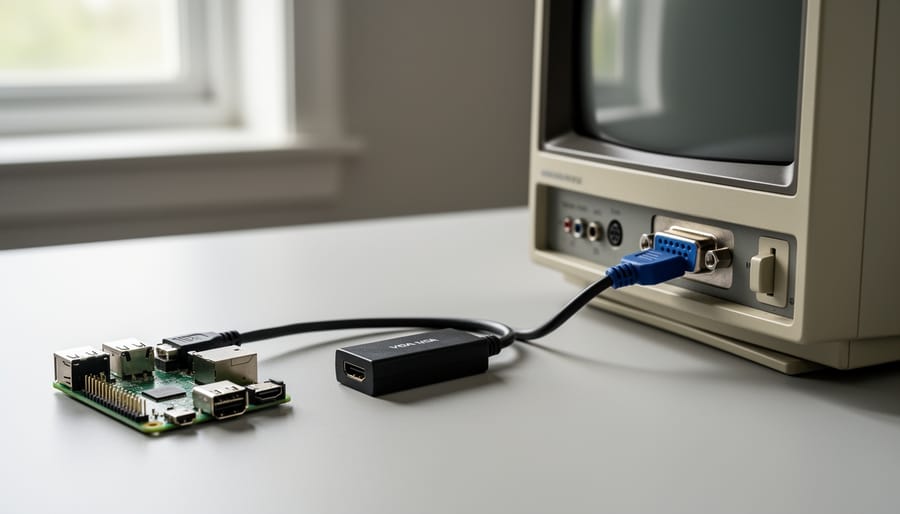
First, connect your adapter to the Raspberry Pi’s HDMI port. If you’re using an HDMI-to-VGA adapter, firmly insert the HDMI end into your Pi’s HDMI output. The connection should feel snug and secure. Next, attach the VGA cable from your monitor to the adapter’s VGA port. Hand-tighten the screws on either side of the VGA connector to prevent accidental disconnection.
For composite video connections, plug the yellow RCA connector into the composite video port on your Raspberry Pi. Match the color coding carefully to avoid confusion with audio ports.
Before powering up, double-check all connections are secure. Connect your monitor to its power source and turn it on first. Then, plug in your Raspberry Pi’s power supply. You should see the Pi’s LED indicators light up, signaling the boot sequence has begun.
The initial boot may take 30-60 seconds. Your monitor should display the Raspberry Pi boot screen, followed by the operating system loading. If nothing appears after two minutes, don’t worry—we’ll cover troubleshooting steps in the next section.
Adjusting Resolution Settings in Raspberry Pi OS
When your Raspberry Pi doesn’t automatically detect the correct display settings for your VGA monitor, you’ll need to manually configure the resolution by editing the config.txt file. This configuration file controls how your Pi communicates with displays, and a few simple tweaks can resolve most display issues.
To access the config.txt file, boot up your Raspberry Pi and open a terminal window. Type sudo nano /boot/config.txt and press Enter. This opens the configuration file in a text editor where you can make changes.
For VGA displays connected through an HDMI adapter, look for the lines starting with hdmi_mode and hdmi_group. The hdmi_group setting determines the display standard, while hdmi_mode specifies the exact resolution and refresh rate. For VGA monitors, set hdmi_group=2 for DMT (Display Monitor Timings) mode, which is standard for computer monitors.
Here are some common configuration examples. For 1920×1080 at 60Hz, use hdmi_group=2 and hdmi_mode=82. For 1280×1024 at 60Hz, use hdmi_group=2 and hdmi_mode=35. If you’re working with 1024×768 at 60Hz, set hdmi_group=2 and hdmi_mode=16.
If your display shows black borders around the edges, disable overscan by adding disable_overscan=1 to the file. Conversely, if content extends beyond the visible screen area, enable overscan compensation with overscan_left=20, overscan_right=20, overscan_top=20, and overscan_bottom=20. Adjust these values as needed.
After making changes, save the file by pressing Ctrl+X, then Y, and Enter. Reboot your Raspberry Pi with sudo reboot to apply the new settings.
Method 2: Using Composite Video Connections
Composite Output on Different Raspberry Pi Models
Understanding which Raspberry Pi model you have is crucial for composite video connections, as the hardware varies significantly across generations.
The Raspberry Pi Zero, Zero W, and Zero 2 W feature dedicated composite output through unpopulated solder pads labeled “TV” on the board. You’ll need to solder a 3.5mm TRRS jack or directly attach composite cables to use this output.
Raspberry Pi models 1, 2, and 3 come with a 3.5mm four-pole (TRRS) jack that combines both audio and composite video. This single port outputs stereo audio on the first two rings and composite video on the sleeve. You’ll need a specialized 3.5mm TRRS to RCA cable with three connectors: yellow for video, and red/white for audio. Standard headphone cables won’t work here since they lack the video connection.
The Raspberry Pi 4 and Pi 400 removed native composite output entirely from the hardware design. However, you can still achieve composite video through GPIO pins using add-on HATs or adapters specifically designed for this purpose.
The original Raspberry Pi Model B featured a dedicated yellow RCA jack for composite video alongside a separate 3.5mm audio jack, making it the most straightforward option for composite connections. Simply plug in a standard RCA cable and you’re ready to go.
Setting Up Composite Video Output
Connecting your Raspberry Pi to an older television through composite video is straightforward and perfect for retro gaming projects or when working with vintage displays. The composite connection uses the 3.5mm AV jack found on Raspberry Pi models 1-3, or requires an adapter cable for the Raspberry Pi 4, which uses the same port as micro HDMI.
Start by obtaining a 3.5mm to RCA composite cable. The cable typically has yellow (video), red (audio right), and white (audio left) connectors. Plug the 3.5mm end into your Raspberry Pi’s AV port and connect the RCA ends to your television’s corresponding input jacks. Remember that yellow always carries the video signal.
Before powering on your Pi, you’ll need to modify the config.txt file to enable composite output. Insert your microSD card into a computer and open the config.txt file located in the boot partition. Add or uncomment the line “sdtv_mode=2” for PAL format used in Europe, Australia, and parts of Asia. If you’re in North America or Japan, use “sdtv_mode=0” for NTSC format instead. You should also ensure “enable_tvout=1” is present to activate the composite signal.
Additional useful settings include “sdtv_aspect=1” for 4:3 displays or “sdtv_aspect=3” for 16:9 widescreen televisions. Save your changes, safely eject the card, reinsert it into your Raspberry Pi, and power on. Your display should detect the signal automatically when you select the appropriate AV input channel.
Managing Quality Expectations and Optimization
Let’s be honest about composite video connections: they’re a product of their era, maxing out at 480i resolution (NTSC) or 576i (PAL). This translates to roughly 720×480 pixels with interlaced scanning, which appears noticeably fuzzy on modern displays we’re accustomed to. Text will be harder to read, and fine details blur together.
That said, composite connections remain perfectly valid for specific scenarios. They’re ideal for retro gaming projects, particularly when authenticity matters more than crispness. Educational demonstrations on older classroom equipment, simple digital signage, or testing projects before investing in better displays are all appropriate uses.
To maximize picture quality within these limitations, start by using the shortest, highest-quality RCA cable you can find. Interference increases with cable length. In your config.txt file, experiment with sdtv_mode settings to match your region (sdtv_mode=0 for NTSC, sdtv_mode=2 for PAL). Adjust sdtv_aspect to correct screen stretching issues, typically setting it to 1 for 4:3 displays or 3 for 16:9.
Consider increasing the GPU memory allocation to 128MB or higher if you’re running graphical applications, which helps maintain smoother video output. Finally, manage your expectations and interface choices. Stick with terminal-based applications or lightweight desktop environments like LXDE rather than resource-heavy alternatives for the smoothest experience on composite displays.
Method 3: DVI Monitors and Adapter Solutions
HDMI to DVI: The Simple Conversion
If your monitor has a DVI port, you’re in luck—connecting your Raspberry Pi is remarkably straightforward. Both HDMI and DVI use digital signals, making this one of the simplest conversions available. Unlike analog conversions that require active signal processing, HDMI to DVI needs only a passive adapter.
You’ll find inexpensive passive adapters or cables with HDMI on one end and DVI on the other at most electronics retailers. These typically cost under $10 and require no external power source. The conversion works because HDMI and DVI share the same underlying digital video standard, meaning the adapter simply reroutes the pins without modifying the signal.
To connect, plug the HDMI end into your Raspberry Pi’s HDMI port and the DVI end into your monitor. Power on both devices, and your Pi should automatically detect the display. Most modern Raspberry Pi OS versions handle this connection seamlessly without configuration changes.
One important caveat: DVI doesn’t carry audio signals. If your project requires sound, you’ll need to use the Pi’s 3.5mm audio jack or a USB audio device for separate audio output. This makes HDMI to DVI ideal for display-focused projects where sound isn’t critical or can be handled independently.
Configuration Tips for DVI Displays
When connecting your Raspberry Pi to a DVI monitor, you’ll want to ensure your config.txt file is properly set up for the best experience. Start by accessing this configuration file located in the boot partition of your SD card. For most DVI displays, the default settings work well, but if you encounter issues, add or modify the line hdmi_group=2 for DMT (computer monitor) timings rather than CEV (TV) timings.
Resolution adjustments are straightforward using the hdmi_mode setting. Common configurations include hdmi_mode=16 for 1024×768 resolution or hdmi_mode=82 for 1920×1080 at 60Hz. If your display shows a black border, disable overscan by setting disable_overscan=1. For monitors that don’t automatically detect the signal, force HDMI output with hdmi_force_hotplug=1.
Remember that DVI doesn’t carry audio signals, so you’ll need to configure audio output through the 3.5mm jack or USB speakers separately. After making changes, save the file and reboot your Raspberry Pi. These simple tweaks ensure your DVI display delivers crisp, properly scaled visuals for all your projects.
Troubleshooting Common Connection Issues
No Signal or Black Screen
If your Raspberry Pi powers on but your monitor displays no signal or remains black, don’t worry—this is one of the most common issues and usually has a simple fix. Start by checking the basics: ensure your power adapter provides at least 5V/2.5A (3A for Pi 4), as insufficient power can prevent proper video output. Next, verify all cable connections are secure at both ends, and try a different HDMI or adapter cable if available.
For persistent display issues, you’ll need to modify the config.txt file on your Pi’s SD card. Remove the card and insert it into another computer, then open the config.txt file in the boot partition. Add or uncomment the line “hdmi_force_hotplug=1” to force HDMI output, and “hdmi_safe=1” to use the safest HDMI settings. For VGA adapters, you might need to specify resolution with “hdmi_group=2” and “hdmi_mode=16” for 1024×768.
If you’re still facing issues, try booting in safe mode by holding Shift during startup, which loads default display settings. You can also test your Pi with a different monitor to rule out hardware problems. Remember to save any config.txt changes before reinserting the SD card and rebooting your Raspberry Pi.
Display Too Large, Too Small, or Offset
If your display appears too large, too small, or doesn’t fit properly within the screen borders, you’re likely experiencing overscan issues. This is particularly common with older monitors and TVs that automatically scale content. The good news is that you can easily fix this by adjusting your Raspberry Pi’s configuration settings.
Start by accessing the config.txt file on your Raspberry Pi’s boot partition. You can edit this file directly from the Raspberry Pi OS desktop by opening a terminal and typing: sudo nano /boot/config.txt
To disable overscan completely, add or uncomment the line: disable_overscan=1
If you need fine-tuned control over the display borders, you can manually adjust each edge using these parameters:
overscan_left=number
overscan_right=number
overscan_top=number
overscan_bottom=number
Replace “number” with positive values to add black borders or negative values to expand the display beyond the visible area. Start with values around 16 and adjust incrementally until the image fits perfectly.
For resolution problems, ensure your monitor’s native resolution matches the HDMI output settings. Add these lines to force a specific resolution:
hdmi_group=2
hdmi_mode=16
The mode number determines the resolution, with mode 16 typically representing 1024×768. Save the file, reboot your Raspberry Pi, and your display should now fit correctly.
Poor Image Quality or Artifacts
Image quality issues can be frustrating, but they’re usually fixable with the right approach. If you’re experiencing fuzzy displays, start by checking your cable connections—loose cables are surprisingly common culprits. For digital connections like HDMI and DVI, ensure you’re using quality cables, as cheap ones can introduce visual artifacts.
When dealing with analog connections like VGA or composite video, interference becomes more likely. Try routing your cables away from power supplies and other electromagnetic sources. For composite video specifically, color bleeding and fuzziness are somewhat expected due to the technology’s limitations, but you can improve things by adjusting the config.txt settings on your Raspberry Pi’s SD card. Look for parameters like sdtv_mode and sdtv_aspect to optimize the output for your region and display.
Screen tearing often indicates refresh rate mismatches. Edit your config.txt file to manually set hdmi_mode values that match your monitor’s native resolution and refresh rate. If colors appear washed out or incorrect, check your hdmi_drive setting—switching between values 1 and 2 toggles between DVI and HDMI modes, which handle color spaces differently.
For persistent problems with digital displays, disable overscan by setting disable_overscan=1 in config.txt. This ensures pixel-perfect output without unnecessary scaling that can introduce softness.
Optimizing Performance for Classic Monitor Resolutions
Adjusting Desktop Environment Settings
Once you’ve successfully connected your Raspberry Pi to your monitor, you may notice that the default desktop settings aren’t quite optimized for your display’s resolution. Don’t worry – a few simple adjustments can dramatically improve your viewing experience.
Start by right-clicking the desktop and selecting “Preferences” > “Appearance Settings.” Here, you can choose a lighter or darker theme that works better with your monitor’s contrast levels. If you’re working with a lower resolution display, the text might appear small or blurry. Navigate to “Raspberry Pi Configuration” > “Display” to adjust the pixel doubling option, which effectively enlarges everything on screen.
For fine-tuning, access the taskbar settings by right-clicking on it. Adjust the panel size to make it larger if icons appear too small. You can also modify individual icon sizes within the panel preferences to improve visibility.
Font rendering deserves special attention on older monitors. Go to “Preferences” > “Appearance Settings” > “Desktop” tab and experiment with font sizes. Increasing the default font from 10 to 12 points often makes a significant difference in readability without feeling oversized.
If colors appear washed out, try adjusting your monitor’s brightness and contrast settings directly on the hardware. Combine this with the Raspberry Pi’s desktop theme adjustments for the best results on your specific display.
Performance Benefits of Lower Resolutions
Running your Raspberry Pi at lower resolutions like 800×600 or 1024×768 can significantly boost system responsiveness, particularly on older models like the Pi Zero, Pi 1, or Pi 2. These resolutions require less processing power and memory bandwidth, freeing up resources for your actual projects and applications.
The performance gains are most noticeable when running desktop environments or graphics-intensive tasks. At 800×600, older Pi models can handle window animations and application launching much more smoothly compared to full HD resolutions. This makes lower resolutions ideal for retro gaming stations, educational coding projects, or terminal-based work where screen real estate isn’t critical.
Consider leveraging lower resolutions when you’re working with vintage monitors anyway, similar to reviving classic peripherals. The aesthetic match between classic displays and Pi projects creates an authentic retro computing experience. You’ll appreciate the improved frame rates in RetroPie emulation and snappier command-line responsiveness.
For newer Pi 4 or Pi 5 models with more powerful hardware, you can comfortably run higher resolutions. However, if you’re experiencing lag or want to maximize battery life on portable projects, dropping to 1024×768 remains a practical optimization strategy.
Project Ideas: Best Uses for Raspberry Pi with Classic Monitors
Retro Gaming Station
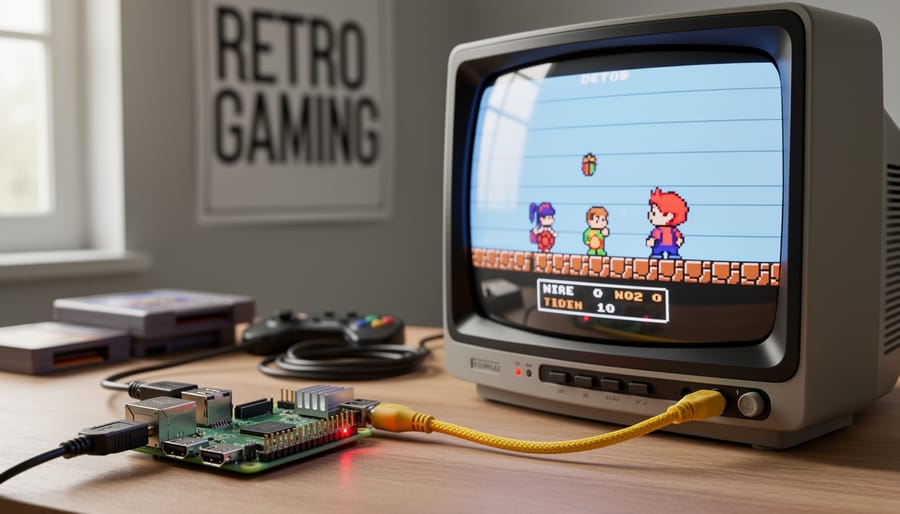
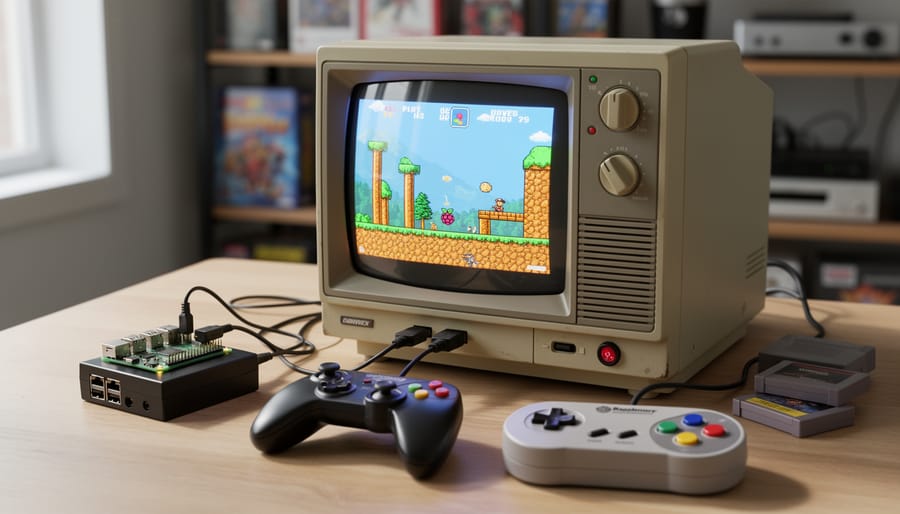
For the ultimate nostalgic gaming experience, connecting your Raspberry Pi to a CRT television through composite output creates the perfect environment for classic games. This setup pairs beautifully with RetroPie, the popular retro gaming platform, because vintage games were originally designed for CRT displays and actually look better on them than modern screens.
The composite connection eliminates the artificial sharpness that makes old pixel art appear harsh on HD monitors. CRT screens naturally blend pixels, creating the smooth visuals developers intended. The slight curved screen and scan lines add authenticity that flat panels simply cannot replicate.
To set this up, connect the yellow composite cable from your Raspberry Pi’s 3.5mm AV jack to your CRT’s video input. You’ll need to modify your config.txt file to enable composite output by adding sdtv_mode=0 for NTSC or sdtv_mode=2 for PAL displays.
This configuration provides zero input lag, crucial for timing-sensitive retro games like platformers and fighting games. The warm glow of a CRT combined with period-accurate visuals transforms your gaming station into a genuine time machine.
Workshop or Garage Terminal
Old VGA monitors excel in workshop and garage environments where durability trumps aesthetics. These settings demand displays that withstand dust, temperature fluctuations, and occasional bumps—making that aging 17-inch VGA monitor perfect for the job.
Connect your Raspberry Pi using an HDMI to VGA adapter to create an information terminal displaying equipment manuals, project specifications, or inventory databases. The robust construction of older CRT or early LCD monitors means they’ll survive conditions that would damage modern displays.
For garage use, mount the monitor near your workbench to access wiring diagrams, torque specifications, or video tutorials while keeping your hands free. Workshop terminals benefit from touchscreen overlays added to basic VGA displays, transforming them into interactive control panels for CNC machines or 3D printers.
The low replacement cost of VGA monitors means you won’t worry about workshop hazards. Focus on functionality—weatherproof enclosures and protective covers extend lifespan in harsh environments where premium displays simply don’t belong.
Educational Classroom Deployment
Schools worldwide are discovering the perfect pairing: donated VGA monitors with affordable Raspberry Pi computers. This cost-effective combination transforms outdated hardware into functional computer labs for teaching programming, digital literacy, and STEM subjects. Simply connect your Raspberry Pi to VGA monitors using inexpensive HDMI-to-VGA adapters, which typically cost under $10 each. Most schools find that existing VGA monitors work perfectly at 1024×768 resolution, ideal for coding environments and educational software.
For classroom deployment, purchase adapters with audio extraction ports to ensure students can hear educational content through external speakers. Configure all devices uniformly by editing the config.txt file to set standard display parameters across every workstation. This ensures consistent performance and simplifies troubleshooting. Teachers appreciate that Raspberry Pi OS includes pre-installed programming tools like Scratch, Python, and educational resources. The low power consumption means multiple units can operate on standard classroom circuits without electrical upgrades, making this an environmentally friendly and budget-conscious solution for technology education.
Your old monitors don’t need to gather dust in storage. As we’ve explored throughout this guide, connecting a Raspberry Pi to classic displays is not only possible but surprisingly straightforward. Whether you’re working with VGA monitors using HDMI adapters, composite displays for retro gaming projects, or DVI screens with simple cable solutions, there’s a connection method that fits your needs.
The beauty of the Raspberry Pi ecosystem lies in its flexibility and backward compatibility. With just a few affordable adapters and some basic configuration adjustments, you can breathe new life into monitors that might otherwise end up in landfills. This approach offers real benefits beyond nostalgia—you’re actively participating in sustainable tech practices while saving money that would otherwise go toward new equipment.
Don’t hesitate to experiment with different connection methods and display settings. The configuration process is forgiving, and the community resources available make troubleshooting accessible even for beginners. By repurposing your existing hardware, you’re not just building projects; you’re contributing to a more sustainable approach to technology while discovering the full potential of your Raspberry Pi setup.