


Transform your Raspberry Pi into a robust cybersecurity hub by deploying it as an intrusion detection system, network monitoring station, or secure VPN gateway. With its compact size and powerful network configuration capabilities, this versatile device serves as an ideal platform for implementing enterprise-grade security measures at a fraction of the cost.
Install security-focused operating systems like Kali Linux ARM or RaspberryPi OS with custom hardening scripts to create your personal security operations center. Configure tools such as Snort for real-time traffic analysis, Pi-hole for network-wide ad blocking and malware protection, or OpenVPN for encrypted remote access. Advanced users can leverage the GPIO pins to add physical security components, creating a comprehensive security monitoring solution that bridges both digital and physical domains.
This practical guide demonstrates how to harness the Raspberry Pi’s full potential as a dedicated security appliance, whether you’re protecting a home network or building a testing environment for penetration testing and vulnerability assessment. From basic firewall configuration to advanced threat detection, your Pi can handle it all while maintaining energy efficiency and 24/7 reliability.
Essential Security Tools for Your Raspberry Pi
Network Monitoring Tools
The Raspberry Pi’s versatility shines when equipped with powerful network monitoring tools. For comprehensive network analysis, Wireshark stands out as an essential tool that allows you to capture and examine network traffic in real-time. Its user-friendly interface makes it perfect for both beginners and advanced users, enabling detailed packet inspection and protocol analysis.
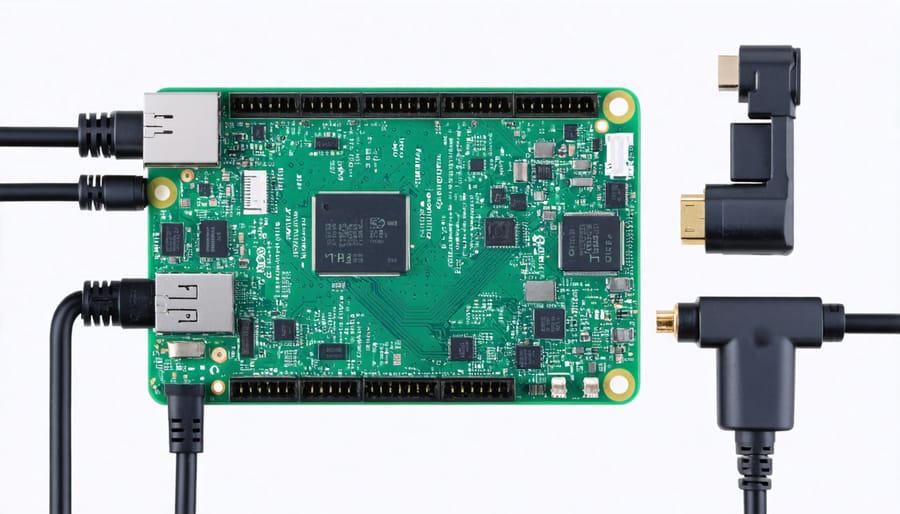
Snort, an industry-standard intrusion detection system (IDS), transforms your Pi into a vigilant network guardian. When combined with a dual Ethernet setup for enhanced security, Snort can monitor network traffic for suspicious patterns and potential threats, alerting you to possible security breaches before they become critical.
Pi-hole takes a different approach by functioning as a network-wide ad blocker and DNS sinkhole. Beyond blocking unwanted advertisements, it helps protect your network by preventing connections to known malicious domains. The tool’s dashboard provides valuable insights into your network’s DNS queries and potential security threats.
For optimal performance, consider running these tools simultaneously. Wireshark can handle detailed traffic analysis, while Snort monitors for immediate threats, and Pi-hole manages DNS-level security. This combination creates a robust security stack that transforms your Raspberry Pi into a powerful network monitoring station, capable of identifying and preventing various cyber threats.
Firewall Configuration
Securing your Raspberry Pi with a properly configured firewall is essential for protecting against unauthorized access. UFW (Uncomplicated Firewall) provides an excellent balance between security and ease of use, making it perfect for Raspberry Pi implementations.
To get started, install UFW using the command:
sudo apt-get install ufw
Before enabling the firewall, configure basic rules to prevent lockout:
sudo ufw allow 22/tcp
sudo ufw allow 80/tcp
sudo ufw allow 443/tcp
These commands allow SSH (port 22) and web traffic (ports 80 and 443). After setting these initial rules, enable the firewall:
sudo ufw enable
For enhanced security, consider limiting SSH access to specific IP addresses:
sudo ufw allow from 192.168.1.0/24 to any port 22
Monitor your firewall status using:
sudo ufw status verbose
Remember to regularly review and update your firewall rules. Remove unnecessary rules with:
sudo ufw delete [rule number]
For logging potential security threats, enable UFW logging:
sudo ufw logging on
This configuration provides a solid security foundation while maintaining necessary access to your Raspberry Pi. Always test your connections after making firewall changes to ensure critical services remain accessible.

Creating a Network Security Appliance
Installing Security-Focused Operating Systems
When transforming your Raspberry Pi into a security powerhouse, choosing the right operating system is crucial. Kali Linux ARM is a popular choice, offering a comprehensive suite of penetration testing and security auditing tools specifically optimized for the Raspberry Pi. This distribution comes pre-loaded with hundreds of security tools, making it perfect for ethical hacking and security testing.
SecurityOnion is another excellent option, particularly if you’re interested in network security monitoring. While it’s more resource-intensive than Kali, it can still run on newer Raspberry Pi models and provides powerful intrusion detection capabilities and network analysis tools.
For those seeking a lighter alternative, ParrotOS ARM offers a balance between functionality and performance. It includes essential security tools while maintaining better system responsiveness on the Pi’s limited resources.
RaspberryPi OS (formerly Raspbian) can also be transformed into a security-focused system by installing specific security packages. This approach gives you more control over your setup and helps maintain better performance, though it requires more manual configuration.
When installing these operating systems, make sure to:
– Use the official downloads from trusted sources
– Verify checksums before installation
– Create regular backups of your configuration
– Keep the system updated with security patches
– Configure proper authentication and access controls
Remember that each OS has different hardware requirements, so check compatibility with your specific Raspberry Pi model before installation.
Setting Up Intrusion Detection
One of the most powerful security applications for your Raspberry Pi is setting up an Intrusion Detection System (IDS). By leveraging the Pi’s network bridging capabilities, you can monitor and protect your entire network from malicious activities.
Snort is a popular choice for implementing IDS on Raspberry Pi. To get started, install Snort using the command:
sudo apt-get install snort
After installation, you’ll need to configure Snort’s rules to match your network requirements. Edit the /etc/snort/snort.conf file to specify your home network’s IP range and select which rule sets to enable. For beginners, it’s recommended to start with the community rules, which provide excellent baseline protection.
To enhance your IDS setup, consider implementing Security Onion, a comprehensive security monitoring solution that includes multiple tools like Zeek and Suricata. While more resource-intensive, it offers advanced features like network traffic analysis and log management.
For real-time alerts, configure Snort to send notifications to your email or mobile device when suspicious activity is detected. You can accomplish this by adding alert rules to your configuration:
alert tcp any any -> $HOME_NET any (msg:”Potential SSH brute force attempt”; flow:to_server; threshold:type both,track by_src,count 5,seconds 60;)
Remember to regularly update your rule sets and monitor system logs to maintain effective intrusion detection.

VPN Server Configuration
Setting up a VPN server on your Raspberry Pi adds an extra layer of security to your home network while enabling secure remote access. Two popular options for implementing a VPN server are OpenVPN and WireGuard, each with its own advantages.
OpenVPN is a well-established solution that offers robust security features. To set it up, first install OpenVPN using the command:
“`
sudo apt-get install openvpn
“`
Then, use PiVPN’s automated installer script, which simplifies the configuration process:
“`
curl -L https://install.pivpn.io | bash
“`
WireGuard, a newer alternative, provides better performance and simpler configuration. Install it with:
“`
sudo apt-get install wireguard
“`
Generate your keys and create a basic configuration file in /etc/wireguard/wg0.conf.
For both solutions, remember to:
– Use strong encryption keys
– Configure proper port forwarding on your router
– Keep your VPN server software updated
– Implement strict access controls
– Regular backup your VPN configurations
WireGuard generally offers better speed and lower resource usage, making it ideal for Raspberry Pi. However, OpenVPN’s longer track record and extensive documentation might make it more suitable for beginners. Choose based on your specific needs and technical comfort level.
Remember to regularly monitor your VPN server’s logs for any suspicious activity and maintain proper security protocols for client access.
Performance Optimization and Maintenance
Resource Management
Effective resource management is crucial for maintaining a secure and responsive Raspberry Pi security system. Start by monitoring your CPU usage with the ‘top’ command or implementing remote monitoring and control solutions to track system performance. For optimal security operations, aim to keep CPU usage below 80% during peak activities.
Memory management is equally important. Configure your swap space appropriately – a good rule of thumb is to set it equal to your RAM size for Pi models with 2GB or less, and half the RAM size for models with 4GB or more. Regularly clear your system cache using ‘sync; echo 3 > /proc/sys/vm/drop_caches’ to free up memory resources.
Storage optimization is essential for log management and system updates. Implement log rotation using ‘logrotate’ to prevent log files from consuming excessive space. Consider using external storage for long-term log archival, but keep critical security logs on the main SD card for faster access.
To prevent resource exhaustion attacks, set up resource limits in your security applications. Use ‘ulimit’ to restrict process resources, and implement rate limiting in your firewall rules. Monitor disk usage with ‘df -h’ and set up alerts when storage capacity exceeds 80%. Regular maintenance, including removing unused packages and clearing temporary files, will help maintain optimal performance for your security setup.
Regular Security Updates
Regular system updates are crucial for maintaining your Raspberry Pi’s security posture. The first line of defense is enabling automatic updates, which can be done through the terminal using ‘sudo apt-get update && sudo apt-get upgrade’ commands. It’s recommended to run these updates at least weekly, though daily updates provide optimal security coverage.
To automate this process, you can create a simple cron job that performs updates at scheduled intervals. Remember to configure your Pi to check for security updates separately using ‘sudo apt-get install unattended-upgrades’ and enabling it with ‘sudo dpkg-reconfigure unattended-upgrades’.
Monitor your system logs regularly for any suspicious activities or failed update attempts. The ‘/var/log/apt/history.log’ file contains valuable information about package installations and updates. Consider implementing a log rotation policy to manage these files effectively.
Be cautious when adding new repositories to your sources list, as these can introduce potential security vulnerabilities. Stick to official Raspberry Pi repositories whenever possible. If you’re using your Pi for security-critical applications, create a backup before applying major updates to prevent system disruption.
Set up update notifications through email or your preferred messaging platform to stay informed about critical security patches. This proactive approach ensures you’re always aware of important system changes and can respond quickly to potential security threats.
Implementing cybersecurity measures on your Raspberry Pi is not just about protecting a single device – it’s about safeguarding your entire network and data ecosystem. Throughout this guide, we’ve explored various security tools and techniques that transform your Raspberry Pi into a powerful security asset. By utilizing these methods, you’re not only enhancing your technical skills but also contributing to a more secure digital environment.
The beauty of using a Raspberry Pi for cybersecurity lies in its versatility, cost-effectiveness, and educational value. Whether you’re running a network monitoring system, implementing a firewall, or managing a VPN server, the skills you develop are transferable to larger-scale security operations. Plus, the hands-on experience gained through these projects provides invaluable insights into how security systems work in practice.
Remember that cybersecurity is an ongoing process, not a one-time setup. Regularly update your systems, monitor your logs, and stay informed about new security threats and countermeasures. The Raspberry Pi community continues to develop new security tools and applications, making it an excellent platform for learning and experimentation.
By taking these steps to secure your network with a Raspberry Pi, you’re not just protecting your data – you’re joining a community of security-conscious makers and developers who are constantly innovating in the field of cybersecurity. Keep exploring, keep learning, and most importantly, keep your systems secure.