

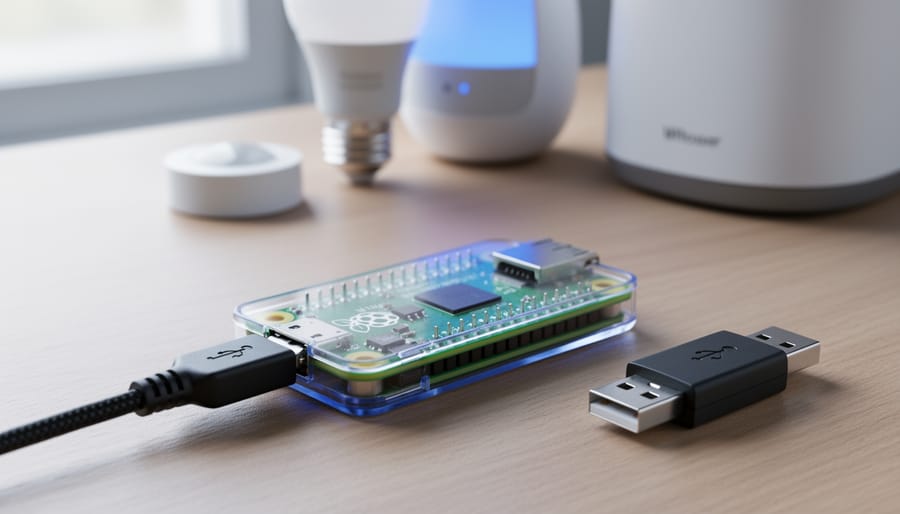
The Raspberry Pi Zero can run Home Assistant, but you need to understand its limitations before committing to this budget-friendly path. At just $15, the Pi Zero W offers an incredibly affordable entry point into home automation, making it tempting for anyone wanting to build a Raspberry Pi smart home hub without breaking the bank. However, its 512MB RAM and single-core processor mean you’ll face real constraints that could impact your smart home experience.
Expect slower response times compared to more powerful Pi models. The Pi Zero handles basic automation tasks like controlling lights, sensors, and simple routines adequately, but struggles when you add multiple integrations, complex automations, or resource-intensive add-ons like voice assistants or video processing. Boot times stretch to several minutes, and the web interface may feel sluggish during peak usage.
That said, the Pi Zero works perfectly for specific use cases: small apartments with minimal devices, learning Home Assistant basics before upgrading, dedicated single-purpose automation controllers, or remote sensor nodes in a distributed setup. If you’re running fewer than 10-15 devices and stick to lightweight integrations, the Pi Zero becomes a viable, ultra-compact solution.
This guide walks you through everything needed to successfully deploy Home Assistant on a Pi Zero, including essential hardware requirements, step-by-step installation procedures, critical performance optimizations, and honest assessments of what works and what doesn’t. You’ll learn how to maximize this tiny computer’s potential while avoiding common pitfalls that frustrate beginners.
Why the Pi Zero Works Perfectly for Home Assistant
Power Consumption That Won’t Hurt Your Electric Bill
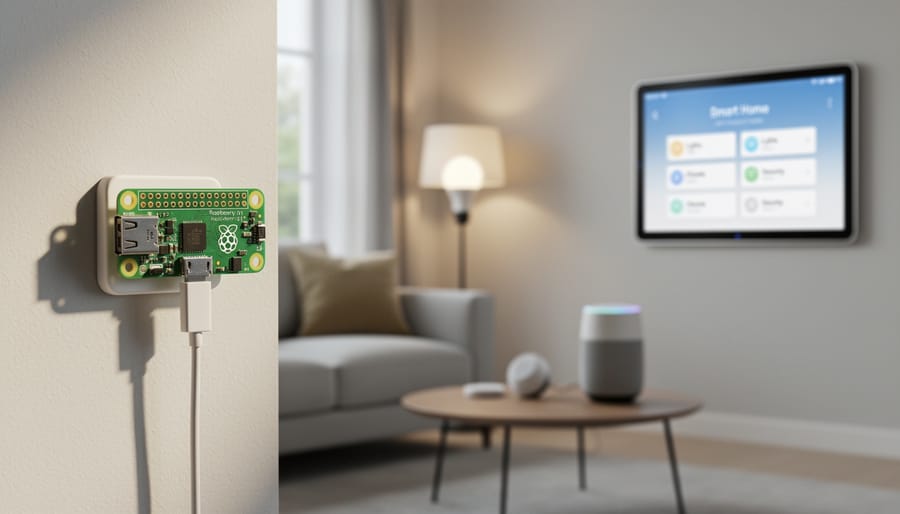
One of the most compelling reasons to choose the Pi Zero for your Home Assistant setup is its incredibly low power consumption. The Pi Zero W draws approximately 0.4-1 watts during typical operation, which translates to roughly $1-3 per year in electricity costs in most regions. Compare this to a Raspberry Pi 4 Model B that consumes 3-6 watts, or a traditional desktop computer that can pull 100-200 watts, and the savings become clear.
To put this in perspective, running a Pi Zero continuously for an entire year costs less than a single cup of coffee. Even if you’re running Home Assistant 24/7 to manage your smart home devices, you’ll barely notice any impact on your monthly electric bill. The power efficiency also means you can use smaller, more affordable power supplies, and the device generates minimal heat, eliminating the need for active cooling solutions like fans.
This efficiency makes the Pi Zero an environmentally friendly choice for home automation. You’re creating a smarter home without significantly increasing your carbon footprint. For those concerned about energy costs or looking to build sustainable smart home solutions, the Pi Zero strikes an excellent balance between functionality and responsible power usage.
Performance Limitations You Should Know About
While the Pi Zero can run Home Assistant successfully, it’s important to understand where you might hit performance walls. Being upfront about these limitations helps you make an informed decision and avoid frustration down the road.
The most significant bottleneck you’ll encounter is database size. As Home Assistant logs data from your sensors and devices over time, the database grows. Once it reaches several gigabytes, you’ll notice sluggish response times and slow dashboard loading. The Pi Zero’s SD card storage and limited RAM make large database queries particularly painful.
Video processing is essentially off the table. If you’re planning to integrate multiple security cameras with motion detection or facial recognition, the Pi Zero won’t handle it well. Even a single camera stream can cause system instability. Stick with basic camera viewing rather than processing tasks.
Running dozens of integrations simultaneously will push the Pi Zero beyond its comfort zone. While ten to fifteen well-chosen integrations typically work fine, adding twenty or more can lead to delayed automations and unresponsive interfaces. Each integration consumes memory and processing power, and the single-core processor simply can’t juggle too many tasks at once.
Complex automations with multiple conditions and actions may also execute slowly, especially if they trigger simultaneously. The system won’t crash, but you might experience delays of several seconds rather than instant responses.
Consider the Pi Zero as perfect for learning, small apartments, or focused use cases. For larger homes with extensive automation needs, you’ll want to upgrade to more powerful hardware once you outgrow these limitations.
Which Pi Zero Model Should You Choose?
Pi Zero 2 W: The Sweet Spot for Most Users
For most home automation enthusiasts, the Pi Zero 2 W hits the sweet spot between affordability and performance. Priced around $15, this tiny board packs a quad-core ARM Cortex-A53 processor running at 1GHz, representing a massive leap from the original Zero’s single-core setup.
The difference in real-world Home Assistant usage is immediately noticeable. Dashboard loading times drop from sluggish waits to just a few seconds. Automation triggers fire promptly, and the interface remains responsive even when managing dozens of smart devices. You’ll find that common tasks like toggling lights, checking sensor data, and navigating between dashboards feel snappy rather than frustrating.
The quad-core architecture also provides headroom for running essential add-ons like Mosquitto MQTT broker or simple Node-RED flows without grinding to a halt. While it won’t handle resource-intensive features like camera streams or complex machine learning, the Zero 2 W comfortably manages typical smart home setups with 20-40 devices.
The built-in WiFi and Bluetooth eliminate the need for additional adapters, keeping your setup clean and compact. If you’re starting fresh with Home Assistant on a budget, the Zero 2 W delivers reliable performance that won’t leave you constantly troubleshooting slowdowns or planning an immediate upgrade.
Everything You Need to Get Started
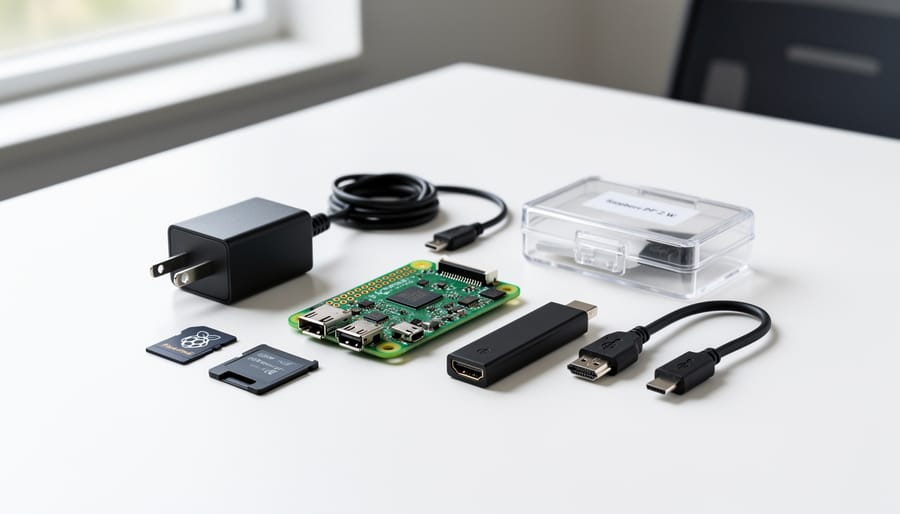
Before diving into your Pi Zero Home Assistant project, let’s gather everything you’ll need. The right components make the difference between a smooth experience and troubleshooting headaches.
Start with the star of the show: a Raspberry Pi Zero 2 W. While the original Pi Zero W technically works, the Zero 2 W’s quad-core processor provides significantly better performance for Home Assistant. Expect to spend around $15. Avoid the non-wireless versions unless you plan to add a USB Ethernet adapter, which complicates setup.
Your microSD card choice matters more than you might think. Home Assistant writes data constantly, so invest in a high-endurance card rated for continuous use. The SanDisk High Endurance or Samsung PRO Endurance in 32GB or 64GB capacities are excellent choices. Standard cards wear out quickly under Home Assistant’s workload, potentially causing system corruption. Budget around $12-20 for quality storage.
Power supply requirements are non-negotiable. You need a reliable 5V 2.5A power adapter with a micro USB connector. Underpowered supplies cause random crashes, SD card corruption, and mysterious connectivity issues. The official Raspberry Pi power supply eliminates these problems. Don’t repurpose old phone chargers, as most deliver insufficient current.
A case protects your Pi Zero and provides better cooling. Look for options with ventilation holes or openings for GPIO access if you plan to connect sensors later. Basic cases cost $5-10, while aluminum cases offer passive heat dissipation for around $15.
Optional accessories enhance functionality. A USB hub enables connecting multiple devices simultaneously. If wireless connectivity proves unreliable, a micro USB to Ethernet adapter with power passthrough solves network issues. Consider a heatsink set for the Zero 2 W, as Home Assistant can push the processor during intensive operations.
Total investment ranges from $50-80, depending on accessories chosen. This modest budget gets you a capable smart home controller that runs 24/7.
Installing Home Assistant on Your Pi Zero
Writing the Image to Your SD Card
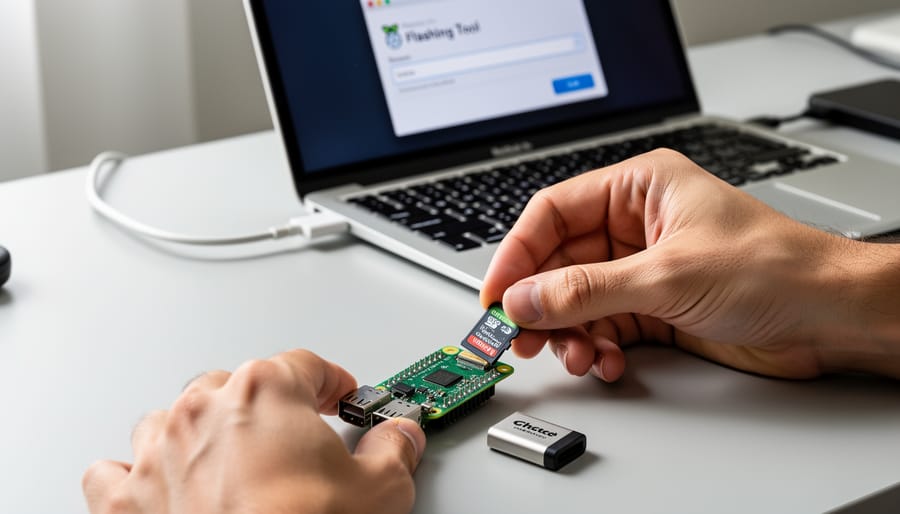
Now that you’ve downloaded the Home Assistant image, it’s time to write it to your microSD card. This process essentially prepares your card to boot up your Pi Zero with Home Assistant ready to go.
The easiest method uses Raspberry Pi Imager, the official tool from the Raspberry Pi Foundation. Download it from the official website and install it on your computer. Insert your microSD card using a card reader, then launch the application. Click “Choose OS” and scroll down to “Use custom” to select your downloaded Home Assistant image file. Next, click “Choose Storage” and select your microSD card (be careful to pick the right drive to avoid overwriting other data). Hit “Write” and confirm the process. The tool will write the image and verify it automatically, which typically takes 5-10 minutes depending on your card speed.
Alternatively, you can use balenaEtcher, another user-friendly option. Open Etcher, click “Flash from file” to select your image, choose your target SD card, and click “Flash.” The interface is straightforward and includes built-in verification.
Common troubleshooting tips: If your computer doesn’t recognize the SD card after writing, don’t panic—this is normal since it now uses a Linux filesystem. Simply eject it safely and proceed to insert it into your Pi Zero. If writing fails, try reformatting your card using SD Card Formatter before attempting again. Ensure your card is at least 32GB and rated Class 10 or higher for optimal performance.
First Boot and Initial Configuration
After powering up your Pi Zero for the first time with the prepared SD card, be patient as the initial boot process takes several minutes. The system needs to extract files, configure services, and prepare the Home Assistant environment. On a Pi Zero, this can take anywhere from 10 to 20 minutes, so resist the urge to restart if nothing appears immediately.
Once the boot process completes, you can access Home Assistant’s web interface from any device on your network. Open a web browser and navigate to http://homeassistant.local:8123. If that doesn’t work, you’ll need to find your Pi Zero’s IP address through your router’s admin panel and use http://YOUR_PI_IP:8123 instead.
When the interface loads, you’ll be greeted by the onboarding wizard. Start by creating your admin account with a username and password you’ll remember. Next, set your home’s location on the map, which helps Home Assistant provide accurate sunrise and sunset times for automation triggers. You’ll also configure your time zone and elevation.
The wizard will then detect smart devices on your network automatically. Don’t worry if some devices aren’t discovered immediately, as you can add them manually later through the integrations menu. After completing these steps, you’ll land on the Home Assistant dashboard, ready to begin building your smart home setup. The interface might feel slightly sluggish on the Pi Zero compared to more powerful hardware, but it’s perfectly functional for basic home automation needs.
Optimizing Home Assistant for Limited Resources
Choose Lightweight Integrations
When running Home Assistant on your Pi Zero, selecting the right integrations makes all the difference. Stick with lightweight, essential components that match your actual needs rather than loading everything available.
Start with MQTT-based integrations, which are extremely efficient for IoT integration. Zigbee and Z-Wave devices through USB coordinators work well since they offload processing to dedicated hardware. Simple integrations like weather services, basic automations, and local sensors put minimal strain on resources.
Avoid resource-intensive add-ons like voice assistants, video recording systems, and complex machine learning components. Node-RED, while powerful, can consume significant memory on a Pi Zero. Database recorders should use minimal retention periods, and limit historical data tracking. Skip heavy dashboard frameworks in favor of Home Assistant’s native Lovelace interface.
Consider IoT gateway protocols that prioritize efficiency. When adding new integrations, monitor your system’s CPU and memory usage through the System Monitor integration. If performance degrades, scale back immediately. Remember, fewer well-chosen integrations running smoothly beat numerous struggling components every time.
Database and Logging Tweaks
Your Pi Zero’s SD card is its Achilles heel, so reducing unnecessary writes is essential for longevity and performance. Home Assistant’s database can become a significant burden, but a few simple tweaks make a huge difference.
First, modify your recorder settings in configuration.yaml to limit what gets stored. Add the recorder component and set purge_keep_days to just 3-7 days instead of the default 10. This dramatically reduces database size. You can also exclude entities that don’t need history tracking, like fast-changing sensors or status indicators that aren’t useful for long-term analysis.
Next, adjust your logging levels. By default, Home Assistant logs quite verbosely. Change the log level to “warning” instead of “info” in your configuration to capture only important events. This reduces both storage usage and processing overhead.
Consider using the commit_interval setting under recorder to batch database writes every 5-10 seconds rather than immediately. This reduces the frequency of SD card writes without sacrificing much data integrity.
These modifications can cut database operations by 50-70%, extending your SD card’s lifespan while freeing up precious resources for running your smart home automations smoothly.
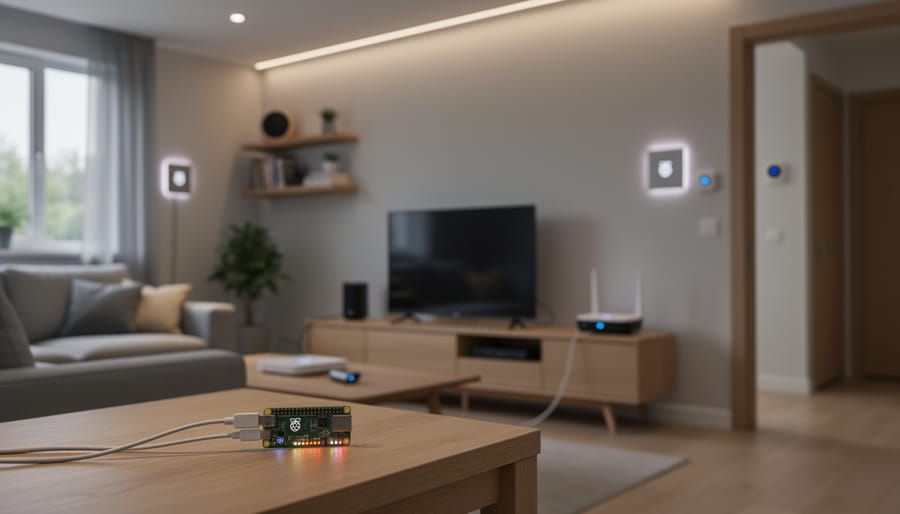
Connecting Your First Smart Devices
Once Home Assistant is running on your Pi Zero, it’s time to bring your smart home to life by adding devices. The good news? Home Assistant supports thousands of devices right out of the box, making integration straightforward even for beginners.
Start with Wi-Fi devices, as they’re the easiest to connect. Popular smart plugs like TP-Link Kasa or Wiz lights often auto-discover when you navigate to Settings, then Devices & Services. Home Assistant will show discovered devices at the top of the page. Simply click Configure and follow the prompts. Within minutes, you’ll be controlling lights and switches from your dashboard.
For Zigbee devices, you’ll need a USB coordinator stick like the Sonoff Zigbee 3.0 Dongle or ConBee II. These create a mesh network that connects sensors, bulbs, and switches without overwhelming your Wi-Fi. Plug the coordinator into your Pi Zero, then install the Zigbee Home Automation (ZHA) integration from the Integrations page. Once configured, put your Zigbee device into pairing mode (usually by holding a button) and add it through the ZHA interface. Devices like Aqara motion sensors and IKEA Tradfri bulbs pair quickly and work reliably.
Temperature and humidity sensors are perfect starter devices for connecting sensors to monitor your environment. DHT22 sensors can connect directly to GPIO pins, while Zigbee versions like Aqara sensors require no wiring at all.
As you expand your setup, explore home automation projects that combine multiple devices. Create automations by clicking Configuration, then Automations. Set your bedroom light to turn on at sunset or receive notifications when a sensor detects motion.
Remember: start small with one or two devices, verify they work correctly, then gradually expand. The Pi Zero handles multiple devices well, but adding them incrementally helps you troubleshoot any issues that arise.
When to Upgrade Beyond the Pi Zero
Even with optimized settings, the Pi Zero has its limits. Recognizing when you’ve hit that ceiling is important for maintaining a smooth smart home experience.
The most obvious sign is slow response times. If your dashboard takes more than a few seconds to load, or turning on lights feels sluggish, your Pi Zero is struggling. This typically happens when you add more than 15-20 devices or enable resource-heavy integrations like voice assistants or video processing.
Watch for frequent crashes or system freezes. When Home Assistant becomes unresponsive and requires regular restarts, you’re dealing with RAM limitations. The Pi Zero’s 512MB simply can’t handle complex automations alongside multiple simultaneous connections. Check your system monitor in Home Assistant – if RAM usage consistently exceeds 85%, it’s time to upgrade.
Failed updates are another red flag. If system updates repeatedly fail or leave your installation broken, the hardware can’t handle the newer software requirements. This leaves you vulnerable to security issues and missing out on new features.
For your migration path, the Raspberry Pi 3B or 4B offers the best balance. Both provide significantly more RAM (1GB minimum) and processing power. The Pi 4 with 4GB RAM is ideal for growing smart homes with 50+ devices. Migration is straightforward – back up your configuration, flash the new card, and restore your settings. Your investment in learning Home Assistant isn’t wasted; everything transfers seamlessly to more capable hardware.
The Raspberry Pi Zero proves itself as an outstanding entry point into the Home Assistant ecosystem, offering budget-conscious enthusiasts a legitimate path to smart home automation without breaking the bank. While it comes with certain performance limitations compared to its more powerful siblings, the Pi Zero handles basic to moderate automation tasks admirably well, making it perfect for starter setups or small apartments.
Throughout this guide, we’ve explored how proper optimization, selective integration choices, and realistic expectations transform the Pi Zero into a capable smart home controller. The key takeaways are clear: stick to essential integrations, leverage lightweight protocols like MQTT and Zigbee, and be prepared for slightly longer loading times during configuration.
For those starting their smart home journey, the Pi Zero’s sub-$15 price point removes the financial barrier to entry. You can experiment, learn, and grow your automation skills without the pressure of expensive hardware investment. As your needs expand, you’ll have gained valuable Home Assistant experience that transfers seamlessly to more powerful hardware.
Don’t let budget constraints hold you back from exploring home automation. The Pi Zero demonstrates that smart home technology is accessible to everyone, proving you don’t need premium hardware to create a functional, automated living space.