

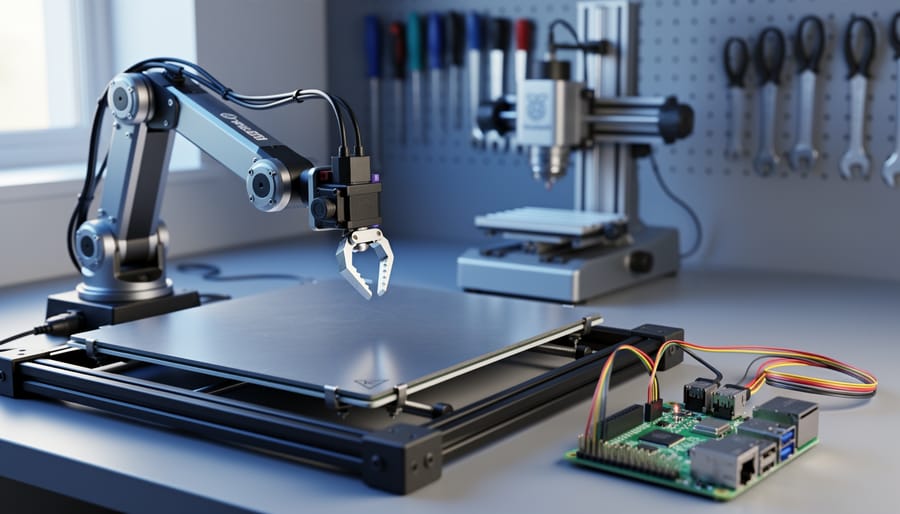
Transform your digital fabrication workflow by integrating affordable robotic arms with Raspberry Pi controllers, enabling precise, repeatable movements for 3D printing, CNC operations, and assembly tasks. Desktop robotic systems now cost under $500 and connect directly to single-board computers, making automated fabrication accessible to makers and educators without industrial budgets.
Build entry-level lab robotics by mounting servo-controlled arms to your workbench, programming movement sequences through Python scripts, and interfacing with CAD software to execute digital designs physically. The Raspberry Pi 4’s GPIO pins provide direct control over stepper motors and servo controllers, while its processing power handles inverse kinematics calculations that translate design coordinates into precise robotic movements.
Configure open-source robotics frameworks like ROS (Robot Operating System) on Raspberry Pi to coordinate multiple fabrication tools simultaneously. This approach lets you automate repetitive tasks such as circuit board assembly, material testing, or quality inspection while maintaining full customization over movement patterns and tool paths.
Lab robotics bridges the gap between digital design concepts and physical prototypes by removing manual fabrication bottlenecks. Whether you’re an educator demonstrating automation principles, a hobbyist scaling up production capacity, or a maker exploring new fabrication techniques, raspberry-pi-controlled robotic systems offer immediate practical applications. The combination of accessible hardware, mature software libraries, and active maker communities means you can deploy functional robotic assistance in your workspace within days rather than months, transforming how you approach digital fabrication projects from concept through completion.
What Is Robotic Assisted Fabrication in Digital Design?
The Role of Lab Robotics vs. Industrial Robotics
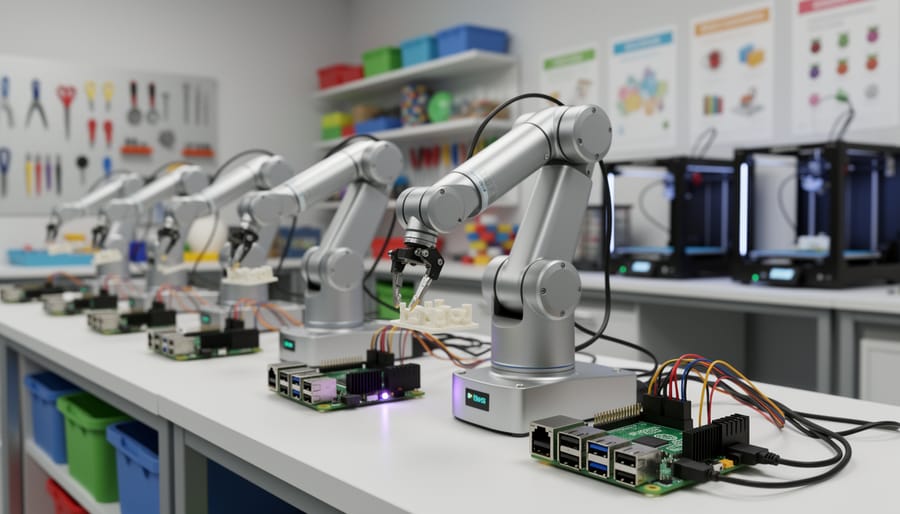
Lab robotics and industrial robotics serve different purposes, but understanding the distinction helps you make informed decisions for your digital fabrication projects. Industrial robots are designed for high-speed, repetitive manufacturing tasks in controlled factory environments. They’re expensive, often costing tens of thousands of dollars, and require specialized programming knowledge and safety infrastructure.
In contrast, lab robotics focuses on accessibility, experimentation, and education. These systems typically cost hundreds rather than thousands of dollars, making them perfect for hobbyists and educators. Lab robots prioritize flexibility and customization over raw speed and precision. You can program them using familiar languages like Python, modify their hardware configurations easily, and experiment without worrying about breaking expensive equipment.
The beauty of lab-scale robotics lies in its programmability and adaptability. A Raspberry Pi-powered robotic arm can be a 3D printer one day and a pick-and-place machine the next, simply by swapping end effectors and loading different software. This versatility makes lab robotics ideal for prototyping digital fabrication workflows before scaling to industrial solutions.
For beginners and makers, lab robotics offers a practical entry point into robotic-assisted fabrication without the financial commitment or complexity of industrial systems.
Key Components of a Lab Robotics Setup
Building a functional lab robotics setup involves several key hardware components working together seamlessly. At the heart of most systems is the robotic arm, which comes in various configurations from simple 3-axis designs to complex 6-axis industrial-grade models. For beginners and educators, affordable desktop robotic arms provide an excellent starting point for understanding movement and precision control.
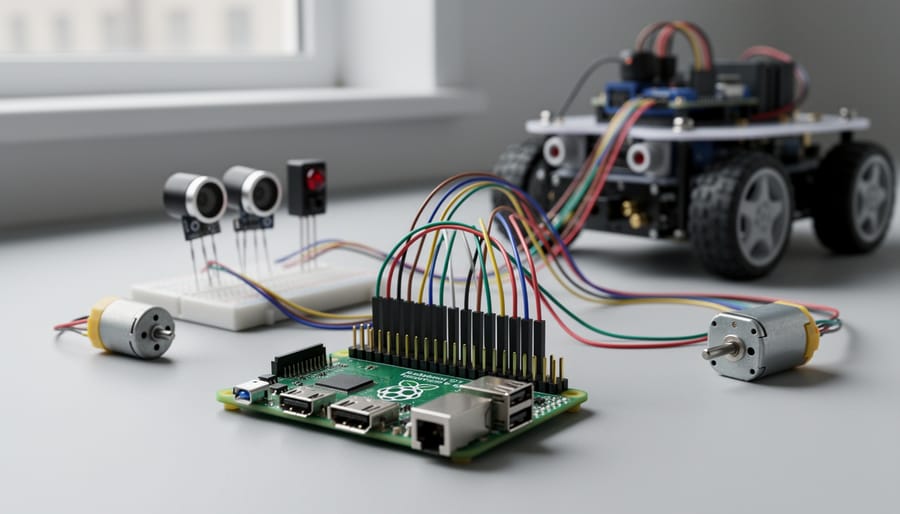
Controllers serve as the brain of your robotic system, translating commands into precise motor movements. This is where the Raspberry Pi shines as an accessible control platform. Its GPIO pins allow direct communication with motors and sensors, while its processing power handles complex calculations and coordinates multiple components simultaneously. The Raspberry Pi’s affordability and extensive community support make it ideal for both educational environments and prototype development.
Sensors are crucial for creating responsive, intelligent systems. Common sensors include position encoders for tracking movement accuracy, proximity sensors for obstacle detection, and vision systems using cameras for object recognition. These sensors provide real-time feedback, enabling your robot to adapt to its environment and perform tasks with greater precision.
Additional essential components include stepper or servo motors for controlled movement, power supplies matched to your system requirements, and end effectors like grippers or tools specific to your application. For digital fabrication projects, you might integrate 3D printer heads, laser modules, or milling attachments.
When planning your setup, consider starting small with a basic Raspberry Pi-controlled arm and gradually expanding capabilities as you gain experience. This modular approach keeps costs manageable while building practical skills.
Why Raspberry Pi Is Perfect for Lab Robotics Projects
Cost-Effective Control Systems
One of the most significant advantages of using Raspberry Pi for lab robotics is the dramatic cost reduction compared to traditional industrial controllers. A Raspberry Pi 4 Model B costs approximately $35-55, while proprietary robotic controllers typically range from $500 to several thousand dollars. This price difference makes automation accessible to educators, hobbyists, and small labs working with limited budgets.
The savings extend beyond the controller itself. Many commercial systems require expensive proprietary software licenses, sometimes costing hundreds of dollars annually. With Raspberry Pi, you can leverage free, open-source software like Python libraries and ROS (Robot Operating System) for controlling motors, sensors, and actuators.
For example, a complete basic robotic arm control system built around a Raspberry Pi, including stepper motor drivers and power supplies, can be assembled for under $200. A comparable setup using industrial PLCs or dedicated motion controllers would easily exceed $1,000. This ten-fold cost reduction democratizes robotic fabrication, allowing more people to experiment with automated manufacturing, CNC systems, and digital design workflows.
The open-source community also provides extensive documentation and tutorials, eliminating the need for costly training programs that often accompany proprietary systems.
Popular Raspberry Pi Models for Robotics
Choosing the right Raspberry Pi model can make or break your robotics project, so let’s break down the options that work best for lab robotics applications.
The Raspberry Pi 4 remains a popular choice for intermediate to advanced robotics projects. With up to 8GB of RAM and quad-core processing power, it handles computer vision tasks, sensor integration, and simultaneous control of multiple motors with ease. This model excels in robotic arms, automated lab equipment, and projects requiring real-time image processing. The abundant GPIO pins and extensive community support make it ideal for educators and hobbyists building their first serious robotics platform.
The newer Raspberry Pi 5 offers enhanced performance with a faster processor and improved I/O capabilities. If your project demands intensive computational tasks like machine learning inference or coordinating complex movements in digital fabrication workflows, the Pi 5 delivers noticeable improvements. However, the higher price point means it’s best reserved for projects where that extra power truly matters.
For simpler applications, the Raspberry Pi Pico stands out as a microcontroller-based solution. At a fraction of the cost, the Pico works brilliantly for basic sensor reading, motor control, and simple automation tasks. It’s perfect for beginners learning robotics fundamentals or for dedicated subsystems within larger projects.
Here’s a quick recommendation: Start with the Raspberry Pi 4 for most lab robotics projects. It offers the best balance of capability, cost, and learning resources. Upgrade to the Pi 5 only when you’ve identified specific performance bottlenecks, and use the Pico for supplementary tasks or budget-conscious experimentation.
Real-World Applications: What You Can Build
Automated 3D Printing Workflows
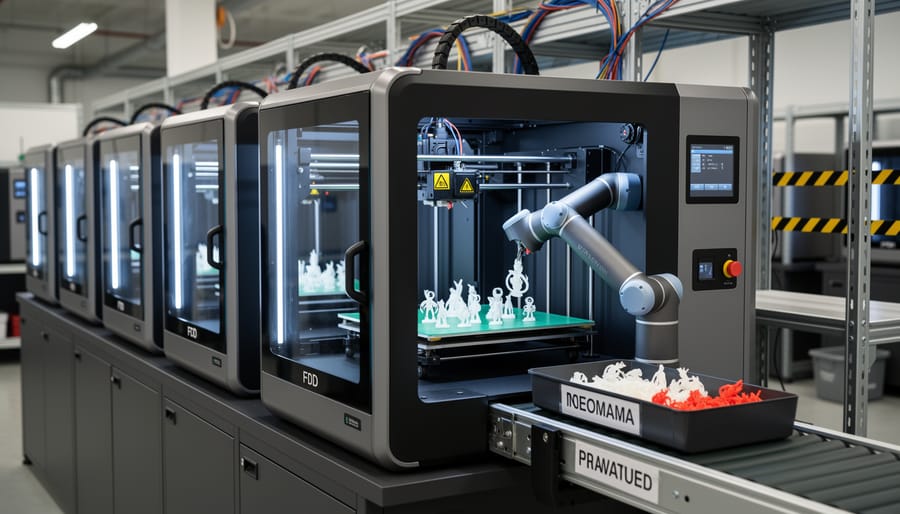
Imagine waking up to find your 3D printer has completed not one, but five projects overnight—without your intervention. Robotic automation makes this possible by transforming 3D printing from a hands-on process into a truly autonomous manufacturing system. Robotic arms equipped with grippers can carefully remove finished prints from heated build plates, preventing warping and eliminating the need for manual intervention between jobs.
The workflow starts when print completion sensors trigger the robot to engage. The arm removes the finished part, places it in a collection bin, then prepares the build plate for the next job by cleaning residue or applying fresh adhesive. Some systems even swap build plates entirely, maintaining optimal surface conditions for each print. This integration works seamlessly with IoT-enabled fabrication workflows that monitor print status and queue jobs intelligently.
For makers using Raspberry Pi-based controllers, adding a simple robotic gantry or repurposed robot arm opens exciting possibilities. You can program automated routines using Python scripts that communicate with your printer’s firmware, creating a print farm that operates continuously. This approach dramatically increases throughput while reducing failed prints from improper removal timing, making small-batch production truly viable for hobbyists and educators.
CNC and Laser Cutting Automation
Robotic arms are transforming CNC and laser cutting workflows by automating repetitive tasks that traditionally require constant human supervision. These systems can load raw materials onto cutting beds, precisely position workpieces for multi-sided machining, and organize finished parts into designated bins or racks. For makers and educators, integrating a Raspberry Pi-controlled robotic arm with your CNC router or laser cutter opens up exciting possibilities for lights-out manufacturing and batch production.
A typical setup uses vision systems, often powered by Raspberry Pi cameras and OpenCV, to identify material placement and verify cut quality. The robotic arm then handles material transfer while your cutting machine focuses on fabrication. This coordination reduces waste by ensuring proper material alignment and allows you to run longer production cycles without manual intervention. When combined with sustainable materials like bamboo plywood or recycled acrylic, automated systems can maximize material usage through optimized nesting algorithms.
Starting small is key. Begin with a simple pick-and-place routine using an affordable six-axis arm controlled via Python scripts on your Raspberry Pi. As you gain confidence, expand to complex workflows that handle different material types and cutting patterns automatically.
PCB Assembly and Electronics Fabrication
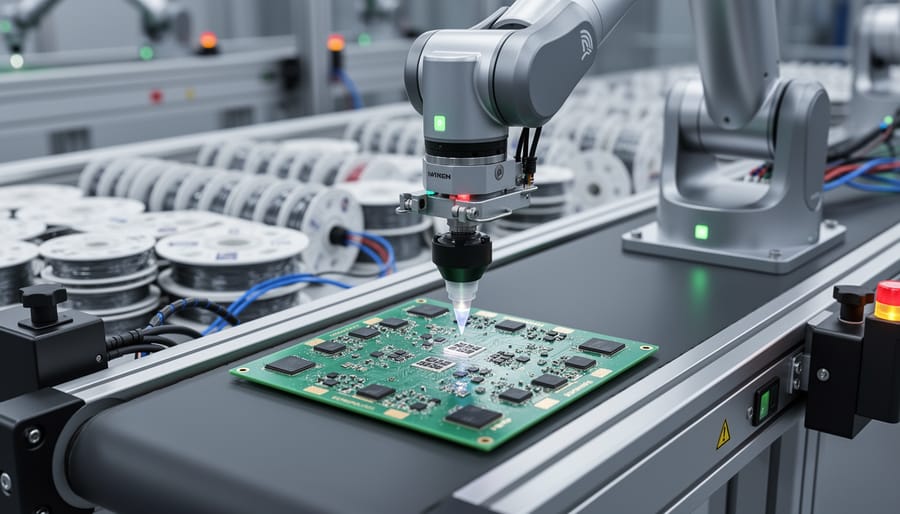
PCB assembly has become increasingly accessible thanks to desktop pick-and-place robots that bring factory-level precision to maker labs. These compact machines automate the tedious process of placing surface-mount components onto circuit boards, significantly reducing assembly time and improving accuracy. For hobbyists working on Raspberry Pi-based projects or custom electronics, pick-and-place systems like the OpenPnP platform offer an affordable entry point into automated assembly.
Modern lab robots handle components as small as 0201 size (0.6mm × 0.3mm), positioning them with repeatability under 0.1mm. Many systems integrate vision recognition to verify component orientation and placement accuracy before soldering. Speaking of soldering, robotic assistance extends here too, with programmable soldering irons and selective soldering robots that ensure consistent joint quality across production runs.
Quality inspection rounds out the workflow, where camera-equipped robots perform automated optical inspection (AOI) to detect placement errors, solder defects, or missing components. You can build basic inspection systems using Raspberry Pi cameras combined with machine learning models trained to identify common PCB defects. This combination of pick-and-place automation, soldering assistance, and inspection creates a comprehensive digital fabrication pipeline that transforms how makers approach electronics production, making small-batch manufacturing both practical and economical.
Essential Hardware Components for Your Lab Robotics Setup
Robotic Arms and Actuators
When building your lab robotics setup, selecting the right robotic arm makes all the difference. Fortunately, several affordable options work seamlessly with Raspberry Pi, bringing professional-grade automation within reach of hobbyists and educators.
The Dobot Magician stands out as a versatile choice for lab environments. This compact 4-axis arm offers 0.2mm repeatability and supports multiple end-effectors including grippers, suction cups, and even a 3D printing head. With payload capacity up to 500g and USB connectivity, it integrates easily with Raspberry Pi through Python libraries. Expect to pay around $1,500, making it ideal for educational settings where precision matters.
For tighter budgets, the uArm Swift Pro delivers impressive functionality under $500. This desktop-sized arm provides 0.2mm accuracy across its working radius of 320mm. It communicates via USB and supports Python programming, perfect for pick-and-place tasks, light assembly, or automated sample handling. The Swift Pro includes suction cup and gripper attachments out of the box.
DIY enthusiasts should explore open-source alternatives like the BCN3D Moveo or AR2 robotic arms. These require 3D-printed parts and stepper motors, but total costs stay under $300. While assembly demands time and patience, you gain complete customization freedom and deeper understanding of robotic mechanics. Control boards like Arduino can interface with Raspberry Pi for advanced automation workflows.
Each option serves different use cases: Dobot excels in educational labs requiring reliability, uArm balances affordability with performance for hobbyist projects, and DIY builds offer maximum learning value. Consider your precision requirements, budget constraints, and desired payload capacity when choosing your robotic arm foundation.
Sensors and Vision Systems
Precision in lab robotics depends heavily on accurate sensors and vision systems that provide real-time feedback. For Raspberry Pi-based fabrication robots, the Pi Camera Module offers an affordable yet powerful solution for visual guidance. These cameras can track object positions, verify component placement, and even perform basic quality control through computer vision algorithms powered by OpenCV libraries.
Position sensors play an equally crucial role. Encoders attached to stepper motors provide accurate feedback about arm movement and end-effector positioning. For projects requiring sub-millimeter accuracy, limit switches and proximity sensors help establish reference points and prevent collisions during automated sequences.
The Raspberry Pi’s GPIO pins make integrating these sensors straightforward. Ultrasonic sensors can measure distances for obstacle avoidance, while force-sensitive resistors provide haptic feedback during delicate operations like pipetting or component handling. Temperature and humidity sensors monitor environmental conditions that might affect fabrication quality.
For beginners, starting with a simple camera-based positioning system offers immediate results. Using Python and basic image processing, you can create a system that identifies colored markers and guides a robotic arm to specific coordinates. This foundation scales beautifully as you add more sophisticated sensors, creating a comprehensive feedback network that transforms basic hardware into a precision fabrication tool.
Power Supply and Safety Considerations
Powering your lab robotics safely is essential for protecting both your equipment and yourself. Most Raspberry Pi-based robotic systems require regulated 5V power for the controller, while motors and actuators often need separate power supplies ranging from 6V to 24V. Never power high-current motors directly from your Raspberry Pi’s GPIO pins, as this can damage the board. Instead, use motor driver boards with dedicated power inputs and voltage regulators to maintain stable operation.
A crucial safety feature is the emergency stop (E-stop) button. Wire this as a normally closed switch that interrupts power to all motors when pressed, allowing immediate shutdown during unexpected behavior. Consider adding current-limiting fuses and using isolated power supplies to prevent electrical noise from affecting your control signals, particularly important when securing fabrication systems.
For beginners, start with pre-made power distribution boards designed for robotics. These include built-in protection circuits and clear labeling. Always double-check polarity before connecting components, use appropriate gauge wiring for current loads, and keep high-voltage sections physically separated from low-voltage control electronics. Document your power architecture with simple diagrams to troubleshoot issues quickly and ensure safe modifications later.
Software and Programming Tools You Need to Know
Operating Systems: Raspberry Pi OS vs. Alternatives
Choosing the right operating system for your lab robotics project impacts both ease of development and performance. Raspberry Pi OS remains the default choice for beginners, offering excellent hardware compatibility and a straightforward setup process. Its lightweight desktop environment runs smoothly even on older Pi models, and the vast community support means you’ll find tutorials for nearly any robotics application.
Ubuntu for Raspberry Pi provides a more familiar environment if you’re already comfortable with Linux desktops. It offers better support for certain robotics frameworks and Docker containers, making it ideal for complex multi-robot systems or when you need compatibility with existing Ubuntu-based workflows.
For dedicated robotics work, Ubuntu MATE with ROS (Robot Operating System) pre-installed offers powerful tools for motion planning and sensor integration. However, this specialized distribution requires more technical knowledge and system resources.
The verdict? Start with Raspberry Pi OS if you’re new to robotics fabrication. It balances accessibility with capability, letting you focus on building rather than troubleshooting system configurations. Once you’ve mastered the basics and need advanced robotics frameworks, consider transitioning to Ubuntu-based alternatives. Most fabrication projects run perfectly well on standard Raspberry Pi OS, especially when paired with Python libraries like GPIO Zero and OpenCV.
Programming Languages and Libraries
When it comes to programming lab robotics, Python stands out as the ideal starting point. Its readable syntax and extensive library ecosystem make it perfect for beginners while remaining powerful enough for advanced applications. You’ll find Python especially useful for controlling motors, processing sensor data, and coordinating multiple robotic components simultaneously.
For more complex robotics projects, ROS (Robot Operating System) provides a flexible framework that handles communication between different hardware components. While ROS has a steeper learning curve, it becomes invaluable when scaling up from simple experiments to sophisticated multi-robot systems. ROS excels at managing tasks like path planning, simultaneous localization and mapping, and coordinating multiple sensors.
Essential libraries streamline your development process considerably. GPIO Zero simplifies Raspberry Pi pin control, letting you command motors and read sensors with just a few lines of code. For vision-based tasks like object recognition or quality control, OpenCV offers powerful image processing capabilities without requiring deep computer vision expertise. PySerial enables communication with Arduino boards and other microcontrollers, while NumPy handles the mathematical calculations needed for kinematics and motion planning. These tools transform complex robotics challenges into manageable, enjoyable projects that deliver real results.
CAD/CAM Integration
Connecting your CAD/CAM software to robotic systems creates a powerful digital-to-physical workflow that transforms designs into real objects. Popular programs like Fusion 360 and FreeCAD can export toolpaths and motion commands that robots understand, making the transition from screen to workshop remarkably smooth.
Start by designing your part in your chosen CAD software, then use the CAM module to generate G-code or similar machine instructions. For Raspberry Pi-based robotic systems, you’ll typically need middleware software like LinuxCNC or GRBL to translate these commands into motor movements. Many makers use Python scripts running on the Pi to interpret G-code and control stepper motors or servos through GPIO pins.
The key to successful integration is understanding coordinate systems. Your CAD design exists in virtual space, while your robot operates in physical space. Establishing a consistent origin point and calibrating your robot’s work envelope ensures accurate fabrication. Tools like post-processors can customize G-code output to match your specific robot configuration.
For beginners, FreeCAD offers excellent compatibility with open-source ecosystems and works well with Raspberry Pi projects. Meanwhile, AI design tools are beginning to streamline this workflow further by automatically optimizing toolpaths and suggesting efficient fabrication strategies, making robotic fabrication more accessible than ever.
Step-by-Step: Building Your First Lab Robotics Project
Project Planning and Parts List
Let’s build a simple automated sorting system using a Raspberry Pi 4 and basic components you can source easily. This project will give you hands-on experience with lab robotics fundamentals.
For your build, you’ll need: a Raspberry Pi 4 (4GB model recommended), a 16GB microSD card with Raspberry Pi OS installed, a servo motor kit (SG90 or similar, pack of 3-5), a USB webcam or Raspberry Pi Camera Module v2, a breadboard and jumper wires, a 5V power supply for servos, and a basic sorting platform (you can 3D print or construct from cardboard). Optional components include LED indicators and push buttons for manual control.
Before starting, ensure your Raspberry Pi OS is updated and install Python libraries for GPIO control and OpenCV for camera vision. Sketch your sorting mechanism layout, deciding whether objects will be identified by color, size, or shape. Design a simple two-path sorting channel where the servo acts as a gate, directing items left or right based on camera detection.
Budget around 75-100 dollars for all components if starting from scratch, though many hobbyists already own a Raspberry Pi. Preparation time is roughly one hour for assembly, plus another hour for initial software configuration. The modular design allows you to expand functionality as your skills grow, adding more sorting paths or sophisticated detection algorithms later.
Assembly and Wiring
Getting your lab robot properly wired is straightforward with the Raspberry Pi’s versatile GPIO pins. Let’s walk through the essential connections to bring your robot to life.
Start by identifying your power requirements. Servos typically need 5-6V and draw considerable current, so connect them to an external power supply rather than drawing from the Pi directly. Use a dedicated servo controller board or a breadboard power supply module. Connect the power supply’s ground to one of the Pi’s ground pins to establish a common reference point—this is crucial for reliable signal communication.
For servo control, connect each servo’s signal wire to a GPIO pin on your Raspberry Pi. GPIO pins 17, 18, 22, and 23 work well for PWM signals. The servo’s power and ground wires connect to your external supply. Remember that servos use PWM signals, which you’ll control through Python libraries like RPi.GPIO or pigpio.
When wiring sensors like ultrasonic distance sensors or limit switches, connect the sensor’s VCC to the Pi’s 3.3V or 5V pin depending on requirements, ground to a GPIO ground pin, and signal outputs to available GPIO inputs. For example, an HC-SR04 ultrasonic sensor needs trigger and echo pins connected to separate GPIOs.
Always double-check your connections before powering up. Use color-coded jumper wires to keep track of connections: red for power, black for ground, and other colors for signal lines. A well-organized breadboard or custom PCB shield makes troubleshooting much easier and reduces the risk of accidental shorts that could damage your Raspberry Pi.
Programming and Testing
Getting your lab robot up and running involves both software configuration and physical calibration. Let’s walk through the essentials to get you started with confidence.
Begin by setting up your Raspberry Pi environment. Install the necessary libraries using pip. For basic stepper motor control, you’ll need RPi.GPIO:
“`python
import RPi.GPIO as GPIO
import time
# Configure GPIO pins
GPIO.setmode(GPIO.BCM)
STEP_PIN = 17
DIR_PIN = 27
GPIO.setup(STEP_PIN, GPIO.OUT)
GPIO.setup(DIR_PIN, GPIO.OUT)
# Move stepper motor
def move_motor(steps, direction):
GPIO.output(DIR_PIN, direction)
for i in range(steps):
GPIO.output(STEP_PIN, GPIO.HIGH)
time.sleep(0.001)
GPIO.output(STEP_PIN, GPIO.LOW)
time.sleep(0.001)
# Execute 200 steps forward
move_motor(200, GPIO.HIGH)
GPIO.cleanup()
“`
This code sends step pulses to your motor driver, controlling movement precisely. The sleep intervals determine speed—adjust these values to match your motor’s specifications.
Calibration is crucial for accuracy. Start by establishing home positions using limit switches. Test each axis independently, noting any binding or skipping. Common issues include insufficient power supply causing inconsistent movement, incorrect wiring polarity reversing motor direction, and timing values that exceed motor capabilities.
Always test movements at slow speeds initially, gradually increasing as you verify stability. Document your calibration values—step-per-millimeter ratios and maximum safe speeds—for repeatability. Watch for overheating drivers, which indicate current settings need adjustment. With patience and systematic testing, you’ll achieve reliable, precise motion control for your digital fabrication projects.
Common Challenges and How to Overcome Them
Improving Precision and Repeatability
Achieving precise, repeatable movements is essential for lab robotics, especially in digital fabrication tasks. Start with proper calibration of your robotic arm or CNC-style system. Use calibration scripts that command the robot to specific coordinates, then measure actual positions with a digital caliper or ruler. Record any discrepancies and adjust your code accordingly—many setups allow offset corrections in configuration files.
Mechanical play, that slight wobble in joints or connections, significantly impacts accuracy. Tighten all fasteners regularly and consider upgrading to higher-quality bearings or bushings if you notice excessive movement. For 3D-printed components, increase infill density around critical joints or switch to machined aluminum parts for joints requiring maximum rigidity.
Implementing feedback loops transforms your setup from open-loop to closed-loop control. Add rotary encoders to motors to confirm actual movement matches commanded movement. For even greater precision, incorporate limit switches at defined positions or use camera-based vision systems with OpenCV running on your Raspberry Pi to verify end-effector placement. The Pi can process visual feedback in real-time, automatically adjusting movements when deviations occur.
Start simple with basic encoder feedback, then gradually add complexity as you gain experience. These improvements will dramatically enhance your lab robotics capabilities for demanding fabrication tasks.
Managing Power and Thermal Issues
Running lab robotics continuously brings thermal and power challenges that can derail your projects. Raspberry Pi boards, while efficient, can overheat during intensive tasks like running multiple motors or processing computer vision data simultaneously.
Start by addressing voltage drops, which commonly occur when motors draw current. Use a dedicated power supply for your motors separate from the Raspberry Pi’s power source. A quality 5V 3A power supply for the Pi itself prevents brownouts that cause unexpected shutdowns. Consider adding a cooling solution immediately – even basic heatsinks make a noticeable difference.
For continuous operation, active cooling becomes essential. Install a small 5V fan directed at the processor and add heatsinks to the main chips. Position your setup to allow proper airflow and avoid enclosed spaces without ventilation. Monitor temperatures using built-in tools; if your Pi consistently exceeds 70°C during normal operation, upgrade your cooling solution.
Power your motor controllers through a separate circuit with appropriate capacitors to smooth voltage spikes. This isolation protects your Raspberry Pi from electrical noise and potential damage. For 24/7 operation, implement temperature monitoring scripts that can trigger warnings or graceful shutdowns if thermal limits are approached, ensuring your robotic systems remain reliable and safe.
The Future of Lab Robotics in Digital Fabrication
The landscape of lab robotics is evolving rapidly, driven by artificial intelligence, cloud connectivity, and increasingly affordable hardware. We’re witnessing a shift from expensive, proprietary systems to open-source platforms that put advanced fabrication capabilities within reach of individual makers and small educational institutions.
Machine learning integration represents one of the most exciting frontiers. Modern robotic arms can now learn optimal toolpaths through trial and error, adapting to material variations in real-time. When paired with computer vision systems running on budget-friendly single-board computers, these robots can inspect their own work, correct errors mid-process, and even predict when maintenance is needed. This intelligence layer transforms simple motion control into true adaptive manufacturing.
The convergence of robotics with digital twin technology is particularly promising for hobbyists and educators. You can now simulate entire fabrication sequences virtually before committing materials, testing different approaches without wasting resources. This digital-first workflow dramatically lowers the barrier to experimentation.
Cloud-based control systems are democratizing access to sophisticated programming tools. Instead of learning complex proprietary software, makers can now use web-based interfaces and even smartphone apps to choreograph multi-axis movements. Collaborative online libraries share proven toolpaths and fabrication recipes, creating a global knowledge base that accelerates learning.
Looking ahead, we’ll see greater modularity and standardization. Snap-together robotic systems with hot-swappable end effectors will let users switch from 3D printing to PCB assembly to laser engraving without rebuilding their entire setup. Combined with the Raspberry Pi ecosystem’s continuing evolution, these advances promise to make professional-grade digital fabrication as accessible as desktop 3D printing is today.
Lab robotics is no longer confined to expensive industrial settings or university research facilities. Thanks to platforms like the Raspberry Pi, anyone with curiosity and basic technical skills can build their own robotic systems for digital fabrication. Whether you’re interested in automating repetitive tasks, exploring CNC machining, or experimenting with pick-and-place operations, the barrier to entry has never been lower.
The projects and concepts covered here are just the beginning. The Raspberry Pi community is incredibly active and supportive, with forums, GitHub repositories, and tutorial sites offering countless resources for troubleshooting and inspiration. Start small with a single-axis movement system or a basic gripper mechanism, then gradually expand your capabilities as you gain confidence.
Remember that every expert was once a beginner. Don’t be intimidated by complex terminology or sophisticated commercial systems. Your Raspberry Pi has the processing power and connectivity to control motors, sensors, and end effectors that can perform real fabrication work. The key is to start experimenting, learn from failures, and share your progress with the community.
Dive into your first lab robotics project today and discover how accessible automated fabrication can be.