

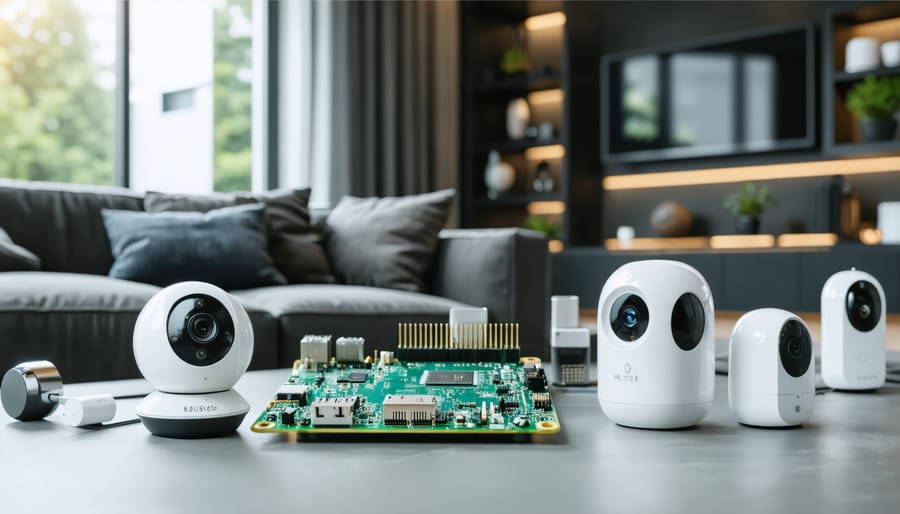
Transform your home into an automated sanctuary for under $100 using a Raspberry Pi as your central hub. This pocket-sized computer powers sophisticated smart home automation projects while giving you complete control over your data and privacy. Connect existing smart devices, create custom automations, and expand your system’s capabilities without monthly subscription fees or vendor lock-in.
A Raspberry Pi 4 with Home Assistant installed serves as your command center, orchestrating everything from intelligent lighting and climate control to advanced security monitoring. Unlike commercial solutions, this DIY approach offers unlimited customization options – integrate security cameras, automate garage doors, or create sophisticated scenes triggered by motion, time, or voice commands.
Beyond the significant cost savings, building your own smart home hub provides invaluable hands-on experience with Linux, networking, and IoT technologies. The active community offers extensive support through open-source software, detailed tutorials, and countless project ideas to inspire your automation journey.
Essential Hardware for Your Raspberry Pi Smart Home Hub
Core Components
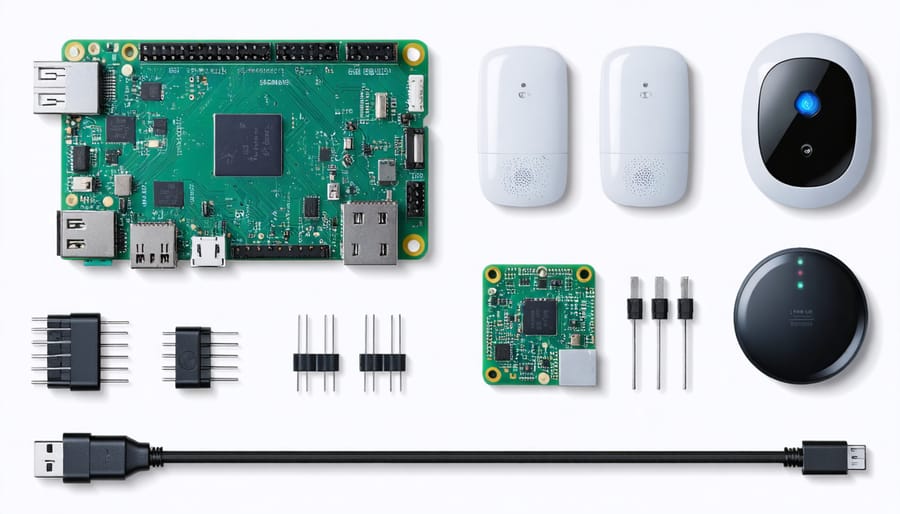
To build a DIY smart home system with Raspberry Pi, you’ll need several essential components to get started. At the heart of your setup is the Raspberry Pi itself – the Pi 4 Model B (with at least 2GB RAM) is recommended for optimal performance and IoT integration. You’ll also need a reliable power supply (official 5V/3A USB-C recommended) and a microSD card (32GB minimum) for the operating system.
For basic connectivity, ensure you have an Ethernet cable or Wi-Fi access, plus a USB keyboard and mouse for initial setup. A display with HDMI input is necessary for configuration but can be removed once your system is running headless.
For home automation functionality, you’ll want to include:
– Temperature/humidity sensors (DHT22 or BME280)
– Motion sensors (PIR sensors)
– Relay modules for controlling appliances
– Smart LED strips or bulbs
– USB webcam for security monitoring
– GPIO breakout board for connecting multiple sensors
Additional recommended items include:
– A case to protect your Raspberry Pi
– Jumper wires for connecting sensors
– USB hub for expanding connectivity
– UPS HAT for power backup
– Heat sinks for thermal management
These components form the foundation of your smart home system, allowing you to start with basic automations and expand as needed.
Recommended Sensors and Accessories
To build an effective DIY smart home with your Raspberry Pi, you’ll need reliable sensors and accessories. The DHT22 temperature and humidity sensor is a must-have starter component, offering accurate environmental monitoring for climate control applications. For home security, the HC-SR501 PIR motion sensor provides reliable motion detection at an affordable price point.
Smart door monitoring can be achieved using magnetic reed switches, while light-dependent resistors (LDRs) are perfect for automated lighting control. The BMP280 pressure sensor adds another dimension to environmental monitoring, useful for weather stations and ventilation control.
For more advanced setups, consider the MQ-2 gas sensor for smoke detection and the YF-S201 flow sensor for water monitoring. A relay module board is essential for controlling high-voltage appliances safely through your Raspberry Pi.
Camera modules are invaluable for security applications – the Raspberry Pi Camera Module V2 offers excellent quality for surveillance systems. For audio interactions, add a USB microphone and speakers to enable voice control capabilities.
Don’t forget the basics: jumper wires, breadboards, and resistors are essential for prototyping. A good quality power supply with at least 2.5A output is crucial for reliable operation, especially when powering multiple sensors and accessories.
Remember to start small and expand your system gradually as you become more comfortable with each component’s functionality.
Setting Up Your Raspberry Pi Home Controller
Installing Home Assistant OS
Home Assistant OS is the heart of your DIY smart home system, and installing it on your Raspberry Pi is a straightforward process. First, download the latest Home Assistant OS image that matches your Raspberry Pi model from the official Home Assistant website. For most recent Raspberry Pi models (3B+ and 4), the 64-bit version is recommended for optimal performance.
To flash the image onto your SD card, you’ll need software like Balena Etcher, which is available for Windows, Mac, and Linux. Insert your microSD card into your computer using an appropriate adapter, launch Balena Etcher, and select the downloaded Home Assistant image. Choose your SD card as the target device and click ‘Flash.’ This process typically takes 5-10 minutes, depending on your system’s speed.
Once flashing is complete, insert the SD card into your Raspberry Pi, connect it to your network via Ethernet (recommended for initial setup), and power it on. The first boot may take up to 20 minutes as Home Assistant performs its initial configuration. During this time, the system will create necessary directories and install required dependencies.
To access your new Home Assistant installation, open a web browser on any device connected to the same network and navigate to “http://homeassistant.local:8123”. If this doesn’t work, you can also use your Raspberry Pi’s IP address (e.g., “http://192.168.1.XX:8123”). You’ll be prompted to create an admin account – choose a strong password as this will protect your smart home system.
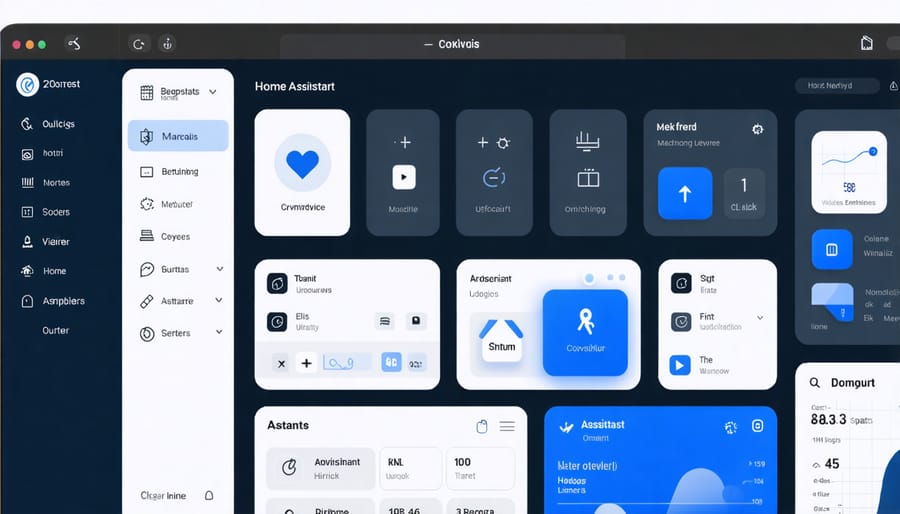
After completing the initial setup, Home Assistant will begin discovering compatible smart devices on your network automatically. The system will also present you with a basic dashboard where you can start configuring your smart home integrations and automations.
Remember to regularly backup your Home Assistant configuration once you’ve got everything set up. The system includes built-in backup functionality that can save your settings to the SD card or external storage.
Basic Configuration and Network Setup
Getting your Raspberry Pi ready for smart home automation begins with proper configuration and network setup. Start by downloading the latest version of Raspberry Pi OS (formerly Raspbian) from the official website and flashing it to your microSD card using tools like Raspberry Pi Imager or Balena Etcher.
Once your OS is installed, connect your Raspberry Pi to a monitor, keyboard, and mouse for initial setup. During the first boot, you’ll be prompted to configure basic settings like language, timezone, and keyboard layout. It’s crucial to create a strong password for the default ‘pi’ user account to ensure security.
Network connectivity is essential for a smart home hub. While you can use WiFi, a wired Ethernet connection provides more stability and faster response times. If you prefer WiFi, configure it through the network settings menu or by editing the wpi_supplicant.conf file. For advanced users, consider a virtual machine setup to run multiple services isolated from each other.
Enable SSH (Secure Shell) access to manage your Pi remotely. This can be done through the Raspberry Pi Configuration tool or by creating an empty file named ‘ssh’ in the boot partition. Also, assign a static IP address to your Pi through your router’s DHCP settings or by configuring it directly in the OS to ensure consistent network access.
Remember to update your system regularly using:
sudo apt update
sudo apt upgrade
Finally, install essential packages like Git and Python package manager (pip) to prepare for installing smart home software. These tools will be crucial for implementing automation scripts and installing additional components later in your smart home journey.
Creating Your First Automations
Lighting Control
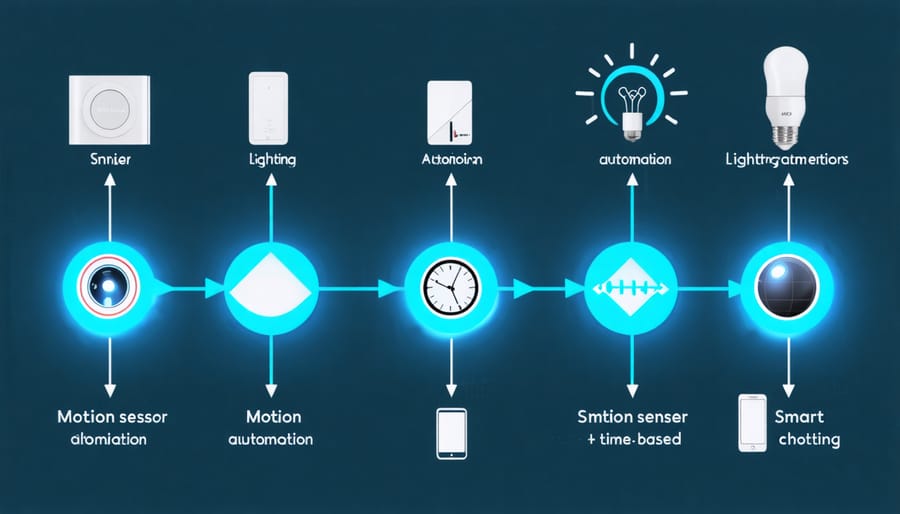
Controlling your home’s lighting with a Raspberry Pi opens up endless possibilities for automation and energy efficiency. By combining affordable smart bulbs or smart switches with your Pi, you can create a sophisticated lighting control system that responds to schedules, motion, or other triggers.
To get started, you’ll need compatible smart bulbs (like Philips Hue or LIFX) or smart switches, and a communication protocol such as Zigbee or Z-Wave. Install a USB dongle on your Raspberry Pi to enable communication with these devices. Popular options include the ConBee II or RFXcom transceivers.
Home Assistant running on your Pi provides an excellent platform for managing your lighting system. Through its interface, you can create automation rules such as turning lights on at sunset, dimming them in the evening, or activating specific scenes based on your routine.
For more advanced control, consider adding motion sensors to automatically illuminate rooms when someone enters. You can also integrate light sensors to adjust brightness based on natural light levels, ensuring optimal illumination while conserving energy.
Here’s a basic automation example:
1. Install and configure your chosen smart bulbs
2. Connect them to Home Assistant
3. Create a simple automation rule (e.g., lights on at 7 PM)
4. Test and refine the timing and conditions
Remember to organize your lights into logical groups and scenes for easier management. You might create a “Movie Mode” that dims the living room lights or a “Good Morning” scene that gradually brightens your bedroom lights at wake-up time.
By leveraging your Raspberry Pi for lighting control, you’ll enjoy both the convenience of automation and the satisfaction of building it yourself.
Temperature Monitoring
Creating a temperature monitoring system with your Raspberry Pi is both practical and rewarding. You’ll need a DHT22 or DHT11 temperature sensor, which costs around $5, and some jumper wires to get started. Connect the sensor’s VCC pin to the Pi’s 3.3V power pin, the ground pin to any GND pin, and the data pin to GPIO4.
Install the required libraries by running ‘sudo pip3 install Adafruit_DHT’ in your terminal. This Python library makes it easy to read temperature and humidity data from the sensor. Here’s a basic Python script to get you started:
“`python
import Adafruit_DHT
import time
sensor = Adafruit_DHT.DHT22
pin = 4
while True:
humidity, temperature = Adafruit_DHT.read_cleanup(sensor, pin)
if humidity is not None and temperature is not None:
print(f’Temperature: {temperature:.1f}°C, Humidity: {humidity:.1f}%’)
time.sleep(300)
“`
To make your monitoring system more useful, consider storing readings in a database and creating a web interface to view temperature trends. You can also set up alert notifications when temperatures exceed certain thresholds, perfect for monitoring server rooms or greenhouses. For added functionality, integrate your temperature sensor with Home Assistant to create temperature-based automations, such as controlling fans or heating systems.
Security Camera Integration
Integrating security cameras into your Raspberry Pi smart home system adds an essential layer of protection while remaining cost-effective. The Pi’s versatility allows you to connect both USB webcams and dedicated IP cameras, giving you flexibility in your setup choices.
For USB webcams, start by connecting your camera to the Pi and installing Motion, a powerful surveillance software package. Use the command ‘sudo apt-get install motion’ in the terminal, then configure the motion.conf file to set your preferred resolution, frame rate, and motion detection sensitivity. You can access your camera feed through any web browser by entering your Pi’s IP address and the configured port.
IP cameras require a different approach but offer more placement options since they connect over your network. Popular software solutions like MotionEye OS can manage multiple IP cameras while providing features like motion detection, time-lapse recording, and mobile notifications. Install MotionEye using ‘pip install motioneye’, and access its web interface to add and configure your cameras.
To enhance your security setup, consider implementing:
– Motion-triggered recordings to conserve storage space
– Email or push notifications when movement is detected
– Night vision capabilities using IR-enabled cameras
– Secure remote access through VPN connection
– Local storage on an external hard drive
Remember to position your cameras strategically, covering entry points and valuable areas while respecting privacy concerns. For outdoor cameras, ensure proper weatherproofing and stable power supply. Regular maintenance, including checking camera alignment and cleaning lenses, will keep your security system running efficiently.
Security Considerations
Network Security
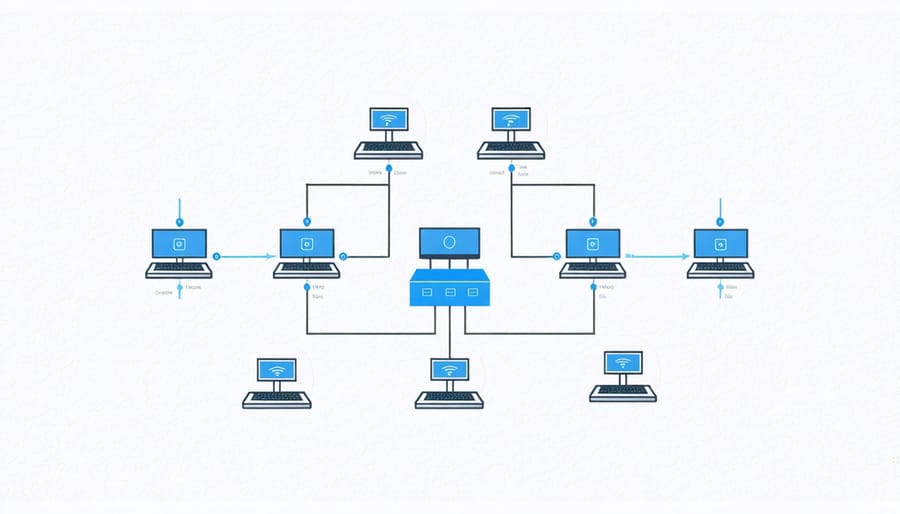
When building a DIY smart home with Raspberry Pi, security should be your top priority. Start by changing the default password for your Pi and creating a strong, unique password. Enable SSH key authentication instead of password-based login for remote access, and disable root login completely.
Set up a dedicated VLAN (Virtual Local Area Network) for your smart home devices to isolate them from your main network. This prevents potential security breaches from affecting your personal computers and data. Install and configure UFW (Uncomplicated Firewall) on your Raspberry Pi to control incoming and outgoing traffic.
Regular system updates are crucial. Create an automated update schedule using cron jobs, but always maintain backups before applying updates. Implement SSL/TLS encryption for all web interfaces and API communications between your devices.
Consider using a VPN service when accessing your smart home system remotely. This adds an extra layer of security by encrypting your connection. Additionally, monitor your network traffic using tools like Wireshark to detect unusual patterns or potential security threats.
Don’t forget to secure your IoT devices by changing their default credentials and keeping their firmware updated. Use strong encryption for all wireless communications, and regularly audit your network for unauthorized devices.
Remember to document all security measures and maintain a recovery plan in case of system compromise.
Device Protection
When building a DIY smart home with Raspberry Pi, protecting your devices and sensors is crucial for both security and longevity. Start by housing your Raspberry Pi in a proper case that provides adequate ventilation while protecting it from dust and physical damage. For outdoor sensors, use weatherproof enclosures rated IP65 or higher to guard against moisture and environmental elements.
Protect your devices from power surges by using quality surge protectors or UPS systems. This is especially important for your main Raspberry Pi hub and any sensitive sensors. Consider implementing a backup power solution to keep critical systems running during outages.
For wireless sensors, use protective covers or cases that don’t interfere with signal transmission. If you’re installing motion sensors or cameras, position them away from direct sunlight and heat sources to prevent false readings and extend their lifespan.
Secure your GPIO connections by using proper resistors and voltage regulators to prevent electrical damage. For wired sensors, use cable management solutions and protective conduits to prevent wire damage and maintain a clean installation. Consider adding optical isolators for sensors that might be exposed to electrical interference.
Finally, implement a regular maintenance schedule to check for loose connections, clean sensors, and verify that protective measures remain intact. This proactive approach will help ensure your DIY smart home system operates reliably for years to come.
Building a DIY smart home with Raspberry Pi opens up endless possibilities for home automation while maintaining complete control over your system and data. By following the steps and implementations outlined in this guide, you’ve learned how to create a cost-effective, customizable smart home hub that rivals commercial solutions at a fraction of the cost.
The beauty of a Raspberry Pi-based smart home lies in its flexibility and scalability. As your needs grow, you can easily expand your smart home system by adding new sensors, devices, and automation rules. Whether you’re interested in enhanced security features, energy monitoring, or advanced lighting controls, your Raspberry Pi hub can accommodate these additions with minimal investment.
Remember to regularly update your system’s software, back up your configurations, and maintain proper security practices. Consider joining online communities and forums to share experiences, learn from others, and discover new integration possibilities. With the foundation you’ve built, you’re well-equipped to continue exploring the exciting world of home automation while developing valuable skills in programming, networking, and system administration.
The journey to a smarter home doesn’t end here – it’s just the beginning of an exciting adventure in personal tech innovation and home improvement.