

Transform your Raspberry Pi into a powerful data collection hub by connecting sensors that monitor everything from temperature and humidity to motion and light levels. Start with basic GPIO connections using the Pi’s built-in pins and a breadboard for seamless IoT integration. Advanced users can leverage I2C and SPI protocols to connect multiple sensors simultaneously, while beginners should focus on simple digital sensors like the DHT11 or PIR motion detectors.
Modern Raspberry Pi boards support an extensive range of sensors through their 40-pin GPIO header, making them ideal for both educational projects and professional monitoring solutions. Whether you’re building an automated greenhouse, a home security system, or a weather station, the right sensor configuration can transform your Pi into a sophisticated data collection and analysis platform.
This guide walks through essential sensor connection methods, from basic voltage dividers to advanced serial communication protocols, ensuring successful implementation regardless of your experience level. Learn to properly wire, code, and troubleshoot your sensor connections while avoiding common pitfalls that can damage your components.
Essential Hardware and Connection Basics
Understanding GPIO Pins
GPIO (General Purpose Input/Output) pins are the physical interface between the Raspberry Pi and external sensors. These pins serve as the communication channels that allow your Pi to interact with the outside world. The Raspberry Pi 4 features 40 GPIO pins, arranged in two rows of 20, with each pin having a specific function or capability.
Among these pins, you’ll find several types: power pins (3.3V and 5V), ground pins (GND), and programmable pins that can be configured as either inputs or outputs. The programmable pins can handle digital signals (on/off) and some can also manage special functions like I2C, SPI, or PWM communication protocols.
When connecting sensors, it’s crucial to identify the correct pins for your specific needs. For example, digital sensors typically require a power pin, a ground pin, and one or more GPIO pins for data transmission. Analog sensors might need additional components like an analog-to-digital converter (ADC) since the Pi doesn’t have built-in analog inputs.
Always refer to your Pi’s GPIO pinout diagram before making connections, and never exceed the maximum voltage ratings to prevent damage to your board.
Common Sensor Interface Types
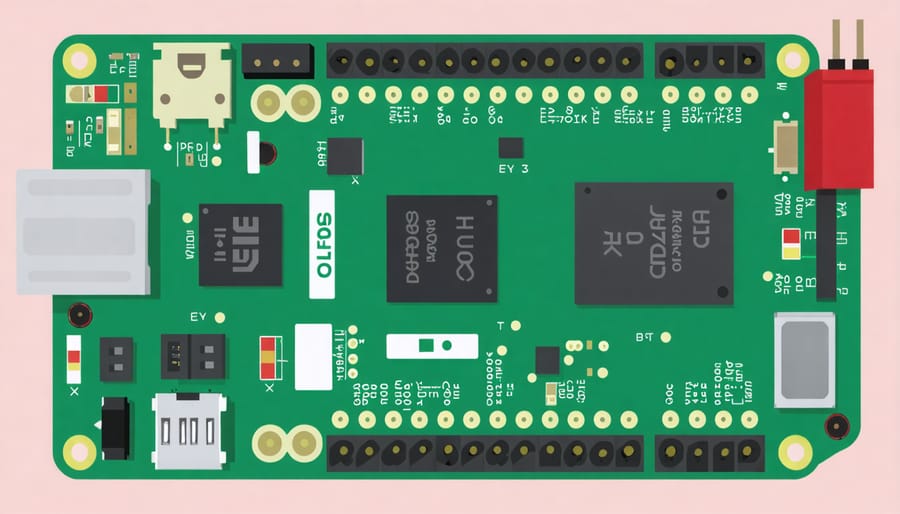
When connecting sensors to Raspberry Pi, you’ll encounter three main interface types. I2C (Inter-Integrated Circuit) is a popular choice for many digital sensors, using just two pins (SDA and SCL) to communicate with multiple devices. This makes it perfect for projects requiring several sensors.
SPI (Serial Peripheral Interface) offers faster data transfer rates than I2C but requires more pins. It uses four main connections: MOSI, MISO, SCLK, and CS, making it ideal for high-speed sensors and displays. While you can connect multiple SPI devices, each one needs its own CS pin.
For analog sensors, you’ll need an analog-to-digital converter (ADC) since the Raspberry Pi doesn’t have built-in analog inputs. The MCP3008 is a popular ADC choice that connects via SPI and can handle up to 8 analog inputs. This solution works well for temperature sensors, light-dependent resistors, and potentiometers.
Each interface has its strengths, and choosing the right one depends on your sensor type, project requirements, and the number of available GPIO pins.
Setting Up Your Raspberry Pi for Sensor Integration
Required Software Libraries
To successfully connect sensors to your Raspberry Pi, you’ll need several essential software libraries that facilitate communication and data processing. The primary library you’ll want to install is GPIO Zero, which provides a simple interface for working with various GPIO devices, including many common sensors. Install it using the command:
“`
sudo apt-get install python3-gpiozero
“`
For I2C sensor communication, you’ll need the SMBus library, which can be installed with:
“`
sudo apt-get install python3-smbus
“`
Many sensor projects also benefit from NumPy and SciPy for data processing and analysis:
“`
sudo apt-get install python3-numpy python3-scipy
“`
If you’re working with specific sensor types, you might need additional libraries:
– For temperature sensors: w1thermsensor
– For humidity sensors: Adafruit_DHT
– For motion sensors: RPi.GPIO
– For display integration: PIL (Python Imaging Library)
Install these using pip3:
“`
sudo pip3 install w1thermsensor Adafruit_DHT RPi.GPIO pillow
“`
Before installing any libraries, ensure your Raspberry Pi’s operating system is up to date:
“`
sudo apt-get update
sudo apt-get upgrade
“`
Remember to enable relevant interfaces (I2C, SPI, 1-Wire) through the Raspberry Pi Configuration tool (raspi-config) before using specific sensors.
Enabling Communication Protocols
Before connecting sensors to your Raspberry Pi, you’ll need to enable the appropriate communication protocols. The two most common protocols for sensor communication are I2C (Inter-Integrated Circuit) and SPI (Serial Peripheral Interface).
To enable I2C:
1. Open Terminal on your Raspberry Pi
2. Type “sudo raspi-config”
3. Navigate to “Interface Options”
4. Select “I2C”
5. Choose “Yes” to enable the interface
6. Select “Finish” and reboot your Pi
For SPI activation:
1. Follow the same initial steps through raspi-config
2. Select “SPI” under “Interface Options”
3. Enable it and reboot
After enabling these protocols, install the necessary tools by running:
“`
sudo apt-get update
sudo apt-get install -y python3-smbus i2c-tools
“`
To verify I2C is working correctly, use:
“`
sudo i2cdetect -y 1
“`
This command displays a grid showing any connected I2C devices.
For UART (Universal Asynchronous Receiver/Transmitter) communication:
1. Access raspi-config
2. Navigate to “Interface Options”
3. Select “Serial”
4. Choose “No” for login shell
5. Select “Yes” for serial port hardware
Remember to reboot your Raspberry Pi after enabling any new protocols to ensure proper functionality.
Practical Sensor Connection Examples
Temperature and Humidity Sensors
The DHT22 and DHT11 sensors are popular choices for monitoring temperature and humidity in home automation applications due to their reliability and ease of use. To connect these sensors to your Raspberry Pi, you’ll need three wires: power (VCC), ground (GND), and data.
Start by connecting the VCC pin to the 3.3V or 5V pin on your Raspberry Pi (check your sensor’s specifications), the GND pin to any ground pin, and the data pin to a GPIO pin (commonly GPIO4). Remember to use a 4.7kΩ – 10kΩ pull-up resistor between VCC and the data pin for stable readings.
To read data from these sensors, you’ll need to install the Adafruit DHT library. Open your terminal and run:
sudo pip3 install Adafruit_DHT
Here’s a simple Python script to get started:
import Adafruit_DHT
sensor = Adafruit_DHT.DHT22
pin = 4
humidity, temperature = Adafruit_DHT.read_retry(sensor, pin)
print(f’Temp={temperature:.1f}°C Humidity={humidity:.1f}%’)
This code provides basic functionality, but you can enhance it by adding error handling and continuous monitoring. For optimal performance, keep the sensors away from direct heat sources and ensure proper ventilation. If you experience reading errors, double-check your wiring connections and consider using a shorter data wire.
Motion Sensors
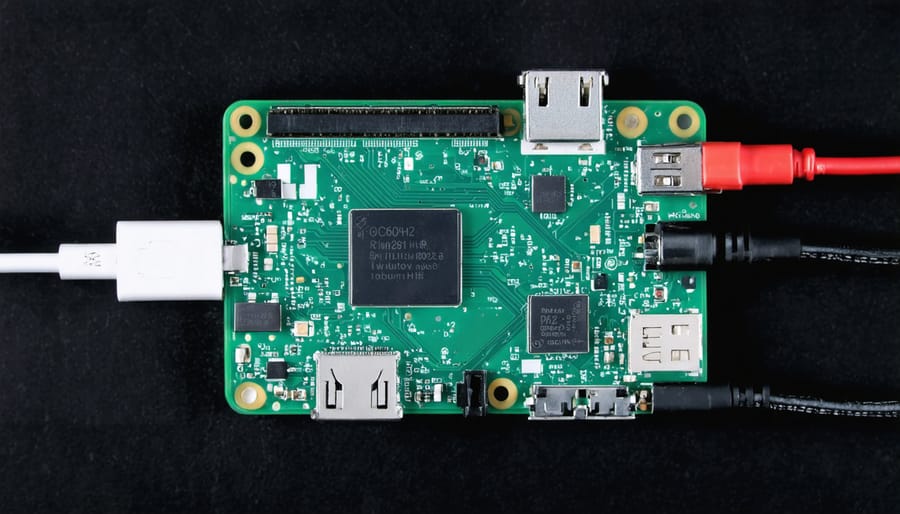
PIR (Passive Infrared) motion sensors are popular additions to Raspberry Pi projects, perfect for creating security systems, automated lighting, or presence detection applications. These sensors detect changes in infrared radiation caused by moving objects, particularly human bodies.
To connect a PIR sensor to your Raspberry Pi, you’ll need three connections: VCC (power), GND (ground), and OUT (signal). The VCC pin connects to the Pi’s 5V power pin, GND to any ground pin, and the OUT pin to a GPIO pin of your choice (typically GPIO17/PIN11).
Here’s a simple Python script to get you started:
“`python
import RPi.GPIO as GPIO
import time
GPIO.setmode(GPIO.BCM)
PIR_PIN = 17
GPIO.setup(PIR_PIN, GPIO.IN)
try:
while True:
if GPIO.input(PIR_PIN):
print(“Motion detected!”)
time.sleep(1)
except KeyboardInterrupt:
GPIO.cleanup()
“`
Most PIR sensors have adjustable sensitivity and delay time through two small potentiometers on the sensor board. The sensitivity adjustment determines the detection range (typically 3-7 meters), while the delay time sets how long the sensor stays activated after motion detection.
For reliable operation, mount the sensor at a height of 2-2.5 meters and ensure it faces the area you want to monitor. Allow a 30-60 second warm-up period after powering on for the sensor to calibrate to its environment.
Light and Distance Sensors
Light and distance sensors are essential components for many Raspberry Pi projects, offering capabilities from ambient light detection to precise distance measurements. For light sensing, the photoresistor (LDR) is a simple yet effective component that changes its resistance based on light intensity. Connect the LDR to your Pi’s GPIO pins through a voltage divider circuit using a 10kΩ resistor, and you can measure light levels using Python’s GPIO library.
The HC-SR04 ultrasonic sensor is popular for distance measurement, utilizing sound waves to calculate the distance between the sensor and objects. It requires four connections: VCC (5V), Ground, Trigger (GPIO output), and Echo (GPIO input). Since the Echo pin operates at 5V, you’ll need a voltage divider to protect your Pi’s 3.3V GPIO pins.
Here’s a basic setup for the HC-SR04:
1. Connect VCC to 5V power
2. Connect Ground to GND
3. Connect Trigger to any GPIO output pin
4. Connect Echo through a voltage divider to a GPIO input pin
For accurate readings, mount sensors securely and avoid interference from other components. Light sensors work best when shielded from direct artificial light, while ultrasonic sensors need a clear path to their target. Both sensors can be easily programmed using Python, with many libraries available to simplify the integration process.
Remember to calibrate your sensors for your specific environment to ensure reliable measurements. Regular cleaning and maintenance will help maintain sensor accuracy over time.
Troubleshooting and Best Practices
Common Connection Problems
When connecting sensors to your Raspberry Pi, you might encounter several common issues that can be frustrating but are typically easy to resolve. One frequent problem is incorrect wiring connections, which can result in sensors not responding or providing inaccurate readings. Always double-check your pin connections and ensure they match your sensor’s documentation precisely.
Power-related issues are another common hurdle. If your sensor isn’t receiving enough power or is experiencing voltage fluctuations, it may behave erratically or fail to function. Make sure you’re using the correct voltage level for your sensor and consider using a separate power supply for sensors that draw significant current.
Communication problems often stem from incorrect I2C or SPI configurations. If your sensor isn’t being detected, verify that you’ve enabled the appropriate interface in Raspberry Pi Configuration and check for address conflicts between multiple sensors. Running ‘i2cdetect -y 1’ can help identify connected I2C devices and their addresses.
Software-related issues typically involve missing libraries or incorrect dependencies. Ensure you’ve installed all required Python libraries and their dependencies. Permission issues can also prevent access to GPIO pins – running your script with sudo might be necessary.
For unreliable readings, check for interference from nearby electronic devices or poor quality cables. Using shielded cables and keeping sensors away from power sources can improve reliability. If you’re still experiencing issues, try testing the sensor with a simple example script to isolate the problem.
Performance Optimization
To ensure optimal performance when connecting sensors to your Raspberry Pi, implementing proper sensor optimization techniques is crucial. Start by setting appropriate sampling rates that balance data accuracy with system resources. For most applications, sampling rates between 1-10 Hz are sufficient, though some projects may require higher frequencies.
Consider implementing a data buffer to manage incoming sensor readings effectively. This helps prevent data loss during high-frequency sampling and reduces system strain. Use hardware interrupts when possible instead of continuous polling, as this significantly reduces CPU usage and power consumption.
Keep your sensor connections clean and secure by regularly checking wire connections and using appropriate shielding to minimize electromagnetic interference. For analog sensors, implement signal filtering to reduce noise and improve reading accuracy. A simple moving average filter can work wonders for stabilizing sensor outputs.
Monitor your Pi’s CPU temperature and resource usage while running sensor applications. If you notice performance issues, consider distributing the workload by implementing multi-threading or using a dedicated microcontroller for data collection. Additionally, store sensor data efficiently by implementing data compression or selective storage based on significant value changes rather than storing every reading.
For long-term deployments, implement watchdog timers to automatically reset the system if sensors stop responding, ensuring continuous operation without manual intervention.
Connecting sensors to your Raspberry Pi opens up endless possibilities for creating innovative projects and learning about physical computing. By following the steps and guidelines outlined in this guide, you can confidently set up various sensors and start collecting real-world data. Remember to always check your wiring connections, use appropriate GPIO pins, and follow proper safety protocols when working with electronics.
Ready to expand your skills? Consider exploring more advanced sensor projects, combining multiple sensors, or integrating your sensor data with web applications or cloud services. You might also want to experiment with different programming languages or try creating automated systems using your sensor inputs. The maker community offers countless resources and support for your next steps, so don’t hesitate to share your projects and learn from others’ experiences.
Keep experimenting, stay curious, and happy sensing!