

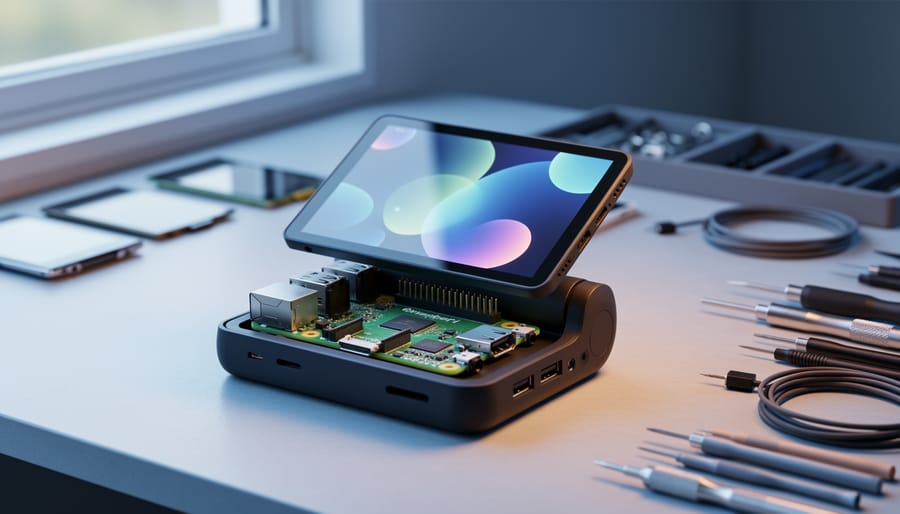
Compact displays measuring between 1.3 and 7 inches transform Raspberry Pi projects from basic circuits into fully functional handheld devices, portable gaming systems, and space-efficient monitoring solutions. Whether you’re building a retro gaming console that fits in your pocket, creating a real-time system monitor for your desk, or developing a portable weather station, choosing the right tiny screen requires balancing resolution, power consumption, and connection type against your project’s specific constraints.
The market offers three primary display technologies for Raspberry Pi enthusiasts. OLED screens deliver exceptional contrast and power efficiency in ultra-compact sizes starting at 0.96 inches, making them perfect for status displays and wearable projects. TFT LCD panels provide vibrant colors and touchscreen functionality in the 2.4 to 5-inch range, ideal for interactive applications and gaming builds. E-ink displays excel in outdoor readability and battery-powered projects where screen updates happen infrequently.
Connection interfaces significantly impact both performance and compatibility. SPI displays offer broad compatibility and simplified wiring but refresh slower than HDMI alternatives. DSI screens provide direct camera and display connections with minimal GPIO usage. USB-powered HDMI displays deliver plug-and-play convenience for users prioritizing ease of setup over space constraints.
This guide cuts through marketing claims to help you identify which tiny screen matches your project requirements, budget, and technical skill level, ensuring you make an informed purchase decision backed by real-world testing and practical setup instructions.
Why Tiny Screens Are Perfect for Raspberry Pi Projects
Tiny screens bring remarkable advantages to Raspberry Pi projects that make them the go-to choice for countless makers and innovators. Let’s explore why these compact displays punch well above their weight class.
First and foremost, portability becomes a reality when you pair your Pi with a small screen. Unlike bulky monitors, displays in the 2-7 inch range allow you to create truly mobile devices. Whether you’re building a handheld gaming console or a portable security camera viewer, these screens transform your Pi into something you can easily carry in a backpack or even a pocket.
Power efficiency stands as another compelling benefit. Smaller displays consume significantly less energy than their full-sized counterparts, often drawing only a few hundred milliamps. This efficiency proves crucial when running your project on battery power. Your portable weather station or IoT monitoring device can operate for hours or even days without needing a recharge.
Cost-effectiveness makes tiny screens accessible to beginners and experienced hobbyists alike. Quality compact displays typically range from $15 to $60, making them budget-friendly additions to your project without breaking the bank. This affordability means you can experiment with different screen types and sizes until you find the perfect fit.
Space-saving design opens up creative possibilities that standard monitors simply cannot accommodate. These diminutive displays slip into tight enclosures, allowing you to build sleek dashboard displays for your car, compact smart home controllers mounted on walls, or desktop system monitors that barely take up any desk real estate.
The practical applications are endless. Retro gaming enthusiasts create authentic arcade cabinets with screens that match original console sizes. IoT developers build monitoring stations that display sensor data in real-time. Educators construct portable learning devices for students. Tech enthusiasts craft custom cyberdeck computers with integrated displays. The combination of small screens and Raspberry Pi versatility empowers you to build nearly anything you imagine, whether it’s a standalone music player, environmental monitoring system, or information display panel.
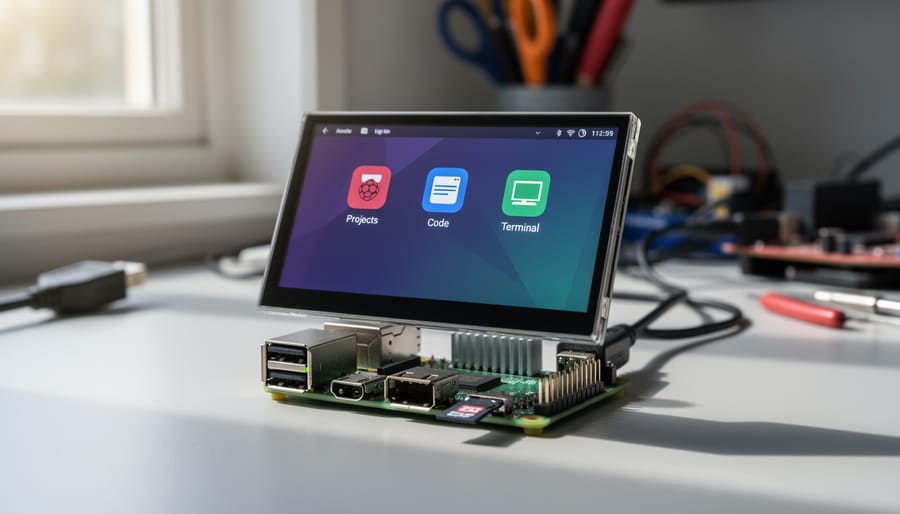
Understanding Screen Sizes and Types
Popular Size Categories (2.8″ to 7″)
When choosing a tiny screen for your Raspberry Pi, understanding the size categories helps narrow down the perfect display for your needs. Let’s break down the most popular options and what makes each one special.
The 2.8-inch displays are the smallest practical screens, typically offering resolutions around 320×240 pixels. These ultra-compact options work beautifully for simple status displays, basic menu systems, or wearable projects where space is at an absolute premium. Think smart home control panels or portable gaming devices that fit in your pocket.
Moving up to 3.5-inch screens, you’ll find resolutions ranging from 320×480 to 480×800 pixels. This size strikes an excellent balance between portability and usability. They’re ideal for dedicated system monitors, weather stations, or compact smart speakers where you need readable text without taking up much desk space. The increased pixel density makes these displays noticeably sharper for reading sensor data or viewing simple graphics.
The 4-inch to 5-inch range offers resolutions typically between 480×800 and 800×480 pixels. These screens provide comfortable viewing for retro gaming consoles, dashboard cameras, or interactive kiosks. The extra screen real estate allows for more detailed interfaces without straining your eyes.
Finally, 7-inch displays represent the upper limit of “tiny” screens, usually featuring 800×480 or 1024×600 resolutions. Perfect for tablets, desktop information displays, or smart mirrors, these screens deliver excellent readability while maintaining portability. They’re particularly popular for projects requiring touchscreen interaction, as the larger surface provides comfortable touch targets for fingers of all sizes.
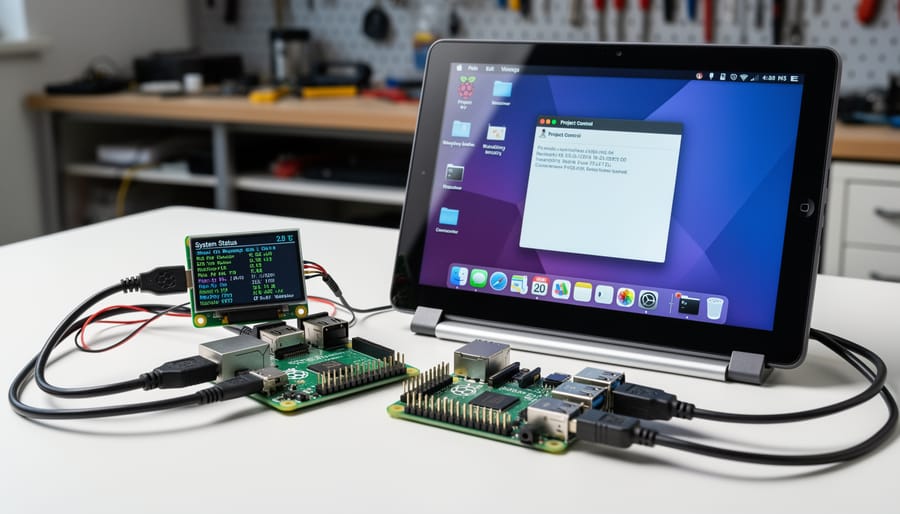
Display Technologies Explained
Understanding Raspberry Pi display options starts with knowing the three main technologies available for tiny screens.
LCD (Liquid Crystal Display) screens are the most common and affordable choice. They use a backlight that’s always on, making them bright and easy to read in most lighting conditions. However, this constant backlight means higher power consumption, typically drawing 100-200mA depending on size and brightness settings. LCDs offer excellent color reproduction and fast refresh rates, making them ideal for interactive projects and video playback.
OLED display technology provides superior contrast and deeper blacks since each pixel produces its own light. When displaying dark content, OLEDs consume significantly less power than LCDs, sometimes as low as 20-50mA. They’re thinner, lighter, and offer wider viewing angles. The downside? They cost more and can suffer from burn-in if static images stay on screen too long. Their vibrant colors and crisp text make them popular for status displays and wearable projects.
E-ink displays are champions of power efficiency, consuming energy only when updating the screen. Once an image appears, it stays visible without any power draw, making them perfect for battery-powered projects. They’re highly readable in direct sunlight but refresh slowly and typically lack color options. E-ink works best for static information like weather stations, calendars, or book readers where updates happen infrequently.
Connection Methods: GPIO vs HDMI vs USB
Choosing the right connection method for your tiny Raspberry Pi screen impacts both performance and project complexity. Let’s break down the three main options.
GPIO connections offer the most compact solution, plugging directly into your Pi’s pin headers. These displays are perfect for portable projects and tight spaces, though they typically max out at 480×320 resolution and slower refresh rates. Setup requires configuring drivers, making them slightly more technical but incredibly space-efficient.
HDMI connections deliver the best image quality and frame rates, supporting Full HD and beyond. They’re plug-and-play friendly, working immediately without driver installation. The downside? HDMI cables add bulk, making them less ideal for ultra-compact builds. Choose HDMI for projects where display quality matters most, like media centers or gaming.
USB connections strike a middle ground, offering reasonable resolution with simple setup. These displays draw power and transmit data through a single cable, reducing clutter. They work great for secondary monitors or dashboard displays where you need flexibility without sacrificing too much quality.
For beginners, HDMI provides the smoothest experience. Space-constrained projects benefit from GPIO, while USB offers versatility for multi-display setups. Consider your project’s priorities: convenience, space, or performance, and choose accordingly.
Top Tiny Raspberry Pi Screens Compared
Best Budget Option: 3.5″ GPIO Touchscreen
If you’re just starting out with Raspberry Pi displays or working within a tight budget, 3.5-inch GPIO touchscreen displays offer an excellent entry point at around $15-25. These compact screens connect directly to your Pi’s GPIO pins, eliminating the need for HDMI cables and creating a streamlined setup perfect for handheld projects or space-constrained builds.
Most 3.5-inch displays feature 480×320 resolution, which works well for basic interfaces, text menus, and simple graphics. The resistive touchscreens respond to stylus or finger pressure, though they require slightly firmer touches compared to capacitive alternatives. Popular models from manufacturers like Waveshare and Kuman typically draw power directly from the GPIO connection, keeping your project tidy.
Setup difficulty ranges from moderate to beginner-friendly, depending on the model. Most require driver installation through terminal commands, but many sellers now provide pre-configured images that simplify the process considerably. Expect to spend 15-30 minutes on initial configuration, following the manufacturer’s documentation carefully.
These displays shine in projects like retro gaming consoles, smart home control panels, and weather stations where portability matters more than crystal-clear graphics. The compact size means you won’t watch movies comfortably, but for displaying sensor data, controlling GPIO devices, or running lightweight applications, these budget-friendly screens deliver solid performance. They’re particularly valuable for learning projects where you want to experiment without significant financial investment.
Best Performance: 5″ HDMI Touchscreen
When you need a balance between portability and performance, 5-inch HDMI touchscreen displays hit the sweet spot. These mid-range options deliver significantly better image quality than their smaller counterparts while maintaining a compact footprint that won’t overwhelm your workspace.
The standout advantage of 5-inch HDMI displays is their 800×480 resolution, which provides noticeably sharper text and clearer graphics compared to smaller screens. This makes them ideal for projects requiring detailed visual work, like handheld gaming consoles, desktop monitoring stations, or portable media centers. The HDMI connection ensures reliable signal transmission and supports higher refresh rates, resulting in smoother animations and improved touch responsiveness.
Most quality 5-inch models feature capacitive touchscreens rather than resistive technology, offering a more modern, smartphone-like experience with better accuracy and multi-touch support. Look for displays with IPS panels for wider viewing angles, which proves invaluable when positioning your project at different angles.
Popular options in this category typically draw power directly from your Raspberry Pi’s GPIO pins or via a separate USB connection, providing flexibility in power management. Many include adjustable backlight brightness settings, helpful for conserving battery in portable applications or reducing eye strain during extended use.
The installation process remains straightforward, usually requiring only driver installation and minor configuration adjustments. These displays typically cost between $30-50, representing excellent value for makers seeking professional-quality results without breaking the budget.
Best for Portability: 2.8″ Low-Power Display
For builders prioritizing portability above all else, 2.8-inch low-power displays represent the sweet spot between visibility and energy efficiency. These compact screens typically consume less than 100mA during operation, making them perfect for battery-powered projects that need to run for hours without recharging.
The Waveshare 2.8″ Resistive Touch display stands out in this category, drawing just 80mA while providing 320×240 resolution. Its resistive touchscreen works with gloves or styluses, ideal for outdoor or industrial applications. The display connects via SPI, which uses fewer GPIO pins than parallel interfaces, leaving more pins available for sensors or other components.
For even lower power consumption, consider e-paper alternatives in the 2.9-inch range. While they update slower than LCD screens, they draw power only during screen refreshes and maintain their display indefinitely without electricity. This makes them exceptional for weather stations, name badges, or calendar displays that update periodically.
Installation remains straightforward with most models requiring just four to six GPIO connections. Python libraries like Adafruit’s CircuitPython simplify programming, letting you display custom graphics or sensor data within minutes. These tiny powerhouses prove that good things really do come in small packages, especially when you’re building wearable tech or pocket-sized gadgets.
Comparison Table: Quick Decision Guide
To help you make a quick, informed decision, here’s a side-by-side comparison of the top tiny Raspberry Pi screens we’ve covered. This table breaks down the essential factors you’ll want to consider for your project.
The Waveshare 3.5-inch display sits at the budget-friendly end around $20, offering 480×320 resolution with resistive touch capability. It draws approximately 300mA and ranks as beginner-friendly for setup. If you need something smaller, the Adafruit PiTFT 2.8-inch comes in at $35 with similar 320×240 resolution and capacitive touch, consuming about 250mA with moderate difficulty.
For premium options, the Pimoroni HyperPixel 4.0 Square delivers stunning 720×720 resolution at $60 with capacitive touch and 400mA power draw, though setup requires intermediate skills. The official Raspberry Pi 7-inch touchscreen, while larger, offers excellent 800×480 resolution at $70 with 500mA consumption and straightforward installation.
Budget-conscious makers often gravitate toward basic SPI displays under $15, providing 240×240 resolution without touch capability, drawing just 150mA, and featuring simple GPIO connections perfect for beginners.
Consider your project’s power constraints, desired screen real estate, and whether touch input is essential. Match these requirements against your budget to find your ideal display solution.
Setting Up Your Tiny Screen: Step-by-Step
Physical Installation and Connections
Mounting your tiny Raspberry Pi screen is straightforward, but precision matters for a clean, functional setup. Most compact displays connect via the GPIO header or DSI/CSI ribbon cables, depending on the model.
For GPIO-mounted screens, first power down your Pi completely. Align the display’s connector carefully with the GPIO pins, typically starting from pin 1 (nearest the SD card slot). Press down firmly but gently until the connector seats fully. Avoid forcing at an angle, as bent pins can permanently damage your board.
If you’re using a DSI ribbon cable for official touchscreens, lift the white plastic clip on the DSI port, insert the cable with contacts facing inward, then press the clip down to lock it in place. The same technique applies to CSI camera port connections on certain displays.
Cable management is crucial in compact builds. Use small cable ties or adhesive clips to secure loose wires against the display back or Pi case. For portable projects, consider right-angle adapters to reduce strain on connections during movement.
Before powering on, double-check all connections are secure and no GPIO pins are bridged. Once satisfied, boot your Pi and proceed to software configuration for optimal display performance.
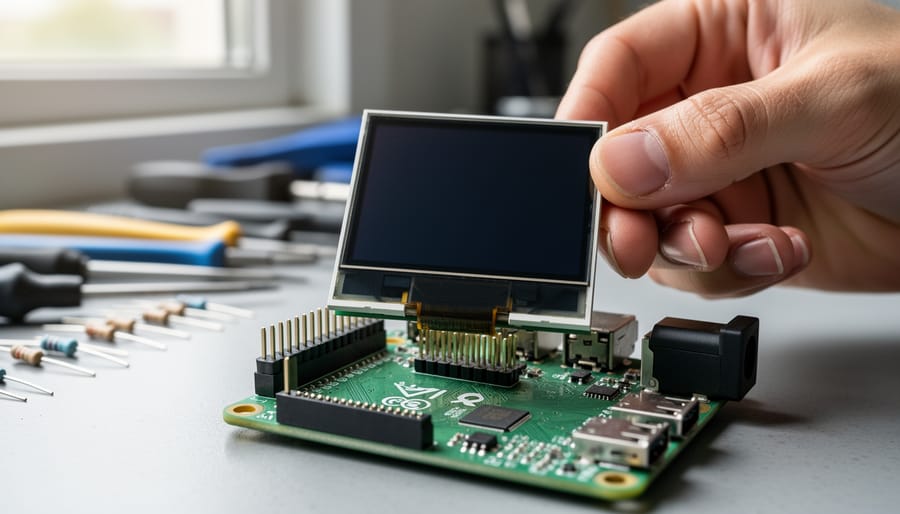
Software Configuration and Drivers
Getting your tiny screen up and running requires a few simple configuration steps. Most modern Raspberry Pi displays use SPI or HDMI connections, and the setup process varies slightly depending on your model.
For SPI displays, you’ll first need to enable the SPI interface. Open your terminal and type `sudo raspi-config`, navigate to Interface Options, then enable SPI. After rebooting, you’ll need to install the appropriate driver. Many popular screens like the Waveshare and Adafruit models have dedicated drivers available through GitHub repositories.
Download the driver by running `git clone` followed by the repository URL, then navigate into the folder using `cd` and execute the installation script with `sudo ./install.sh`. The script typically handles the heavy lifting, modifying your `/boot/config.txt` file automatically.
If you need to manually edit configuration files, use `sudo nano /boot/config.txt` to add specific display parameters like resolution, rotation, and refresh rate. Common settings include `hdmi_force_hotplug=1` for HDMI screens or `dtoverlay=` parameters for SPI displays.
For touchscreen calibration, install the xinput-calibrator tool with `sudo apt-get install xinput-calibrator`. Run the calibration by typing `DISPLAY=:0.0 xinput_calibrator` and follow the on-screen prompts. The tool generates configuration values that you’ll save to `/etc/X11/xorg.conf.d/99-calibration.conf`.
Most displays work immediately after installation, but if issues arise, double-check your connections and verify that all required packages installed successfully. The Raspberry Pi community forums are excellent resources for troubleshooting model-specific problems.
Troubleshooting Common Issues
If your tiny screen stays blank after connecting, first check your power supply—many displays draw additional current that can cause voltage drops. Verify all connections are secure and that you’ve enabled the correct display driver in your Raspberry Pi configuration file. For blank screens on SPI displays, double-check that you’ve uncommented the proper dtoverlay line in /boot/config.txt.
Resolution issues often stem from incorrect configuration settings. Access your config.txt file and adjust hdmi_group and hdmi_mode values to match your screen’s native resolution. For DSI displays, ensure you’re using the latest firmware with sudo apt update and sudo apt full-upgrade.
Inverted or rotated displays are easily fixed by adding display_rotate=2 (for 180 degrees) or lcd_rotate=2 for touchscreens in your config.txt file. You can use values 0-3 for different orientations.
Touchscreen calibration problems? Install xinput-calibrator with sudo apt install xinput-calibrator, run the calibration tool, and save the output to /etc/X11/xorg.conf.d/99-calibration.conf. For resistive touchscreens, you might need to run calibration multiple times to achieve accuracy. Remember to reboot after making configuration changes to ensure they take effect properly.
Project Ideas That Shine with Tiny Screens
Portable Retro Gaming Console
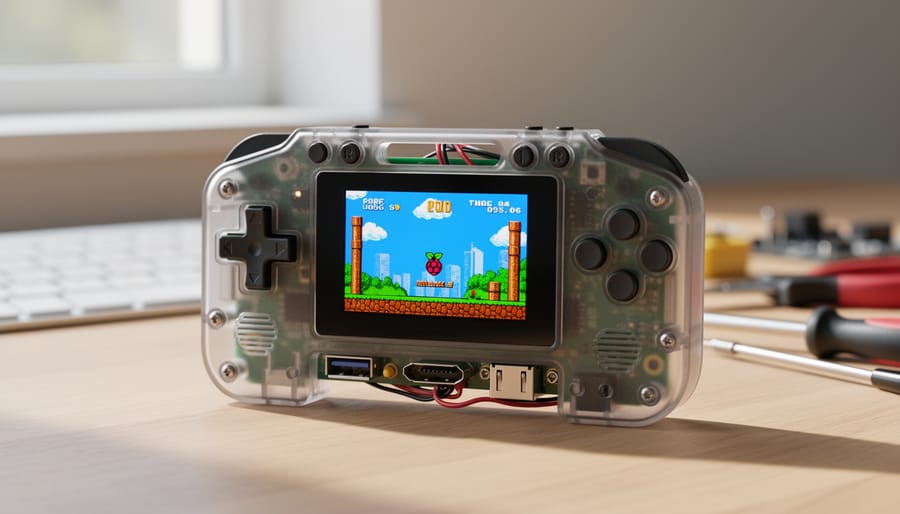
Building a portable retro gaming console with a tiny Raspberry Pi screen is a rewarding weekend project that combines nostalgia with modern maker skills. Start by selecting a 3.5-inch to 5-inch display that balances portability with playability. Install RetroPie on your Raspberry Pi, which provides a user-friendly interface for classic game emulation. Connect your screen via GPIO or HDMI, depending on your chosen display model. You’ll need to add physical controls—either salvage buttons from old controllers or purchase arcade-style components. Consider exploring custom case designs that incorporate battery packs and proper ventilation. Many builders use 3D-printed enclosures or repurpose vintage handheld shells for an authentic retro aesthetic. Configure your controls in RetroPie’s setup menu, load your legally-owned game ROMs, and you’re ready to enjoy classic gaming on the go. This project teaches fundamental electronics, software configuration, and creative problem-solving skills.
Smart Home Status Dashboard
A smart home status dashboard transforms your tiny Raspberry Pi screen into a centralized command center for your connected home. This wall-mounted display can show real-time weather forecasts, upcoming calendar appointments, and the status of all your IoT devices at a glance. Perfect for mounting near your entryway or kitchen, it gives you essential information before heading out the door.
To build this project, you’ll need a Raspberry Pi Zero or Pi 4 paired with a 3.5-inch to 5-inch touchscreen. Install a dashboard platform like MagicMirror or HADashboard, which integrate seamlessly with popular smart home systems including Home Assistant, Google Calendar, and weather APIs. These platforms offer customizable modules that let you display exactly the information you need, from thermostat readings to security camera feeds.
The beauty of this project lies in its expandability. Start simple with weather and time, then gradually add calendar sync, smart light controls, or even transit schedules as you become comfortable with the setup.
Standalone Network Monitor
Transform your tiny Raspberry Pi screen into a powerful network monitoring station that displays real-time diagnostics at a glance. This compact setup uses command-line tools like iperf3 and vnStat combined with Python scripts to visualize network traffic, bandwidth usage, ping times, and connected devices. The small display fits perfectly near your router or server rack, providing instant visibility into your network’s health without opening a laptop.
Start by installing monitoring software and configuring your Pi to boot directly into a custom dashboard. Popular solutions include Grafana for polished graphs or simple Python scripts using libraries like matplotlib for lightweight alternatives. Display current upload and download speeds, historical bandwidth trends, and alert notifications when unusual activity occurs. The always-on nature of Raspberry Pi makes it ideal for continuous monitoring, while the low power consumption means you can run it 24/7 without worrying about electricity costs. This project works exceptionally well with 3.5-inch or smaller displays, creating a professional-looking monitoring solution that costs a fraction of commercial alternatives.
Desktop System Monitor
Transform your tiny Raspberry Pi screen into a real-time system monitor for your main desktop or laptop. This project creates a dedicated secondary display that continuously shows essential performance metrics like CPU usage, RAM consumption, and temperature readings.
Start by installing monitoring software on your main computer that can stream data to your Pi. For Windows users, programs like AIDA64 work well, while Linux users can leverage tools like Conky or custom Python scripts. The Pi receives this data over your local network and displays it using simple Python libraries like Pygame or Flask-based web interfaces.
Configure your screen to show colorful graphs and numerical readouts that update every few seconds. You can customize the layout to prioritize the stats you check most frequently. Add visual alerts that change color when temperatures exceed safe thresholds or when RAM usage climbs too high.
This project requires basic Python knowledge and network configuration skills. The setup typically takes an hour or two, but you’ll gain valuable experience working with network protocols and data visualization. Plus, having constant visibility of your system’s health helps identify performance bottlenecks and prevents overheating issues before they become serious problems.
Power Considerations and Battery Solutions
Powering your tiny Raspberry Pi screen efficiently is crucial for both stationary and portable projects. Most compact displays draw between 100-500mA at 5V, which might seem modest but can significantly impact battery life in mobile builds. Understanding these power requirements helps you choose the right solution for your specific project needs.
For portable projects, lithium-ion battery packs with built-in voltage regulation offer the most reliable power source. Look for power banks rated at least 2A output to handle both your Pi and screen comfortably. The official Raspberry Pi battery pack provides 5200mAh capacity, typically powering a Pi Zero with a 3.5-inch screen for 4-6 hours of continuous use. For longer runtime, consider 10,000mAh or higher capacity banks, though these add weight and bulk to your project.
When connecting your display, pay attention to GPIO power considerations if you’re drawing power directly from the GPIO pins rather than USB. The GPIO 5V pins share the same power rail as your USB port, so calculate total draw carefully to avoid overloading your power supply or causing voltage drops that lead to stability issues.
To optimize power consumption, reduce screen brightness through software controls when full brightness isn’t necessary. Many displays allow brightness adjustment via command line or Python scripts, potentially reducing power draw by 30-50%. Additionally, implement screen blanking features that turn off the display after periods of inactivity.
For ultra-low-power applications like solar-powered projects, pair your setup with MPPT solar charge controllers and LiFePO4 batteries for better cycle life. Consider using e-ink displays if your project doesn’t require frequent screen updates, as these only consume power during refresh cycles.
Always add a 10-20% buffer when calculating power requirements to account for voltage fluctuations and ensure stable operation. This headroom prevents brownouts and the dreaded rainbow square that indicates insufficient power delivery.
Tiny Raspberry Pi screens open up a world of possibilities for makers and hobbyists alike. Whether you’re building a retro gaming console, creating a smart home dashboard, designing a portable computer, or crafting an IoT monitoring station, these compact displays offer the perfect blend of functionality and space efficiency. Throughout this guide, we’ve explored the various screen technologies available, compared top product options, and walked through practical setup processes to help you make informed decisions for your specific needs.
The beauty of working with these miniature displays lies in their versatility. From budget-friendly 2.8-inch touchscreens to crisp 5-inch HDMI panels, there’s a solution for every project scale and complexity level. The setup process, while initially appearing daunting, becomes straightforward once you understand the basic principles of display connections and driver configuration.
Now it’s your turn to bring your ideas to life. Start with a simple project that matches your skill level, whether that’s a basic system monitor or a desktop weather station. As you gain confidence, you can tackle more ambitious builds and customize your displays to suit your unique requirements.
For continued learning and project inspiration, explore the extensive tutorials and community discussions available on Pidora. You’ll find step-by-step guides, troubleshooting tips, and innovative project ideas shared by fellow enthusiasts. Remember, every expert started as a beginner, so don’t hesitate to dive in and experiment with your first tiny screen project today.