

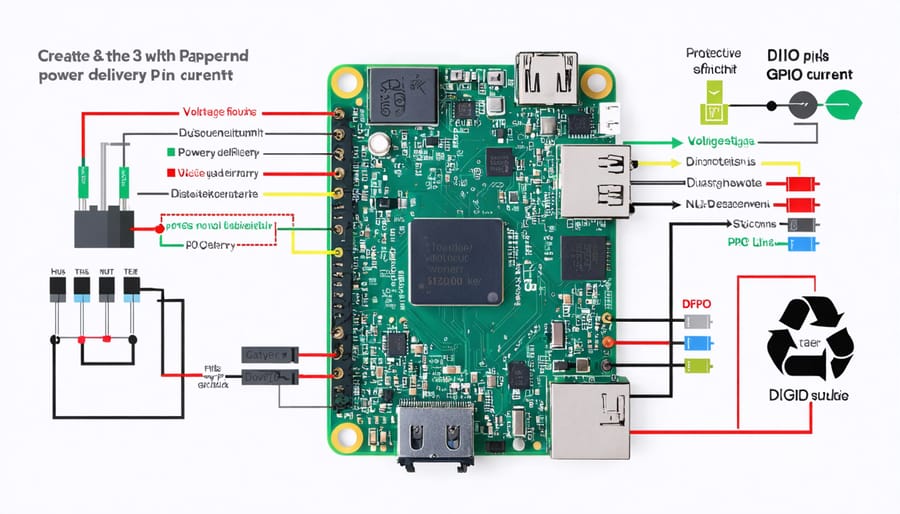
Power your Raspberry Pi through GPIO pins safely and efficiently by following precise voltage requirements and implementing proper protection circuits. Advanced makers seeking custom Raspberry Pi power solutions can bypass the traditional USB power input, accessing direct 5V power through pins 2 and 4 while connecting ground to pins 6, 9, or 14. This alternative power method requires a regulated 5V power supply capable of delivering at least 2.5A, along with essential safety components like polarity protection diodes and voltage regulators to prevent damage to your Pi. Connect your setup confidently by first testing voltage levels with a multimeter and implementing a proper current-limiting circuit to protect against power surges.
Understanding GPIO Power Requirements
Voltage and Current Specifications
When powering your Raspberry Pi through GPIO pins, precise voltage and current specifications are crucial to safely optimize your Pi’s performance. The GPIO power pins require a steady 5V DC input, with an acceptable voltage range of 4.75V to 5.25V. Exceeding these limits can damage your Pi or cause unstable operation.
Current requirements vary by model and usage, but generally, a Raspberry Pi 4 needs 3A for reliable operation, while earlier models can work with 2.5A. When powering through GPIO, ensure your power supply can deliver at least these amounts consistently. The Pi’s protection circuitry is bypassed when using GPIO power, so there’s no overcurrent or voltage protection.
For stable operation, use a regulated power supply with precise voltage output and sufficient current capacity. Voltage drops under load can cause instability, so quality power cables with adequate gauge are essential.
Power Protection Considerations
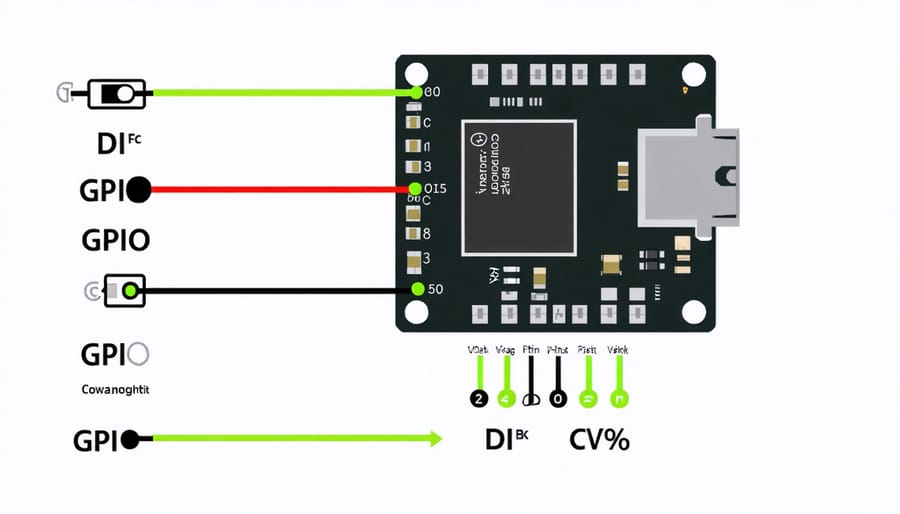
When powering your Raspberry Pi through GPIO pins, implementing proper protection measures is crucial to prevent damage to your board. Always include a polarity protection diode to guard against reverse voltage, and use a voltage regulator to ensure stable 5V output. A fuse rated at 2.5A is essential to protect against overcurrent situations.
Consider adding smoothing capacitors (100μF and 10μF) to filter power supply noise and maintain stable voltage. For additional safety, implement a crowbar circuit that will shut down power if voltage exceeds safe levels. Never skip these protection components, as even minor voltage fluctuations can permanently damage your Pi.
If you’re building a custom power circuit, include LED indicators to show power status and monitoring points for voltage testing. Remember that the GPIO pins have no built-in protection circuits, making external safety measures absolutely necessary for reliable operation.
Safe GPIO Power Connection Methods
Using a Buck Converter
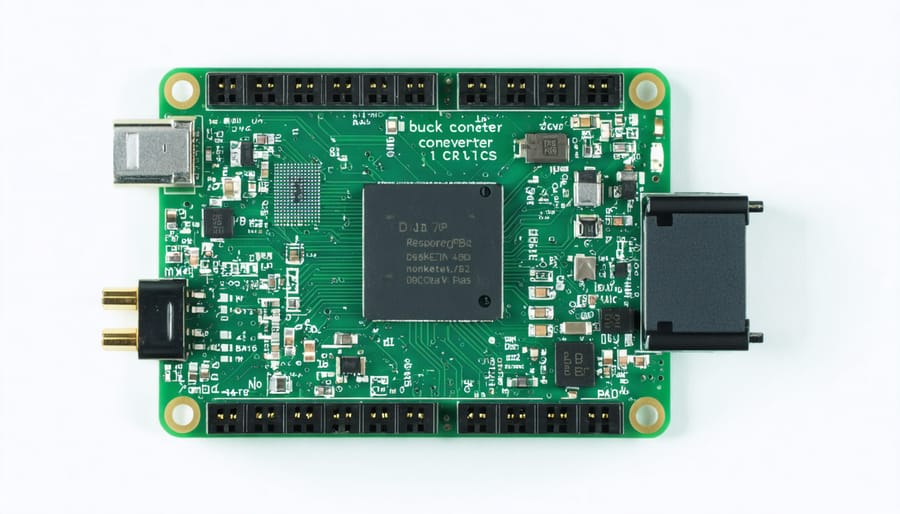
A buck converter offers an efficient and reliable way to power your Raspberry Pi through GPIO pins by stepping down a higher voltage to the required 5V. To implement this solution, you’ll need a quality buck converter module rated for at least 3A output current and an input voltage range suitable for your power source.
Start by connecting your power source to the buck converter’s input terminals, ensuring correct polarity. Before connecting to the Pi, use a multimeter to adjust the buck converter’s output to exactly 5V. This step is crucial as incorrect voltage can damage your Pi.
Connect the buck converter’s output to GPIO pins 2 or 4 (5V) and pins 6, 9, 14, 20, 25, 30, 34, or 39 (Ground). Use thick wires (at least 20 AWG) to minimize voltage drop. Double-check all connections before powering on.
For enhanced safety, consider adding a fuse between the power source and buck converter. Monitor the converter’s temperature during initial operation – excessive heat could indicate an overload or inefficient conversion.
While buck converters are highly efficient, choose one with good thermal management and overcurrent protection. Popular modules like the LM2596 or MP1584EN offer reliable performance, but verify their specifications match your requirements.
Remember to mount the converter securely and away from sensitive components to prevent shorts. This method works well for projects requiring a single power source for both the Pi and additional components.
Direct Battery Connection
Connecting a battery directly to your Raspberry Pi’s GPIO pins can provide portable power, but it requires careful implementation to ensure safe operation. The most reliable approach is using a lithium-ion battery pack with a proper voltage regulator circuit to maintain a stable 5V output.
For optimal performance, use a battery pack rated between 7.4V and 12V, connecting it to a buck converter that steps down the voltage to a steady 5V. This setup should be capable of delivering at least 2.5A to accommodate power spikes during heavy processing loads.
When implementing a direct battery connection, follow these essential safety guidelines:
1. Always include a fuse (2.5A to 3A) in your circuit for protection
2. Use appropriate gauge wires (20-22 AWG recommended)
3. Install a power switch for safe system shutdown
4. Monitor battery voltage to prevent over-discharge
5. Include reverse polarity protection
Connect the regulated 5V output to GPIO pins 2 or 4 (5V) and pins 6, 9, 14, 20, 25, 30, 34, or 39 (Ground). Double-check all connections before powering up, as incorrect wiring can permanently damage your Pi.
Remember that battery life varies significantly based on your Pi model and workload. A 2000mAh battery typically provides 3-4 hours of operation for basic tasks. Consider adding a battery monitoring circuit to safely shut down your Pi when voltage drops below critical levels.
Common Pitfalls and Safety Warnings
Voltage Regulation Mistakes
When powering your Raspberry Pi through GPIO pins, voltage regulation mistakes can lead to serious consequences. One common error is using an unregulated power supply, which can deliver inconsistent voltage levels and potentially damage your Pi. Another frequent mistake is relying on cheap or low-quality voltage regulators that may fail under load or provide inadequate protection against voltage spikes.
Some makers mistakenly assume that any 5V source will work fine, overlooking the importance of clean, stable power. Using USB charger modules without proper voltage smoothing capacitors can introduce noise and cause system instability. Additionally, failing to account for voltage drop across components can result in undervoltage situations, especially when powering peripherals through the same supply.
Another critical error is skipping proper testing before connecting to the Pi. Always verify your regulated output with a multimeter first. Remember that simply measuring voltage isn’t enough – the regulation quality matters too. Avoid the temptation to bypass safety components like fuses or protection diodes, as these are essential safeguards for your Raspberry Pi’s longevity.
Protection Circuit Requirements
When powering your Raspberry Pi through GPIO pins, implementing proper protection circuits is crucial for preventing damage to your board. At minimum, you’ll need a reverse polarity protection diode and a voltage regulator with overcurrent protection. A Schottky diode rated for at least 2A is recommended for reverse polarity protection, while a low-dropout (LDO) voltage regulator ensures stable 5V output.
Adding a fuse or resettable PTC (Positive Temperature Coefficient) component limits current to protect against shorts. For additional safety, consider incorporating transient voltage suppressors (TVS) to guard against voltage spikes. While these components add slightly to your project cost, they’re essential insurance against costly board replacements.
Many makers also implement LED indicators to monitor power status and opt for protective case solutions that accommodate these additional components. Remember to use high-quality components rated for your specific power requirements, and always double-check connections before applying power to avoid accidental shorts or reverse connections.
Monitoring and Testing Your Setup
Voltage Testing Procedures
Before attempting to power your Raspberry Pi through GPIO pins, it’s crucial to verify the voltage levels using a multimeter. Set your multimeter to DC voltage mode and ensure it can measure up to 5V accurately. Connect the black (negative) probe to a ground pin (GND) on your Raspberry Pi, and use the red (positive) probe to test the power source you plan to use.
The voltage reading should be between 4.8V and 5.2V for safe operation. Anything below 4.8V may cause instability, while voltages above 5.2V risk damaging your Pi. Take multiple readings over a few seconds to check for voltage fluctuations, which could indicate an unstable power supply.
If you’re using a voltage regulator or power module, test both its input and output voltages to confirm proper operation. Remember to measure voltage under load conditions by connecting your setup to the Pi and running some basic operations.
Current Monitoring Solutions
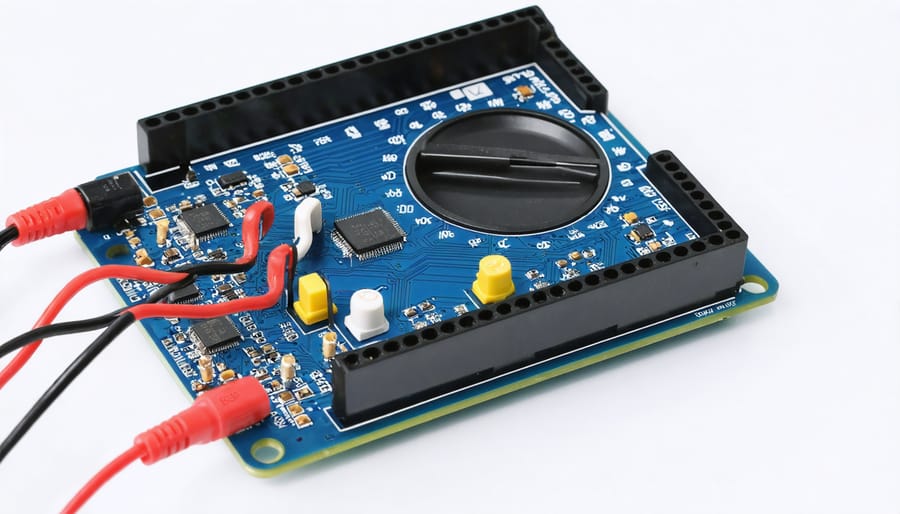
To ensure safe GPIO power delivery, several monitoring solutions are available. A digital multimeter is the most basic but essential tool, allowing you to measure voltage and current in real-time. For more advanced monitoring, consider using an INA219 current sensor breakout board, which can accurately measure both current and power consumption with minimal impact on your circuit.
USB power meters with digital displays offer a convenient way to monitor power usage when testing your setup through USB before switching to GPIO power. These devices typically show voltage, current, and total power consumption simultaneously.
For automated monitoring, the PowerBoost series of modules includes built-in voltage monitoring and low-battery detection features. Additionally, software solutions like vcgencmd measure_temp and vcgencmd measure_volts can help you monitor system parameters directly through the Raspberry Pi’s command line interface.
Remember to regularly check your power readings during initial setup and testing phases to ensure stable operation within safe limits.
Powering your Raspberry Pi through GPIO pins offers a flexible alternative to traditional power methods, but it’s crucial to approach this solution with proper knowledge and caution. Throughout this guide, we’ve covered the essential aspects of GPIO power implementation, from voltage requirements to safety measures and practical setup steps.
Remember that while this method can be effective, it requires careful attention to power specifications and proper wiring. Always ensure your power supply provides a stable 5V output and can deliver sufficient current for your specific Pi model and connected peripherals. Double-check all connections before powering up, and never exceed the recommended current limits.
For beginners, we recommend starting with the standard micro-USB or USB-C power methods before experimenting with GPIO power. When you’re ready to explore GPIO power, always use proper protection circuits and high-quality components to prevent damage to your Pi.
Keep your project well-ventilated and regularly monitor for any signs of overheating or irregular behavior. With proper implementation and attention to safety, GPIO power can be a reliable solution for your Raspberry Pi projects.