


Transform your Raspberry Pi into a powerful display hub by integrating an OLED screen, offering crisp visuals and exceptional contrast that outperforms traditional LCD alternatives. While exploring various display options for Raspberry Pi, OLED technology stands out for its superior power efficiency and ultra-thin profile, making it ideal for compact projects and portable applications.
Modern OLED displays connect seamlessly to the Raspberry Pi through I2C or SPI interfaces, delivering resolutions from compact 0.96-inch modules perfect for status displays to larger 2.42-inch screens suitable for detailed data visualization. The combination of deep blacks, vibrant colors, and wide viewing angles makes OLED screens particularly effective for DIY smart home controllers, portable gaming devices, and real-time sensor monitoring stations.
Whether you’re building a weather station, creating a retro gaming console, or developing an IoT dashboard, OLED screens provide the perfect balance of functionality and aesthetics. Their quick response times and self-illuminating pixels ensure smooth animations and crystal-clear text display, even in challenging lighting conditions.
Why OLED Screens Are Perfect for Raspberry Pi
Superior Display Quality
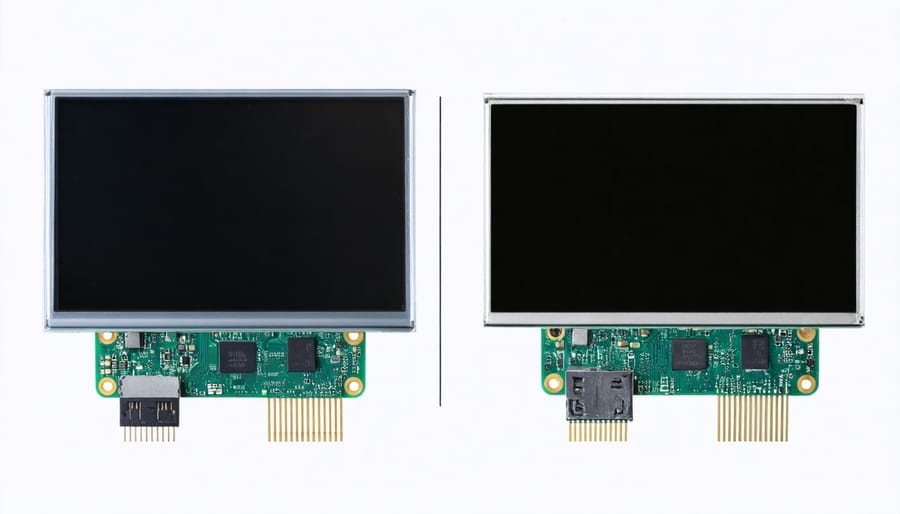
OLED screens for Raspberry Pi deliver exceptional visual quality that sets them apart from traditional LCD displays. With infinite contrast ratios, these displays produce true blacks by completely turning off pixels, resulting in stunning image depth and clarity. The color reproduction is remarkably accurate, displaying vivid hues across the entire color spectrum with superior saturation levels.
One of the most impressive features of OLED screens is their near-perfect viewing angles, maintaining consistent color and brightness even when viewed from extreme angles. This makes them ideal for projects where the display might need to be viewed from different positions, such as in interactive kiosks or monitoring stations.
The self-emissive nature of OLED technology eliminates the need for backlighting, resulting in better power efficiency and allowing for thinner display designs. Response times are also virtually instantaneous, making these screens perfect for applications requiring smooth motion handling, like gaming or video playback.
However, it’s worth noting that OLED screens may require careful brightness management to prevent burn-in, especially in static display applications. Despite this consideration, the superior visual quality makes them an excellent choice for Raspberry Pi projects where display quality is paramount.
Power Efficiency Benefits
OLED displays offer significant power efficiency advantages over traditional LCD screens when used with Raspberry Pi projects. While an LCD screen typically consumes between 1.5W to 2W of power, OLED displays can operate on as little as 0.3W to 0.8W, depending on the content being displayed. This power efficiency stems from OLED’s unique characteristic of only illuminating active pixels, meaning black pixels consume virtually no power.
For battery-powered Raspberry Pi projects, this power saving can extend operation time by up to 40%. When displaying predominantly dark content or user interfaces with black backgrounds, the power savings can be even more substantial. This makes OLED screens particularly attractive for portable projects, data logging devices, and outdoor installations where power availability might be limited.
However, it’s worth noting that power consumption varies based on screen brightness and the amount of white or colored content displayed. To maximize power efficiency, consider implementing dark themes in your interface design and adjusting brightness levels according to ambient lighting conditions.
Top OLED Display Options for Your Pi
Small Format OLED Displays
Small format OLED displays offer an excellent solution for compact Raspberry Pi projects where space is at a premium. These displays typically range from 0.91 to 2.42 inches and use the I2C or SPI interface for communication. The most popular options include the SSD1306 driver-based displays, which provide crisp 128×64 pixel resolution and excellent contrast ratios.
These miniature displays are perfect for projects like portable gaming consoles, smart watches, or status monitors. Their low power consumption and high brightness make them ideal for battery-powered applications. Most small OLED modules are monochrome, displaying either white, blue, or yellow pixels against a black background, which creates stunning visibility even in low-light conditions.
Setting up a small OLED display is straightforward, requiring just four connections to your Raspberry Pi: VCC (3.3V power), GND (ground), SDA (data), and SCL (clock) for I2C displays. Many displays come with pre-soldered header pins, making them compatible with standard breadboards for prototyping.
For beginners, the 0.96-inch displays offer the best balance of affordability and ease of use. More advanced users might prefer the larger 1.3-inch or 2.42-inch variants, which provide more screen real estate for complex information display. These displays are supported by various Python libraries, including Adafruit’s CircuitPython and Luma.OLED, making them accessible for programmers of all skill levels.
Large Format Solutions
For those seeking a more immersive Raspberry Pi experience, larger OLED displays offer stunning visual quality and excellent desktop functionality. Several manufacturers now produce OLED screens in sizes ranging from 7 to 13.3 inches, specifically designed for Raspberry Pi integration. These displays typically connect via HDMI or DSI interfaces and provide exceptional contrast ratios and viewing angles.
The Waveshare 7.9-inch OLED display has become particularly popular among enthusiasts, offering 2880×1440 resolution and a responsive 60Hz refresh rate. For those requiring even more screen real estate, the 13.3-inch AMOLED displays from companies like Pimoroni deliver desktop-monitor quality with vibrant colors and deep blacks characteristic of OLED technology.
Setting up these larger displays usually requires minimal configuration, as most are plug-and-play compatible with Raspberry Pi OS. However, users should ensure their power supply can handle the increased power draw, typically requiring at least a 3A power adapter for optimal performance.
These displays excel in applications requiring high visual fidelity, such as digital signage, portable gaming stations, or professional monitoring systems. While they command a higher price point than traditional LCD alternatives, the superior image quality and reduced motion blur make them ideal for multimedia projects and interactive installations.
For the best experience, consider mounting solutions and protective cases designed specifically for these larger formats, as proper positioning and protection will enhance both usability and longevity.
Installation and Setup Guide
Hardware Connection Steps
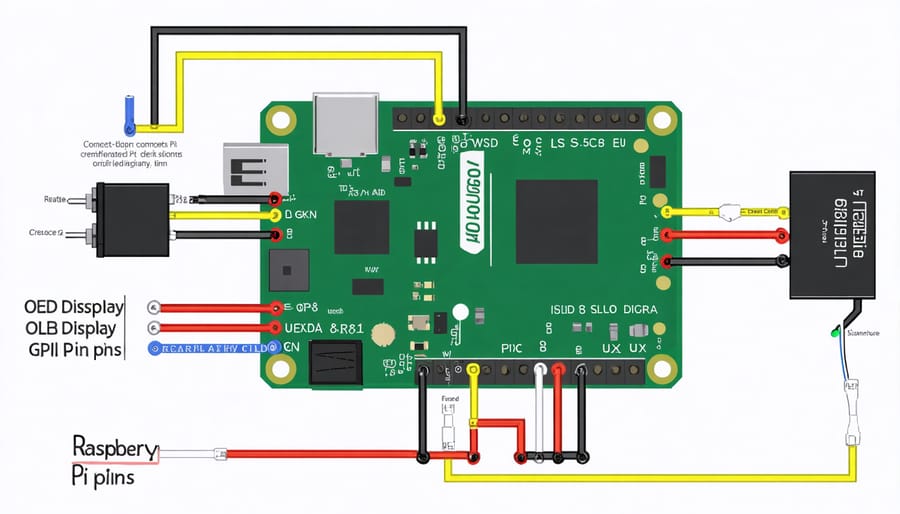
Begin by powering down your Raspberry Pi completely before making any connections. For I2C OLED displays, you’ll need to connect four primary pins: VCC (power), GND (ground), SDA (data), and SCL (clock). Refer to your Pi’s GPIO pinout diagram and carefully consider GPIO power considerations to prevent damage to your components.
Connect the OLED display’s VCC pin to either the 3.3V or 5V power pin on your Raspberry Pi, depending on your display’s specifications. The GND pin should connect to any ground pin on the Pi. For I2C communication, connect the SDA pin to GPIO 2 (physical pin 3) and the SCL pin to GPIO 3 (physical pin 5).
If you’re using jumper wires, ensure they’re firmly seated in both the display and Pi’s GPIO headers. Double-check all connections before powering up your Pi. For enhanced stability, consider using a breadboard for testing or a dedicated HAT/adapter board for permanent installations.
Some OLED displays may come with additional pins like RESET or CS – consult your display’s documentation for specific requirements. Once all connections are secure, you can power up your Pi and proceed with software configuration.
Software Configuration
To get your OLED screen working with your Raspberry Pi, you’ll need to configure several software components and drivers. Start by enabling I2C or SPI communication (depending on your display type) through the Raspberry Pi Configuration tool or by running sudo raspi-config in the terminal.
For most OLED displays, you’ll need to install the required Python libraries. Open the terminal and run:
“`
sudo apt-get update
sudo apt-get install python3-pip
sudo pip3 install Adafruit-SSD1306
“`
If you’re using a custom custom Pi image configuration, ensure these libraries are pre-installed or add them to your setup script.
Next, install the Pillow library for image processing:
“`
sudo pip3 install Pillow
“`
For advanced display features, you might also need:
“`
sudo apt-get install python3-pil
sudo apt-get install python3-smbus
“`
Most OLED displays work with the SSD1306 or SH1106 drivers. Check your display’s documentation to confirm which driver you need. Once installed, test your display by running a simple Python script to ensure everything is working correctly. Many manufacturers provide sample code to get you started.
Remember to reboot your Raspberry Pi after installing these components to ensure all changes take effect properly.
Real-World Applications
Project Showcases
The DIY community has created some remarkable projects using OLED displays with Raspberry Pi. One standout example is the “PiWatch,” a wearable smartwatch that uses a 1.3-inch OLED screen to display time, weather, and notifications. The compact display’s high contrast and low power consumption make it perfect for portable applications.
Another innovative implementation is the “Smart Home Dashboard,” where makers have utilized 2.42-inch OLED displays to create wall-mounted control panels. These displays show real-time data from home automation systems, including temperature, humidity, and security status. The crisp text and graphics remain visible even in varying light conditions.
The “RetroPI Gaming Console” project demonstrates how a 3.2-inch OLED screen can bring classic games to life with superior black levels and response times. Enthusiasts have particularly praised the display’s performance with pixel-art games and emulated content.
For scientific applications, researchers have created portable sensor arrays using 0.96-inch OLED screens to display real-time data readings. The small form factor and clear visibility make these displays ideal for field research equipment and environmental monitoring stations.
These projects showcase the versatility of OLED technology when paired with Raspberry Pi, from everyday utilities to specialized scientific instruments. The combination of sharp visuals, low power requirements, and compact size continues to inspire makers to create increasingly sophisticated devices.

Performance Tips
To get the best performance from your OLED display, there are several key optimization techniques you should implement. First, consider using hardware acceleration whenever possible, which can significantly reduce CPU load when updating the display. This is particularly important when you optimize your Pi’s performance for graphics-intensive applications.
Buffer management is crucial for smooth display updates. Implement double buffering to prevent screen tearing and flickering, especially when displaying animations or rapidly changing content. Keep your frame buffer size optimized by using the minimum color depth necessary for your application.
When writing to the display, batch your updates instead of sending individual pixel changes. This reduces I2C bus traffic and improves overall refresh rates. For text-heavy applications, consider using hardware-accelerated fonts or pre-rendered character sets to reduce processing overhead.
Temperature management is also essential, as OLED displays can generate heat during operation. Ensure proper ventilation and consider implementing screen timeout features to prevent burn-in and reduce power consumption. For battery-powered projects, use sleep modes when the display isn’t actively needed.
Lastly, optimize your display’s contrast and brightness settings based on your viewing environment. Lower brightness levels not only save power but can also extend the life of your OLED display while maintaining excellent readability in most lighting conditions.
OLED screens for Raspberry Pi offer an excellent balance of display quality, power efficiency, and versatility for DIY projects. Whether you’re building a compact monitoring system, creating a portable device, or developing an IoT solution, these displays prove to be invaluable additions to your Pi setup. We’ve explored various options, from small 0.96-inch displays perfect for status indicators to larger 2.42-inch screens suitable for detailed information display. Remember to consider factors like I2C/SPI compatibility, resolution requirements, and power consumption when choosing your OLED screen. For beginners, starting with a pre-assembled HAT module can significantly simplify the setup process, while experienced makers might prefer standalone displays for greater flexibility. With proper implementation and care, an OLED display can transform your Raspberry Pi project into a more interactive and professional-looking device.