

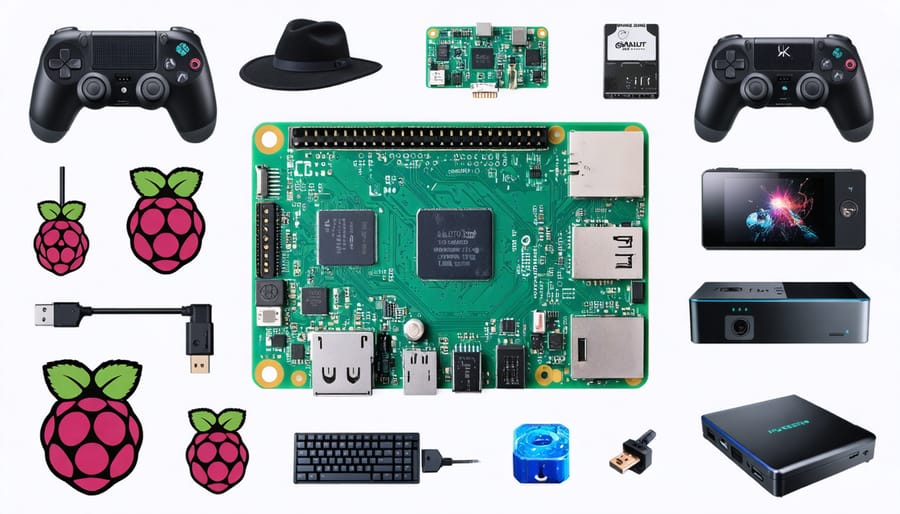
Transform your Raspberry Pi 4 Model B into a powerful computing platform by selecting the right combination of peripherals that maximize its potential. Essential peripherals extend far beyond basic keyboards and mice, encompassing specialized HATs (Hardware Attached on Top), sensors, displays, and connectivity modules that unlock advanced capabilities for robotics, home automation, and multimedia projects.
Whether you’re building a retro gaming console, setting up a home security system, or creating an environmental monitoring station, choosing the right peripherals determines your project’s success. Modern HATs and expansion boards now offer plug-and-play functionality, drastically reducing setup complexity while adding professional-grade features like real-time clock modules, power management systems, and industrial-grade I/O capabilities.
Understanding peripheral compatibility, power requirements, and communication protocols ensures seamless integration and optimal performance. This guide explores the most impactful peripherals available, their practical applications, and how to combine them effectively for your specific project needs.
Essential Display Options That Maximize Your Pi’s Potential
Official vs. Third-Party Touchscreens
When it comes to display options for your Raspberry Pi, you’ll typically choose between official and third-party touchscreens, each offering distinct advantages. The official Raspberry Pi 7-inch touchscreen display provides seamless compatibility and reliable performance, backed by extensive documentation and community support. It offers crisp 800×480 resolution and connects directly to the Pi via the DSI port, ensuring stable performance without consuming valuable USB ports.
However, third-party touchscreens often present compelling alternatives. Many manufacturers offer larger screen sizes, higher resolutions, and sometimes lower prices. Popular options include Waveshare and SunFounder displays, which frequently feature HDMI connectivity and sometimes better color reproduction than the official display.
The trade-offs are worth considering. Official screens guarantee compatibility across Raspberry Pi models and receive regular software updates. They’re also easier to mount and integrate into projects. Third-party displays might require additional configuration and sometimes face compatibility issues with newer Pi releases, but they often provide better value for specific use cases.
For beginners, the official display remains the safest choice, offering plug-and-play functionality and reliable performance. Advanced users might prefer third-party options for their enhanced features and flexibility, particularly when building custom enclosures or requiring specific display characteristics like higher brightness or wider viewing angles.
E-Paper Displays for Battery-Efficient Projects
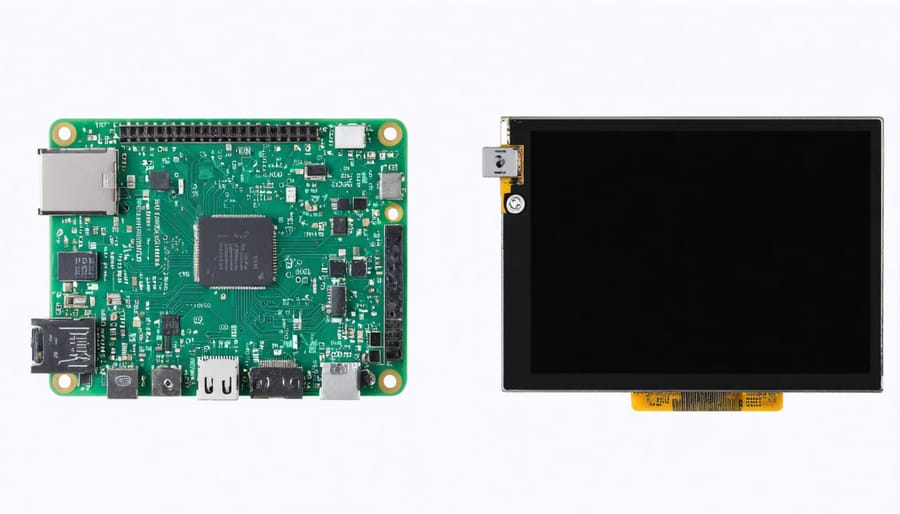
E-paper displays offer a unique solution for Raspberry Pi projects where power efficiency and readability are paramount. These displays, which mimic the appearance of actual paper, only consume power when updating their content, making them ideal for battery-powered applications. Unlike traditional LCD screens, e-paper displays maintain their image even when power is removed, resulting in exceptional battery life for long-term deployments.
The most popular e-paper displays for Raspberry Pi come in various sizes, typically ranging from 2.13 inches to 7.5 inches. They connect via the SPI interface and can display monochrome or grayscale content with crisp clarity, even in bright sunlight. Some newer models even support limited color options, though at a higher cost.
Common applications include weather stations, information displays, digital signage for low-update scenarios, and smart home control panels. These displays excel in projects where information needs to be visible for extended periods without constant power drain. For instance, a battery-powered outdoor temperature display might only need to update every 15 minutes, potentially running for months on a single charge.
When implementing e-paper displays, keep in mind their relatively slow refresh rates and limited color options. However, these trade-offs are often worth it for projects requiring exceptional power efficiency and outdoor readability. Popular libraries like Python’s PIL and specific e-paper libraries make integration straightforward for most developers.
Storage Solutions That Actually Work
High-Performance SSDs vs. Traditional Storage
When it comes to storage solutions for your Raspberry Pi, the choice between high-performance SSDs and traditional storage options can significantly impact your project’s performance. While standard SD cards have long been the go-to storage medium for Raspberry Pi setups, modern SSDs offer compelling advantages that can transform your experience.
SSDs provide substantially faster read and write speeds, typically delivering 4-5 times better performance than traditional SD cards. This speed boost is particularly noticeable when running operating systems, handling large file transfers, or working with data-intensive applications like the High-Quality Camera module.
Traditional SD cards typically offer speeds of 80-100 MB/s, while modern SSDs can achieve speeds of 400-500 MB/s or higher. This performance difference becomes crucial when running databases, hosting web servers, or handling multiple concurrent operations. However, it’s worth noting that SSDs generally cost more and require additional adapters or USB interfaces to work with your Pi.
For basic projects or learning environments, a quality SD card remains a cost-effective choice. But if you’re working on more demanding applications or need reliable, speedy storage, investing in an SSD can dramatically improve your project’s responsiveness and reliability. Consider factors like power consumption, project requirements, and budget when making your selection.
USB Storage Hubs: Power Management Secrets
Power management is crucial when connecting multiple USB devices to your Raspberry Pi. A quality powered USB hub acts as both a power distributor and data gateway, preventing the dreaded undervoltage warnings that can plague Pi projects. Look for hubs that provide at least 2.5A total output, with dedicated power supplies rated at 5V.
For optimal performance, choose a hub with individual port power management. This feature allows you to control power distribution to different devices, ensuring stable operation even when running power-hungry peripherals like external hard drives or LED arrays. Some advanced hubs offer overcurrent protection and per-port power monitoring, which can be invaluable for troubleshooting.
Consider investing in a hub with a good power margin – aim for one that provides about 500mA per port when all ports are in use. This ensures each connected device receives adequate power without straining the hub or your Pi. Remember to position the hub close to your Pi to minimize voltage drop across longer USB cables, and always use the hub’s included power supply rather than attempting to power it through the Pi itself.
Input Devices That Transform Your Pi
Wireless Controllers and IoT Integration
The integration of wireless controllers and IoT devices has revolutionized how we interact with Raspberry Pi projects. Bluetooth controllers, such as the 8BitDo series and PS4/Xbox controllers, offer versatile input options for gaming, robotics, and remote control applications. These controllers can be easily paired with your Pi through built-in Bluetooth or USB dongles, providing reliable wireless control for various projects.
For IoT applications, popular wireless modules include the ESP8266 and ESP32, which can be connected to the Raspberry Pi via GPIO pins or USB. These modules enable Wi-Fi connectivity and can serve as bridge devices for sensor networks, home automation systems, and remote monitoring solutions. The nRF24L01+ transceiver modules are another excellent choice for creating low-power wireless networks, particularly useful in battery-operated projects.
Remote control capabilities can be further enhanced with IR receivers and transmitters, allowing your Pi to control household appliances or respond to standard remote controls. The FLIRC USB receiver is particularly noteworthy, as it can learn commands from almost any IR remote control and translate them into keyboard inputs for your Pi.
For more advanced IoT projects, LoRa modules offer long-range wireless communication, ideal for outdoor monitoring stations or agricultural applications. These modules can transmit data over several kilometers while maintaining low power consumption, making them perfect for remote sensing projects.
HATs and Expansion Boards Worth Your Money
When it comes to expanding your Raspberry Pi’s capabilities, HATs (Hardware Attached on Top) offer incredible functionality without the hassle of complex wiring. The Sense HAT, originally designed for the Astro Pi mission, remains a favorite for environmental monitoring and learning basic GPIO commands. It packs temperature, humidity, and pressure sensors, plus an LED matrix for visual feedback.
For audio enthusiasts, the HiFiBerry DAC+ Pro stands out with its superior sound quality and professional-grade components. It’s perfect for creating music streaming devices or high-fidelity audio projects. The RTC (Real-Time Clock) HAT is another essential addition, especially for projects that need to maintain accurate time when internet connectivity isn’t available.
The Camera HAT simplifies connecting camera modules, while the PoE (Power over Ethernet) HAT enables both power and network connectivity through a single Ethernet cable – ideal for remote installations. For robotics and motor control, the Adafruit DC & Stepper Motor HAT offers precise control over multiple motors simultaneously.
Budget-conscious makers should consider the Pimoroni Explorer HAT Pro, which provides a versatile combination of inputs, outputs, and touch interfaces. It’s particularly valuable for educational projects and prototyping. Remember, while these HATs aren’t cheap, their plug-and-play nature and reliable functionality make them worthwhile investments for serious projects.
Power Solutions for Reliable Performance
Battery Backups That Actually Last
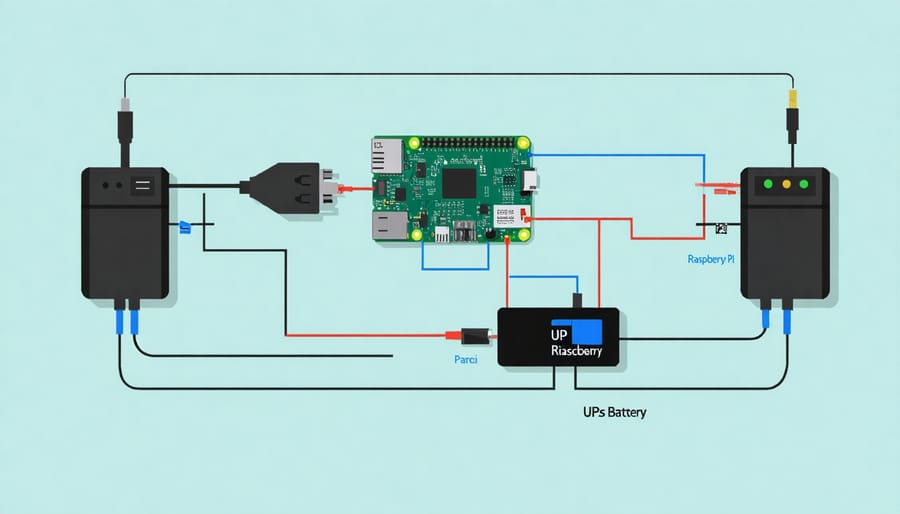
Power interruptions can be catastrophic for Raspberry Pi projects, potentially corrupting SD cards and destroying hours of work. A reliable battery backup solution is essential, and fortunately, several options exist that deliver genuine reliability and performance.
The PiJuice HAT stands out as a purpose-built UPS solution, offering up to 4-6 hours of continuous operation with its standard battery. What makes it particularly valuable is its intelligent power management and safe shutdown capabilities, protecting your Pi from sudden power loss. The HAT design means it fits neatly on top of your Pi without adding bulk.
For projects requiring longer runtime, the GeekWorm UPS HAT Plus delivers impressive performance with its 18650 battery support. When configured with high-capacity batteries, it can maintain power for 8-12 hours, making it ideal for outdoor installations or locations with unreliable power.
Those seeking portability should consider the PiSugar 2 Pro, which offers a sleek design and wireless charging capabilities. While it provides slightly less runtime (3-4 hours), its compact form factor makes it perfect for mobile projects.
For maximum endurance, consider building a custom solution using a high-capacity power bank with pass-through charging capability. The Anker PowerCore+ 26800 PD, when properly configured, can power a Pi for over 24 hours. However, ensure any power bank you choose can handle the Pi’s power requirements and provides clean, stable output.
Remember to test your backup solution thoroughly before deploying it in critical applications, and always implement proper shutdown scripts to protect your data when battery levels run low.
Smart Power Management Add-ons
Smart power management is crucial for Raspberry Pi projects, especially when dealing with portable or remote applications. Modern power management add-ons offer sophisticated features that go beyond basic power delivery, making them essential development kit essentials for serious makers.
Popular options include the PiJuice HAT, which provides true uninterrupted power supply (UPS) functionality and intelligent battery management. This HAT includes a real-time clock and programmable wake-on-power features, making it perfect for outdoor or mobile projects. For more basic needs, the UPS PIco offers reliable backup power and safe shutdown capabilities.
Power monitoring HATs like the INA219 allow you to measure voltage, current, and power consumption in real-time. This data is invaluable for optimizing battery life and troubleshooting power-related issues. Some advanced models even include OLED displays for instant readings without connecting to a monitor.
For solar-powered projects, specialized controllers like the PiJuice Solar handle charging logistics and power distribution efficiently. These controllers often include built-in protection against overcharging, deep discharge, and short circuits, ensuring your Pi stays safe while operating on renewable energy.
When selecting a power management add-on, consider your project’s specific requirements for mobility, runtime, and monitoring capabilities. The right choice can significantly enhance your project’s reliability and functionality.
When selecting peripherals for your Raspberry Pi, the key is to strike a balance between functionality, compatibility, and budget. Consider your project requirements carefully, as the right peripherals can significantly enhance your Pi’s capabilities while unnecessary additions may only add complexity and cost.
The peripheral ecosystem for Raspberry Pi continues to evolve rapidly. We’re seeing emerging trends in wireless connectivity options, more sophisticated display solutions, and increasingly specialized HATs designed for specific applications like AI processing and IoT projects. The growing emphasis on modular design means that future peripherals will likely offer even greater flexibility and plug-and-play functionality.
Power management remains a crucial consideration, especially for portable projects. When planning your peripheral setup, always account for the total power draw and ensure your power supply can handle the combined load of all connected devices.
Looking ahead, we can expect to see more peripherals incorporating advanced features like machine learning capabilities, improved energy efficiency, and enhanced integration with cloud services. The maker community’s innovative spirit continues to drive the development of new and exciting peripheral options.
Remember that the best peripheral choices are those that directly serve your project goals. Start with the essentials, and expand your collection as your projects evolve. Keep an eye on compatibility with future Raspberry Pi models and emerging standards to ensure your investments remain valuable over time.