

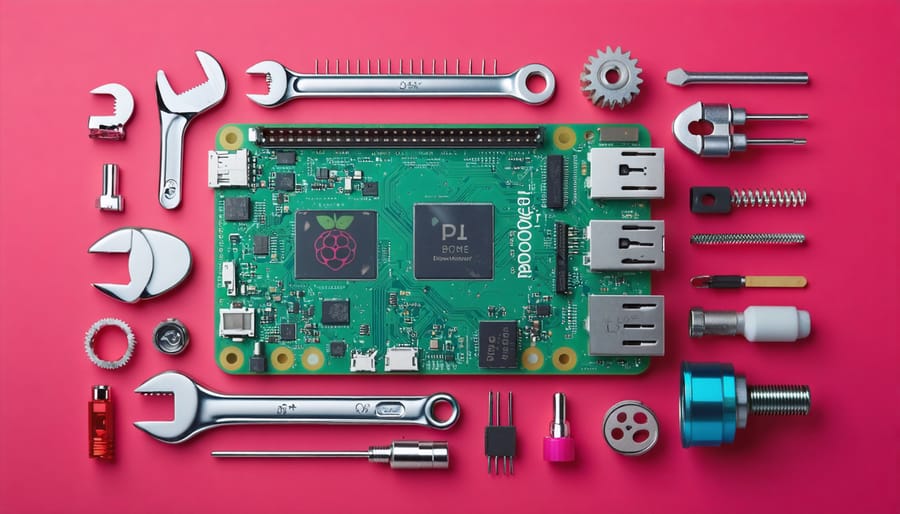
Transform your Raspberry Pi projects into powerful applications with the Pi Software Development Kit (SDK), the comprehensive development framework designed specifically for the Raspberry Pi 4 Model B and its ecosystem. This versatile toolkit empowers developers to harness the full potential of Pi hardware through intuitive APIs, robust libraries, and optimized development tools.
The Pi SDK bridges the gap between hardware capabilities and software innovation, offering seamless integration with GPIO pins, camera modules, and sensor interfaces. Whether you’re building home automation systems, IoT devices, or educational projects, the SDK provides the essential building blocks for rapid prototyping and production-ready applications.
With cross-platform compatibility, extensive documentation, and a thriving community of developers, the Pi SDK democratizes embedded development. Its modular architecture supports both beginners exploring their first Pi project and experienced developers crafting complex solutions, making it the foundation for next-generation Raspberry Pi applications.
What Makes the Pi SDK Essential for Developers
Core Components and Tools
The Pi Software Development Kit comprises several essential components that work together to create a comprehensive development environment. At its heart lies the GPIO (General Purpose Input/Output) interface library, which enables direct communication with the Raspberry Pi’s physical pins for hardware interaction. The SDK also includes a robust set of APIs for handling various protocols like I2C, SPI, and UART communications.
Developers will find the integrated build tools invaluable, featuring CMake support and cross-compilation capabilities that streamline the development process. The SDK ships with a collection of pre-configured toolchains optimized for different Raspberry Pi models, ensuring maximum compatibility and performance.
The package also contains debugging utilities, including GDB support and various diagnostic tools that help identify and resolve issues during development. For those working on graphical applications, the SDK provides libraries for display handling and basic GUI development.
Documentation tools and example projects round out the core components, offering practical references and starting points for new developers. These resources, combined with the included command-line utilities, create a powerful foundation for Raspberry Pi application development.
Development Environment Setup
Getting started with the Pi SDK requires a properly configured development environment. First, configure your Raspberry Pi with the latest Raspberry Pi OS. Then, install the essential development tools by opening the terminal and running:
sudo apt-get update
sudo apt-get install build-essential git python3-dev
Next, clone the Pi SDK repository using:
git clone https://github.com/raspberrypi/pico-sdk.git
Set the PICO_SDK_PATH environment variable by adding this line to your ~/.bashrc file:
export PICO_SDK_PATH=/path/to/pico-sdk
Install the required build dependencies:
sudo apt-get install cmake gcc-arm-none-eabi libnewlib-arm-none-eabi
Finally, create a new project directory and initialize it with CMake:
mkdir my_project
cd my_project
cmake -B build -S .
Your development environment is now ready for creating Raspberry Pi applications. Remember to regularly update your SDK components to access the latest features and security patches.
Getting Started with Pi SDK Development
Installation and Configuration
Getting started with the Pi Software Development Kit is straightforward, particularly if you’re already running Raspberry Pi OS on your device. Here’s how to get up and running:
1. First, ensure your system is up to date by opening the terminal and running:
“`
sudo apt-get update
sudo apt-get upgrade
“`
2. Install the SDK by executing:
“`
sudo apt-get install pi-sdk
“`
3. Once installed, create a new development environment by running:
“`
pi-sdk init myproject
“`
The SDK will automatically configure your development environment with all necessary dependencies and tools. To verify the installation, open the terminal and type:
“`
pi-sdk –version
“`
For optimal performance, make sure you have at least 2GB of free storage space and 1GB of RAM available. The SDK includes essential development tools like:
– GCC compiler for C/C++
– Python development libraries
– GPIO interface tools
– Hardware abstraction layers
– Debug utilities
If you encounter any installation issues, check your internet connection and ensure you have sufficient permissions. Common troubleshooting steps include:
– Clearing the apt cache
– Checking system architecture compatibility
– Verifying dependencies
Remember to regularly update the SDK to access new features and security patches using:
“`
sudo pi-sdk update
Your First SDK Project
Let’s create your first project using the Pi SDK to get hands-on experience. We’ll build a simple LED blink program that demonstrates the basic concepts of GPIO control.
First, create a new directory for your project and initialize it:
“`python
mkdir pi_led_project
cd pi_led_project
python3 -m venv venv
source venv/bin/activate
pip install pisdk
“`
Now, create a new file called `led_blink.py` and enter this basic code:
“`python
from pisdk import GPIO
import time
# Set up GPIO pin 18
led_pin = 18
GPIO.setmode(GPIO.BCM)
GPIO.setup(led_pin, GPIO.OUT)
try:
while True:
GPIO.output(led_pin, GPIO.HIGH)
time.sleep(1)
GPIO.output(led_pin, GPIO.LOW)
time.sleep(1)
except KeyboardInterrupt:
GPIO.cleanup()
“`
Connect an LED to GPIO pin 18 and ground through a 220-ohm resistor. When you run the program using `python led_blink.py`, you’ll see the LED blinking at one-second intervals.
This simple project demonstrates key SDK concepts:
– Importing and initializing the GPIO module
– Setting up pin modes
– Controlling digital outputs
– Implementing clean program termination
– Basic error handling
You can modify the sleep duration or add more LEDs to create different patterns. This foundation will help you build more complex projects as you become familiar with the SDK’s capabilities.
Advanced SDK Features and Capabilities
Hardware Integration APIs
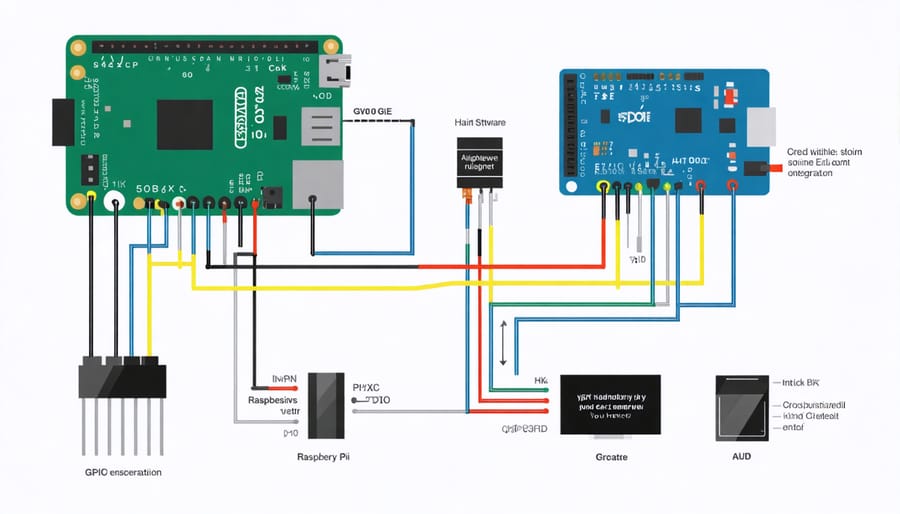
The Pi Software Development Kit provides robust support for hardware integration through its comprehensive API set. At its core, GPIO programming capabilities allow developers to control and monitor the Raspberry Pi’s physical pins, enabling interaction with sensors, motors, and other electronic components.
The SDK’s hardware integration APIs include functions for both digital and analog I/O operations, PWM control, and communication protocols such as I2C, SPI, and UART. These interfaces are abstracted through easy-to-use classes and methods, making it straightforward to implement hardware-driven projects without dealing with low-level register manipulation.
Key features of the hardware integration APIs include:
– Pin mode configuration (input, output, or special functions)
– Digital read and write operations
– Hardware interrupt handling
– PWM signal generation
– Serial communication protocol support
– Hardware timer access
The SDK also provides built-in safety features to prevent pin conflicts and electrical issues, such as automatic pin state validation and current limiting protection. For beginners, helper functions simplify common tasks like LED control and button input detection, while advanced users can access lower-level hardware features for more complex applications.
To ensure optimal performance, the APIs are designed with efficient memory management and low overhead, making them suitable for real-time applications and resource-constrained environments.
Debugging and Testing Tools
The Pi SDK comes equipped with several powerful debugging and testing tools that make development more efficient and reliable. The primary debugging tool is gdb (GNU Debugger), which allows developers to track program execution, set breakpoints, and inspect variables in real-time. When combined with the SDK’s built-in memory analyzer, it becomes an invaluable resource for identifying memory leaks and optimization opportunities.
For testing purposes, the SDK includes a comprehensive unit testing framework that supports both C and C++ code. Developers can create automated test suites to verify their applications’ functionality and ensure code reliability. The framework includes assertions, test fixtures, and mock objects, making it easier to isolate and test specific components of your application.
The SDK also provides a hardware emulator that lets developers test their code without physical Raspberry Pi hardware. This tool is particularly useful during the early stages of development or when testing potentially risky hardware interactions. The emulator supports most GPIO functions and can simulate various sensor inputs and outputs.
Performance profiling tools are also included, helping developers identify bottlenecks and optimize their code. These tools generate detailed reports about CPU usage, memory consumption, and execution time, allowing for data-driven optimization decisions. The SDK’s logging system complements these tools by providing detailed runtime information and error tracking capabilities, essential for debugging complex applications.
Performance Optimization
When developing applications with the Pi SDK, performance optimization is crucial for ensuring smooth operation on Raspberry Pi hardware. Start by implementing efficient memory management practices, such as releasing unused resources and avoiding memory leaks. Use the SDK’s built-in profiling tools to identify bottlenecks and monitor resource usage during development.
Consider using hardware acceleration where available, especially for graphics-intensive applications. The SDK provides access to the Raspberry Pi’s GPU through OpenGL ES, which can significantly improve rendering performance. For computational tasks, leverage the multi-core capabilities of modern Raspberry Pi boards by implementing parallel processing where appropriate.
Database operations and file I/O can often become performance bottlenecks. Implement caching mechanisms and batch operations when dealing with frequent data access. When working with network communications, use asynchronous operations to prevent blocking the main thread and maintain responsiveness.
Optimize your application’s startup time by lazy-loading non-essential components and implementing efficient initialization sequences. Use the SDK’s power management features to balance performance with energy consumption, particularly important for battery-powered projects.
Regular testing under various load conditions helps identify potential performance issues early. The SDK includes benchmarking tools that can help measure and compare performance metrics across different versions of your application. Remember to test your optimizations on different Raspberry Pi models, as performance characteristics can vary significantly between hardware versions.
Real-World Applications and Examples
The Pi Software Development Kit has found numerous practical applications across various industries and hobbyist projects. One notable example is in educational settings, where teachers use the SDK to create interactive learning tools. For instance, several schools have developed custom weather stations using the SDK, enabling students to collect and analyze real-time environmental data while learning programming concepts.
In the IoT sector, companies have leveraged the SDK to build smart home automation systems. A popular implementation includes a home security system that combines motion sensors, cameras, and automated alerts, all coordinated through applications built with the Pi SDK. These systems often cost a fraction of commercial alternatives while offering greater customization options.
Makers and hobbyists have created impressive projects using the SDK, such as automated pet feeders that can be controlled remotely via smartphone apps. Another creative application includes a smart garden system that monitors soil moisture, sunlight exposure, and automatically waters plants based on collected data.
In the industrial sector, manufacturers have implemented the SDK to develop custom monitoring solutions for their production lines. One manufacturing plant uses a Pi-based system to track machine performance and predict maintenance needs, resulting in significant cost savings and improved efficiency.
Entertainment applications have also emerged, with developers creating retro gaming consoles and media centers. These projects typically combine the SDK with emulation software to create versatile entertainment systems that can run classic games and stream media content.
Scientific research laboratories have adopted the SDK for data collection and analysis. One research team used it to create an automated microscope control system, enabling precise sample analysis and documentation at a much lower cost than commercial alternatives.
These real-world applications demonstrate the SDK’s versatility and potential for both personal and professional projects, making it an invaluable tool for developers across different domains.
The Pi Software Development Kit opens up a world of possibilities for creators, developers, and hobbyists alike. With its comprehensive tools, libraries, and documentation, the SDK empowers you to build innovative applications and solutions on the Raspberry Pi platform. Whether you’re automating home devices, creating educational tools, or developing commercial applications, the Pi SDK provides the foundation you need to bring your ideas to life.
By leveraging the SDK’s features, you can significantly reduce development time, ensure better compatibility, and create more robust applications. The active community support and regular updates ensure you’re never alone in your development journey. Don’t wait to start exploring – download the Pi SDK today and join the growing community of Raspberry Pi developers who are pushing the boundaries of what’s possible with this versatile platform.