

Transform your Raspberry Pi into a creative coding powerhouse with JavaScript, where digital art meets hardware innovation. Creative coding opens up a world of possibilities – from generating mesmerizing visualizations to crafting interactive installations that respond to real-world inputs through the Pi’s GPIO pins.
Modern JavaScript libraries like p5.js and Three.js, combined with the Raspberry Pi’s versatility, enable artists and developers to push the boundaries of digital creativity. Whether you’re animating particles, creating generative art, or building interactive installations, the combination of JavaScript and Raspberry Pi provides the perfect platform for experimentation.
This workshop-style guide will walk you through setting up your creative coding environment on Raspberry Pi, mastering essential JavaScript animation techniques, and connecting your digital creations to physical sensors and outputs. By leveraging the Pi’s processing power and JavaScript’s flexibility, you’ll learn to create stunning visual experiences that bridge the gap between software and hardware.
Get ready to explore the intersection of code and creativity, where your imagination is the only limit. Let’s dive into the tools, techniques, and practical examples that will help you bring your creative coding visions to life on the Raspberry Pi platform.
Setting Up Your Creative Coding Environment
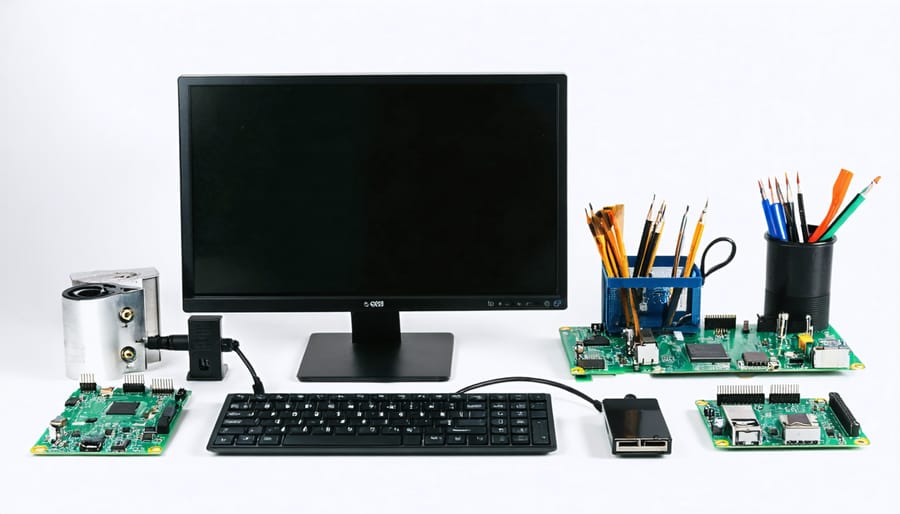
Required Hardware and Software
To get started with JavaScript creative coding, you’ll need a few essential tools. First, ensure you have a modern web browser installed, such as Chrome, Firefox, or Safari. These browsers come with built-in developer tools that are invaluable for debugging your creative code.
Install a code editor – Visual Studio Code is highly recommended due to its excellent JavaScript support and extensive plugin ecosystem. For beginners, Sublime Text or Atom are also good alternatives.
You’ll need Node.js installed on your computer to run JavaScript outside the browser and manage packages. Download the latest LTS (Long Term Support) version from the official Node.js website.
For creative coding libraries, install p5.js using npm (Node Package Manager) or include it directly via CDN. Other useful libraries include Three.js for 3D graphics and ToneJS for audio manipulation.
Optional but recommended tools include:
– Git for version control
– A graphics tablet for more precise drawing input
– A decent computer with a dedicated graphics card for complex animations
– Chrome Canvas Debugger extension for visual debugging
All these tools are free to use, making JavaScript creative coding an accessible entry point into digital art creation.
Installing Key JavaScript Libraries
To start your creative coding journey, you’ll need to set up the right software tools for creative coding. Begin by installing P5.js, which is perfect for beginners. Simply include the CDN link in your HTML file:
“`html
“`
For 3D graphics, Three.js is your go-to library. Install it using npm:
“`bash
npm install three
“`
Or include it directly:
“`html
“`
Don’t forget to install the development server for local testing:
“`bash
npm install -g live-server
“`
For additional functionality, consider installing these helper libraries:
– dat.GUI for interactive controls
– Stats.js for performance monitoring
– Tone.js for audio manipulation
Remember to test each installation by creating a simple sketch to ensure everything works properly on your Raspberry Pi.
Your First Interactive Art Project
Building a Dynamic Canvas
A dynamic canvas is the foundation of interactive digital art, allowing your artwork to respond to various inputs in real-time. Start by creating a canvas element that automatically adjusts to the browser window size using JavaScript’s window.innerWidth and window.innerHeight properties. This ensures your artwork remains responsive across different screen sizes.
To make your canvas truly dynamic, implement an event listener for window resize events:
“`javascript
window.addEventListener(‘resize’, () => {
canvas.width = window.innerWidth;
canvas.height = window.innerHeight;
});
“`
Add interactivity by capturing mouse movements and clicks. Create event listeners for ‘mousemove’ and ‘click’ events, storing the coordinates in variables that your animation can reference. This allows you to create effects that follow the cursor or react to user interactions.
For touch devices, implement touch event listeners to ensure your artwork remains interactive on mobile devices:
“`javascript
canvas.addEventListener(‘touchstart’, handleTouch);
canvas.addEventListener(‘touchmove’, handleTouch);
“`
Consider incorporating other input sources like device orientation for mobile devices or keyboard events for additional interactivity. These inputs can control various aspects of your artwork, such as color schemes, particle behavior, or animation speed.
Remember to use requestAnimationFrame() instead of setInterval() for smooth animations. This method synchronizes with the browser’s refresh rate and provides better performance:
“`javascript
function animate() {
requestAnimationFrame(animate);
// Your animation code here
}
Adding Motion and Interactivity
Adding interactivity to your creative coding projects brings them to life and creates engaging user experiences. The most straightforward way to start is by implementing mouse controls. Begin by accessing mouse coordinates using JavaScript’s event listeners like ‘mousemove’, ‘mousedown’, and ‘mouseup’. Here’s a practical approach:
Create event listeners that track mouse position and translate this data into visual elements. For example, you can make shapes follow your cursor, draw lines as you move, or create ripple effects where you click. Touch events work similarly, using ‘touchstart’, ‘touchmove’, and ‘touchend’ events for mobile compatibility.
Consider implementing velocity-based movements by calculating the difference between current and previous mouse positions. This creates smooth, physics-like animations that respond naturally to user input. You can also use mouse distance from specific elements to trigger color changes, size adjustments, or particle emissions.
For more complex interactions, combine mouse events with mathematical functions. Create gravitational effects where elements are attracted to or repelled by the cursor, or implement brush-like tools that respond to both position and pressure (for touch-enabled devices).
Remember to optimize your interactive elements for performance. Use requestAnimationFrame for smooth animations, and consider debouncing or throttling event listeners when handling continuous mouse movements. This is especially important when running projects on Raspberry Pi, where processing power might be limited.
For touch interfaces, ensure your event handlers account for multi-touch scenarios and implement proper touch event prevention to avoid unwanted browser behaviors like scrolling or zooming while interacting with your creative elements.
Advanced Techniques for Digital Art
Particle Systems and Generative Art
Particle systems are one of the most captivating aspects of creative coding, allowing you to create mesmerizing animations and interactive visual effects. In JavaScript, you can build particle systems by managing multiple objects that follow physical or mathematical rules to create organic-looking movements and patterns.
To create a basic particle system, start by defining a Particle class that contains properties like position, velocity, and lifetime. Each particle should have its own update method to handle movement and behavior. Here’s a simple example:
“`javascript
class Particle {
constructor(x, y) {
this.x = x;
this.position = { x, y };
this.velocity = { x: random(-1, 1), y: random(-1, 1) };
this.lifetime = 255;
}
update() {
this.position.x += this.velocity.x;
this.position.y += this.velocity.y;
this.lifetime -= 2;
}
}
“`
You can enhance your particle system by adding forces like gravity, wind, or attraction points. These forces create more complex and natural-looking movements. Consider implementing concepts like acceleration, friction, and bounce effects to make your particles behave more realistically.
Generative art often combines particle systems with mathematical patterns or noise functions to create unique visual experiences. Try experimenting with different drawing methods, colors, and shapes for each particle. You can use sine waves to create oscillating movements, or Perlin noise to generate smooth, random motion.
For better performance when working with many particles, consider using techniques like object pooling or removing particles that are no longer visible. On the Raspberry Pi, it’s especially important to optimize your code and limit the number of active particles to maintain smooth animations.
Remember to add interactive elements to your particle systems. Mouse movement, touch events, or sensor data can influence particle behavior, creating engaging and responsive artwork that reacts to user input.

Sound Visualization
Sound visualization is one of the most captivating aspects of creative coding, allowing you to transform audio input into stunning visual displays. By leveraging JavaScript’s audio processing capabilities, you can create interactive experiences that respond to music, voice, or any sound input in real-time.
The Web Audio API serves as the foundation for sound visualization projects. Start by creating an AudioContext and connecting it to an analyzer node, which provides frequency data you can use to drive your visualizations. The most common approach is to use the FFT (Fast Fourier Transform) analysis, which breaks down the audio signal into frequency bands.
Here’s what you can visualize:
– Amplitude (volume) as height or size of shapes
– Frequency spectrum as color variations
– Beat detection for rhythm-based animations
– Waveform patterns using oscilloscope-style displays
Popular visualization techniques include:
1. Audio bars that react to frequency bands
2. Circular visualizers that pulse with the beat
3. Particle systems that respond to audio intensity
4. Color-shifting backgrounds based on sound frequency
To create smooth animations, use requestAnimationFrame() to update your visualizations in sync with the screen refresh rate. Combine this with canvas drawing methods or WebGL for more complex renderings. For better performance, consider using bit-wise operations and limiting the number of drawing operations per frame.
Remember to handle browser security restrictions by requesting microphone access properly and providing clear user feedback. Also, implement fallback options for browsers that don’t support certain audio features.
By experimenting with different mathematical functions and color palettes, you can create unique visual interpretations of sound that enhance the user experience and add an extra dimension to your creative coding projects.
Optimizing Performance
Code Optimization Strategies
When creating visual effects and animations in JavaScript, optimization is crucial for smooth performance, especially on Raspberry Pi systems. Start by using requestAnimationFrame() instead of setInterval() for animations, as it syncs with the browser’s refresh rate and reduces unnecessary frame rendering. Implement object pooling to reuse elements rather than creating and destroying them repeatedly, which helps manage memory efficiently.
Buffer your calculations by pre-computing values where possible, and use techniques like spatial partitioning to reduce the number of collision checks in particle systems. Consider using the Canvas API’s built-in methods for basic shapes instead of drawing them pixel by pixel, as these are typically optimized at the browser level.
For complex animations, implement throttling or debouncing to control the frequency of resource-intensive operations. Minimize DOM manipulations by batching updates and using CSS transforms for animations whenever possible. Lastly, avoid floating-point calculations where integers will suffice, as integer math is generally faster and more precise on embedded systems like the Raspberry Pi.
Hardware Considerations
When running creative coding projects on your Raspberry Pi, it’s crucial to monitor your system’s performance and manage resources effectively. While Raspberry Pi hardware capabilities are impressive for their size, intensive graphics and animations can push the system to its limits.
To prevent overheating during extended creative coding sessions, consider using a cooling fan or heat sinks. Monitor your CPU temperature using the command ‘vcgencmd measure_temp’ in the terminal. If temperatures consistently exceed 80°C, pause your project and allow the system to cool down.
Memory management is equally important. Keep an eye on your RAM usage with ‘top’ or ‘htop’ commands. When working with complex animations or particle systems, implement frame rate limiting and garbage collection to prevent memory leaks. Consider using WebGL for hardware acceleration when possible, but be mindful that not all Raspberry Pi models support it equally well.
For optimal performance, close unnecessary background processes and browser tabs while running your creative coding projects. This ensures more resources are available for your JavaScript animations and interactive elements.
Creative coding with JavaScript opens up a world of endless possibilities for digital artistry and interactive experiences. By mastering the fundamentals of creative coding libraries, understanding animation principles, and experimenting with different visualization techniques, you can bring your artistic vision to life through code. Start with simple sketches and gradually work your way up to more complex projects, always remembering that creativity knows no bounds in the digital realm. Consider joining online communities, participating in coding challenges, and sharing your work to grow your skills further. Whether you’re interested in generative art, interactive installations, or data visualization, the skills you’ve learned here provide a solid foundation for your creative coding journey. Take the next step by starting your own project and don’t forget to explore new libraries and techniques as they emerge in this rapidly evolving field.