


Transform your Raspberry Pi into a powerful coding powerhouse with modern development tools that rival traditional desktop environments. From Python and Java to visual programming languages, the Pi’s versatile architecture supports an impressive array of coding software suited for both beginners and advanced developers. When comparing Raspberry Pi capabilities to other platforms, its robust software ecosystem stands out, offering everything from basic text editors to full-featured IDEs.
Thonny IDE comes pre-installed on Raspberry Pi OS, providing a perfect starting point for Python development with built-in debugging tools and a clean, intuitive interface. For more advanced projects, Visual Studio Code’s remote development features enable seamless coding across networks, while Geany offers lightweight yet powerful multi-language support. These tools, combined with the Pi’s GPIO capabilities, create an ideal environment for learning programming concepts, developing IoT applications, and building innovative hardware projects.
Begin your coding journey by exploring the pre-installed development tools in Raspberry Pi OS, or enhance your setup with community-supported alternatives that match your specific programming needs and skill level.
Essential Software Tools for Creative Coding
Processing and Processing.py
Processing is a powerful creative coding platform that has found a special place in the Raspberry Pi community. Its Python implementation, Processing.py, combines the intuitive nature of Python programming with Processing’s robust graphical capabilities, making it an excellent choice for creating interactive visual applications and digital art on your Pi.
With Processing.py, you can create stunning visualizations, interactive installations, and multimedia projects while leveraging the GPIO capabilities of your Raspberry Pi. The platform offers a straightforward development environment that’s particularly appealing to both beginners and experienced programmers interested in creative coding.
Setting up Processing.py on your Raspberry Pi is straightforward. You can install it through the terminal using a few simple commands, and the environment comes with numerous examples to help you get started. The platform supports various libraries for working with graphics, sound, and hardware interactions, making it versatile for different project types.
One of Processing.py’s strongest features is its ability to handle real-time graphics and animations while maintaining smooth performance on the Raspberry Pi. Whether you’re creating data visualizations, generative art, or interactive displays, the combination of Processing’s creative tools and Python’s accessibility makes it an invaluable addition to your Raspberry Pi coding toolkit.
For educators and students, Processing.py offers an engaging way to learn programming concepts through visual feedback, making it an excellent teaching tool in STEM education.
p5.js and Node-RED
For creative coders and visual artists, p5.js offers an exciting way to bring artistic projects to life on the Raspberry Pi. This JavaScript library, based on Processing, enables you to create interactive visual experiences directly in your web browser. Setting up p5.js on your Pi is straightforward – simply install a web server and start coding your visual masterpieces using any text editor.
Node-RED, on the other hand, provides a flow-based programming environment that’s perfect for creating interactive installations and digital audio projects. Its visual programming interface makes it easier to connect hardware components and web services without writing complex code. You can install Node-RED on your Raspberry Pi using a simple terminal command and access it through your browser.
Both tools complement each other well in the creative coding ecosystem. While p5.js excels at creating visual animations and interactive graphics, Node-RED shines in handling data flows and hardware interactions. Together, they provide a powerful platform for developing interactive art installations, data visualizations, and multimedia experiences on your Raspberry Pi.
For beginners, these tools offer a gentler learning curve compared to traditional programming languages, while still providing enough depth for advanced users to create sophisticated projects. The web-based nature of both platforms also means you can develop and test your projects from any device connected to your Pi.
Visual Programming Environments
Scratch and Snap!
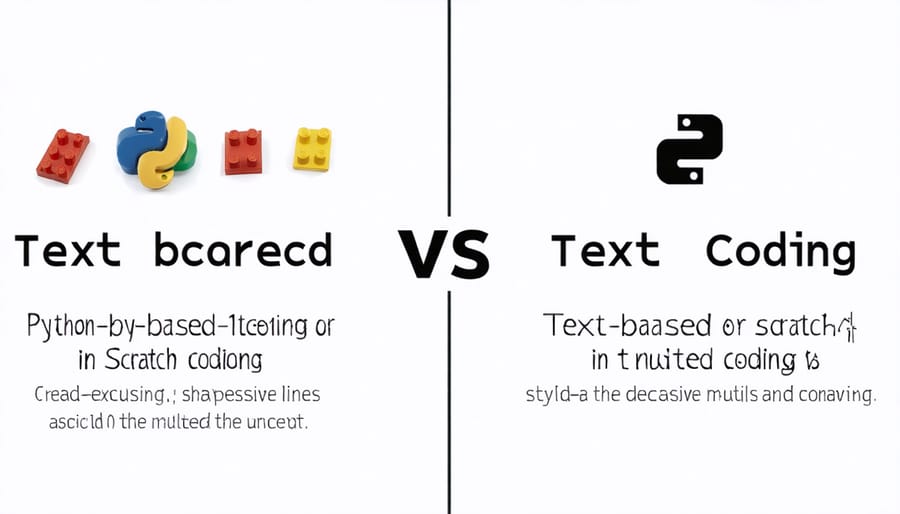
For beginners taking their first steps into Raspberry Pi programming, Scratch and Snap! offer intuitive, visual approaches to coding that make learning both fun and accessible. These block-based programming environments allow users to create projects by simply dragging and dropping code blocks, eliminating the initial hurdle of syntax errors common in text-based programming.
Scratch, developed by MIT, runs smoothly on Raspberry Pi OS and comes pre-installed on most distributions. Its user-friendly interface enables creators to build interactive stories, games, and animations while learning fundamental programming concepts like loops, variables, and conditional statements. The platform’s extensive library of sprites and sounds makes it particularly engaging for young learners and creative projects.
Snap!, a powerful alternative to Scratch, offers more advanced features while maintaining an accessible block-based interface. It supports custom block creation and allows users to work with complex data structures. While not pre-installed, it runs well in modern browsers on Raspberry Pi and can be used to control GPIO pins for physical computing projects.
Both platforms support a vibrant online community where users can share projects, get inspiration, and learn from others’ code, making them excellent starting points for aspiring programmers.
Pure Data (Pd)
Pure Data (Pd) offers a unique visual approach to programming on the Raspberry Pi, making it an excellent choice for artists and musicians looking to create interactive multimedia projects. This open-source visual programming language allows users to create complex audio and visual applications without traditional text-based coding, using a canvas of interconnected boxes and wires instead.
What sets Pd apart is its powerful audio processing capabilities and real-time performance features. Users can create synthesizers, audio effects, and interactive installations by connecting various objects and functions through an intuitive graphical interface. The software runs smoothly on Raspberry Pi, making it ideal for standalone audio installations and live performances.
Getting started with Pure Data is straightforward on the Raspberry Pi. You can install it through the terminal using simple commands, and the community offers numerous patches and examples to help beginners understand the basics. The visual nature of Pd makes it particularly appealing for those who prefer hands-on learning and experimentation over traditional coding methods.
For artists interested in physical computing, Pd can interface with the Raspberry Pi’s GPIO pins, enabling interaction with sensors, buttons, and LEDs, creating responsive multimedia installations and interactive art pieces.
Python Libraries for Creative Coding
Pygame and Pyglet
For game developers and visual artists, Pygame and Pyglet stand out as powerful libraries that bring creative coding to life on the Raspberry Pi. Pygame, built on top of SDL (Simple DirectMedia Layer), offers an extensive toolkit for creating 2D games and interactive visual applications. It excels in handling sprites, collision detection, and basic sound management, making it perfect for beginners venturing into game development.
Pyglet, on the other hand, provides a more lightweight alternative with built-in OpenGL support, making it ideal for those interested in creating more sophisticated graphics and animations. It requires no external dependencies, which means you can start coding right away without complex setup procedures.
Both libraries support essential features for visual artists, including image manipulation, real-time rendering, and event handling. Pygame’s straightforward approach makes it excellent for educational projects and simple games, while Pyglet’s OpenGL integration opens doors to more advanced visual effects and 3D capabilities.
To get started, install Pygame using pip with a simple command: ‘pip3 install pygame’. For Pyglet, use ‘pip3 install pyglet’. Both libraries come with comprehensive documentation and numerous examples, helping you quickly transform your creative ideas into interactive visual experiences on your Raspberry Pi.
OpenCV and Pillow
When it comes to image processing on your Raspberry Pi, OpenCV and Pillow stand out as powerful libraries that enable you to create sophisticated visual applications. OpenCV (Open Source Computer Vision) excels in real-time image processing, offering capabilities like face detection, object tracking, and image filtering. It’s particularly useful for projects involving computer vision, such as security cameras or motion detection systems.
Pillow, the Python Imaging Library fork, provides a more user-friendly approach to basic image manipulation tasks. It’s perfect for resizing images, applying filters, converting between formats, and creating thumbnails. The library’s straightforward syntax makes it an excellent choice for beginners working on projects like photo galleries or simple image editing tools.
Both libraries can be easily installed using pip:
“`
pip install opencv-python
pip install Pillow
“`
For Raspberry Pi projects, these libraries often work together seamlessly. For instance, you might use OpenCV to capture video from a camera module and perform motion detection, then use Pillow to save and process the resulting images. This combination is particularly powerful for creating smart home monitoring systems, automated plant photography setups, or creative digital art installations.
Remember that OpenCV tends to be more resource-intensive, so consider your Raspberry Pi’s specifications when planning complex vision projects. Pillow, being lighter, is often sufficient for basic image handling tasks.
Setting Up Your Creative Coding Environment
Basic Setup Requirements
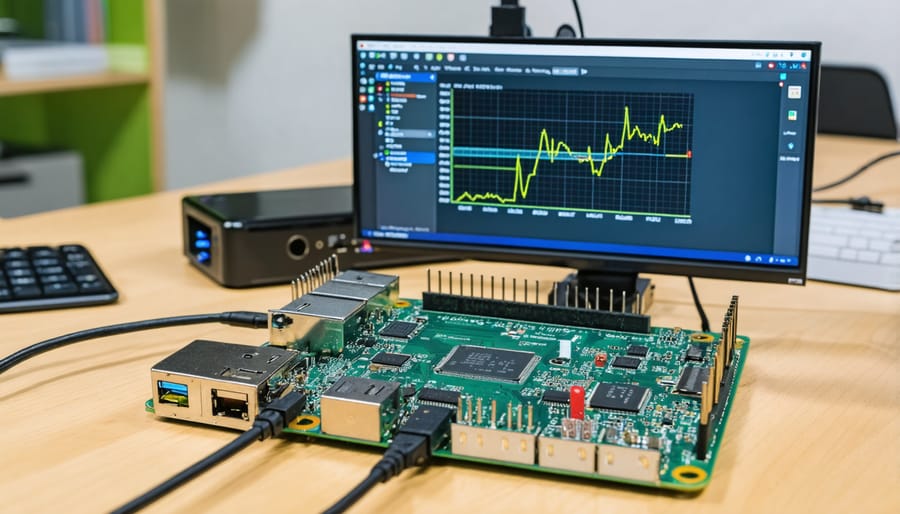
Before diving into coding on your Raspberry Pi, you’ll need to set up some essential software components. Start with the latest version of Raspberry Pi OS (formerly Raspbian), which comes pre-installed with Python – the most popular programming language for Pi projects. For a smooth Raspberry Pi project setup, ensure your system is up to date by running ‘sudo apt-get update’ and ‘sudo apt-get upgrade’ in the terminal.
Install a reliable code editor such as Thonny (pre-installed with Raspberry Pi OS), Visual Studio Code, or Geany. These editors provide syntax highlighting, code completion, and debugging tools essential for efficient coding. For web development, you’ll want to install Node.js and npm using the terminal command ‘sudo apt-get install nodejs npm’.
Don’t forget to set up Git for version control with ‘sudo apt-get install git’. This allows you to track changes and collaborate with others. For graphical programming, consider installing Scratch, which is perfect for beginners learning programming concepts.
Additional useful tools include:
– WiringPi for GPIO programming
– SQLite for database management
– Apache web server for web development
– PyGame for game development
– OpenCV for computer vision projects
Remember to install any specific libraries required for your intended projects using Python’s pip package manager.
Troubleshooting Common Issues
When working with Raspberry Pi coding software, you might encounter some common issues that can temporarily halt your progress. Here’s how to resolve the most frequent problems:
If your IDE fails to launch, first check if you have enough free space on your SD card. A quick ‘df -h’ command in the terminal will show available space. Sometimes, simply clearing cached files can resolve this issue.
For Python-related errors, ensure you’re using the correct version for your project. Type ‘python –version’ in the terminal to verify. If needed, install specific versions using ‘sudo apt-get install python3.x’ where x is your desired version number.
Connection problems with external devices often stem from incorrect permissions. Use ‘sudo usermod -a -G dialout $USER’ to add your user to the dialout group, enabling access to USB and serial ports.
If your code editor seems sluggish, try reducing the number of extensions running simultaneously. For Thonny users experiencing slowdown, clearing the interpreter cache can help improve performance.
Package installation errors typically occur due to outdated repository information. Running ‘sudo apt-get update’ followed by ‘sudo apt-get upgrade’ usually resolves these issues.
Remember to regularly backup your code and maintain your SD card’s health by using the proper shutdown procedure rather than simply unplugging the power.
Getting started with Raspberry Pi coding doesn’t have to be overwhelming. By choosing the right software tools based on your experience level and project goals, you can begin your coding journey with confidence. For beginners, we recommend starting with Thonny or Geany, as these IDEs offer user-friendly interfaces and excellent debugging tools that make learning Python more accessible.
If you’re ready to take the next step, consider following this action plan:
1. Install the latest version of Raspberry Pi OS on your device
2. Choose a primary IDE that matches your coding experience
3. Start with simple Python projects to build your foundation
4. Gradually explore more advanced tools as your skills improve
5. Join the Raspberry Pi community forums for support and inspiration
Remember that your choice of coding software isn’t permanent – many developers use different tools for different projects. As you grow more comfortable with programming, experiment with various IDEs and text editors to find what works best for your workflow.
For those interested in visual programming, start with Scratch before transitioning to text-based coding. If you’re planning to develop web applications, consider installing Visual Studio Code and relevant extensions for web development.
The most important thing is to begin coding regularly, even if it’s just for 15-30 minutes a day. Set achievable goals, work through tutorials, and don’t hesitate to ask for help when needed. With the right software tools and a consistent learning approach, you’ll be creating exciting Raspberry Pi projects in no time.
Stay curious, keep learning, and most importantly, have fun while exploring the endless possibilities that Raspberry Pi coding has to offer!