

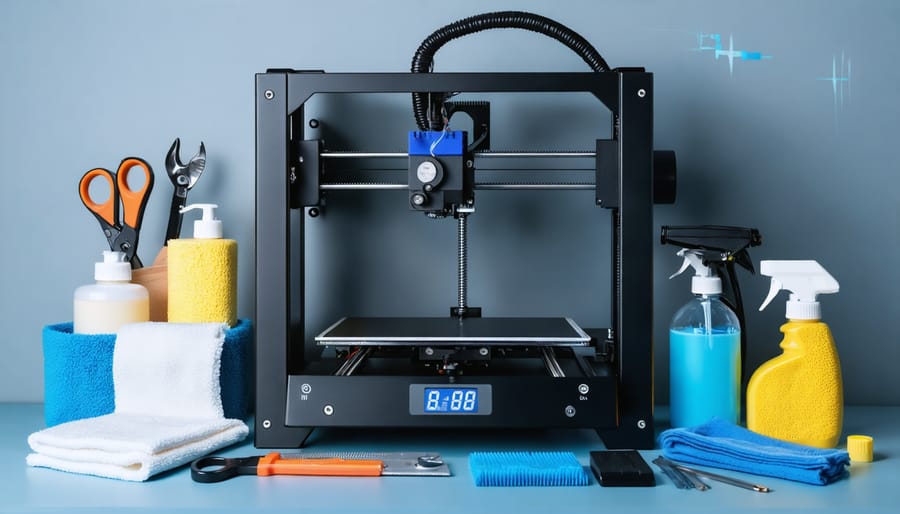
Regular maintenance of your 3D printer isn’t just about preventing breakdowns – it’s the cornerstone of achieving consistently high-quality prints while extending your machine’s lifespan. A well-maintained printer can save thousands in repair costs and countless hours of troubleshooting failed prints. From daily nozzle cleaning to monthly belt tensioning, following a structured maintenance routine transforms your 3D printer from a temperamental device into a reliable manufacturing tool. This comprehensive guide breaks down essential maintenance tasks into daily, weekly, and monthly checklists, ensuring you’ll never miss a critical maintenance step. Whether you’re running a hobby printer or managing a print farm, these proven maintenance protocols will maximize your printer’s performance while minimizing unexpected downtime.
Daily Maintenance Tasks That Save You Money
Build Platform Inspection and Cleaning
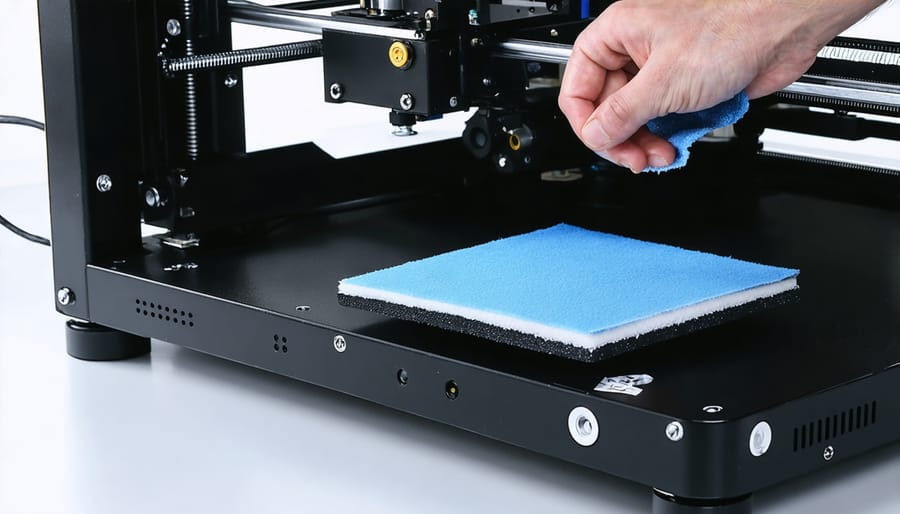
A clean and properly leveled build platform is crucial for successful prints. Start by removing any residual filament with a plastic scraper, being careful not to scratch the surface. For stubborn deposits, use isopropyl alcohol (90% or higher) on a lint-free cloth to wipe the bed clean. If you’re using a glass bed, wait until it’s completely cool before cleaning to prevent thermal shock.
Check the bed leveling at least weekly or when you notice print quality issues. Most printers have three or four adjustment knobs under the build platform. Using a piece of paper as a feeler gauge, adjust each corner so there’s a slight resistance when sliding the paper between the nozzle and bed. Work your way around the bed multiple times, as adjusting one corner can affect the others.
For automatic bed leveling systems, regularly verify the sensor’s functionality and clean any debris that might affect its readings. Remember that even auto-leveling systems benefit from occasional manual checks to ensure optimal first-layer adhesion.
Filament Quality Assessment
Regular assessment of your filament quality is crucial for successful 3D printing. Start by examining your filament for signs of moisture absorption, which can manifest as bubbling during printing or brittle, easily breakable strands. Check for consistent diameter along the length of the filament using calipers – variations can lead to inconsistent extrusion and poor print quality.
Proper filament storage is essential to maintain quality. Keep your filament in airtight containers with desiccant packets to prevent moisture absorption. If you notice your filament has absorbed moisture, consider using a filament dryer or food dehydrator to restore its quality before printing.
Inspect for physical damage such as kinks, tangles, or dust accumulation. Clean filament can be gently wiped with a microfiber cloth. For optimal performance, store spools horizontally and avoid exposure to direct sunlight or extreme temperatures. Regular quality checks of your filament can prevent failed prints and extend the life of your printing materials, saving both time and money in the long run.
Weekly Maintenance to Prevent Costly Repairs
Belt Tension and Wear Check
Proper belt tension is crucial for maintaining print quality and ensuring accurate movements in your 3D printer. Start by inspecting the belts visually for signs of wear, fraying, or loose teeth. A well-tensioned belt should make a low “twang” sound when plucked gently, similar to a bass guitar string.
To check tension, press the belt at its midpoint with your finger using moderate pressure. The belt should deflect about 1-2mm. If it moves more than this, it’s too loose; if it barely moves, it’s too tight. Both conditions can lead to poor print quality and premature wear.
For X and Y axis belts, look for these common issues:
– Visible wear marks or fraying along edges
– Missing or damaged teeth
– Unusual stretching or deformation
– Debris caught in the belt teeth
Most 3D printers have built-in tensioners or adjustment screws. To adjust:
1. Locate the tensioning mechanism
2. Make small adjustments (quarter turns)
3. Test the tension after each adjustment
4. Ensure the belt runs parallel to its axis
Replace belts showing significant wear or damage, typically every 6-12 months depending on usage. Regular tension checks prevent layer shifting, poor dimensional accuracy, and unexpected print failures. Make this check part of your monthly maintenance routine for optimal printer performance.
Lubricating Moving Parts
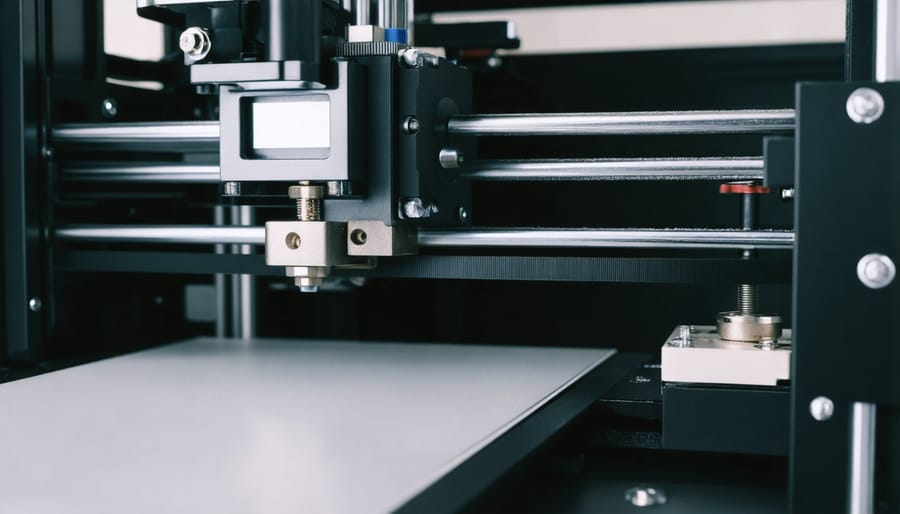
Proper lubrication is crucial for maintaining smooth operation and extending the life of your 3D printer’s moving parts. The key components that require regular lubrication include the linear rods, lead screws, and any sliding mechanisms. For linear rods and rails, use a light machine oil or specialized 3D printer lubricant. Apply a small amount to a clean microfiber cloth and wipe it along the length of the rods, ensuring even coverage while avoiding excess oil that could attract dust.
Lead screws require a different approach. Use a dry PTFE-based lubricant or lithium grease, as these substances are less likely to accumulate debris. Apply the lubricant sparingly to the threads, then move the Z-axis up and down several times to distribute it evenly.
Be careful to avoid over-lubrication, as this can lead to dust accumulation and potentially affect print quality. A good rule of thumb is to lubricate these components monthly, or more frequently if you notice increased friction or unusual sounds during operation.
Never use WD-40 or similar penetrating oils as primary lubricants, as these can break down and become sticky over time. Instead, invest in proper machine lubricants designed for precision equipment. Keep a maintenance log to track when you last lubricated different components, ensuring nothing gets overlooked in your regular maintenance routine.
Monthly Deep Maintenance Routines
Extruder Maintenance
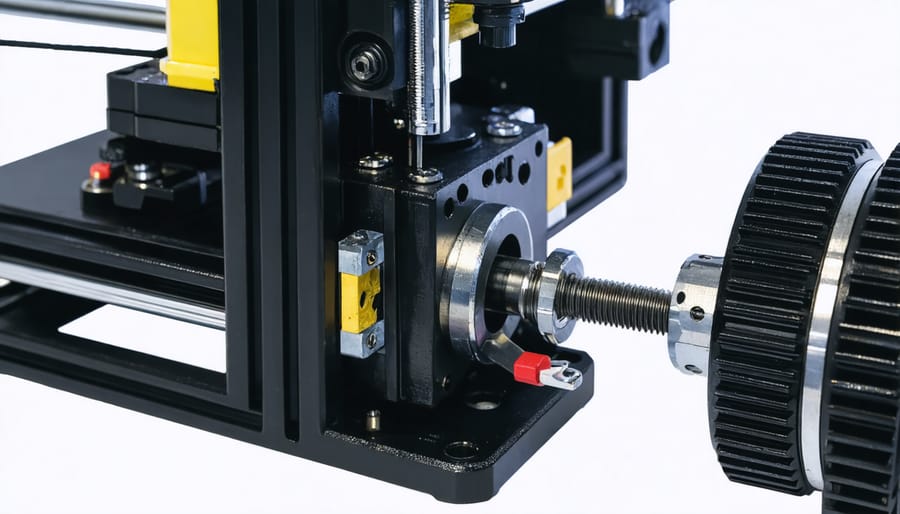
Regular extruder assembly maintenance is crucial for ensuring consistent print quality and preventing clogs. Start by examining the extruder gear for plastic debris and worn teeth. Using a small brass brush, gently clean the gear teeth to remove any accumulated filament particles. If you notice significant wear, consider replacing the gear to maintain proper filament grip.
Check the PTFE tube (if your printer has one) for signs of discoloration or damage, especially near the hot end. A degraded tube can cause friction and irregular extrusion. The nozzle requires special attention – perform a “cold pull” using cleaning filament to remove internal buildup when needed. Always heat the nozzle to the appropriate temperature before attempting removal or installation to prevent damage.
Inspect the heater block and heat break for any leaked filament or coating. Clean these components carefully with a brass brush while heated, but exercise caution to avoid burns. Ensure all mounting screws are tight, as loose components can affect print quality and cause layer shifting.
Don’t forget to check the extruder tension. Too much pressure can grind the filament, while too little can cause under-extrusion. Adjust the tensioner according to your printer’s specifications. Keep the filament path clean by using a filament filter and regularly wiping down the entry point with a microfiber cloth.
For direct-drive systems, verify that the extruder motor isn’t overheating during long prints. If it feels too hot to touch, you may need to adjust your printing settings or improve cooling.
Electronics and Wiring Check
Regular inspection of your 3D printer’s electrical components is crucial for both safety and performance. Start by examining all power cables for signs of wear, fraying, or damage, particularly where they bend or connect to components. If you notice any exposed wires or damaged insulation, replace the cables immediately to prevent short circuits.
Check all connector points, including those on the mainboard, stepper motors, and end stops. Loose connections can cause intermittent issues and failed prints. Gently wiggle each connection to ensure it’s secure, and tighten any loose terminals. Pay special attention to the heated bed and hot end connections, as these carry higher currents and can become loose over time.
Inspect the cooling fans for proper operation and unusual noises. Clean any dust buildup using compressed air, and verify that all fan blades spin freely. A malfunctioning cooling system can lead to poor print quality and potential hardware damage.
Keep an eye on your printer’s LCD screen and control panel. Dead pixels, flickering, or unresponsive buttons could indicate underlying electrical issues. Also, check the integrity of any USB ports or SD card slots you use for file transfers.
For belt-driven printers, examine the stepper motor wiring during movement operations. Ensure cables aren’t getting caught or stretched during normal printer operation. Cable chains should be intact and properly protecting moving wires.
Consider using a multimeter to test voltage outputs if you notice any inconsistent behavior. This can help identify potential power supply issues before they cause print failures or component damage. Remember to always power down your printer before performing any electrical maintenance or replacements.
Troubleshooting Common Issues Early
Print Quality Warning Signs
Being proactive in identifying print quality issues can help you prevent print disasters and maintain professional print quality. Watch for these early warning signs that indicate potential mechanical problems:
Layer shifting or misalignment often points to loose belts or worn pulleys. If you notice your prints showing unexpected horizontal offsets, check your belt tension immediately. Inconsistent extrusion, where some layers appear thicker or thinner than others, typically indicates either a partially clogged nozzle or filament feed issues.
Strange noises during printing, especially grinding or clicking sounds, can signal problems with your stepper motors or filament feed mechanism. Pay attention to any new vibrations or unusual sounds during operation. Stringing or excessive bridging issues might indicate temperature control problems or moisture-damaged filament.
First layer adhesion problems, such as corners lifting or complete print separation, often point to bed leveling issues or a dirty print surface. If you notice these signs, check your bed level and clean the build surface thoroughly.
Regular monitoring of these warning signs allows you to address issues before they develop into serious problems, saving both time and money on repairs while ensuring consistent print quality.
Preventive Part Replacement
Replacing parts before they fail is crucial for maintaining consistent print quality and avoiding unexpected breakdowns. Most 3D printer components have predictable lifespans, and proactive replacement can save you from print failures and emergency repairs.
The nozzle typically needs replacement every 3-6 months, depending on usage and filament types. If you’re printing with abrasive materials like carbon fiber or metal-filled filaments, consider replacing it every 2-3 months. Watch for signs like inconsistent extrusion or visible wear on the nozzle tip.
PTFE tubes in bowden setups should be replaced every 6-8 months, or sooner if you frequently print at high temperatures. The tube can degrade and release harmful fumes if used beyond its lifespan. Belts typically last 12-18 months before losing tension and affecting print accuracy.
Print bed surfaces, whether BuildTak, PEI, or glass, should be replaced when adhesion becomes inconsistent even after thorough cleaning. For direct drive systems, check the extruder gear for wear every 6 months and replace if teeth appear worn.
Keep a log of your component installation dates and monitor print quality closely. It’s worth maintaining a small inventory of common wear parts like nozzles, PTFE tubes, and belts to avoid printer downtime when replacement is needed.
Regular maintenance of your 3D printer isn’t just about keeping it running smoothly – it’s an investment that pays dividends in the long run. By following a consistent maintenance schedule, you’re not only extending the life of your printer but also ensuring the quality of your prints remains high. The small amount of time and effort invested in preventive care can save you hundreds or even thousands of dollars in potential repairs or replacement parts.
Think of your 3D printer like a car – regular oil changes and tune-ups are far less expensive than major repairs. The same principle applies here. Simple tasks like cleaning the build plate, lubricating moving parts, and checking belt tension can prevent costly issues such as failed prints, damaged components, or complete printer failure.
Moreover, well-maintained printers operate more efficiently, using less filament and energy while producing better quality prints. This systematic approach to maintenance helps you identify potential issues before they become serious problems, ultimately saving you both time and money while ensuring your printer remains a reliable tool for your creative projects.
Remember, consistency is key – make maintenance a habit, and your 3D printer will reward you with years of reliable service and high-quality prints.