

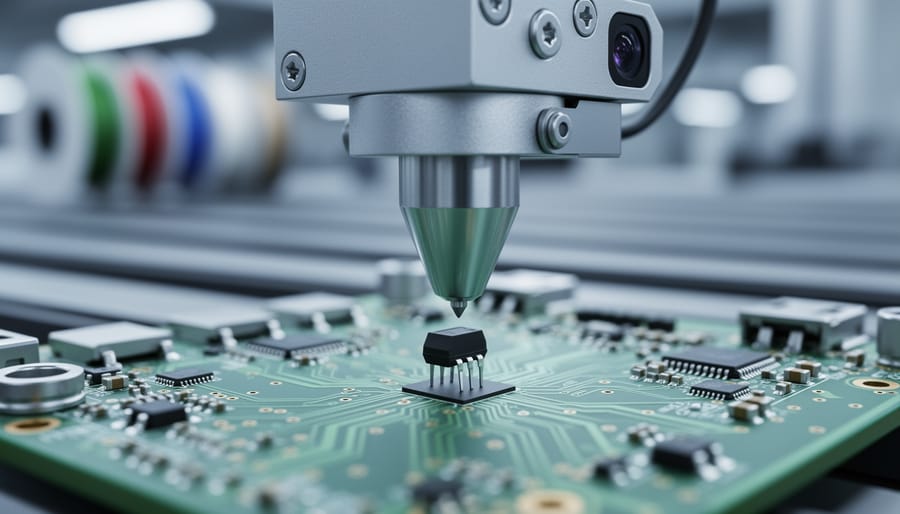
Electronics manufacturing automation transforms how the Raspberry Pi in your project box reaches your workbench. Modern factories deploy pick-and-place machines that position thousands of surface-mount components per hour with microscopic precision, explaining why today’s single-board computers pack extraordinary computing power into credit-card-sized footprints. These automated systems use computer vision to identify component orientation, robotic arms to place parts within tolerances measured in microns, and reflow ovens that precisely control temperature profiles to create reliable solder joints.
Understanding this automation matters for your projects beyond academic curiosity. The same technologies that enable mass production of affordable Raspberry Pi boards directly influence component availability, pricing fluctuations you notice when ordering sensors and microcontrollers, and the reliability of the devices powering your builds. When manufacturers achieve higher automation efficiency, you benefit from lower costs and improved quality control.
This automation ecosystem operates through coordinated systems: automated optical inspection catches defects before products ship, collaborative robots handle delicate assembly tasks, and AI-driven quality control analyzes production data in real-time. For hobbyists and educators, these industrial concepts translate into practical knowledge about why certain components become affordable while others remain expensive, how manufacturing choices affect the specifications of available boards, and which automation principles you can adapt for your own workshop using Raspberry Pi-controlled systems. Exploring electronics manufacturing automation bridges the gap between industrial-scale production and hands-on maker projects, offering insights that enhance both your understanding and capabilities.
What Electronics Manufacturing Automation Really Means
Electronics manufacturing automation refers to the use of robotic systems, computerized equipment, and intelligent software to produce electronic devices with minimal human intervention. Instead of workers manually placing components on circuit boards or soldering connections by hand, automated machines handle these repetitive tasks with remarkable speed and precision. This transformation has revolutionized how everything from smartphones to Raspberry Pi boards reaches your hands.
The shift from manual assembly lines to automated production happened gradually over several decades. Early manufacturing relied heavily on skilled workers performing each step, from component placement to quality inspection. Today, real factory automation systems can assemble thousands of circuit boards per hour with consistency that human workers simply cannot match. This doesn’t mean humans are entirely removed from the process, but their roles have evolved to machine supervision, programming, and quality oversight.
The scope of electronics manufacturing automation spans the entire production cycle. It begins with printed circuit board (PCB) fabrication, where automated equipment etches copper traces and drills mounting holes. Next comes component placement, where pick-and-place machines position tiny resistors, capacitors, and integrated circuits onto boards with microscopic accuracy. Reflow ovens then automatically solder these components using precisely controlled heating profiles.
Beyond assembly, automation extends to testing and quality control. Automated optical inspection systems scan every board for defects, checking solder joints and component alignment faster than any human eye could. Functional testing equipment verifies that circuits operate correctly before packaging. Even final packaging and shipping involve robotic systems that sort, box, and label products.
For hobbyists and educators, understanding this automation matters because it directly affects component availability, pricing, and the quality of boards like the Raspberry Pi that power your projects. The same technologies that manufacture professional electronics can inspire scaled-down automation projects for your own workshop or classroom.
The Robots Behind Your Raspberry Pi Board
Pick-and-Place Machines: The Speed Demons of PCB Assembly
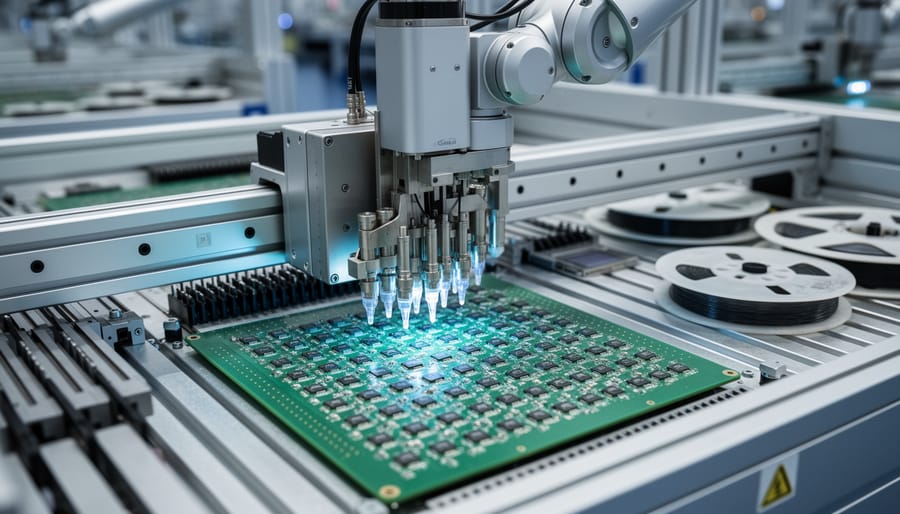
At the heart of modern PCB assembly lines sit pick-and-place machines, robotic marvels that make the placement of thousands of tiny components look effortless. These speed demons are exactly what their name suggests: automated systems that pick up electronic components and place them onto circuit boards with mind-boggling precision and velocity.
Modern pick-and-place machines operate at incredible speeds, with high-end models capable of placing 30,000 to 80,000 components per hour. That translates to roughly 10 to 20 components every single second. Even mid-range machines used by smaller manufacturers can achieve 15,000 placements per hour, making manual assembly obsolete for anything beyond prototype quantities.
The technology relies on vacuum nozzles that gently grip components as small as 0.4mm by 0.2mm, including the tiny resistors and capacitors you might use in your Raspberry Pi projects. Machine vision systems verify component orientation and position before placement, ensuring accuracy within 0.025mm, about one-quarter the width of a human hair.
What makes this relevant to hobbyists is understanding where your components come from and why quality matters. Those affordable sensor modules and breakout boards you order online were likely assembled by these machines, which explains their consistency and reliability compared to hand-soldered alternatives.
For educators and makers, recognizing this industrial process helps appreciate the complexity behind seemingly simple electronics. While you won’t have an industrial pick-and-place machine in your workshop, understanding their capabilities illuminates why professionally manufactured boards offer such remarkable quality at accessible prices, enabling more ambitious Raspberry Pi projects.
Reflow Ovens and Soldering Automation
Once components are placed on the PCB, they need permanent electrical connections—and that’s where reflow ovens and automated soldering come into play. In professional manufacturing, these systems create thousands of reliable solder joints simultaneously, ensuring your Raspberry Pi and other electronics work flawlessly.
Reflow soldering is the most common automated method for surface-mount technology (SMT) components. The process starts with solder paste—a mixture of tiny solder balls and flux—applied to PCB pads through stenciling. After component placement, the board travels through a reflow oven on a conveyor belt, passing through precisely controlled temperature zones. The oven gradually heats the board, melting the solder paste at around 220-250°C, creating solid connections as it cools. This controlled thermal profile prevents component damage while ensuring strong bonds.
For through-hole components (like some connectors on maker-friendly boards), wave soldering or selective soldering robots handle the job. Wave soldering passes the PCB over a flowing wave of molten solder, while selective soldering uses robotic nozzles to target specific joints—perfect for mixed-technology boards.
Understanding these processes helps you appreciate why proper storage matters for your components. Moisture-sensitive parts can pop or crack during reflow if not handled correctly. For hobbyists building their own projects, small benchtop reflow ovens and even modified toaster ovens can replicate this process at home, making professional-quality SMT assembly accessible for custom Raspberry Pi expansion boards and other advanced projects.
Key Automation Technologies Transforming Electronics Manufacturing
Collaborative Robots (Cobots) on the Assembly Line
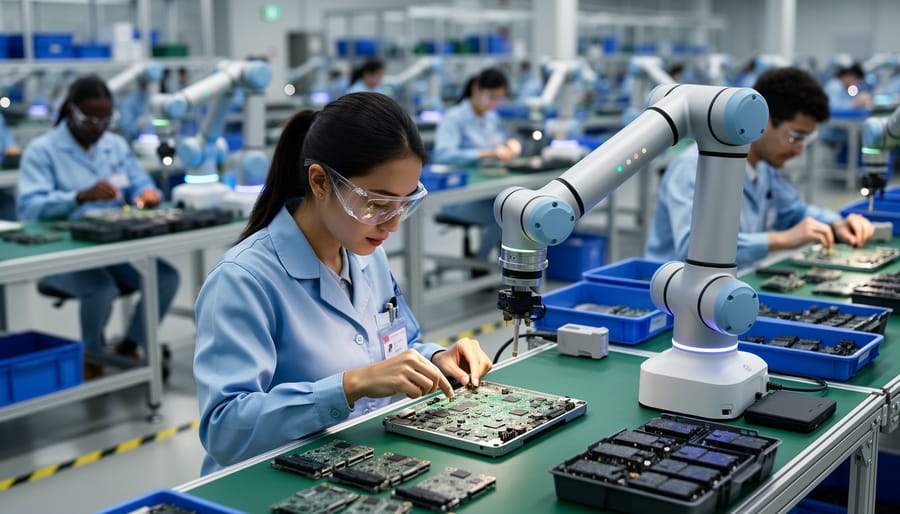
Collaborative robots, or cobots, represent a game-changing approach to electronics manufacturing. Unlike traditional industrial robots that work in caged-off areas, cobots are designed to share workspace directly with human workers, combining machine precision with human flexibility and problem-solving skills.
What makes cobots special for electronics assembly? They feature built-in safety systems including force-limiting technology, rounded edges, and sensors that detect nearby workers. When a cobot encounters unexpected resistance or contact, it immediately stops or slows down, preventing injury. This inherent safety design eliminates the need for expensive safety barriers, making automation accessible even for smaller production runs.
In electronics manufacturing, cobots excel at repetitive precision tasks. They handle component placement on circuit boards, apply adhesives with consistent accuracy, perform screw-driving operations, and conduct visual quality inspections using integrated cameras. For Raspberry Pi enthusiasts, understanding cobots is particularly relevant because these robots often assemble the very components in your projects, from mounting microcontrollers to placing tiny surface-mount devices on PCBs.
The beauty of cobots lies in their programming simplicity. Many models use intuitive teach-by-demonstration interfaces where operators physically guide the robot arm through desired movements. This accessibility means hobbyists and educators can explore similar robotics concepts using affordable servo motors and microcontrollers, creating scaled-down cobot projects that demonstrate the same collaborative principles used in professional manufacturing environments.
Machine Vision and Quality Control Systems
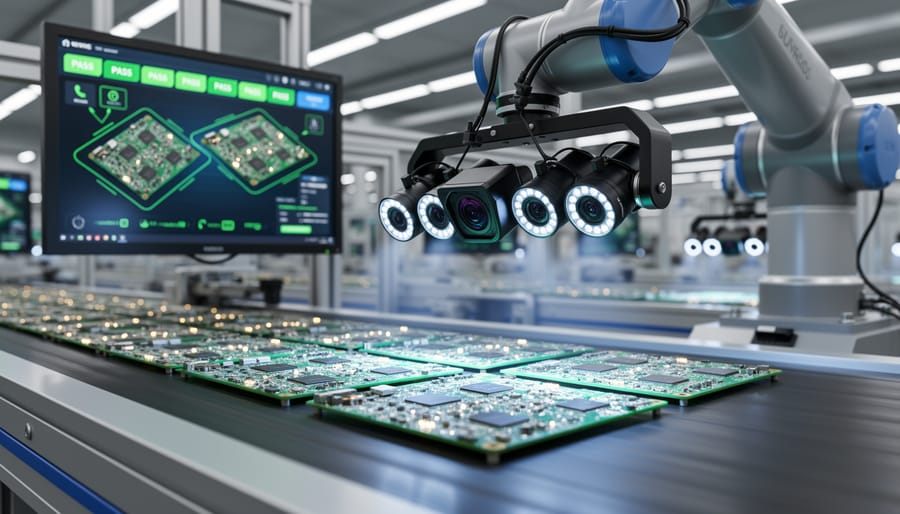
Modern electronics factories use Automated Optical Inspection (AOI) systems to catch defects that human eyes would miss, especially at production speeds that can exceed thousands of components per minute. These machine vision systems combine high-resolution cameras, specialized lighting, and sophisticated algorithms to verify everything from solder joint quality to component placement accuracy.
AOI systems work by capturing detailed images of circuit boards at multiple stages of production. The software compares these images against known-good reference templates, flagging anomalies like missing components, incorrect part orientation, solder bridges, or insufficient solder paste. Some advanced systems use 3D imaging to measure solder joint height and component coplanarity, ensuring connections will be reliable long-term.
For hobbyists and makers, understanding AOI explains why manufactured boards from professional services often have such consistent quality compared to hand-assembled prototypes. The same principles apply to DIY projects though. A USB microscope or Raspberry Pi with a camera module can create a basic inspection station for your workbench. By taking reference photos of correctly assembled boards, you can visually compare subsequent builds to catch errors before powering up your circuits.
The beauty of machine vision in manufacturing is its scalability. While industrial systems cost hundreds of thousands of dollars, the underlying concepts translate to affordable setups. Simple OpenCV programs running on a Raspberry Pi can perform basic component detection and alignment verification, giving you insight into professional quality control methods while improving your own project outcomes.
Automated Testing and Programming Stations
After components are assembled onto circuit boards, automated testing and programming stations verify that each device functions correctly before shipping. These sophisticated robotic systems perform multiple critical tasks that ensure the electronics you purchase—whether it’s a sensor module for your Raspberry Pi project or a complete IoT device—work reliably from the moment you unbox them.
Testing robots use specialized fixtures called bed-of-nails testers that make contact with specific points on a circuit board simultaneously. These systems rapidly check electrical continuity, measure voltage levels, and verify that all components are correctly placed and functional. Advanced vision systems scan for physical defects like poor solder joints or misaligned parts. For hobbyists building their own projects, understanding these processes helps explain why professionally manufactured boards are so reliable compared to hand-assembled prototypes.
The programming phase is equally fascinating. Robotic arms position boards precisely while automated systems flash firmware and bootloaders into microcontrollers and memory chips. This process happens in seconds but requires exact timing and validation. Many Raspberry Pi accessories undergo similar automated programming to ensure they arrive ready to use.
For makers interested in implementing basic automated testing, you can create simple continuity testers using Raspberry Pi GPIO pins and Python scripts. While industrial systems cost hundreds of thousands of dollars, understanding their principles helps you appreciate the complexity behind seemingly simple electronic components and inspires ways to improve quality control in your own workshop projects.
Why This Matters for Makers and Raspberry Pi Enthusiasts
Manufacturing automation isn’t just transforming factory floors—it’s directly impacting your next Raspberry Pi project in ways you might not realize. Understanding these connections helps you make smarter decisions about components, budgets, and project planning.
The most immediate benefit is cost reduction. Automated assembly lines using pick-and-place machines and robotic soldering can produce circuit boards far more efficiently than manual methods. This efficiency translates to lower prices for the sensors, displays, and HATs you purchase for your projects. When a factory automates, it reduces labor costs and minimizes waste, savings that often reach the consumer market. That affordable temperature sensor or camera module exists at its current price point largely because of automated manufacturing processes.
Quality improvements matter just as much as cost savings. Automated optical inspection systems catch defects that human eyes might miss, ensuring the components you receive actually work as specified. Fewer faulty parts mean less frustration debugging whether your code is wrong or if you received a defective component. Modern RPA in manufacturing includes sophisticated testing protocols that verify every connection before products ship.
Innovation cycles accelerate when manufacturers can quickly prototype and scale production. Automated systems allow companies to test new designs rapidly and bring products to market faster. This means you get access to cutting-edge technology sooner—whether it’s a new AI accelerator HAT or an advanced sensor module.
Component availability also improves through automation. Factories operating with consistent automated processes can maintain steadier production schedules and more reliable supply chains. While global shortages still occur, automated facilities can often pivot more quickly to meet demand changes.
For educators and students, understanding these manufacturing processes provides valuable context for career exploration. The same automation principles you learn building a robotic arm project apply directly to industrial settings, making hands-on experimentation genuinely relevant to real-world applications.
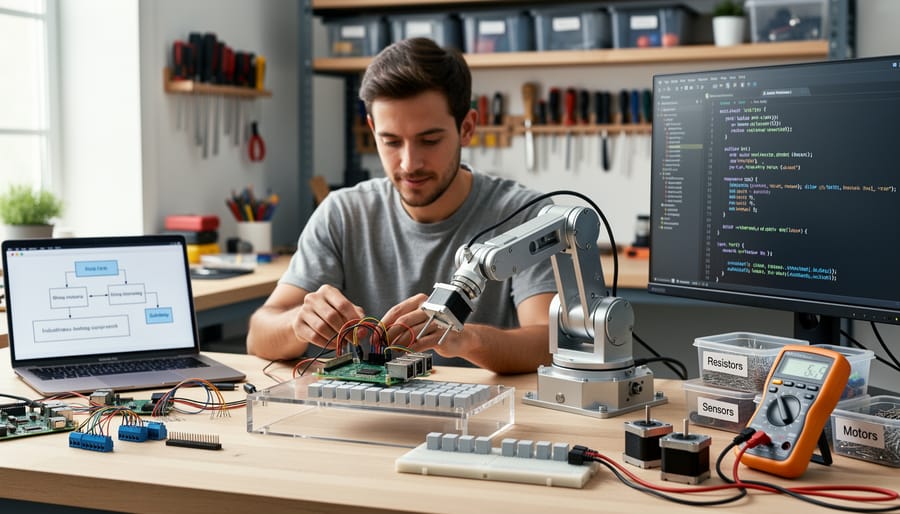
Building Your Own Mini Assembly Robot with Raspberry Pi
What You’ll Need
To build your own electronics manufacturing automation prototype, you’ll need a Raspberry Pi 4 (4GB or 8GB model recommended) as your control hub, along with a quality power supply and microSD card. For the physical automation components, gather servo motors or stepper motors with appropriate drivers, a small conveyor belt system or sliding rail mechanism, and motor controller boards compatible with GPIO pins.
You’ll also need various sensors including infrared or ultrasonic distance sensors for component detection, a USB camera module for visual inspection capabilities, and limit switches for positioning control. Essential materials include breadboards, jumper wires, mounting brackets, and thermal paste if you’re adding heat sinks.
For programming and connectivity, install Python libraries and ensure you have an HDMI cable, keyboard, and mouse for initial setup. Optional but useful additions include relay modules for controlling higher-voltage equipment and LED indicators for system status monitoring.
Step-by-Step Assembly Guide
Building your own electronics assembly robot is an exciting way to understand manufacturing automation firsthand. This step-by-step guide will walk you through creating a simple pick-and-place system using your Raspberry Pi as the brain.
Start by securing your Raspberry Pi to a stable base platform using mounting screws. Connect your stepper motors to the motor driver board, ensuring each wire matches the correct terminal. The X-axis motor controls horizontal movement, while the Y-axis handles depth positioning. Mount these motors to your frame structure, which you can build from aluminum extrusion rails or sturdy plywood.
Next, attach your gripper mechanism to the Z-axis servo motor. This will handle the vertical movement and component grasping. A simple pneumatic gripper or servo-controlled clamp works well for beginners. Wire the servo to the appropriate GPIO pins on your Raspberry Pi, typically using pins 17, 27, and 22 for different servo channels.
Connect your camera module to the CSI port on the Raspberry Pi. Position it above your work area with a clear downward view. This vision system will help identify component locations, mimicking how industrial systems work.
Wire everything to a common 12V power supply with appropriate voltage regulators for the Raspberry Pi. Add limit switches at the end of each axis to prevent over-travel accidents. Finally, connect everything to a breadboard for easy troubleshooting before permanent soldering.
Test each axis independently before running coordinated movements, ensuring smooth operation and proper calibration throughout your system.
Programming Your Automation System
Programming your automation system starts with understanding GPIO (General Purpose Input/Output) pins on your Raspberry Pi. These pins allow you to control motors, sensors, and other hardware components. Begin by installing the RPi.GPIO library using pip install RPi.GPIO in your terminal.
Here’s a simple example to control a stepper motor for precise component placement:
“`python
import RPi.GPIO as GPIO
import time
GPIO.setmode(GPIO.BCM)
motor_pins = [17, 18, 27, 22]
for pin in motor_pins:
GPIO.setup(pin, GPIO.OUT)
GPIO.output(pin, False)
def step_motor(steps):
sequence = [[1,0,0,0], [0,1,0,0], [0,0,1,0], [0,0,0,1]]
for i in range(steps):
for step in sequence:
for pin, state in zip(motor_pins, step):
GPIO.output(pin, state)
time.sleep(0.01)
step_motor(100)
GPIO.cleanup()
“`
This code rotates a stepper motor 100 steps, perfect for moving components along a conveyor belt. You can expand this foundation by adding sensor inputs for quality checks or position feedback. Many automation engineers use Raspberry Pi with similar logic to create sophisticated manufacturing cells.
The Future: What’s Coming Next in Electronics Manufacturing Automation
The future of electronics manufacturing is racing toward increasingly intelligent, autonomous systems that could revolutionize how hobbyists access and work with technology. AI-powered quality control systems are already transforming production lines, using computer vision and machine learning to detect defects invisible to human inspectors. These systems can identify microscopic soldering issues or component misalignments in milliseconds, dramatically improving the reliability of components that eventually make their way into your Raspberry Pi projects.
Lights-out manufacturing, where factories operate with minimal human intervention, represents another quantum leap forward. These facilities leverage edge computing capabilities and advanced robotics to run 24/7 production cycles without direct supervision. While this might sound disconnected from the hobbyist world, the implications are significant: faster production cycles mean quicker availability of new components, and reduced labor costs could translate into more affordable electronics for makers and educators.
For hobbyists, these advances bring exciting possibilities. As manufacturing becomes more efficient and precise, specialty components and small-batch production runs become economically viable. Imagine ordering custom PCBs or specialized sensors that were previously too expensive for individual makers. The same AI systems used in quality control could eventually power affordable inspection tools for home workshops, helping you verify your own builds with professional-grade accuracy.
However, increased automation also raises questions about component availability and supply chain transparency. As manufacturing becomes more centralized and automated, understanding where and how your electronics are made becomes increasingly important for making informed purchasing decisions and troubleshooting project issues.
Understanding the sophisticated automation behind electronics manufacturing gives you a deeper appreciation for the components and devices you use in your Raspberry Pi projects. Every sensor, microcontroller, and circuit board in your toolkit is a product of precision robotics working in harmony with advanced quality control systems. This knowledge isn’t just fascinating—it’s practical. When you understand how pick-and-place machines work or why reflow ovens maintain exact temperature profiles, you can make informed decisions about component quality and even troubleshoot issues in your own builds.
The beauty of living in this era is that industrial automation principles aren’t locked away in factories. You can experiment with similar concepts right on your workbench. Consider building a simple automated component sorter using servo motors, or program a basic pick-and-place mechanism with your Raspberry Pi. Start small with conveyor belt projects or automated testing rigs for your circuits. These hands-on experiments not only teach you valuable skills but also connect you to the same problem-solving challenges that engineers face in professional manufacturing environments. The technology that produces millions of devices daily can inspire and enhance your next maker project.